Welcome Albus, the 15000!
Wednesday, July 2nd, 2014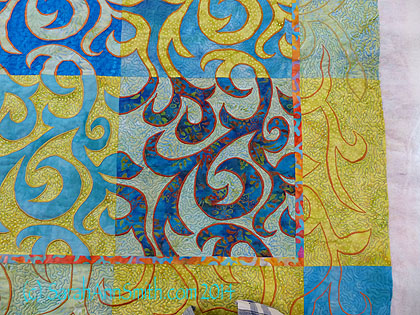
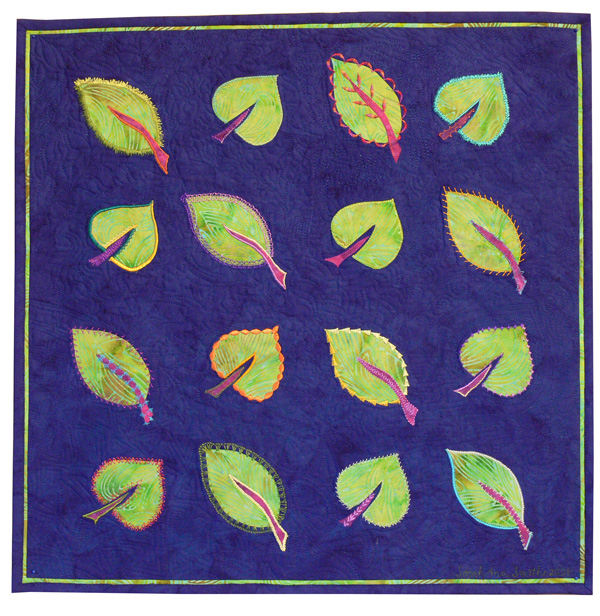
An old/new project
Quite a number of years ago, before I taught at my first national-level show, I had a rare opportunity in about 2007. Dianne Hire, author, teacher, quilter, artist, gardener, lives nearby me here in Maine. Alas, she hurt her back–badly–just a wrong move picking up a light stick. And she was scheduled to teach at her favorite retreat in just a few days. She needed someone to drive her and help schlep all the teacher stuff. Luckily for me, my name came up as one of two folks who might be able to help her. The other person couldn’t do it, so I finally got to meet Dianne (we have a mutual friend but had never met) and in the one week of summer where I could take a break from Paul and the boys and go. So I drove her to Paul Smith’s College (!!! Yep, can you believe it, a college with that name in upstate NY near Lake Placid) and got to sit in and take all her classes. I began this project back then, but never finished it though I always liked it.
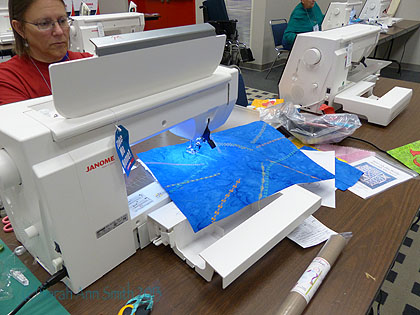
Another bit of astounding good luck: I’ve been affiliated with Janome America in their artists and teachers program for a decade now. Can you believe it? I can’t, but they seem to be happy with me and willing to keep me on. I had never really wanted or liked the high end machines that do fancy embroidery software etc. Then at International Quilt Festival in Houston last year I taught a class in a room with Janome’s new top of the line machine, the 15000. WOWIE ZOWIE is it a BEAST! And much easier to use with all sorts of cool features. Even more astounding, Janome is lending me one! Here it is, newly set up in my studio:
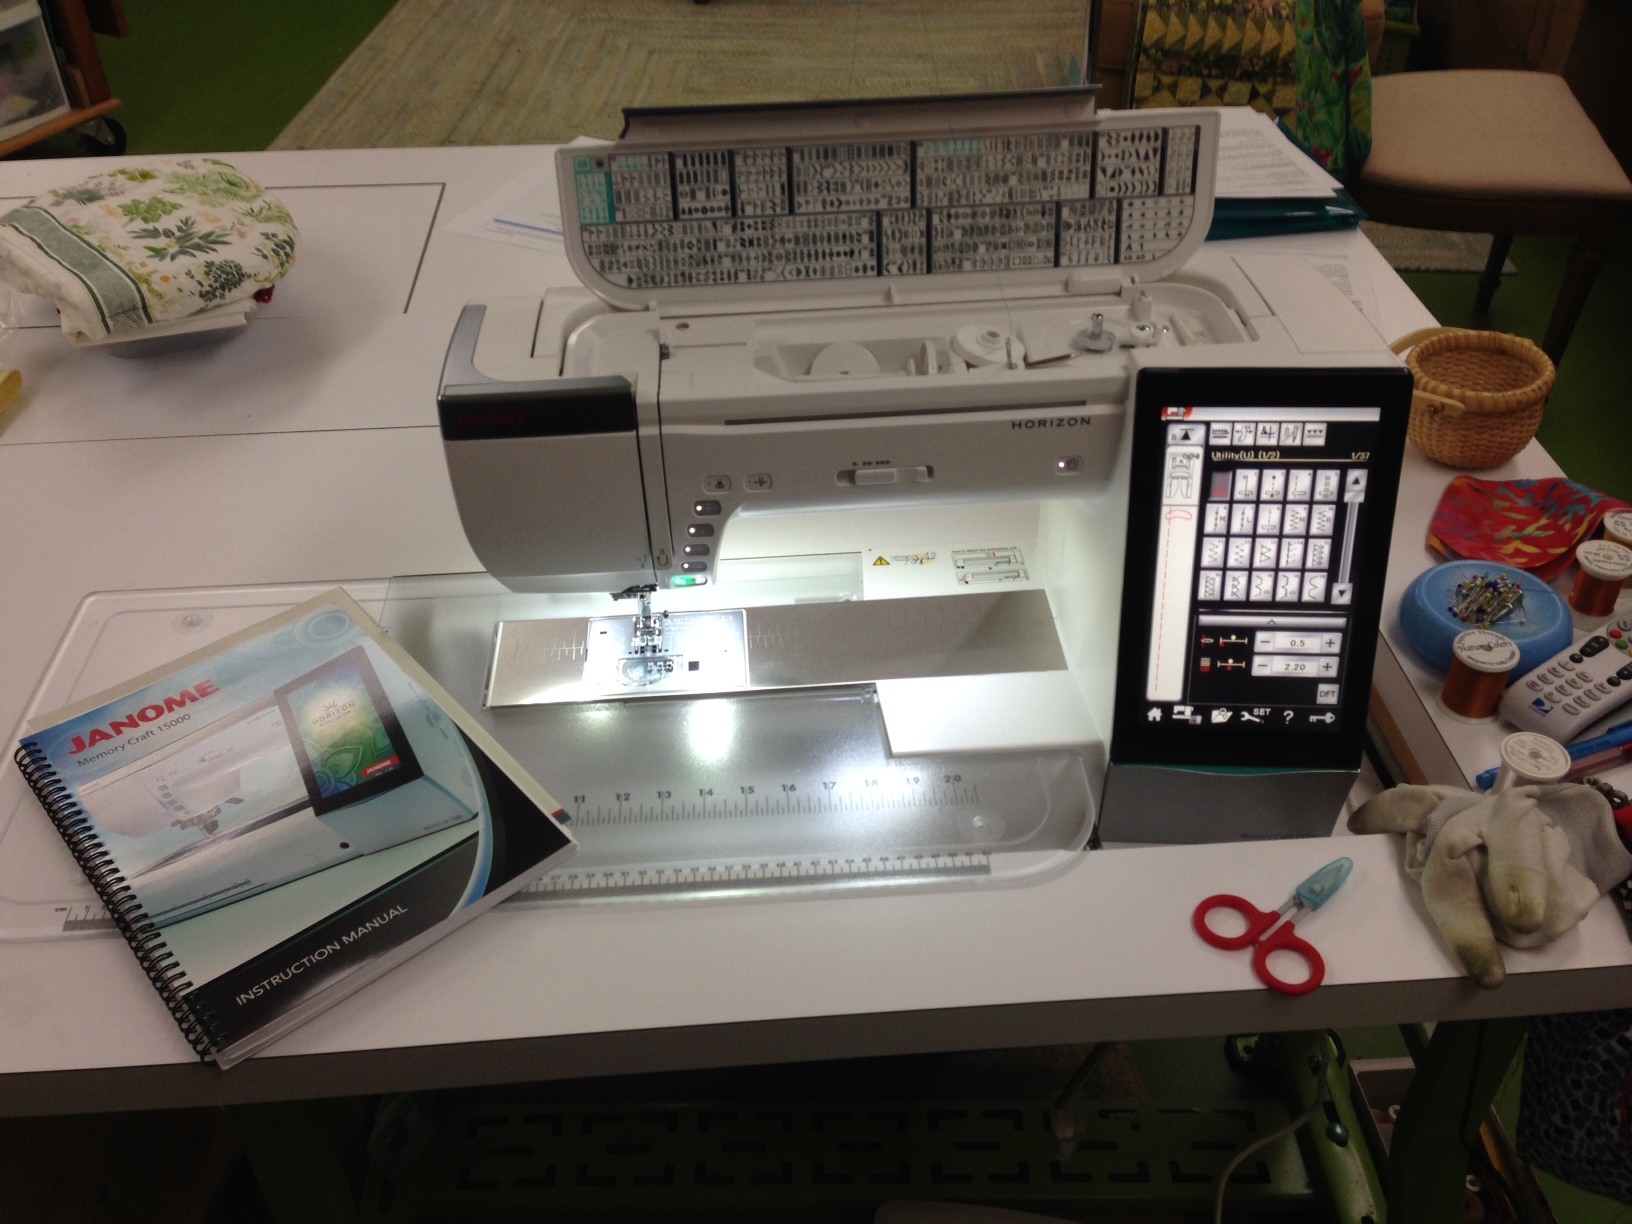
Albus Percival Wulfric Brian Dumbledore, because the Janome 15000 is of course the great White Wizard, the most powerful wizard ever
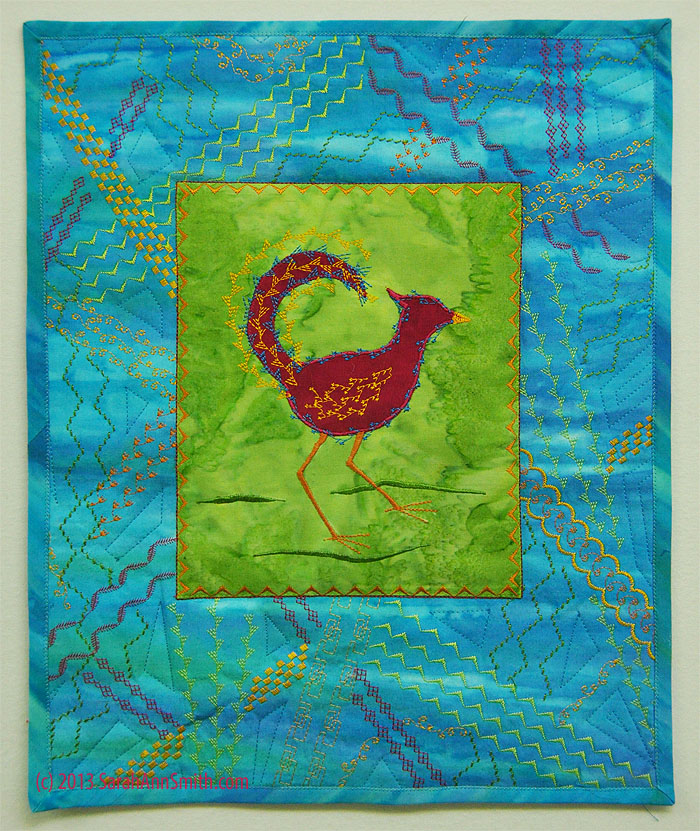
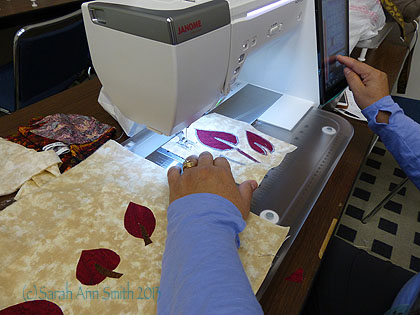
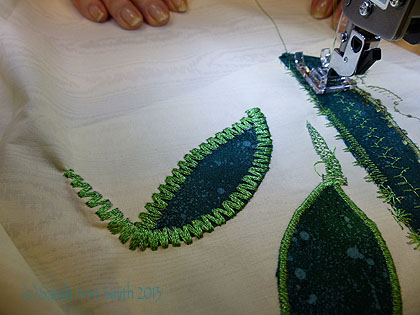
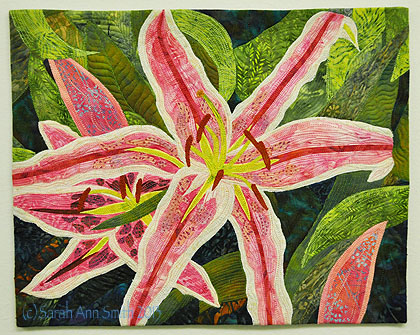
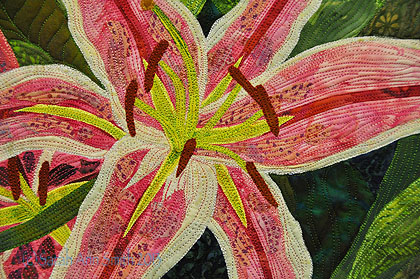
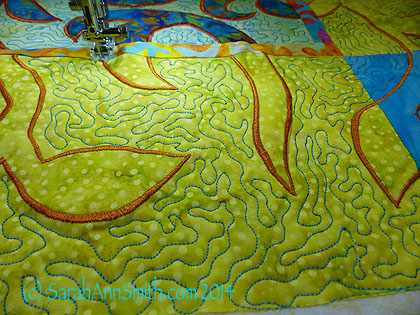
I decided to finish the quilt above (I won’t show the whole thing because Dianne is working on a book with the pattern) as my first project on the machine so I could get to learn the machine and make friends with it. THEN I’ll move on to the Embroidery function learning curve! Here are some close ups of the fantastic satin stitching I’ve achieved on this beauty! I was able to taper (adjust) the width of the stitch as I stitched to get smooth thicks and thins in the satin stitched line. WOOT!
Satin stitched, quilted, then the applique was outlined to make it pop. The large motif in the center is stitched in the ditch, but the motifs in on the right aren’t yet outlined. It really makes a difference!
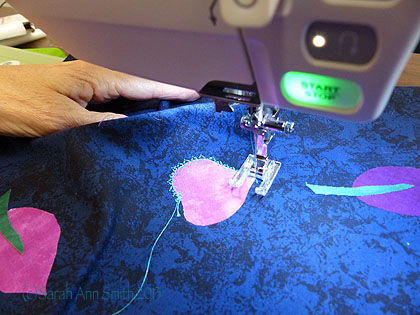
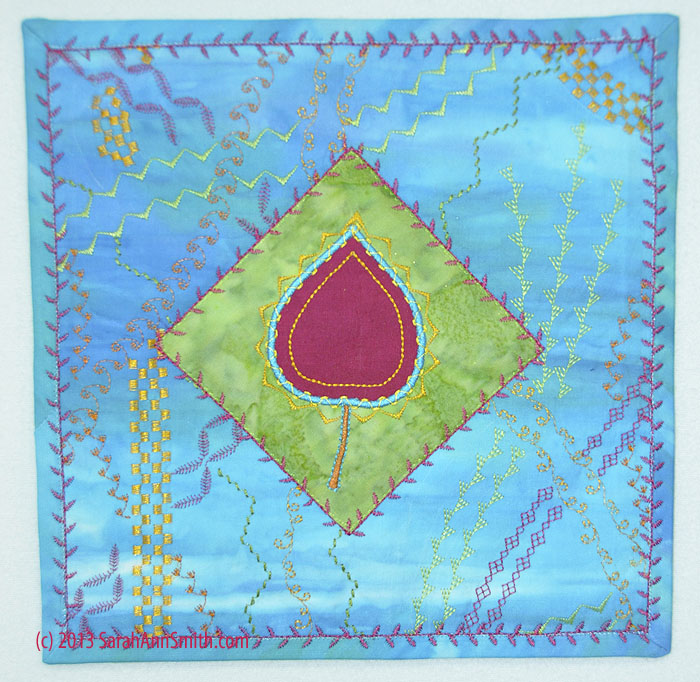
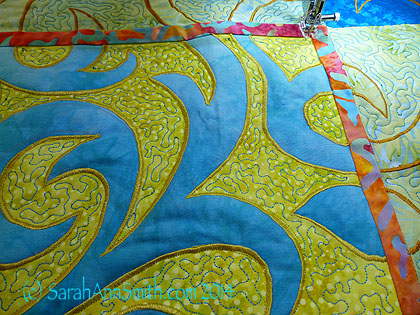
And my border design. Here, the motifs on the right are outlined, the ones on the left are not. The ones on the left kinda ripple. By outlining, you really define and refine the shape. Getting the tension just perfect was a bit fiddly. I have found that the more complicated the machine, the more delicate they are in their settings. Once you get them set, they are perfection, but you really need to understand your machine, be patient, and get to learn and know the way the machine works. So often I hear students say “my machine won’t do that.” Most of the time, I regret to say, it is operator error–not taking the time to learn and be patient. So I am telling myself just that and hoping for LOTS of time in the near future to get to do that learning!
MASSIVE thanks to Janome America for their continuing generosity with me. I hope to be able to give back to them and make some awesome, award-worthy quilts on this beauteous wizard of a machine!