email Youtube

Home
Galleries
Blog
Workshops & Calendar
Store
Resources
About
Contact

A foray into Metalworking

October 10th, 2012
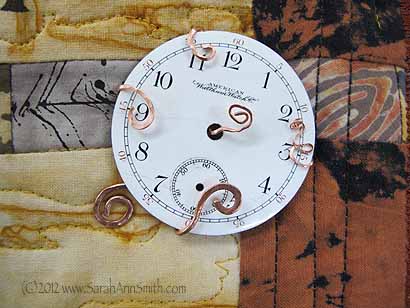
Copper tendrils hold the watch face onto my sketchbook cover.

Oh what FUN!  For a number of years now I have been inspired by New Zealander Claire Prebble’s wirework in her art-to-wear costumes (her website is here), and have wanted to mess around with wire.  Then last summer I took the first of three online classes with Jane LaFazio.  In one of them, I “met” Janice Berkebile and several other wonderful women.  After the second of the classes with Jane, we decided to set up our own sketching group online (we are globally dispersed from the San Francisco Bay area to northern California to near Seattle, Ontario Canada, Vermont and Maine and in the UK).  One day, Janice quietly said “Oh… my first book is just published.”  SAY WHAT?!!!!!!!   Here it is, and it is wonderful:
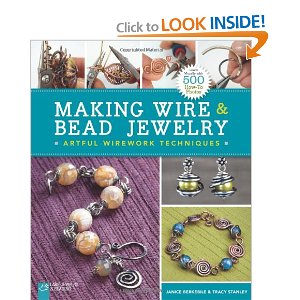
If you’d like to see Janice, click here and for the home page to their website, click here.

Well, I’m nowhere near starting on anything as awesomely intricate as Claire Prebble’s work, or even one of the simpler projects in the book, but I sure had a grand start today.  See several years ago, my Frayed Edges art quilt mini-group friends and I decided to do a journal-cover swap.   I got the lovely one made by Kate Cutko (queen of recycled and all things “green”…her blog is here) which has discharged and also rust-dyed fabric.  When she gave it to me, she told me she had wanted to find a watch face to sew to the cover.  Well, that year at Quilt Festival/Houston I found just the one!

After several years of use, the monofilament thread which I had used to attach the watch face had  broken, so I wanted to re-apply the watch face to the journal more securely.  At first I was going to sew beads to set it the way you would use seed beads to couch a cabochon (big flat stone/bead) to something.  Ugh. Hard.  Then I had a brainstorm–WIRE!   So this morning I started to play.
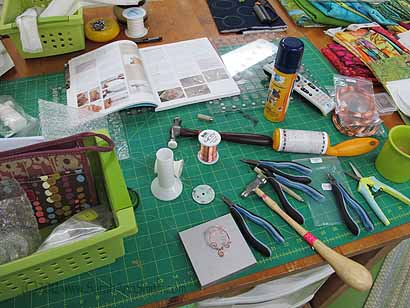
My work table this morning with hammers, pliers, cutters, wire (copper), more wire, and Janice’s book open to the appropriate page.

At first I was thinking of making a network of wire underneath with curlicues that extended to the front and intertwined with a circle of copper (since I bought that because it isn’t as expensive as silver!) on the top.  Then I thought…why a second circle on top?  How about “prongs” that wrap to the front and have them hold it?   SO….I made it!

Janice and Tracy’s book is great because it tells you what tools you need, which are nice-but-optional (especially when starting the cost of tools can be a bit frightening!).  I bought a larger bench block than you recommended (only slightly) in the book because I want  to eventually work on some larger pieces that may well include shapes cut from sheet metal…. They give all sorts of hints and tips, and have TONS of step-by-step pictures so you can follow along on your own.
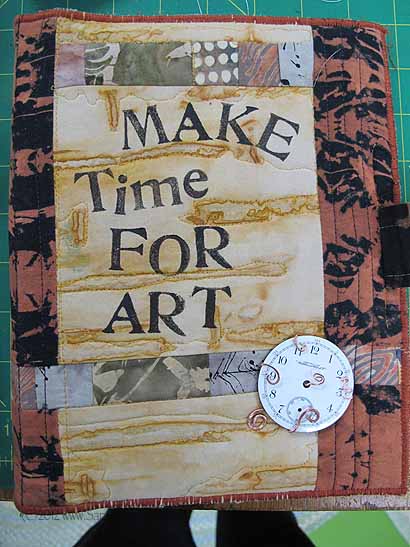
Journal, with watch face attached with way more fun and creativity this time!

The tendrils that wrap to the front grip the watch face securely.  I sewed the copper “whatchamacallit” to the cover, then tucked the watch face into it, and pinched the tendrils down.

And then for fun I tried to make a spiral…while standing up and rushing.  Not the best, but at least it is a start!
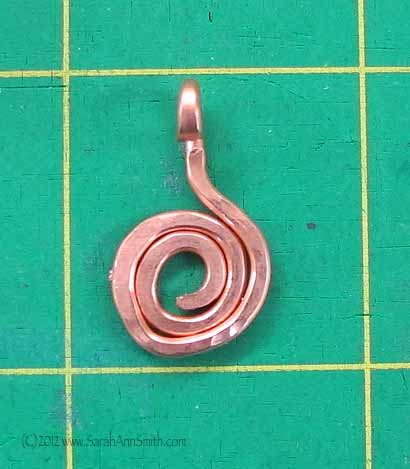
Not quite round, but at least it is a tight spiral with a hanging loop!

So now I have their book back by my spot on the sofa and tonight will pore over it to see what I can adapt to use some beautiful beads made by ANOTHER internet friend that I got to meet in the real 4 years ago in Paducah (Caty are you out there?)!

Postmark’d Art

October 9th, 2012

Just a quick note to let you all know that I am the featured artist this week over  at Postmark’d Art, a website for a group of us involved in a postcard swap.  I’d like to invite you to visit here!   They interview me, show one of my cards and some of my favorites that I’ve received over the years, both in the swap and from other places.


Florida, #4, the Dry Tortugas

October 7th, 2012

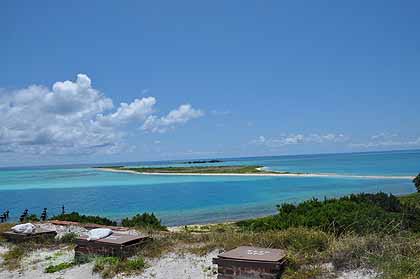
Seventy miles west of Key West, are a cluster of islands known now as the Dry Tortugas.  Part of the US National Park system, they are “dry” because they don’t have any source of potable fresh water on the islands other than rain.  Fort Jefferson, used during the civil war in fact, is the “home base” for the National Park.   The easiest way to get there is via the Park service ferry, which departs from Key West:

Ferry dock sign for our day out to the Dry Tortugas

The trip takes about 2 1/2 hours, which I passed reading, sketching and watching the passing view.  Before long you leave the smaller islands at the end of the Florida keys and are in open water.  70 miles later, you reach Fort Jefferson on Garden Key. Before boarding (early, at least for a vacation day), we stopped here:

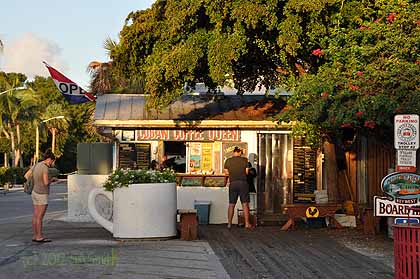
Morning coffee from the Cuban Coffee Queen—lots of locals getting good, STRONG coffee and Cuban bread here. So did we…YUM!

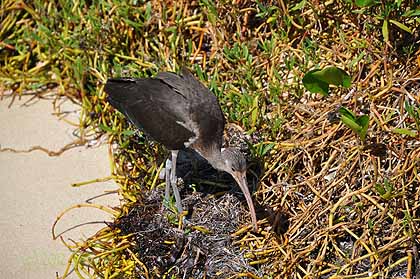
The first photo I took on Garden Key was of this shore bird, which I have yet to identify. Perhaps a ??????  I checked the bird checklist for the Dry Tortugas and my two bird books (US Eastern/Peterson and another for the Caribbean), and am still unsure.

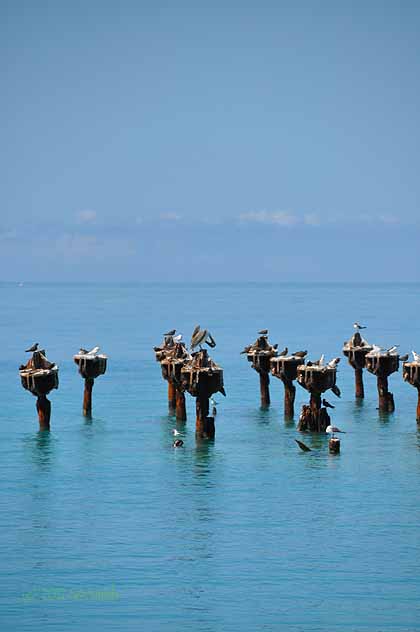
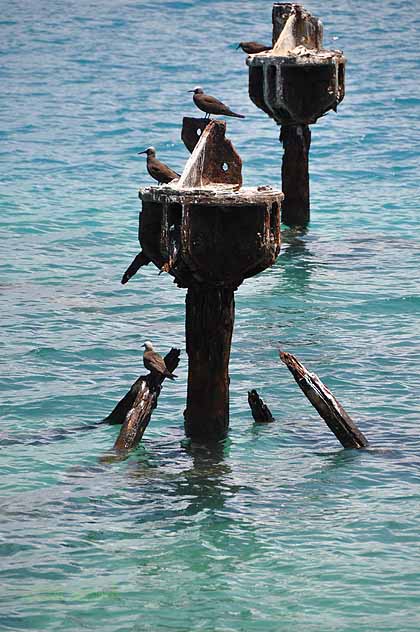
There are two former coal-off-loading piers near the island, and the piers are now roosts for brown noddies and sooty terns and brown pelicans. And LOOK at the colors in the sea and sky….SIGH….think I’ll paint our front door one of those blues! PS–that stuff you see just above the water is two snorkelers (fin and facemask)

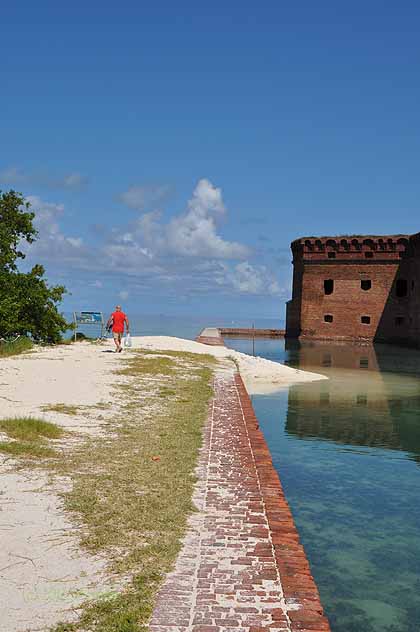
There is a moat around the fort–saltwater. So nice of hubby to wear a perfect-for-a-photo red shirt! The sand was SO HOT I think I sunburned the bottom of my feet!

After about an hour snorkeling, we took a break for lunch on the ferry boat (included in the tour price) and then walked on the top of the fort.

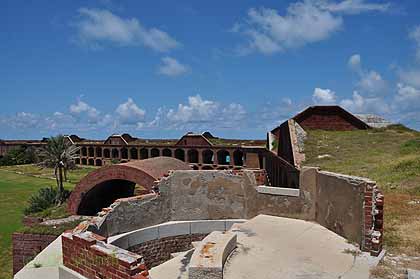
And the view from the top of Fort Jefferson. How awesome are those colors…MY colors. I’ve said that like Winslow Homer, I went to the Caribbean (about 28 years ago) and was infected with color!

Close up of the brown noddies on one of the piers

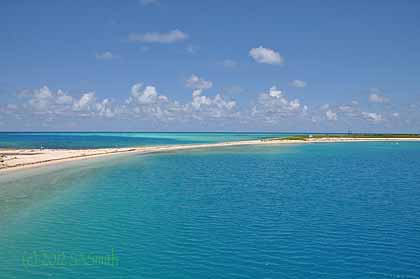
One more shot of that glorious aqua water….sigh….

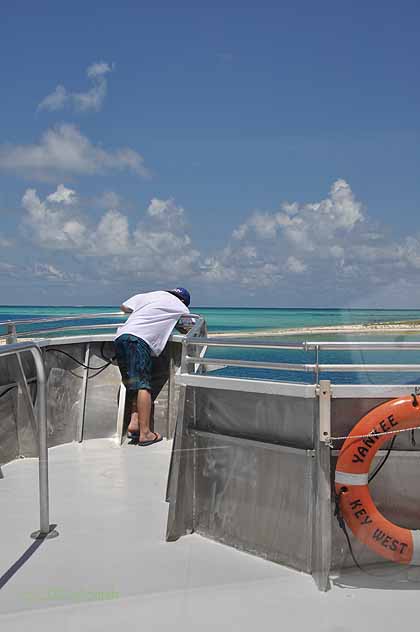
Heading back…Eli looks over the bow of the ferry as we prepare to head back to Key West


Visiting Arkansas

October 2nd, 2012

Here’s another seriously overdue post…about my wonderful visit to teach in Little Rock and Hot Springs Village in Arkansas this past April.

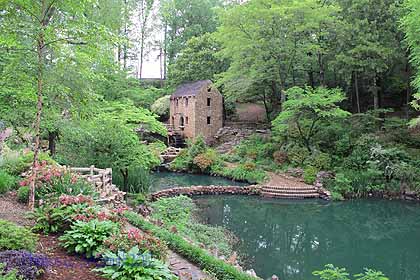
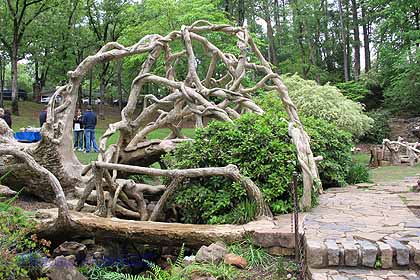
Sherri wanted me to see this old mill which was, if any of your are movie buffs and eagle-eyed, in Gone With the Wind! It was a stunningly beautiful setting, even with somewhat drippy skies!

I had a “down” or extra day between my bookings in Little Rock and Hot Springs Village.  Imagine my delight when Sherri D.–an internet friend from a small quilt group on yahoo– realized I was coming to teach at her guild and that we could chum around together on that day!  We had a blast…but I think the best part was something for which there are  no photos, so you’ll just have to use your imaginations:  after supper, I was treated to an impromptu Celtic concert by Sherri, her dear hubby and dear son.  They play at RenFaires, and I got my very own performance as they prepped for performing at their first RenFaire in Arkansas!  So tap your toes and hum to yourself as you read….

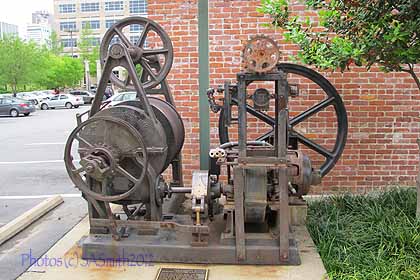
This falls into the “inspiration is everywhere” category. This is old elevator equipment next to the parking lot for the main public library, where the QUEST guild has its meetings and workshops. Lovers of steampunk…feast your eyes on real gears!

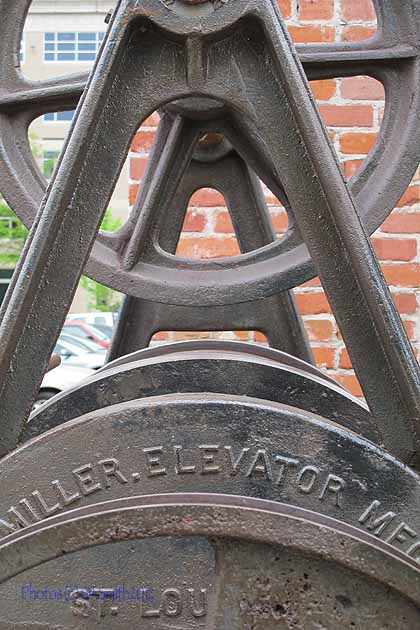
Although I’m usually all about asymmetry, I loved this cropped view of the elevator workings.

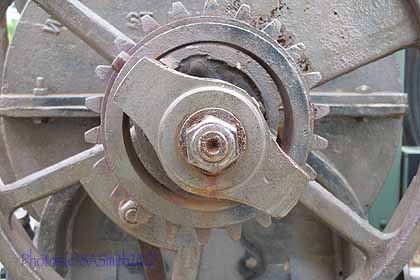
and I couldn’t resist one more…

We also had fun wandering around that old stone mill….

This bridge is next to the old mill shown in the photo at top. Can you believe it…those “tree branches” are actually cement!

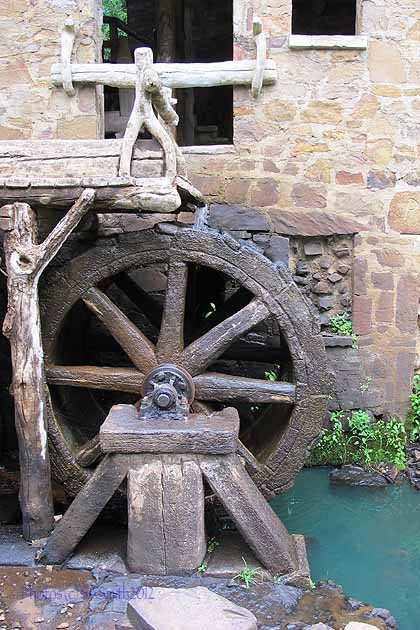
And who can resist a photo of a real mill wheel:

the mill wheel at the old stone mill….

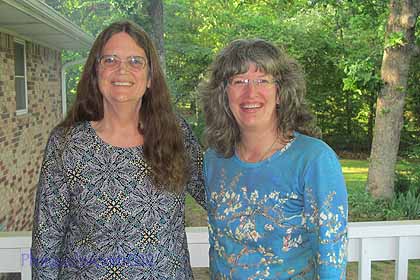
Sherri and me…astonishing…we both look good! Must be because we were happy and just kept smiling all day! Even my *hair* cooperated!

I hereby vow that I will TRY to post a little closer to when stuff actually happens.  Gee…what a concept LOL!

Conversations I

September 29th, 2012

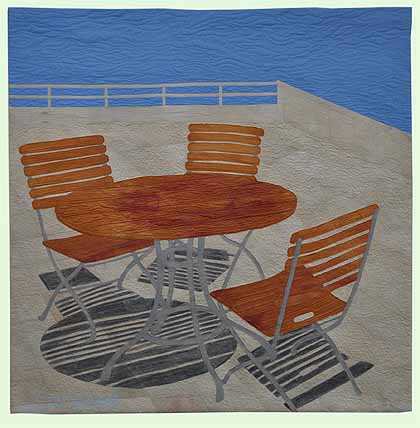
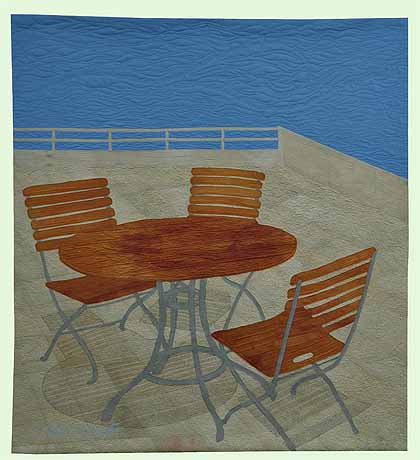
I’m thrilled to share with you (again, but in more detail) Conversations I, which has been juried in to a World of Beauty, the competition exhibit at International Quilt Festival 2012 in Houston, Texas.  As usual, the jurors utterly mystified me with their selection:  I entered both my portrait of Joshua (which I personally think is the best piece I’ve ever made, seen here) and this quilt, and this is the one that got in!  I am thrilled to have a quilt in Houston which is–let’s be honest here–just about the biggest, most important show there is in the quilt world!

Conversations I, juried in to International Quilt Festival-Houston 2012

A couple Aprils ago, I had the great good fortune to be invited to teach by the Arizona Quilt Guild–it was a fabulous visit.  I discovered that it would cost the same to fly via Los Angeles (I’m in Maine, on the other side of the US for those reading from other countries) as to fly direct.  If I stopped en route in L.A., I could visit my beloved Sister-in-Law (sister of my heart!), so that’s what I did!  When she asked what I wanted to do, I promptly replied: go to the Getty!  I had seen photos of the Getty Museum before, including my friend Deborah Boschert’s trip there.  The lines, angles and shadows from the tables absolutely enchanted me, so I took a TON of photos.  You can see the FOUR (!!!) blogposts from that trip here-1, here-2, here-3 and here-4 if you really want an armchair visit!

I combined two of my photos of the tables and chairs to come up with this composite image…. I also really wanted that stark contrast between stone and sky, but since the chairs were in a courtyard surrounded by buildings, I took artistic license to put my table and chairs somewhere they weren’t in real life!

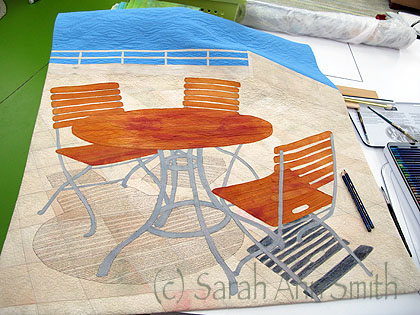
The shadows were one of my favorite things, but it took a few attempts to get them right.  For the quilt, I began with white fabric which I dyed to match the colors in my photos (Thank you, Carol Soderlund…. using my color swatches and formulas and learning from your class did EXACTLY what I wanted with the cloth!).  I had intended to use a sheer for the shadows, fused to the beige “stone” paving.  But it looked like I stuck something on….and one of the things I liked in the shadows was the seamless transition from beige to dark.  So I decided I would use ONLY thread, stitched very closely, to create the shadows, as seen in this photo:

I had thought I was done with this quilt when I took this photo, but decided there just wasn’t the stark contrast that I wanted in the shadows from the table and chairs–if you look at the photo at the top of this post and this photo, you can see the difference in the shadows.

So, on to Plan “C”!  Yes, I did test, but it was pretty nerve-wracking to take out the Derwent Inktense pencils and darken the shadows:

You can see what a difference there is in this photo. I darkened the shadows under the foreground chair first.  Notice that there are two pencils to the right of the chair, and just off the edge of the quilt a paintbrush.

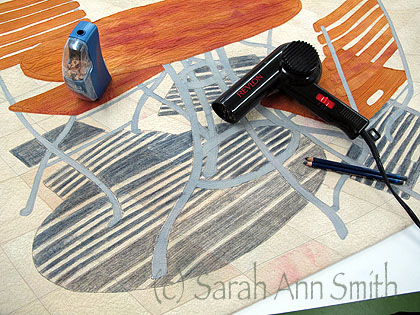
VERY carefully, so that the pencil-ink didn’t bleed into the stripes of sunlight, I pencilled in with the Inktense pencils (see the pencils and sharpener) in the shadow stripes. Then VERY carefully I held a paintbrush wet with water in my right hand and my hair dryer (turned on) in my left. I would brush a small section of the penciled area, then zap it with the hair dryer to allow the paint to intensify by wetting, the dry before it spread into the sunlight stripes. I only had one small bleed!  This photo shows that about the top half of the shadows have been wet-then-dried, while the lower part of the table’s shadows are still just pencilled on–not yet wet-and-dried.  I sure was glad when that was done, because I could have wrecked the whole thing!

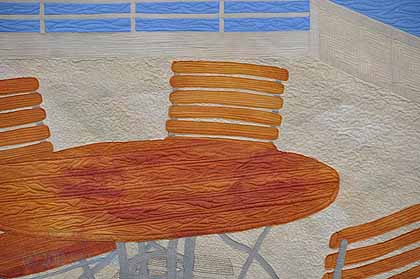
I also needed to think about how to create the shaded side of the wood slats on the chairs and table.  There is only so think one can cut strips of cloth to fuse.  And I didn’t really want to totally mash the quilt by darkening the sides of the slats with thread stitching (as I did in the shadows under the table and chairs).  So I used a brown (or was it red?)  Pigma pen and wrote words relating to the visit:

Detail, Conversations I

So that’s the story….the conversation between me and the cloth and thread and pencils and quilt, but it is just one of the conversations from that wonderful day.