Happy Solstice to one and all…at last the days no longer get shorter! To celebrate and as a Christmas gift (whether you celebrate it or not, it’s a gift of the season) to one and all, I thought I’d share a video I recently uploaded and just shared with those on my Newsletter List. (To sign up for the newsletter, go to my home page and fill in the blanks—about once a month I’ll pop in with this ‘n that.)
Those who follow me on Facebook (here) will recognize this pond and view which is down the driveway and onto Ludwig Road, between two neighbors’ houses.
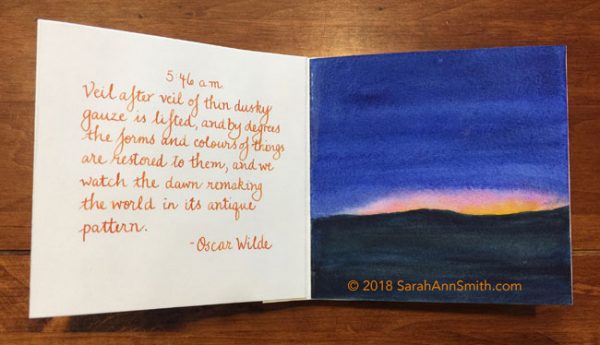
Recently, I’ve been taking some journaling and watercolor classes. Then, the Mid Coast (Maine) Book Arts group had an exhibit at the Camden Public Library. I was inspired by a book of hours on display, so BFF Kathy D. and I decided to make our own small accordion books. Below the still photo you’ll see my a video tour of the book, which I have titled “moments hours days autumn” to chronicle my life this past Autumn.
Beginning at 3:11 a.m. through to my evening ritual of sitting in my chair near my hubby’s chair, with the dog and a pile of books. You can see still shots of each page in my new Mixed Media gallery.
The left page is a quote, some by me, most by someone else. The right page is a watercolor, 5 x 5 inches. I figured I would mess things up, so it was better to do each separately, then glue them to the accordion “base” pages. On the back, I painted a single LONG (80 inches!) view that runs from winter to spring, summer and fall, back to winter, with the sky running from night, through morning, noon and afternoon, back to night. I used a dip pen and acrylic ink to write Strider’s Poem, by J.R.R. Tolkien, which has been a favorite since high school and whose meaning goes far beyond the Lord of the Rings saga.
I used Daniel Smith Watercolors, Stonehenge Aqua 140 lb. watercolor paper, Yes! paste glue, and both acrylic and fountain pen inks and a dip pen for all the lettering. The cover is made from my own hand-dyed fabric fused to mat-board from Kathy with Mistyfuse.
Here’s to hoping you all have friends (which can include family!) and joy around you throughout your lives, not just this season. I hope you enjoy my first ever made-by-me book. I think I will do more! Let me know what you think, and what you’d like to see in my new Newsletter. (And to sound like a broken record, sorry, sign up here.) MERRY MISTLETOE!
Happy winter folks! Egads….time whizzing by, change in the behind the scenes stuff on my website so trying to write a blogpost is totally unlike what it has been for 14 years…. I’m lost! Don’t even know how to add a photo. Well, it has been busy as usual what with massive house cleaning, getting ready for the holidays and all that. I’m also starting a newsletter, so there is a new sign up button on my home page and, if I can figure out how, I’ll put it in here, too.
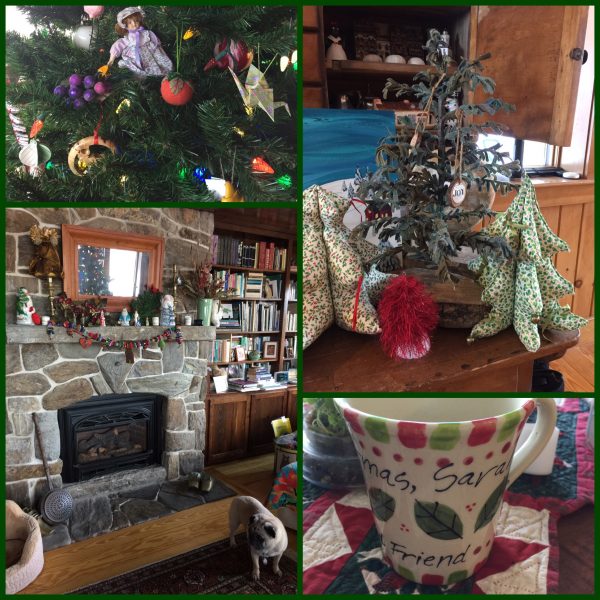
Here is a snapshot of the house so far..Eli came home from college last night so we can finally finish trimming the tree this weekend. We are due to get snow tonight and tomorrow, but after a cold and wintry November it is warming up in December so I don’t think we’ll have a White Christmas (but I’ve already watched the movie for the season!).
So it looks like I added a photo, now what…gosh I hate when things change so radically! Trying to decipher MailChimp has been hard enough for the morning. So here’s a quick peek at what I’m doing in the studio:
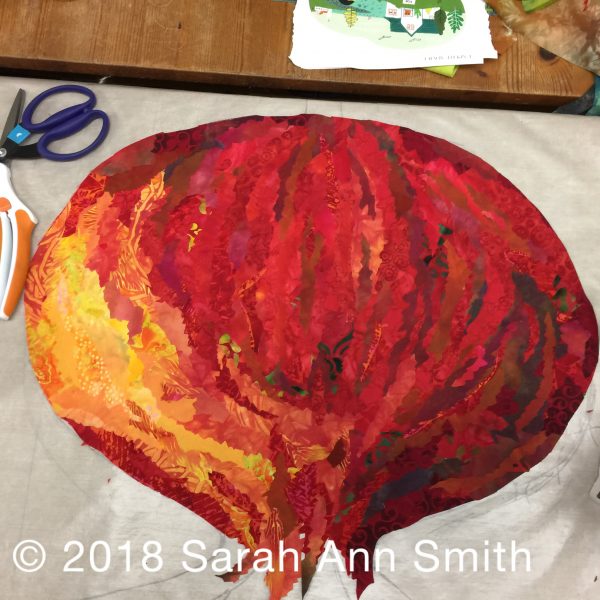
The start of a rose hip……
What are some of your favorite holiday traditions? When I grew up we made candy and delivered it as gifts, but haven’t done that in decades. In the interest of fitting into my clothes, I am restraining myself. But I love remembering who gave me various ornaments or where we went that year.
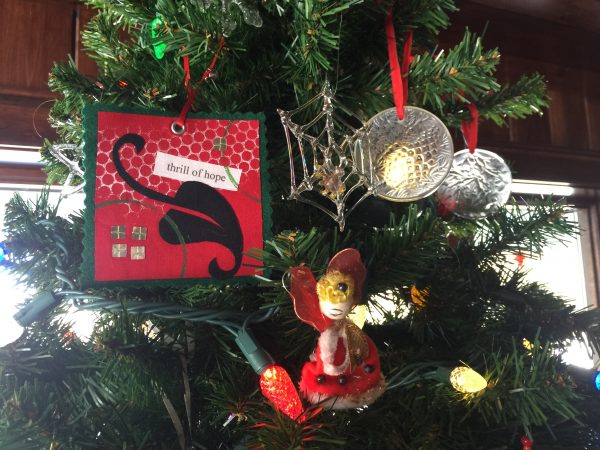
Here’s an ornament made by my friend Deborah Boschert, an angel that was on a gift from my cousin Anne sometime in the mid 60s (for anyone from southern California, probably it came from Pic N Save!), a spider web in glass from my first tour in the Foreign Service in Toronto (and miraculously not broken despite traveling around the world for umpteen years) and my two beautiful Lalique discs, at the top of the tree out of pet danger.
and here is an attempt at a pop-up sign up for my monthly (or maybe every other month) newsletter…I’ll fine tune formatting another day, ahem. now, I need to figure out a logo! Give me suggestions LOL! PS–scroll down, I can’t figure out why so much blank space.
Hi everyone…is anyone else madly trying to figure out what to do for Christmas gifts? Here’s a FREE pattern by me, with major thanks to Shannon Fabrics for the Cuddle fleece. Literally you can make a couple of these in an hour or so–give yourself three hours and a yard and you can make half a dozen in production-line mode!
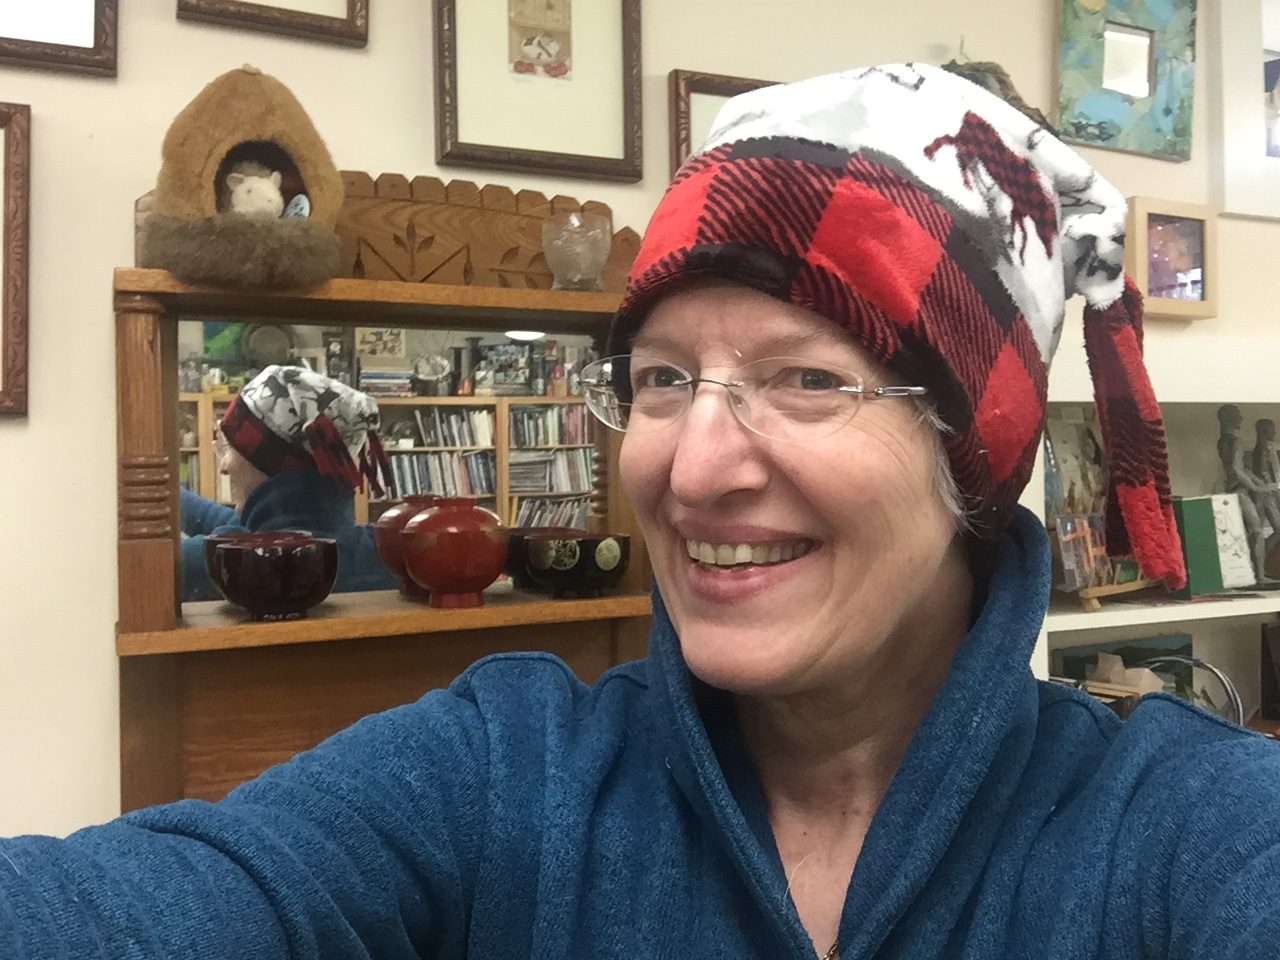
How many selfies do you need to take to eliminate many chins or no chin? LOL! I love my soft hat!
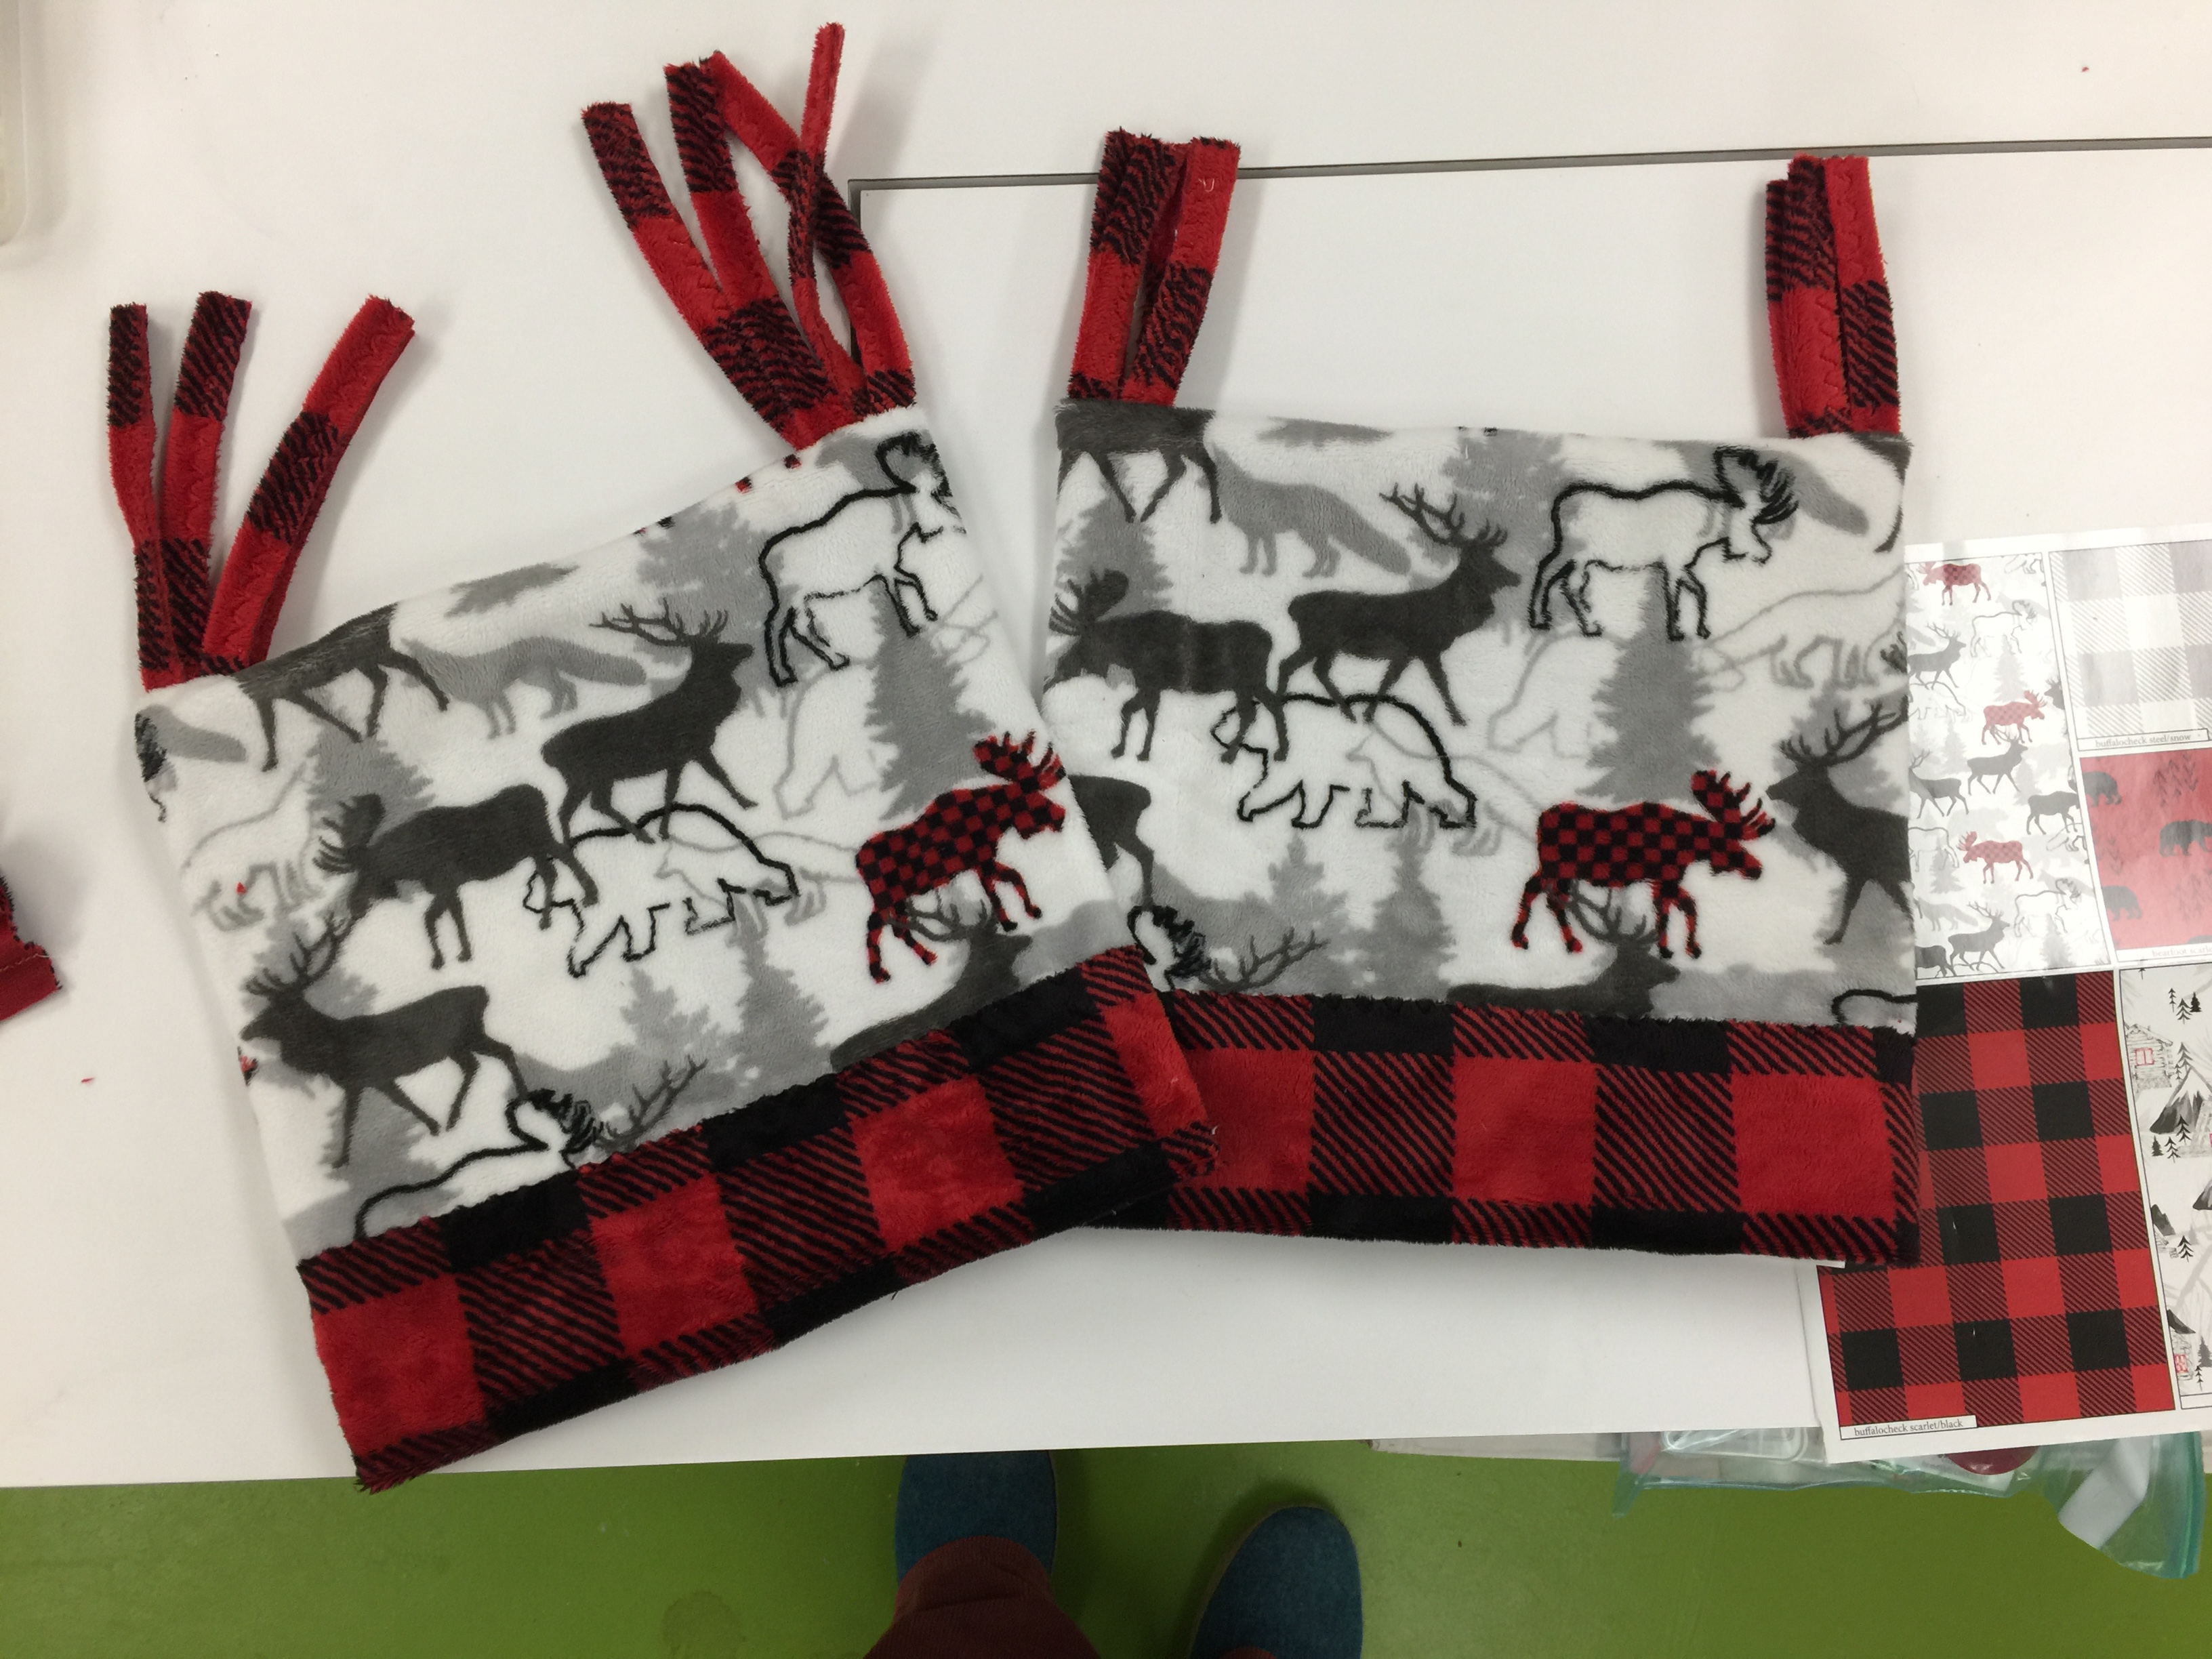
And here is what the hat looks like, flat:
Two hats…I mean I used up EVERY LAST BIT of scraps! One hat for me, one to send to Shannon for them to use as they wish!
¼ yard (about 8 ½ lengthwise grain by 22-23 inches) fleece for main fabric
5” by 22-23 inches for contrast
Scraps or yarn for hat tassels
How to:
Measure your head around the forehead: ______ + 1 “ = ________ cutting width
Tip: In my case, my head measures 22 ½”. I found that I wanted my hat to be snug so it would stay on in the wind, so I used a larger seam allowance. My hat **finishes** at 21 ½” or one inch smaller than my head circumference. Depending on what you find comfortable, you may find that a cutting width exactly the same as your head circumference is just perfect.
Cut main body fleece 8 ½” high by cutting width. Make certain that the lengthwise (not-stretchy) grainline runs vertically and that the stretchy cross-grain is what goes around your head!
Cut hat band fleece 4 ½” by cutting width (if folding under) or 3 ½” by cutting width (if using raw edge).
Option: vary the width of your band depending on how warm you want it to be and the pattern (if any) of your fleece. My main fabric is not fuzzy on the inside and I wanted soft, so I have 1 ¼” of the red checked fleece on the inside and about 1” folded under on the outside edge so that there are two layers of fleece to keep my ears warm on a windy winter’s day.
Pin seam and test the fit: now is the time make adjustments to snug it up if needed.
Sew seams on hat body and hat band using a narrow zigzag, about 1.0 width and 3.0 length.
Pin the seams open.
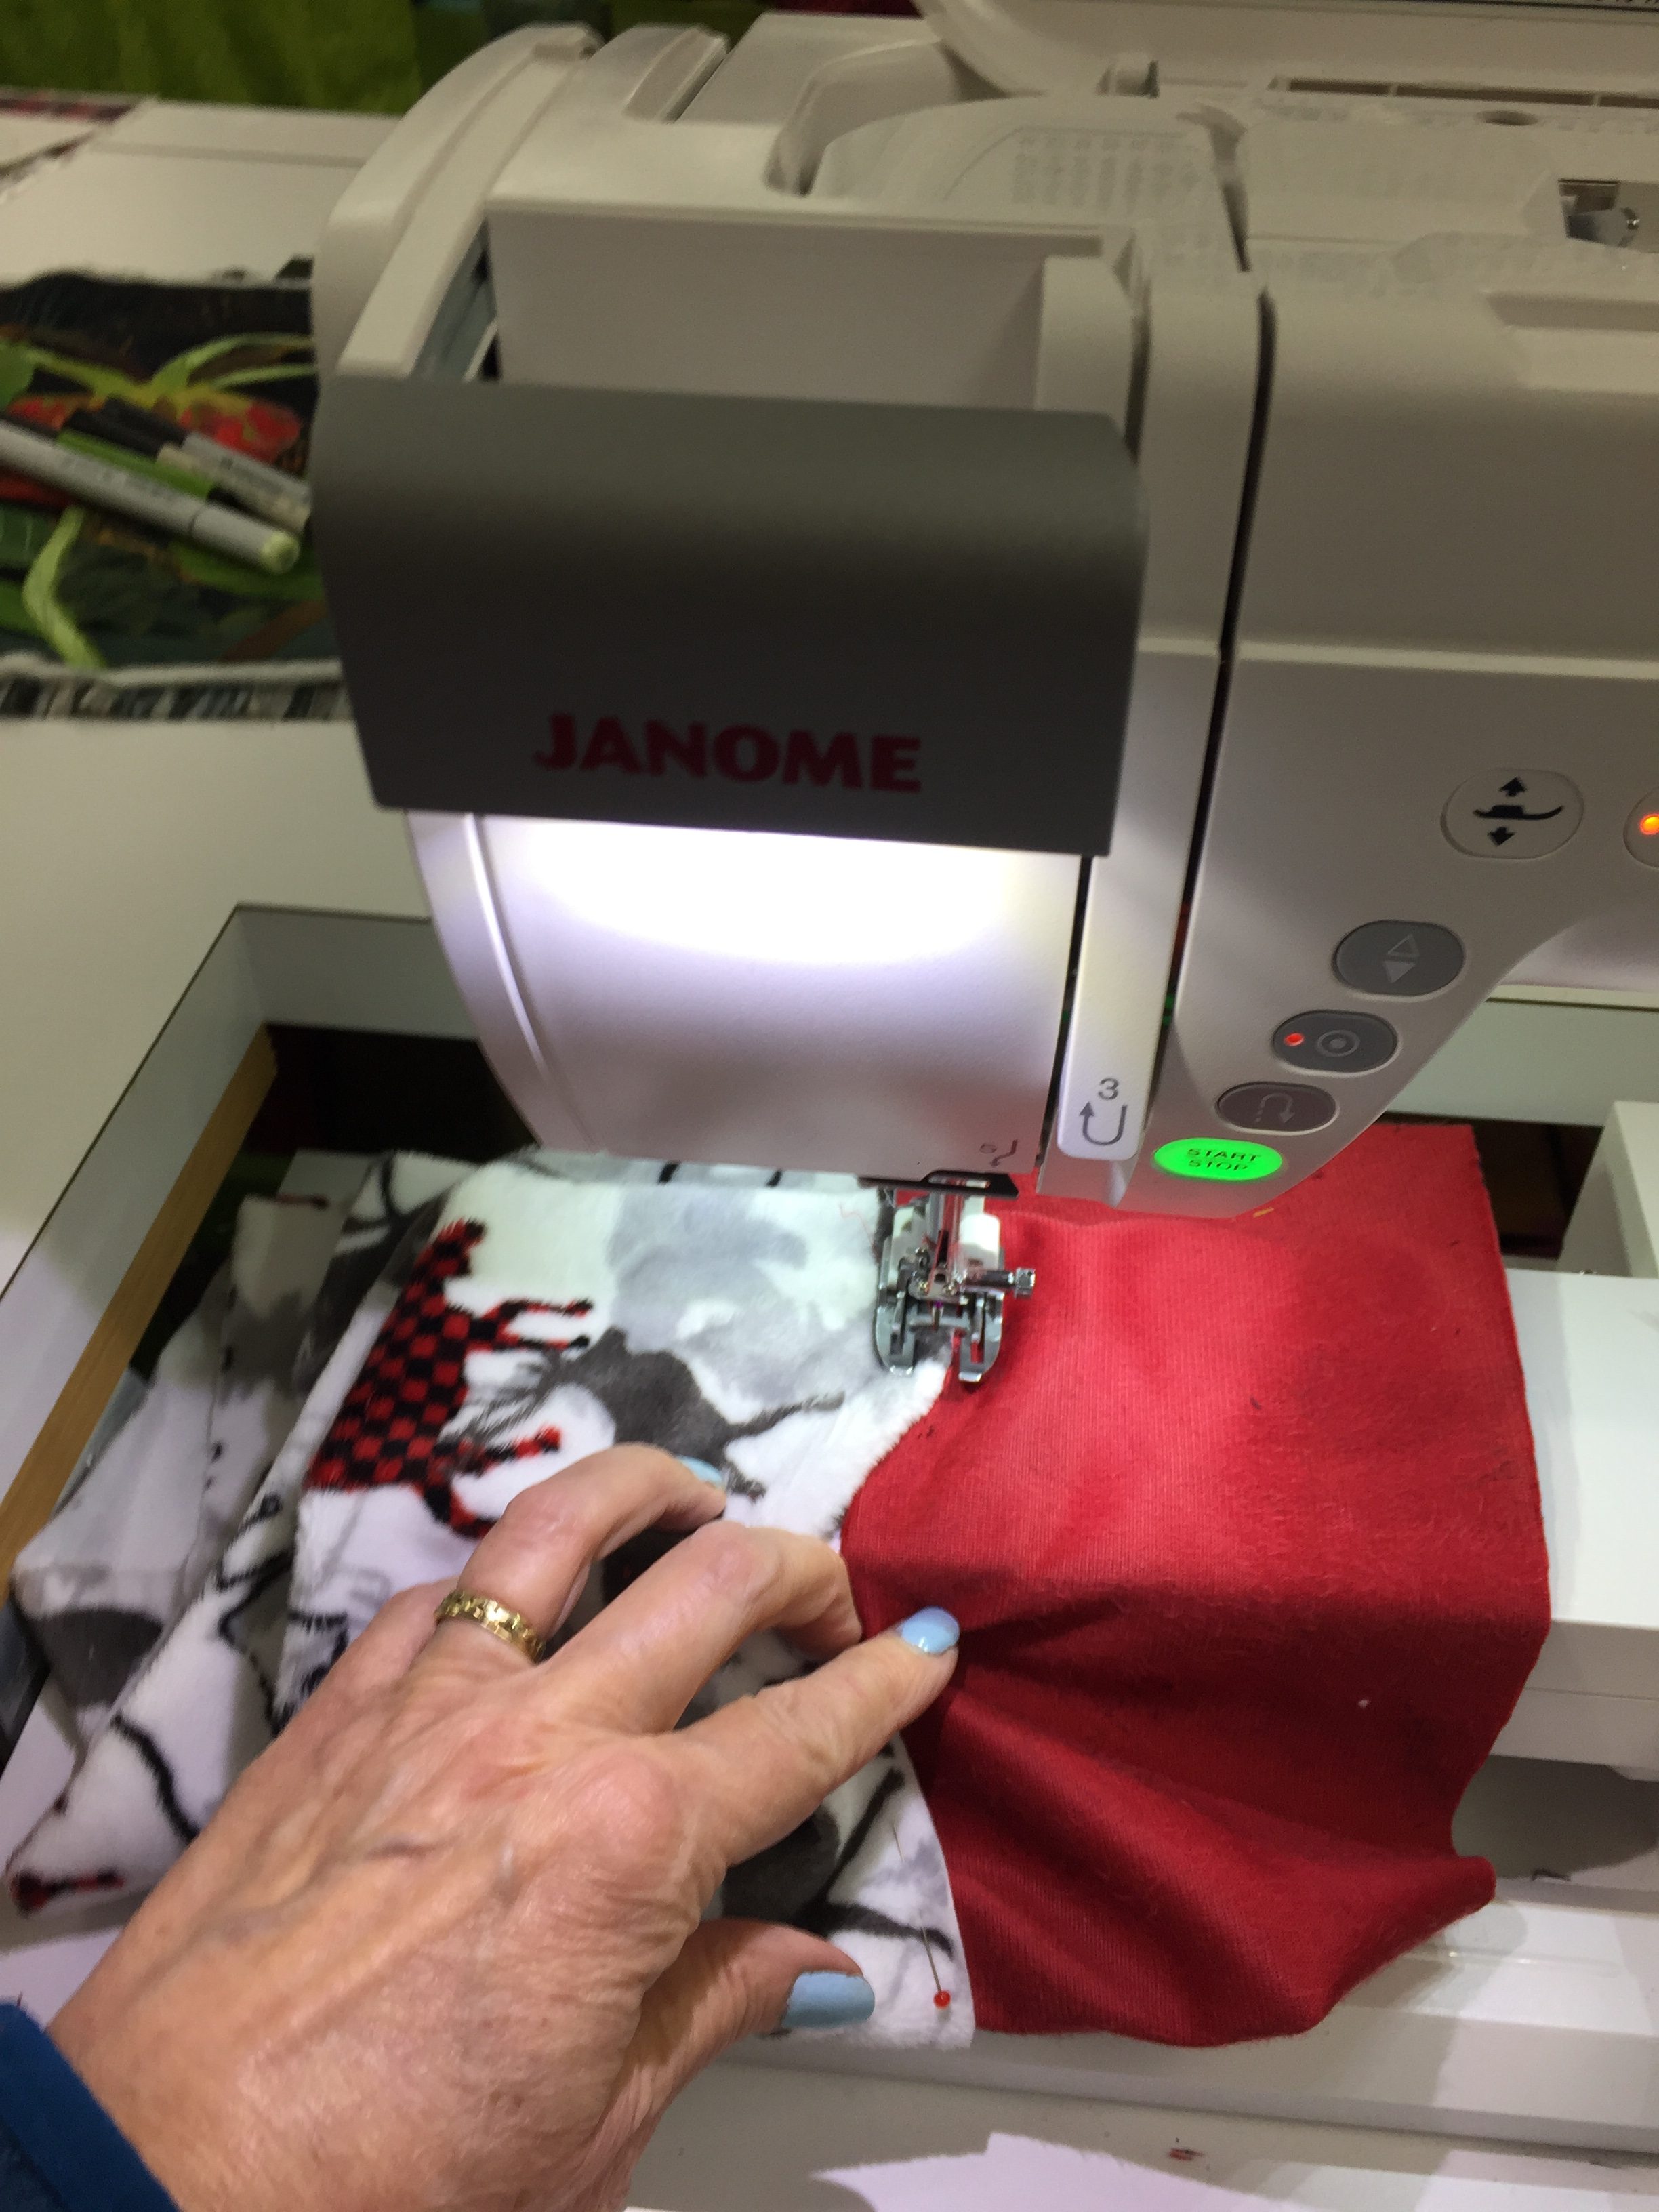
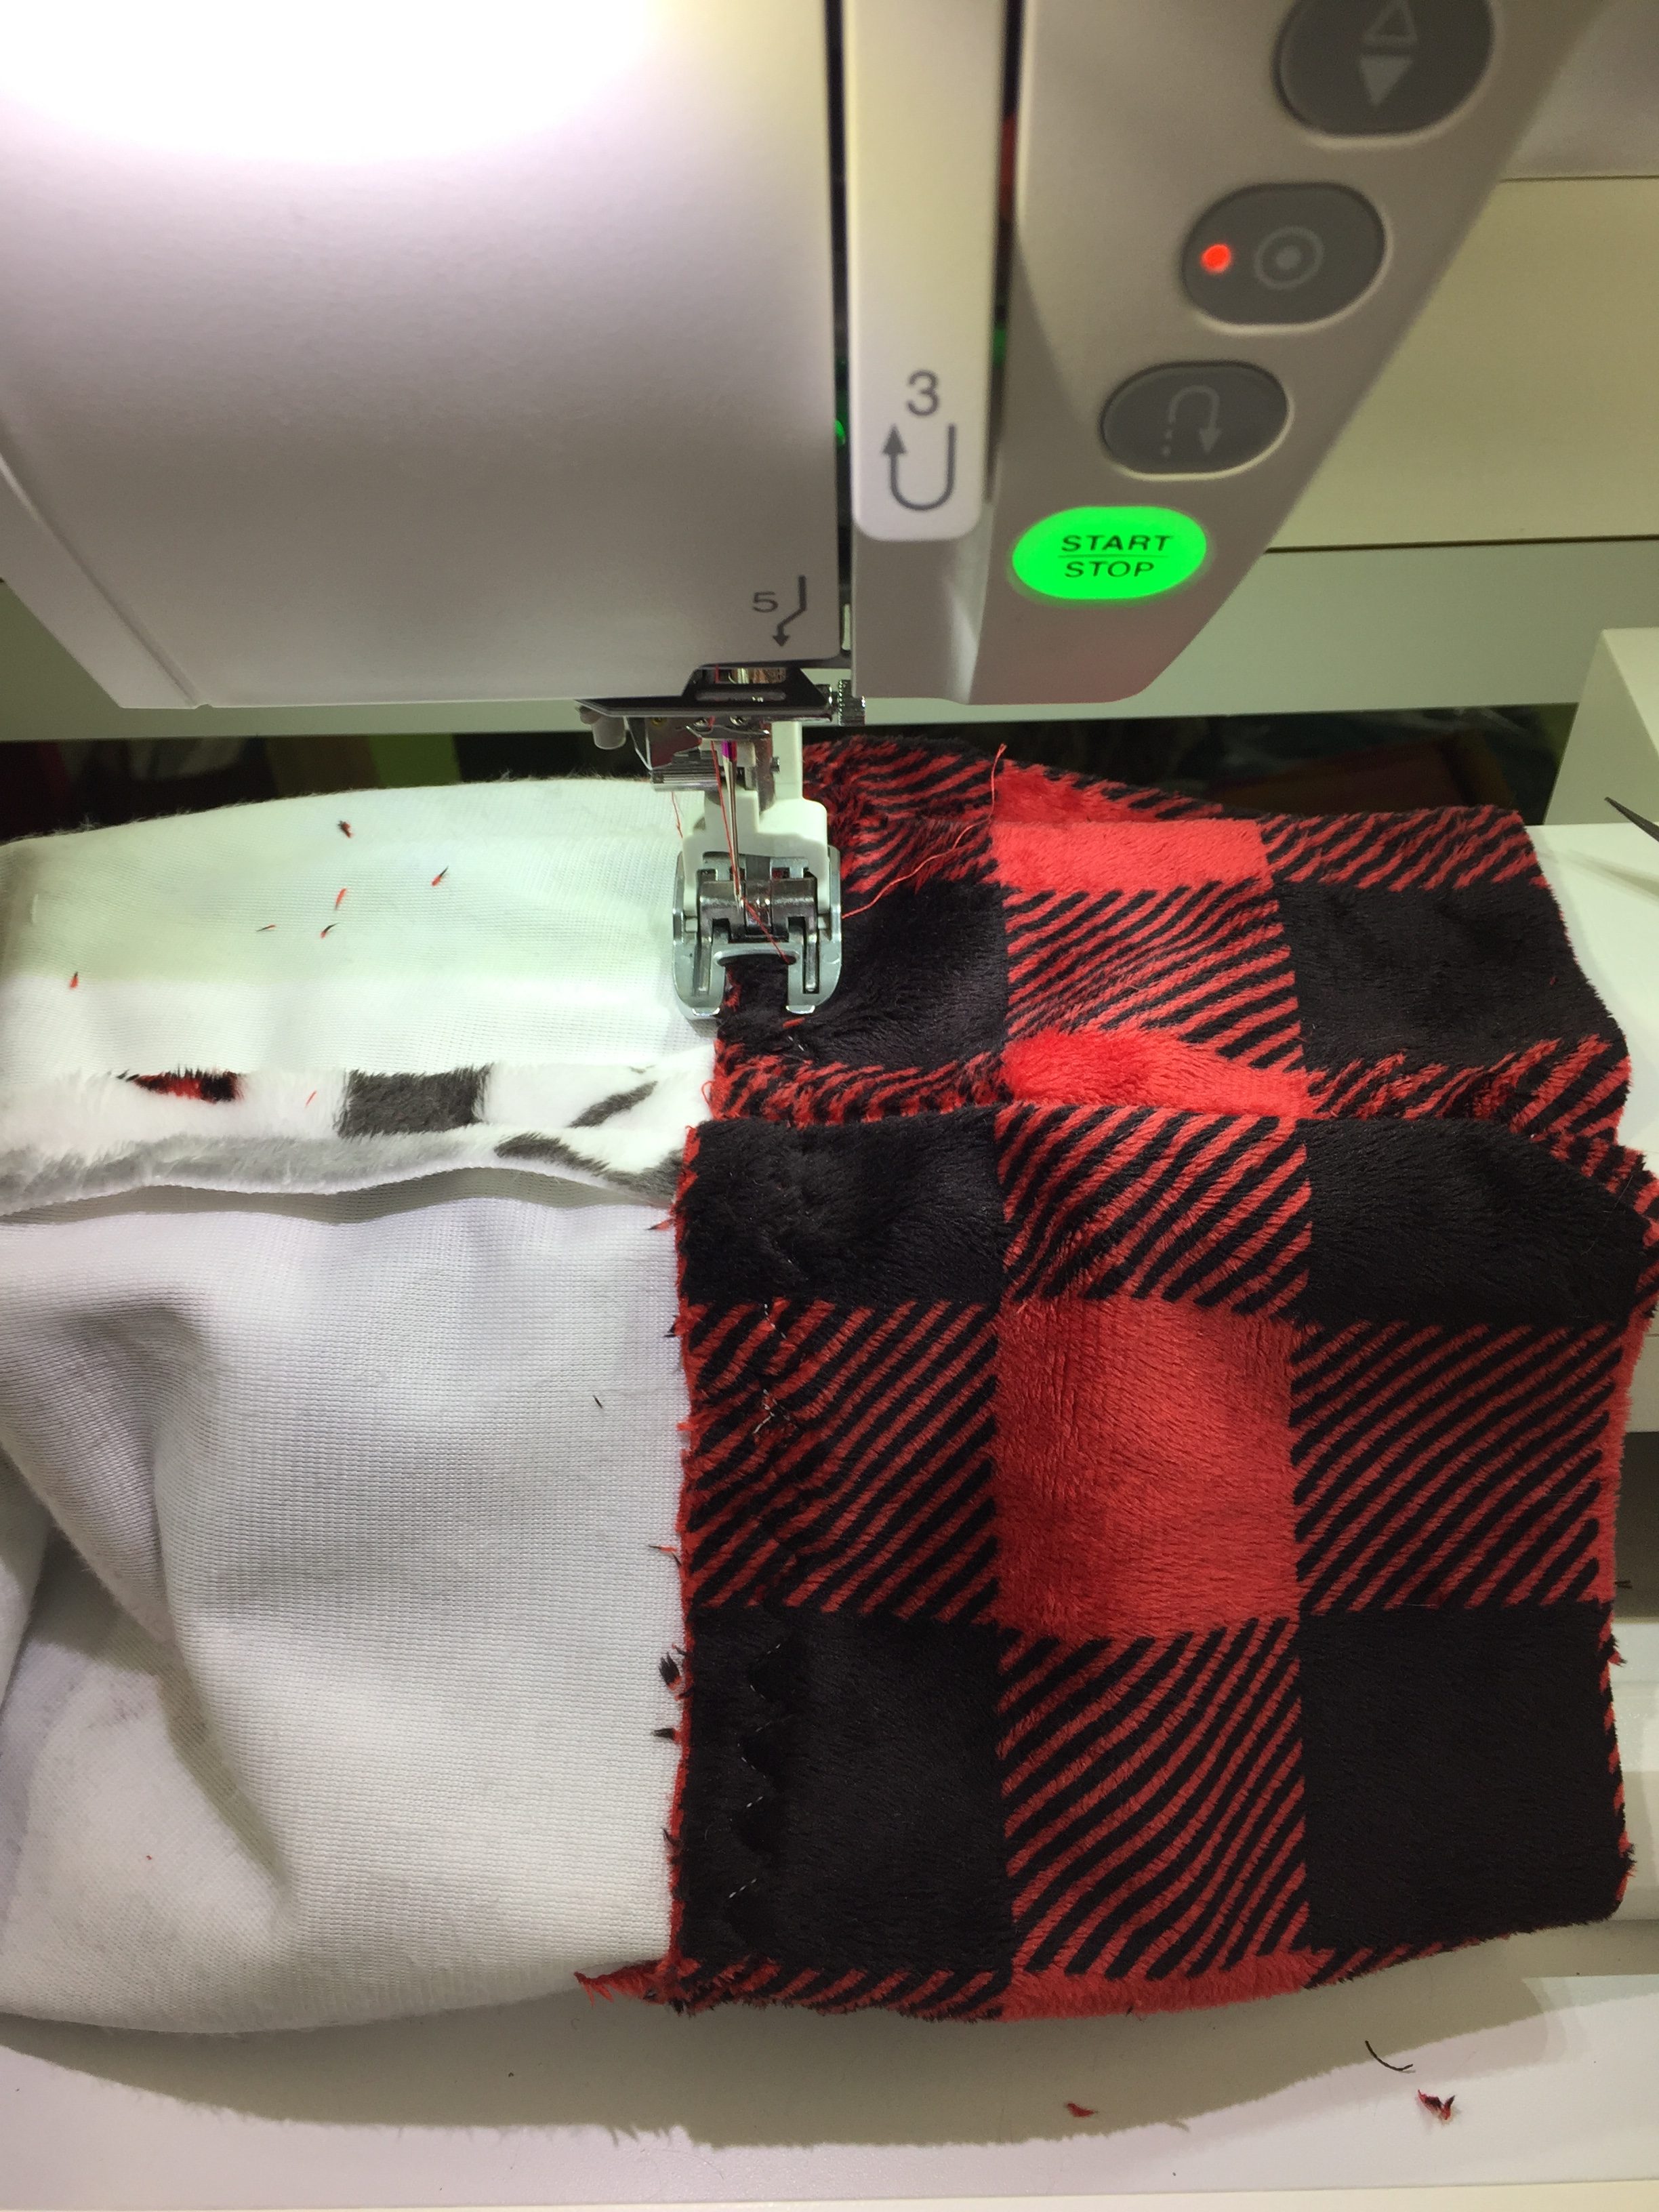
Place the hat band and hat body WRONG sides together, matching the seams and overlapping about ½”. Stitch with a serpentine (wavy multi-stitch), 3-step zigzag or narrow zigzag to secure each raw edge. You will sew two lines of stitching, one on each side of the overlap.
Because the fleece is thick, and because I wanted the soft part next to my forehead, I didn’t use a typical garment seam. Instead, I overlapped the two fabrics, wrong sides together, and sewed them with a serpentine stitch. I did this twice, on either side, so I would catch both edges of the overlap.
Sewing the other side of the band
I then turned the plaid to the outside and brought it up above the seam that joins the top of the hat to the “cuff.”
Turn the hat band to the outside of the hat body and turn up. If you are making a thicker band, turn under about an inch; if you are not making a thicker band, simply fold up. Pin the edge in place; carefully put on the hat. If you want a narrower contrasting band, now is the time to trim or fold under more.
Sew the top edge of the contrasting band using the serpentine / 3-step zigzag / narrow zigzag stitch.
Optional: make some tassels. I used a 1” strip of fleece from the selvedge (leftover from another project) and folded it in half wrong-sides together and sewed with the serpentine stitch. Cut into 9-11” (or thereabouts) lengths. I opted for four strips which I then folded in half.
Turn the hat inside out. Centering the seamline in the center back, pin right sides together.
If using tassels, tuck them into the seam at the corners so that the folded edge is even with the raw edge of the seam. I placed two at each corner.
Sew the seam using a narrow zigzag.
Tip: sew from the center to the outside edge, pivot at the end and sew back to the center about ½.” Repeat from the center to the other end. This is easier than sewing all the way across beginning at the bulky outside edge.
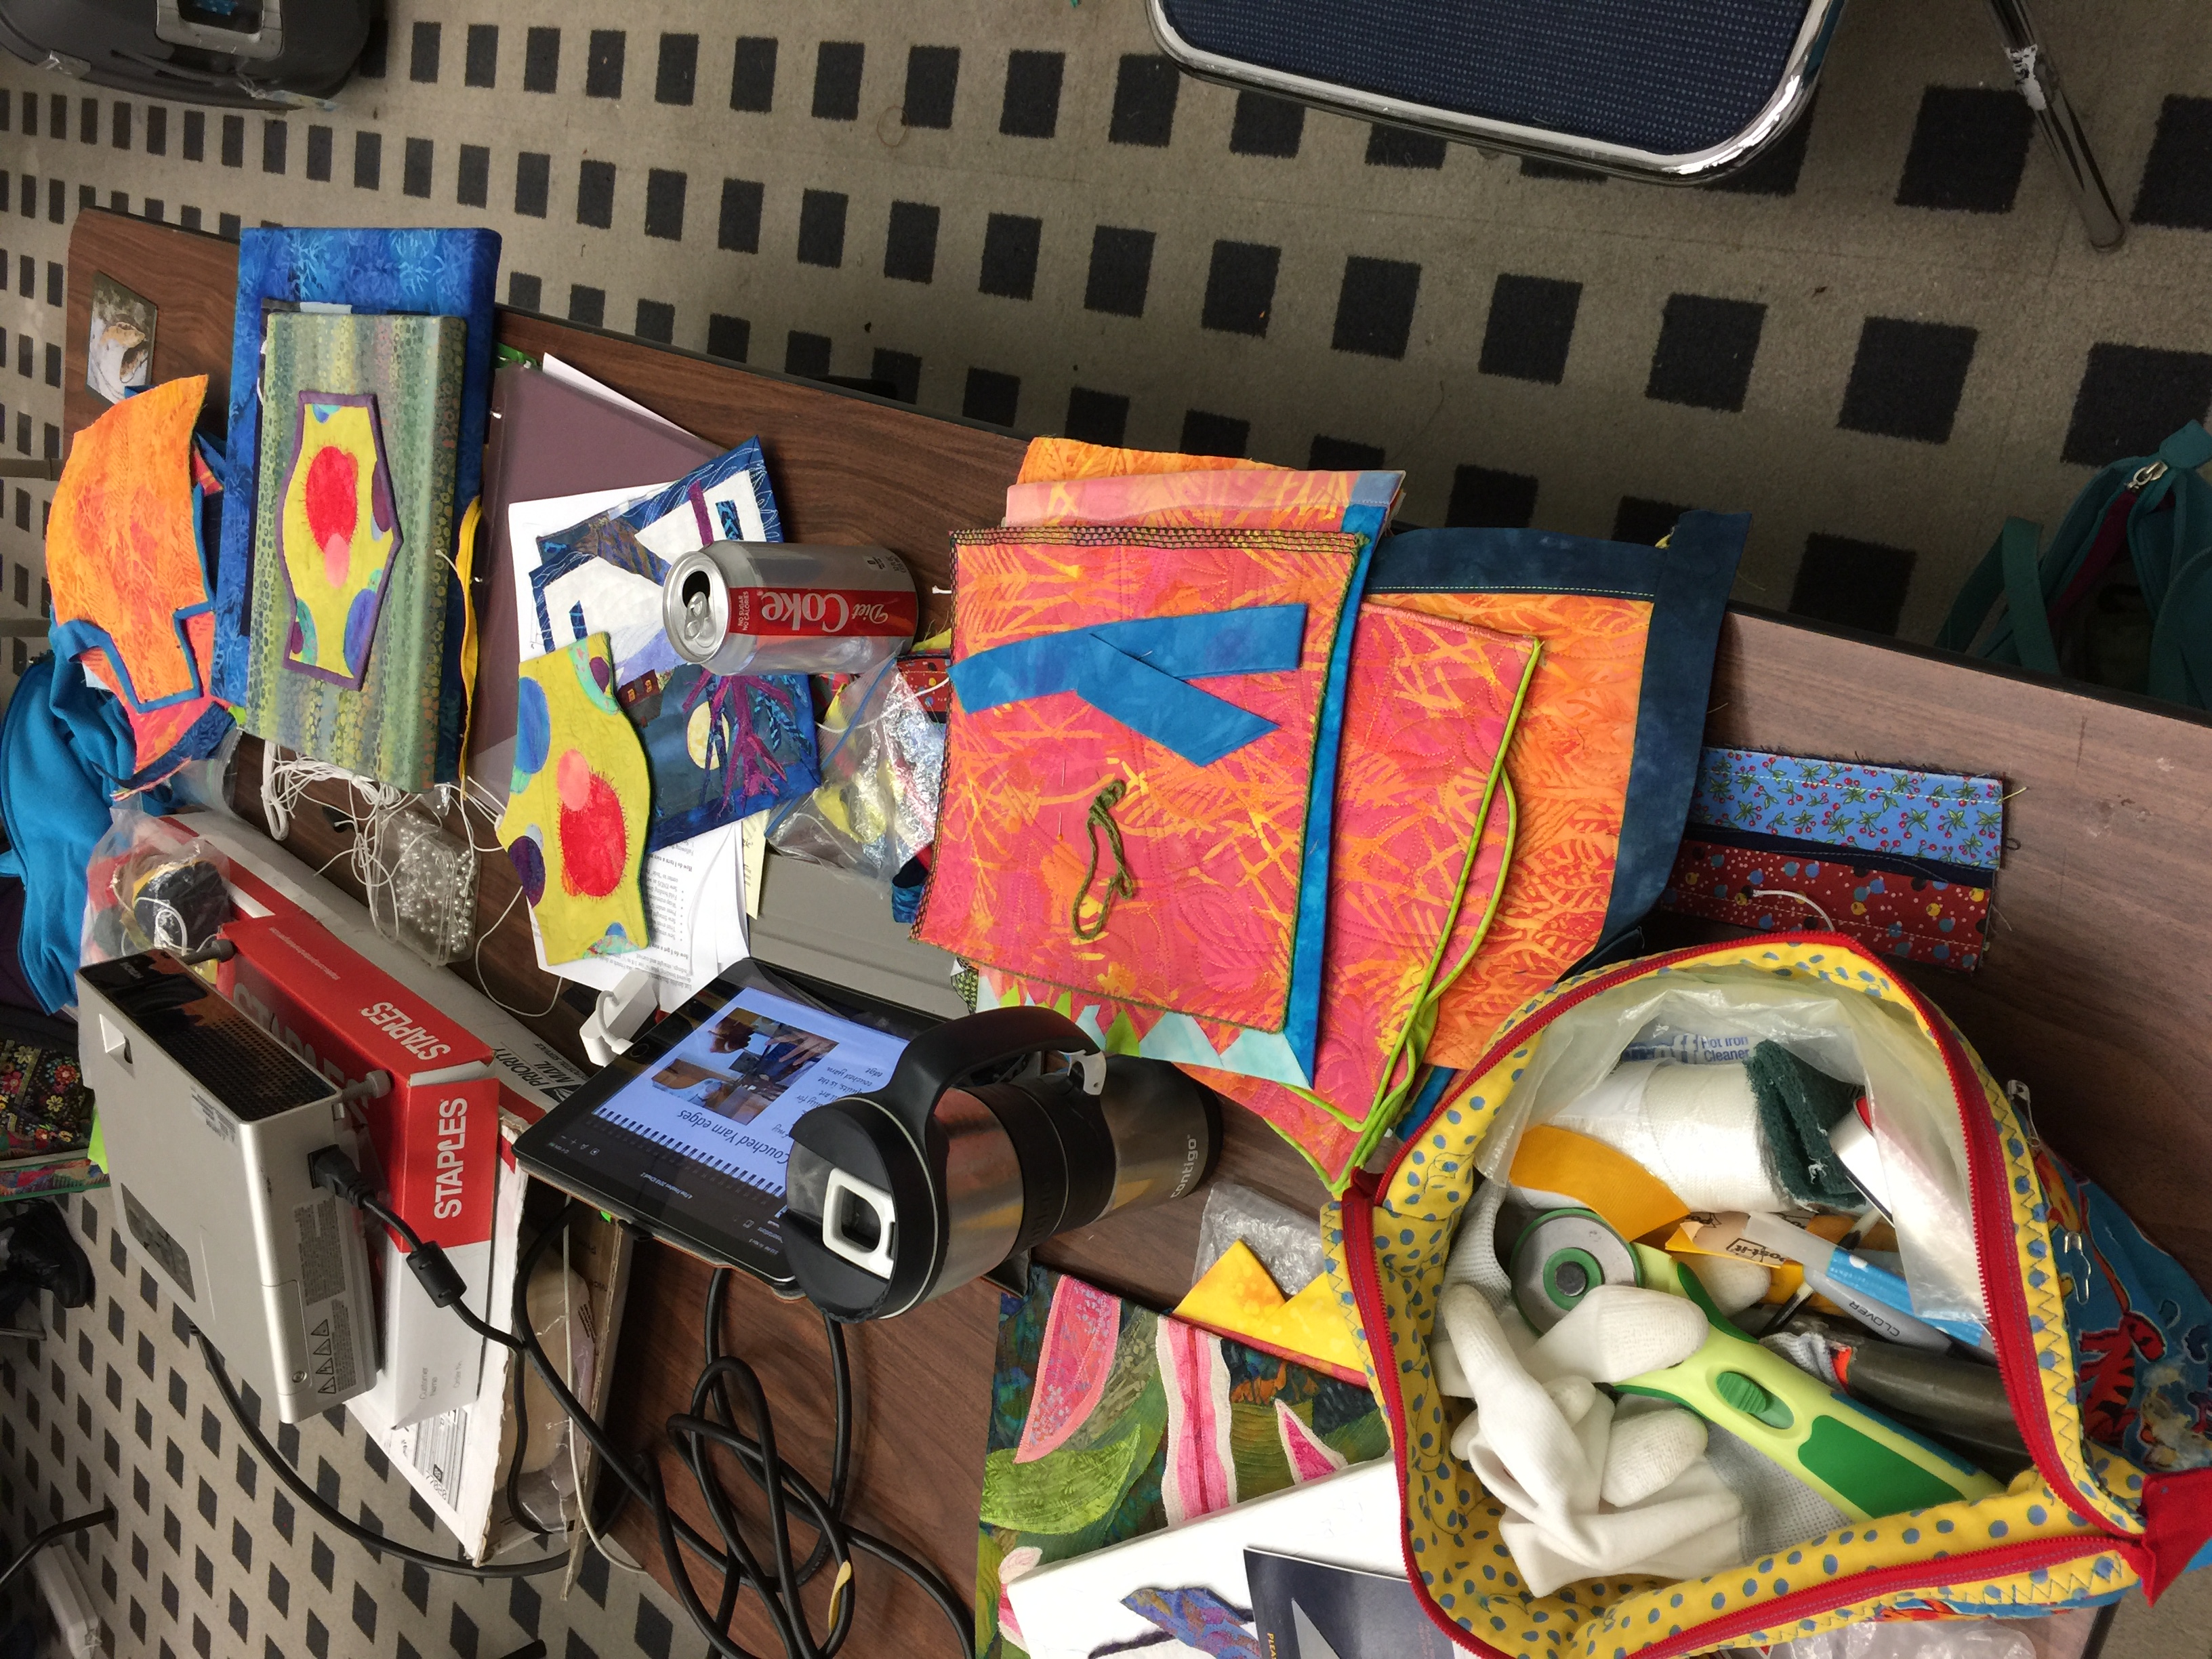
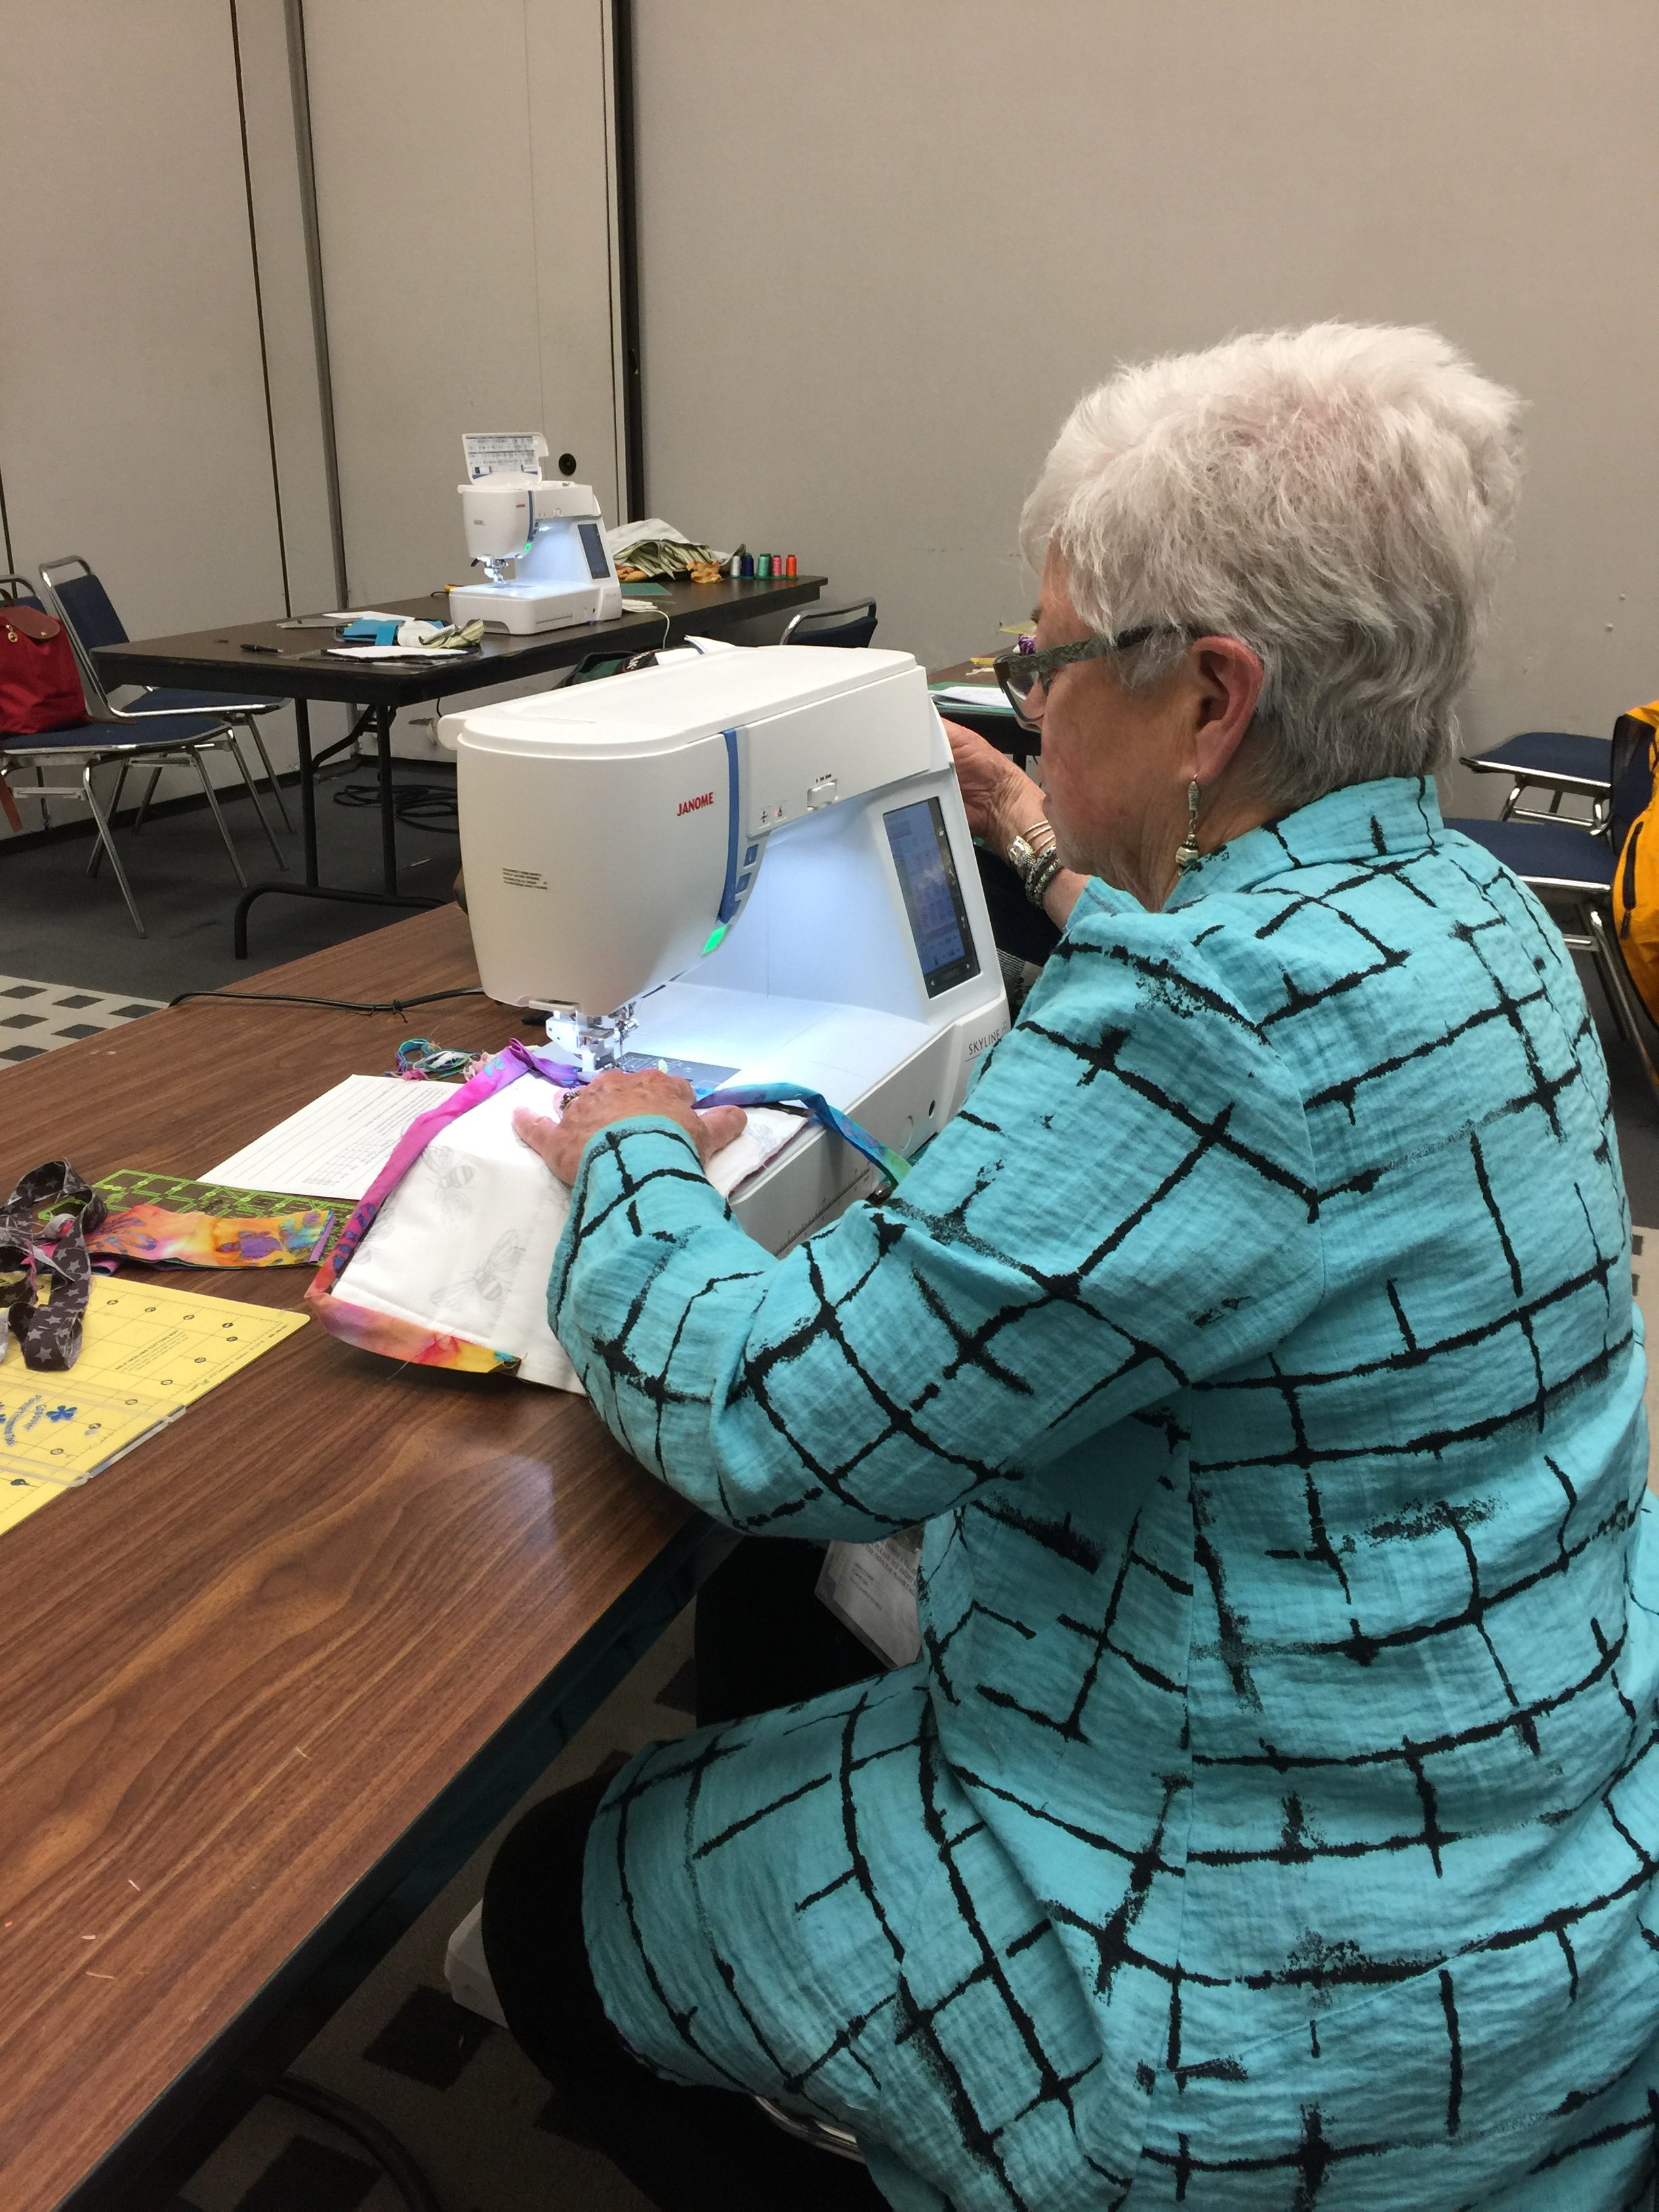
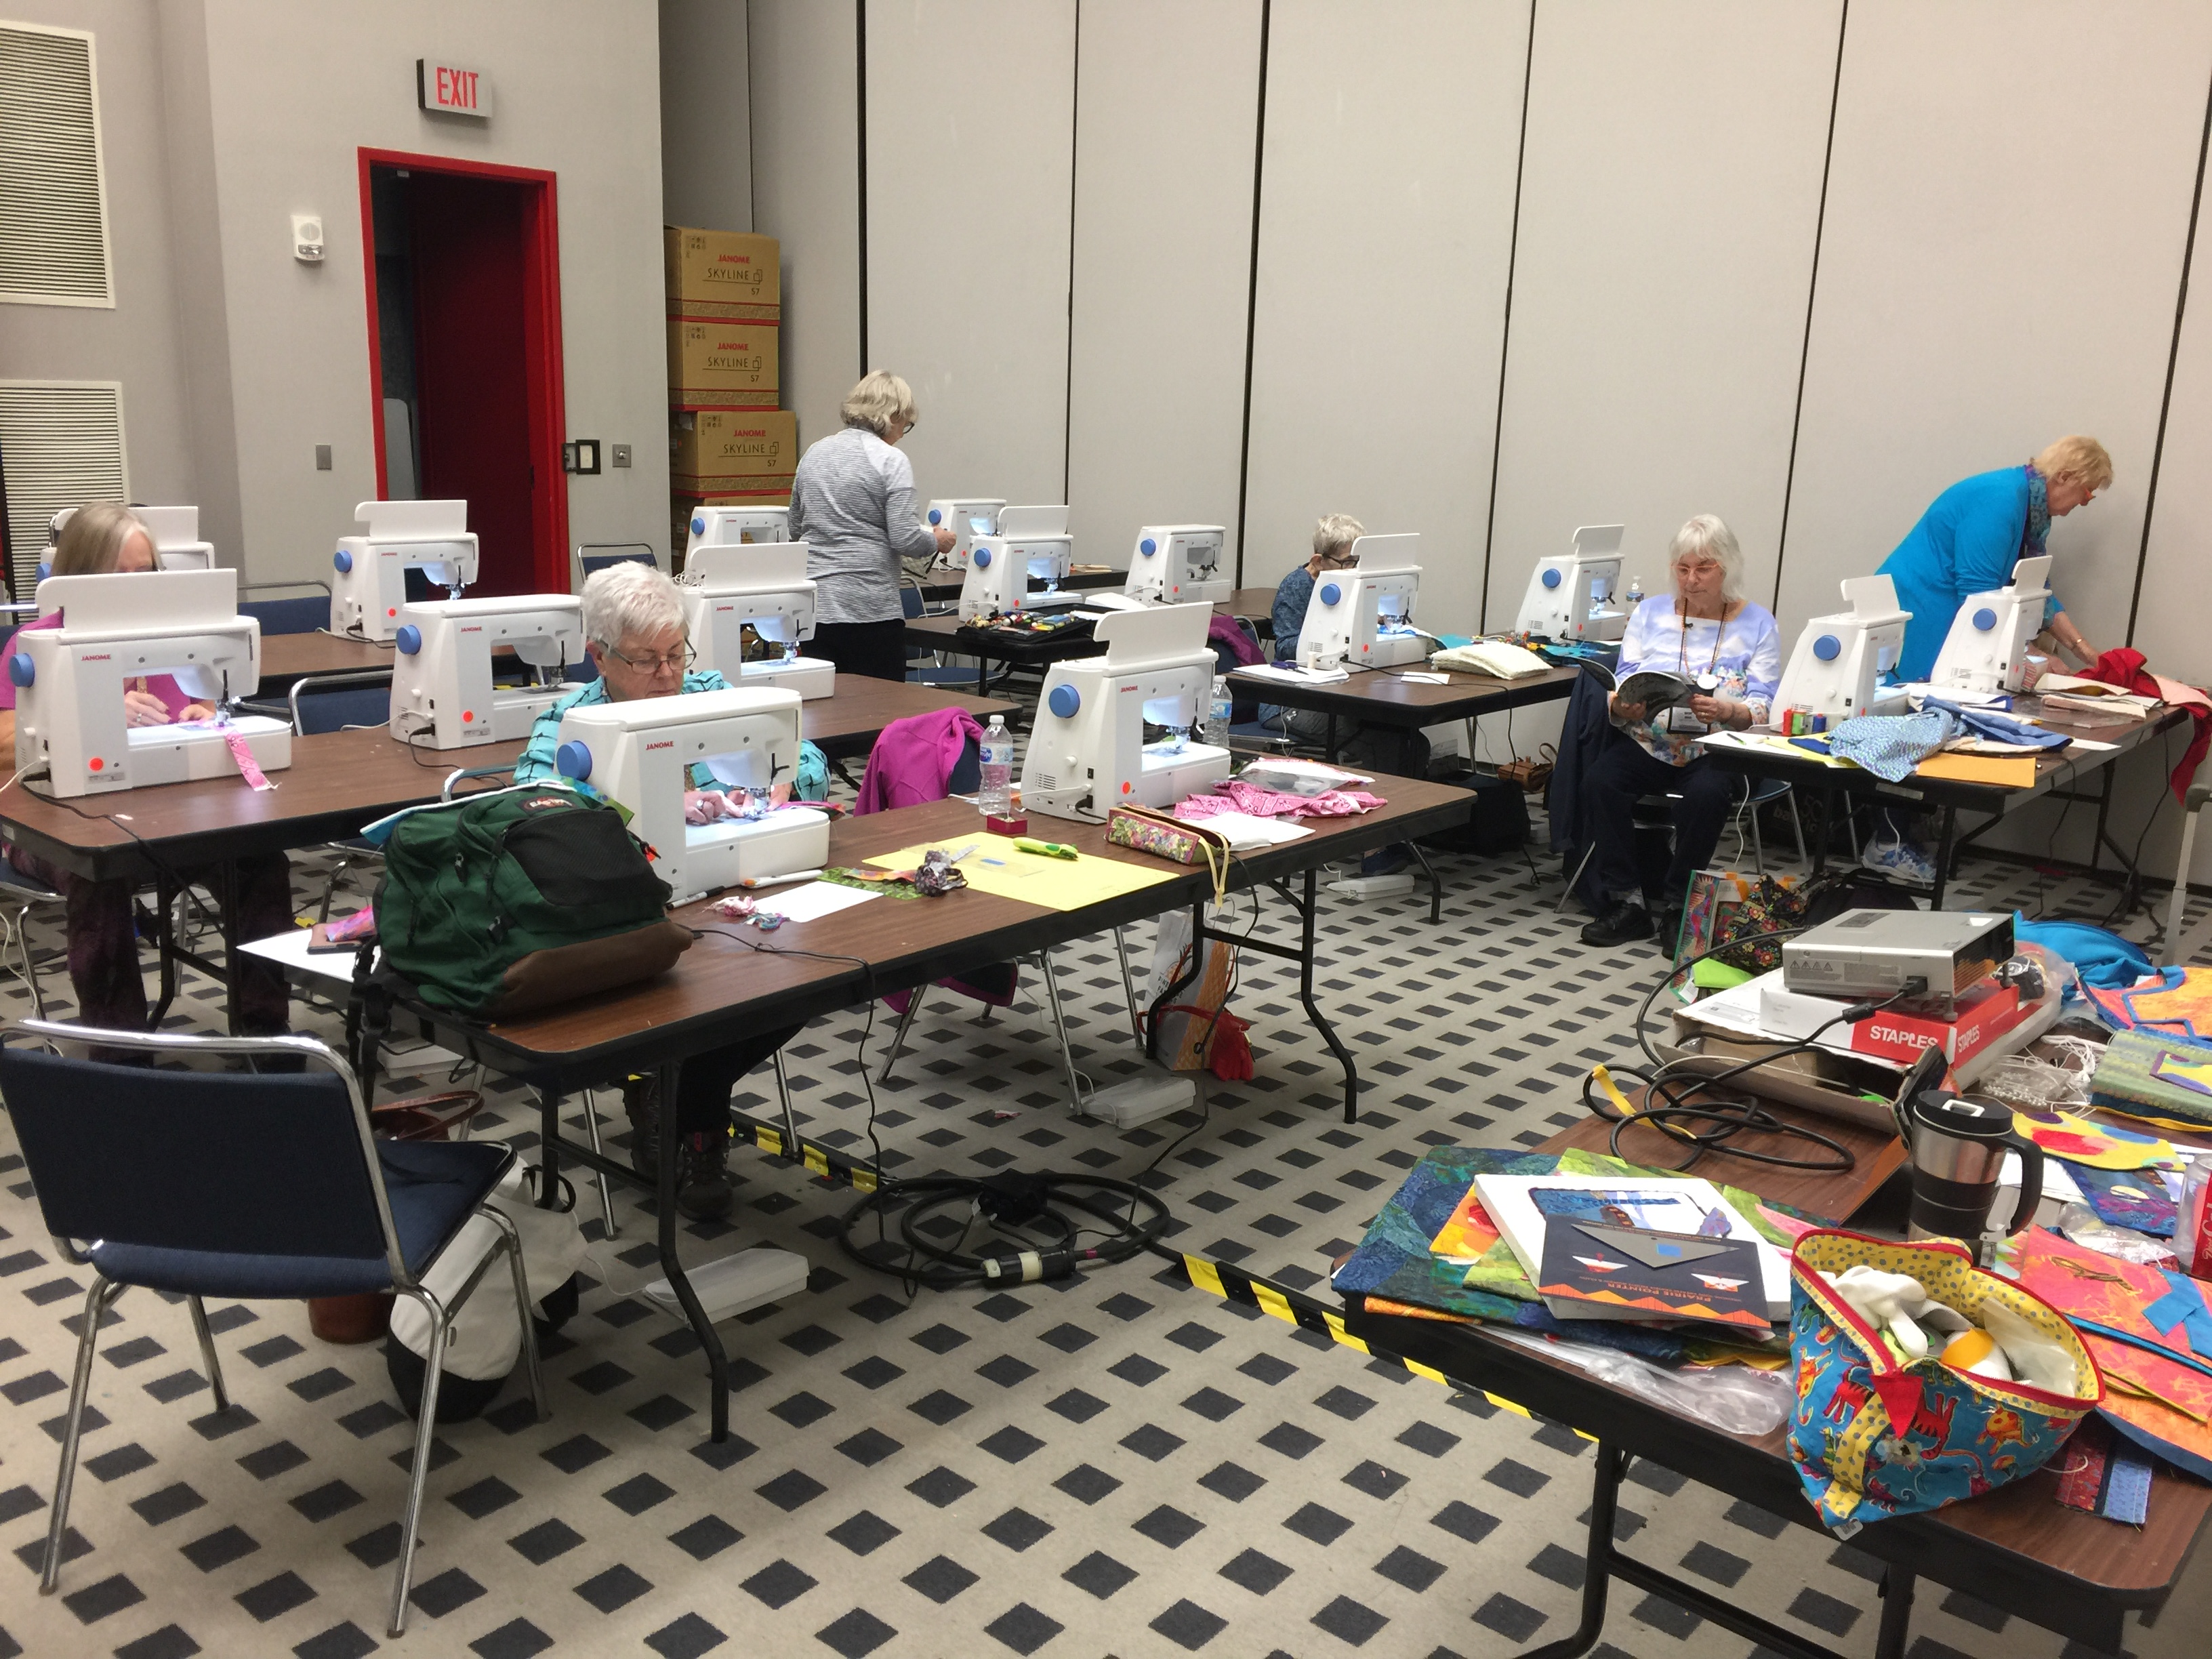
Bindings and Pipings and Facings, Oh My! class in Houston 2018: Truth in teaching: this is usually what my teacher’s table looks like: a hot mess!
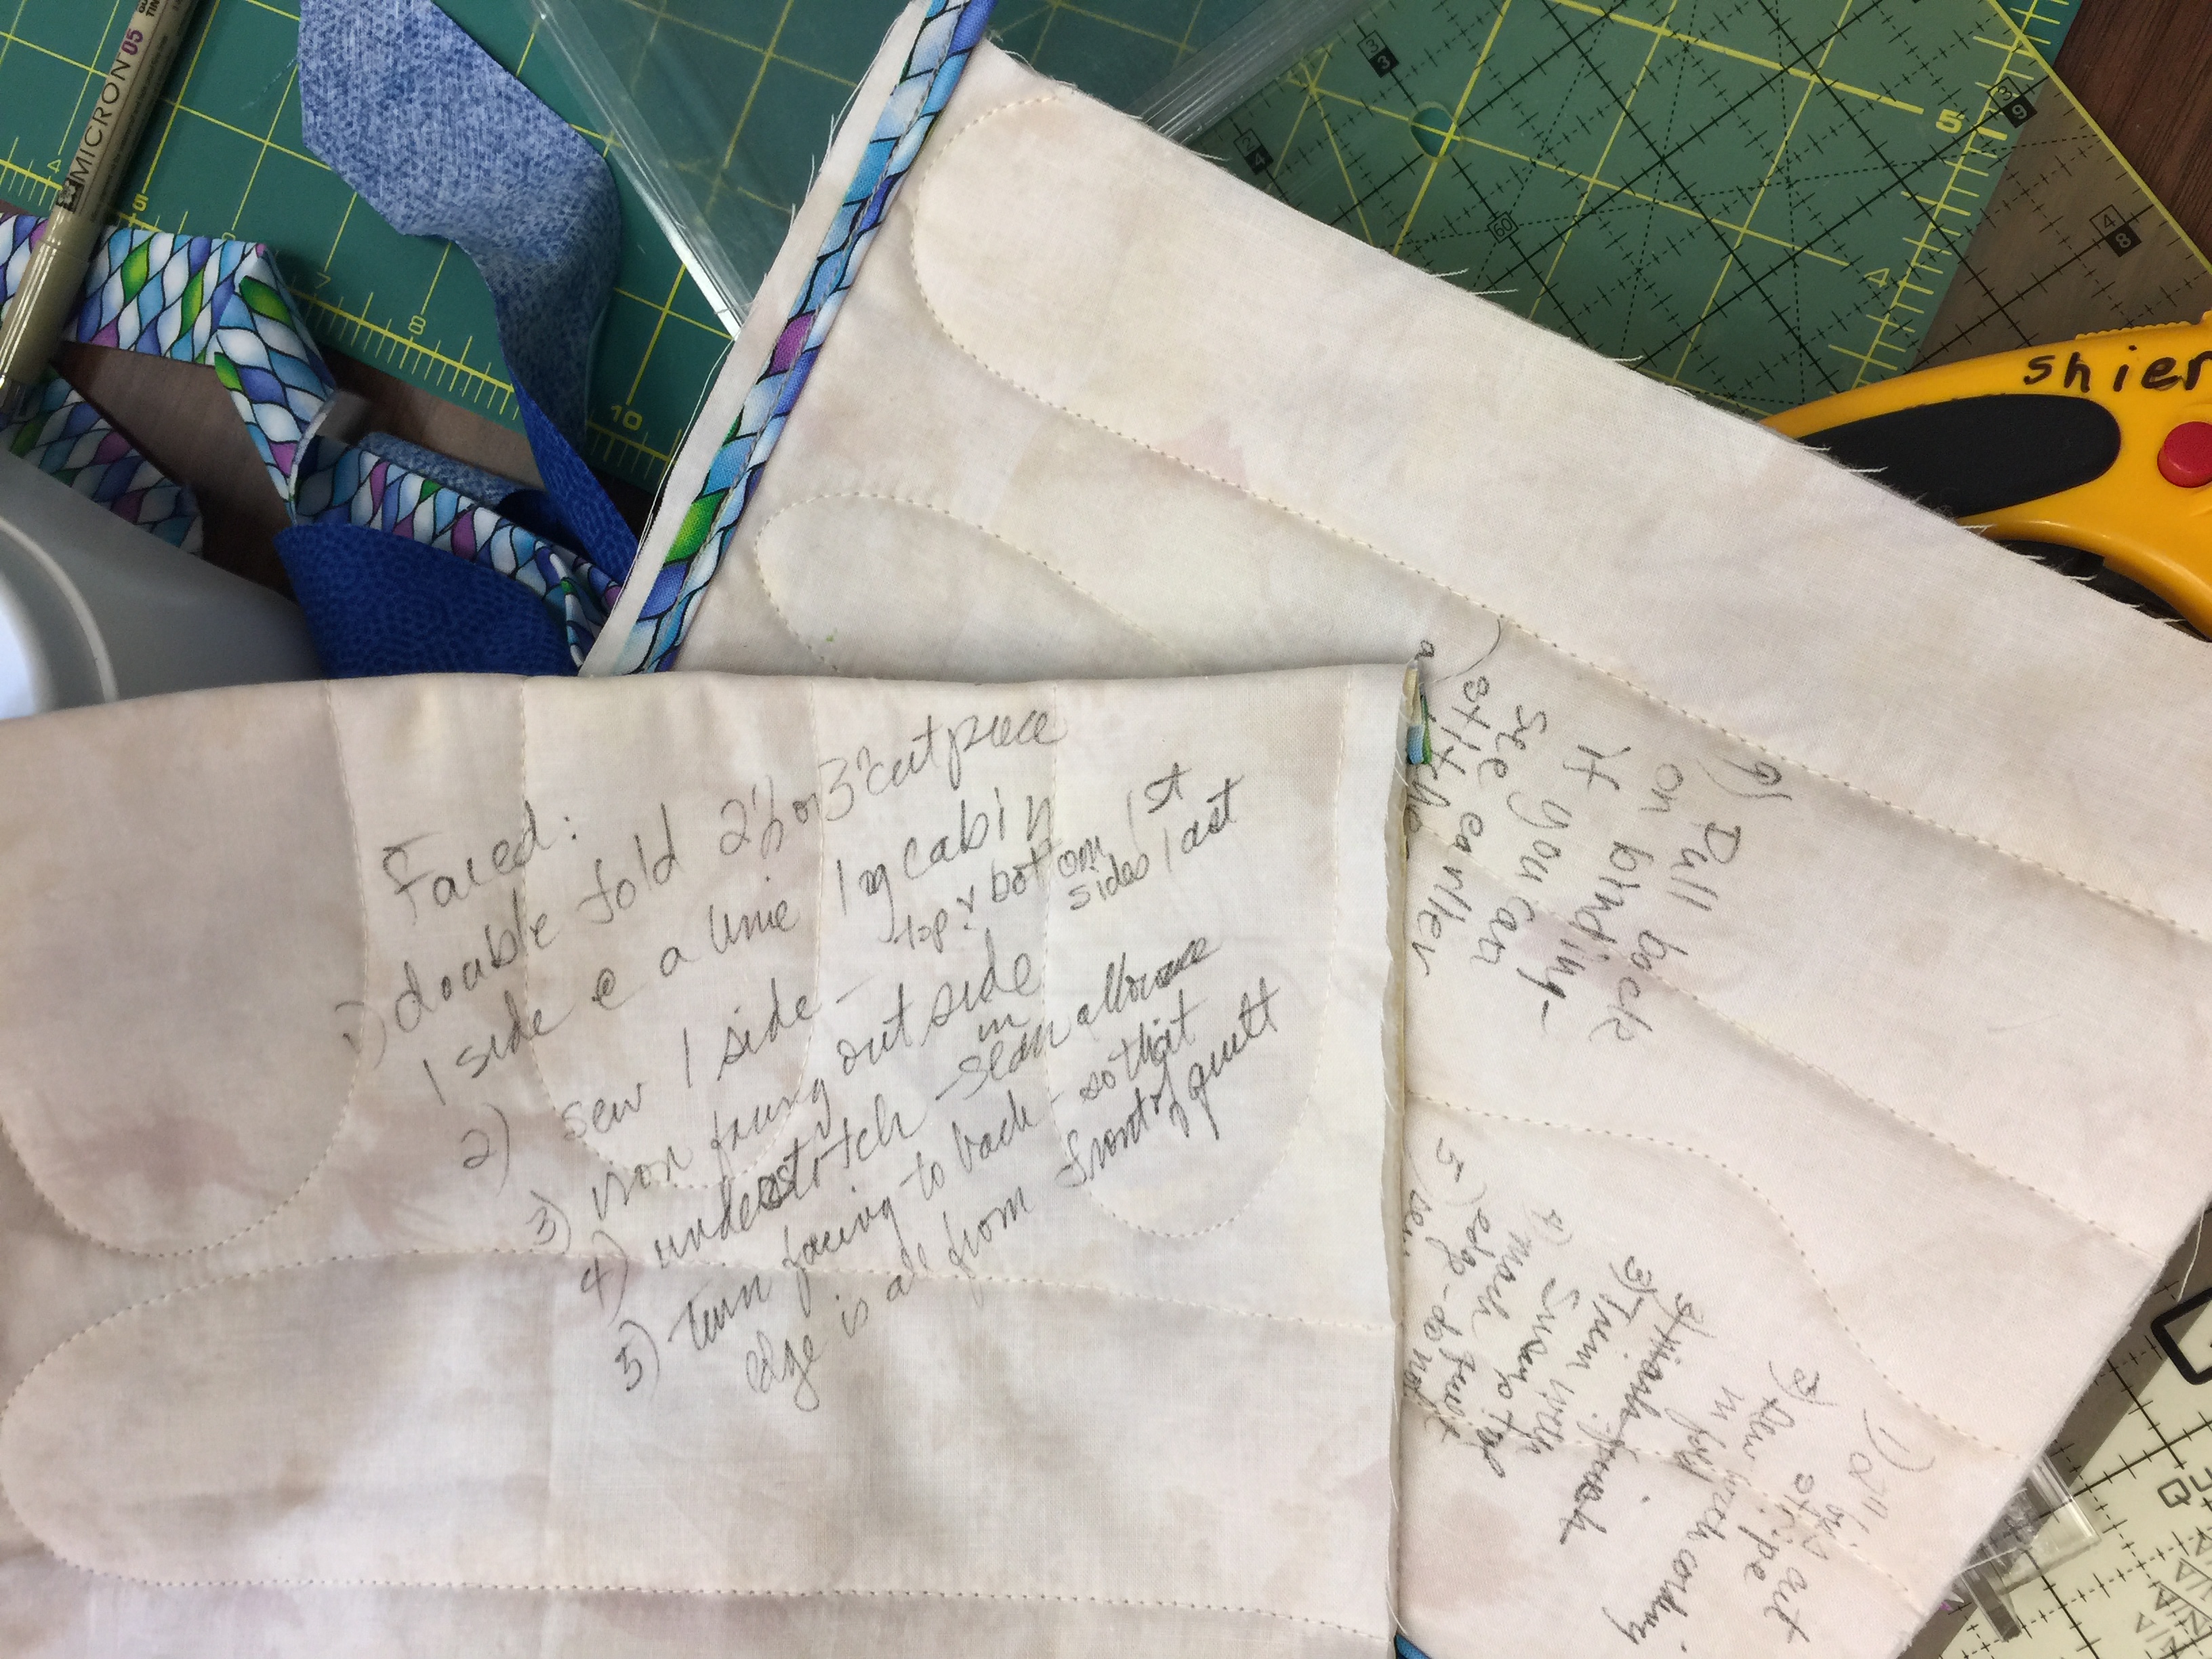
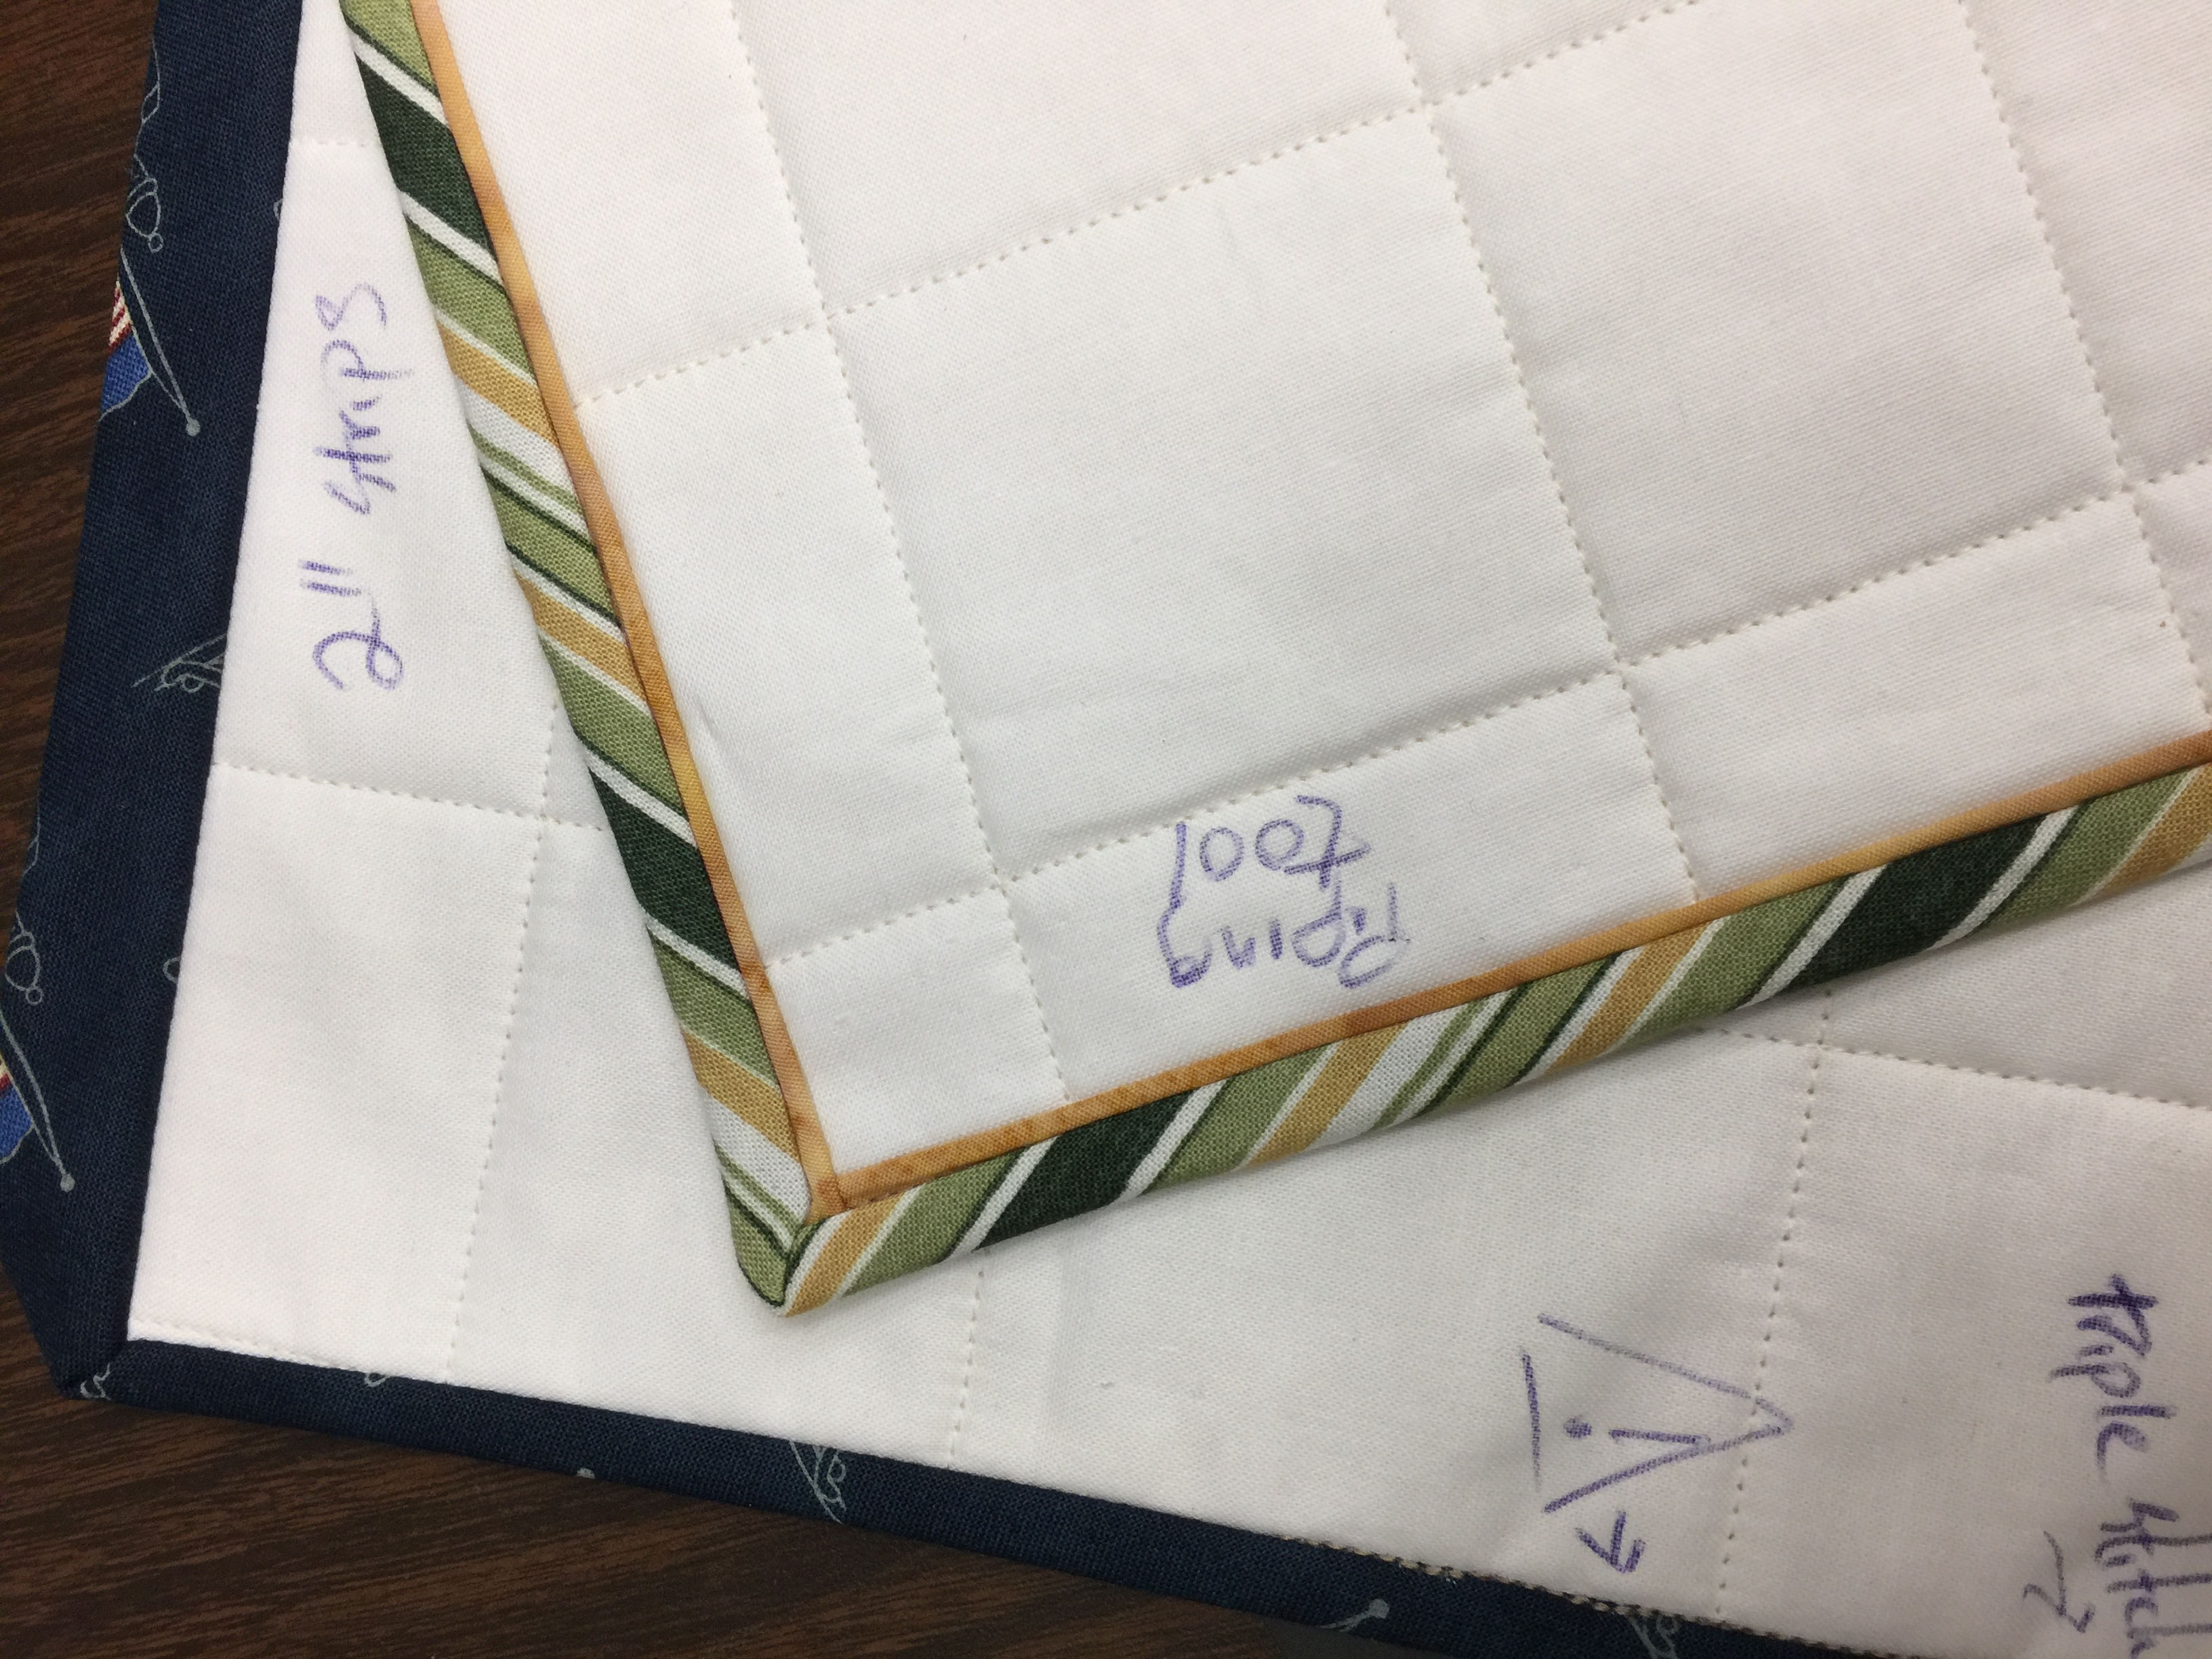
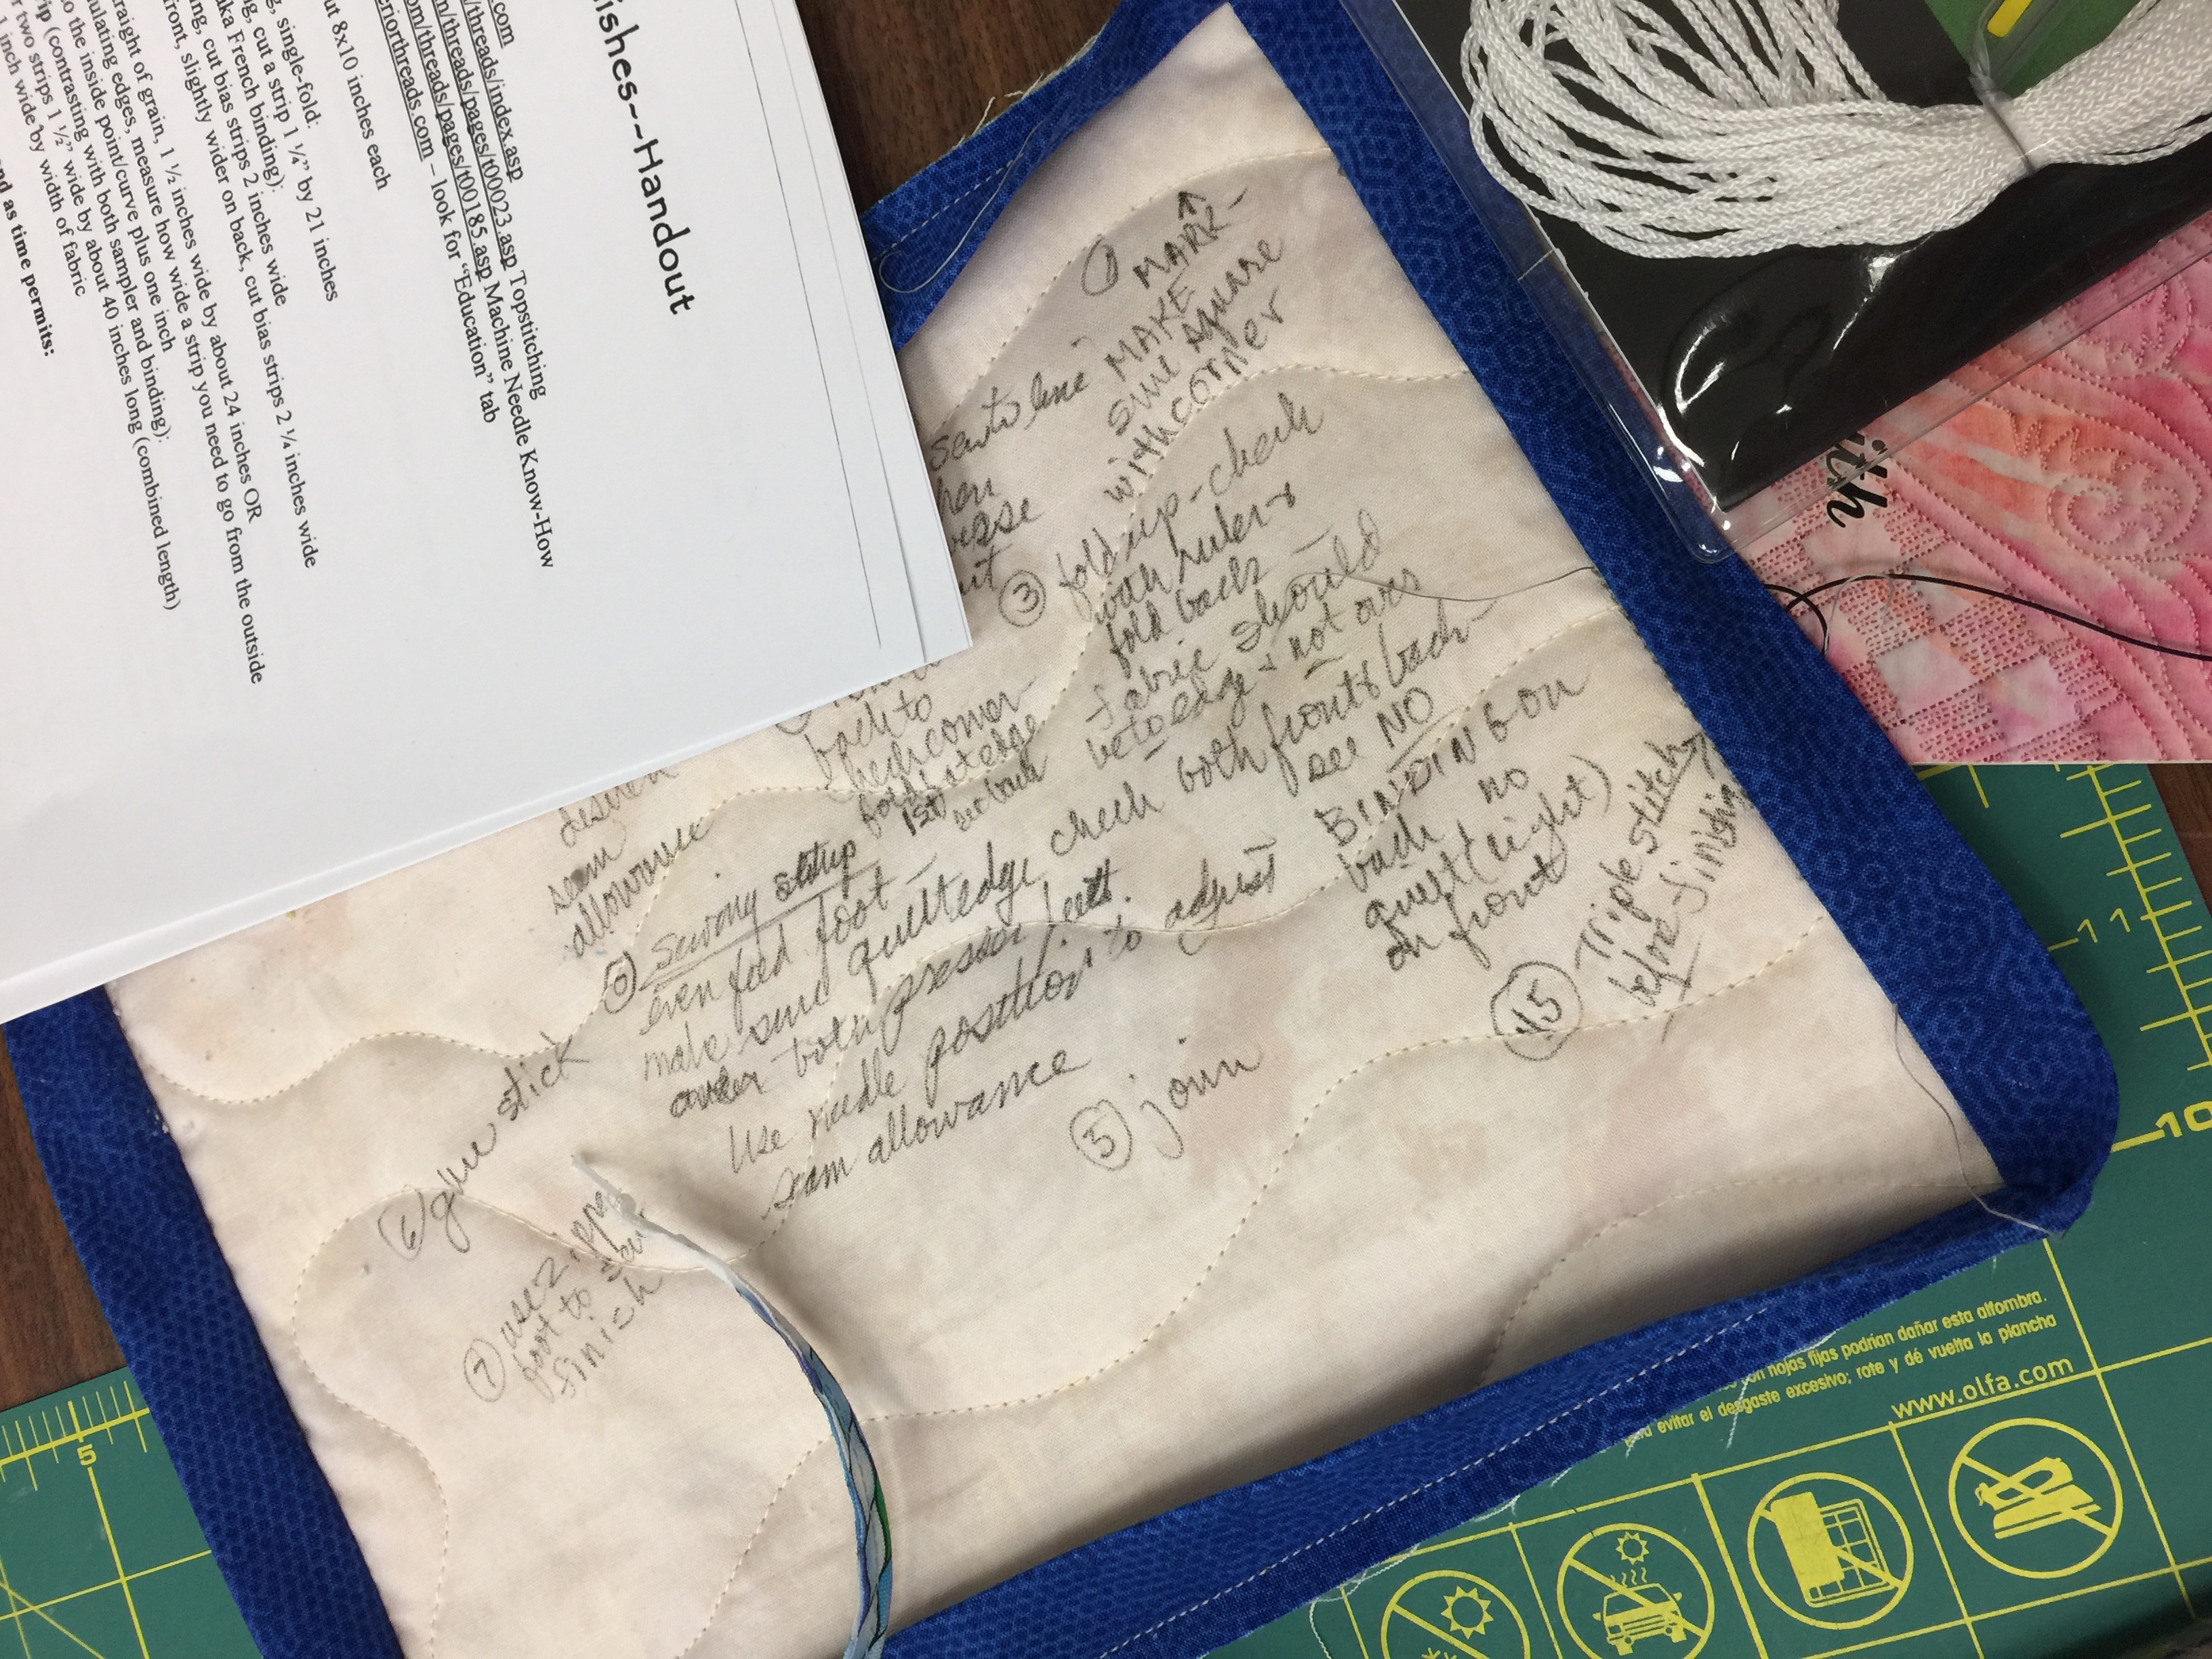
I LOVE teaching this class! I LOVE that EVERYONE gets how to achieve a perfect mitered corner no matter what width your binding! I LOVE showing students how to use Susan K. Cleveland’s Piping Hot Binding tool–students come into class thinking “I’ll try it but don’t think I’ll ever use it” and leave with the tool in hand planning how they CAN use it because it rocks! Then I teach my perfect facings for art quilts which by the way is also how you can do perfect prairie point “bindings” etc. I LOVE that this class has something for everyone: traditional, modern, art, contemporary, whatever you do, it works. I also LOVED that this class more than any I have ever taught immediately embraced the idea of taking notes ON their class samples: that way the notes don’t get lost, what you need to remember about how YOU sew and what to do to improve is right there on the sample.
YES! They got it! Put the notes ON the sample to remember how to get is JUST right!
One older quilter in the class was BEAMING when she left–she was so delighted as she had never done a corner, let alone a piped corner, this good. I think I will remember her smile forever–THIS is why I teach this class!
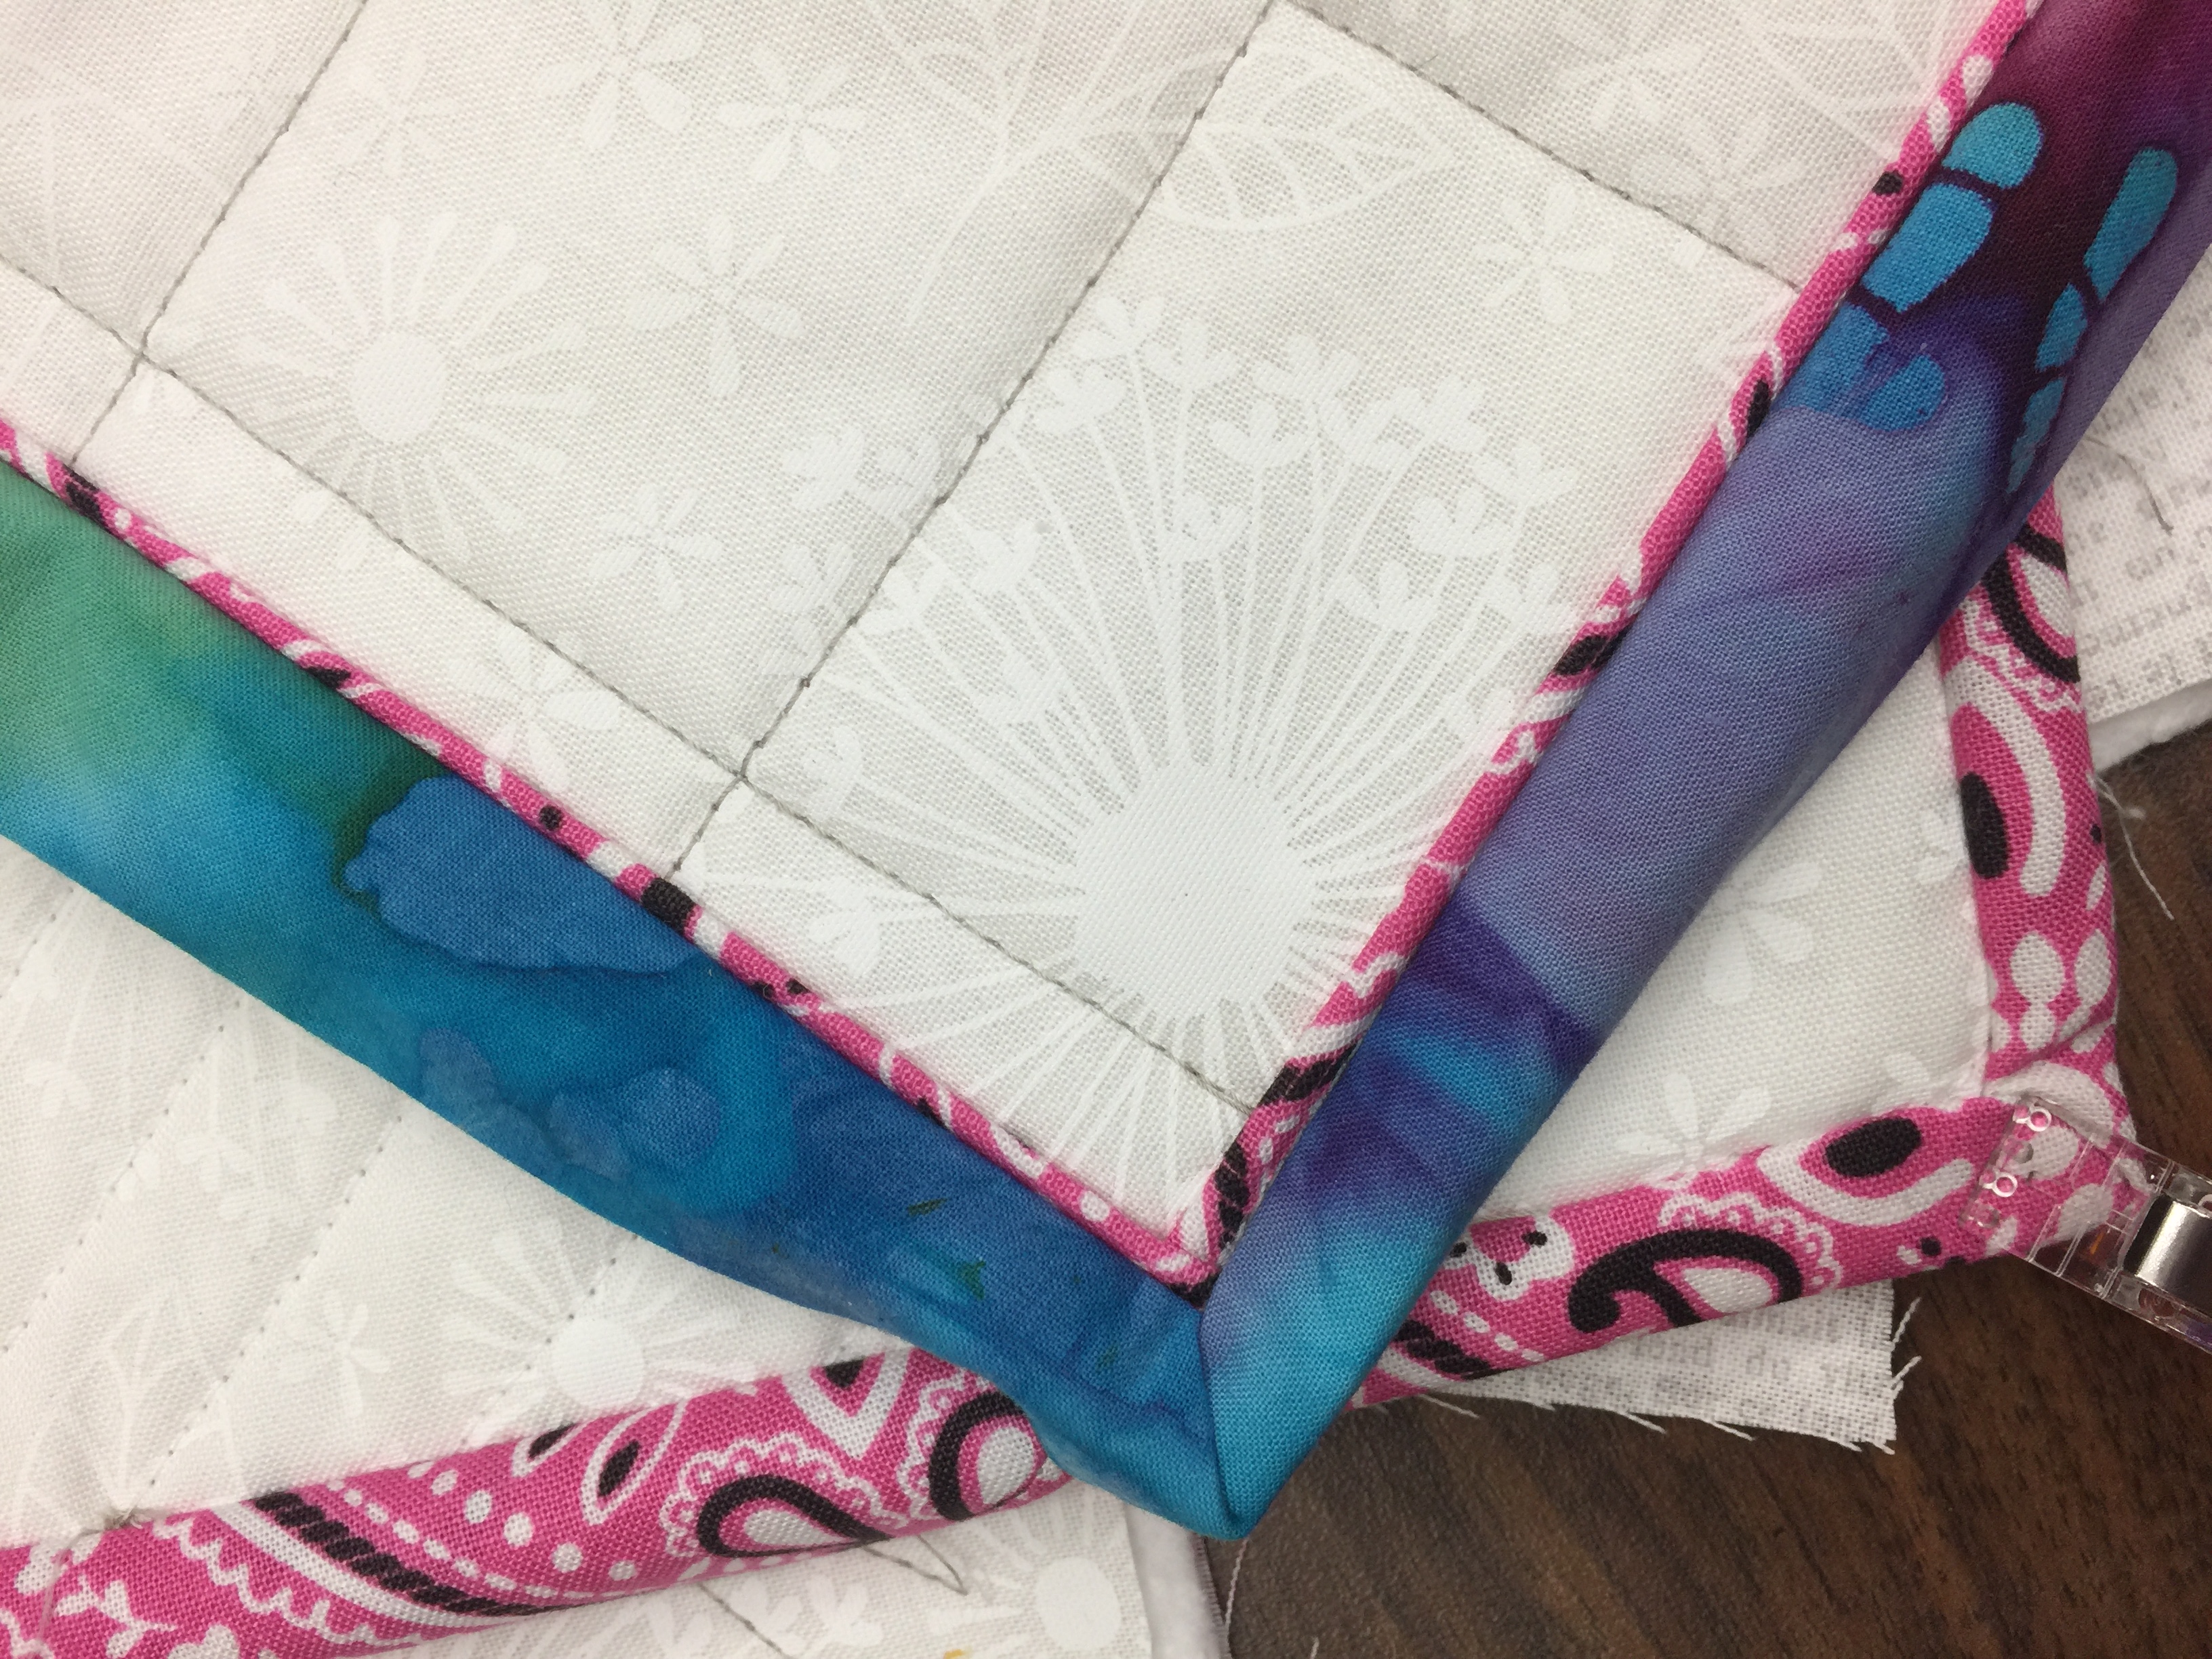
Doesn’t the pink bandana fabric look great as piping?
More notes, during the “perfect corners” part of the class in the morning
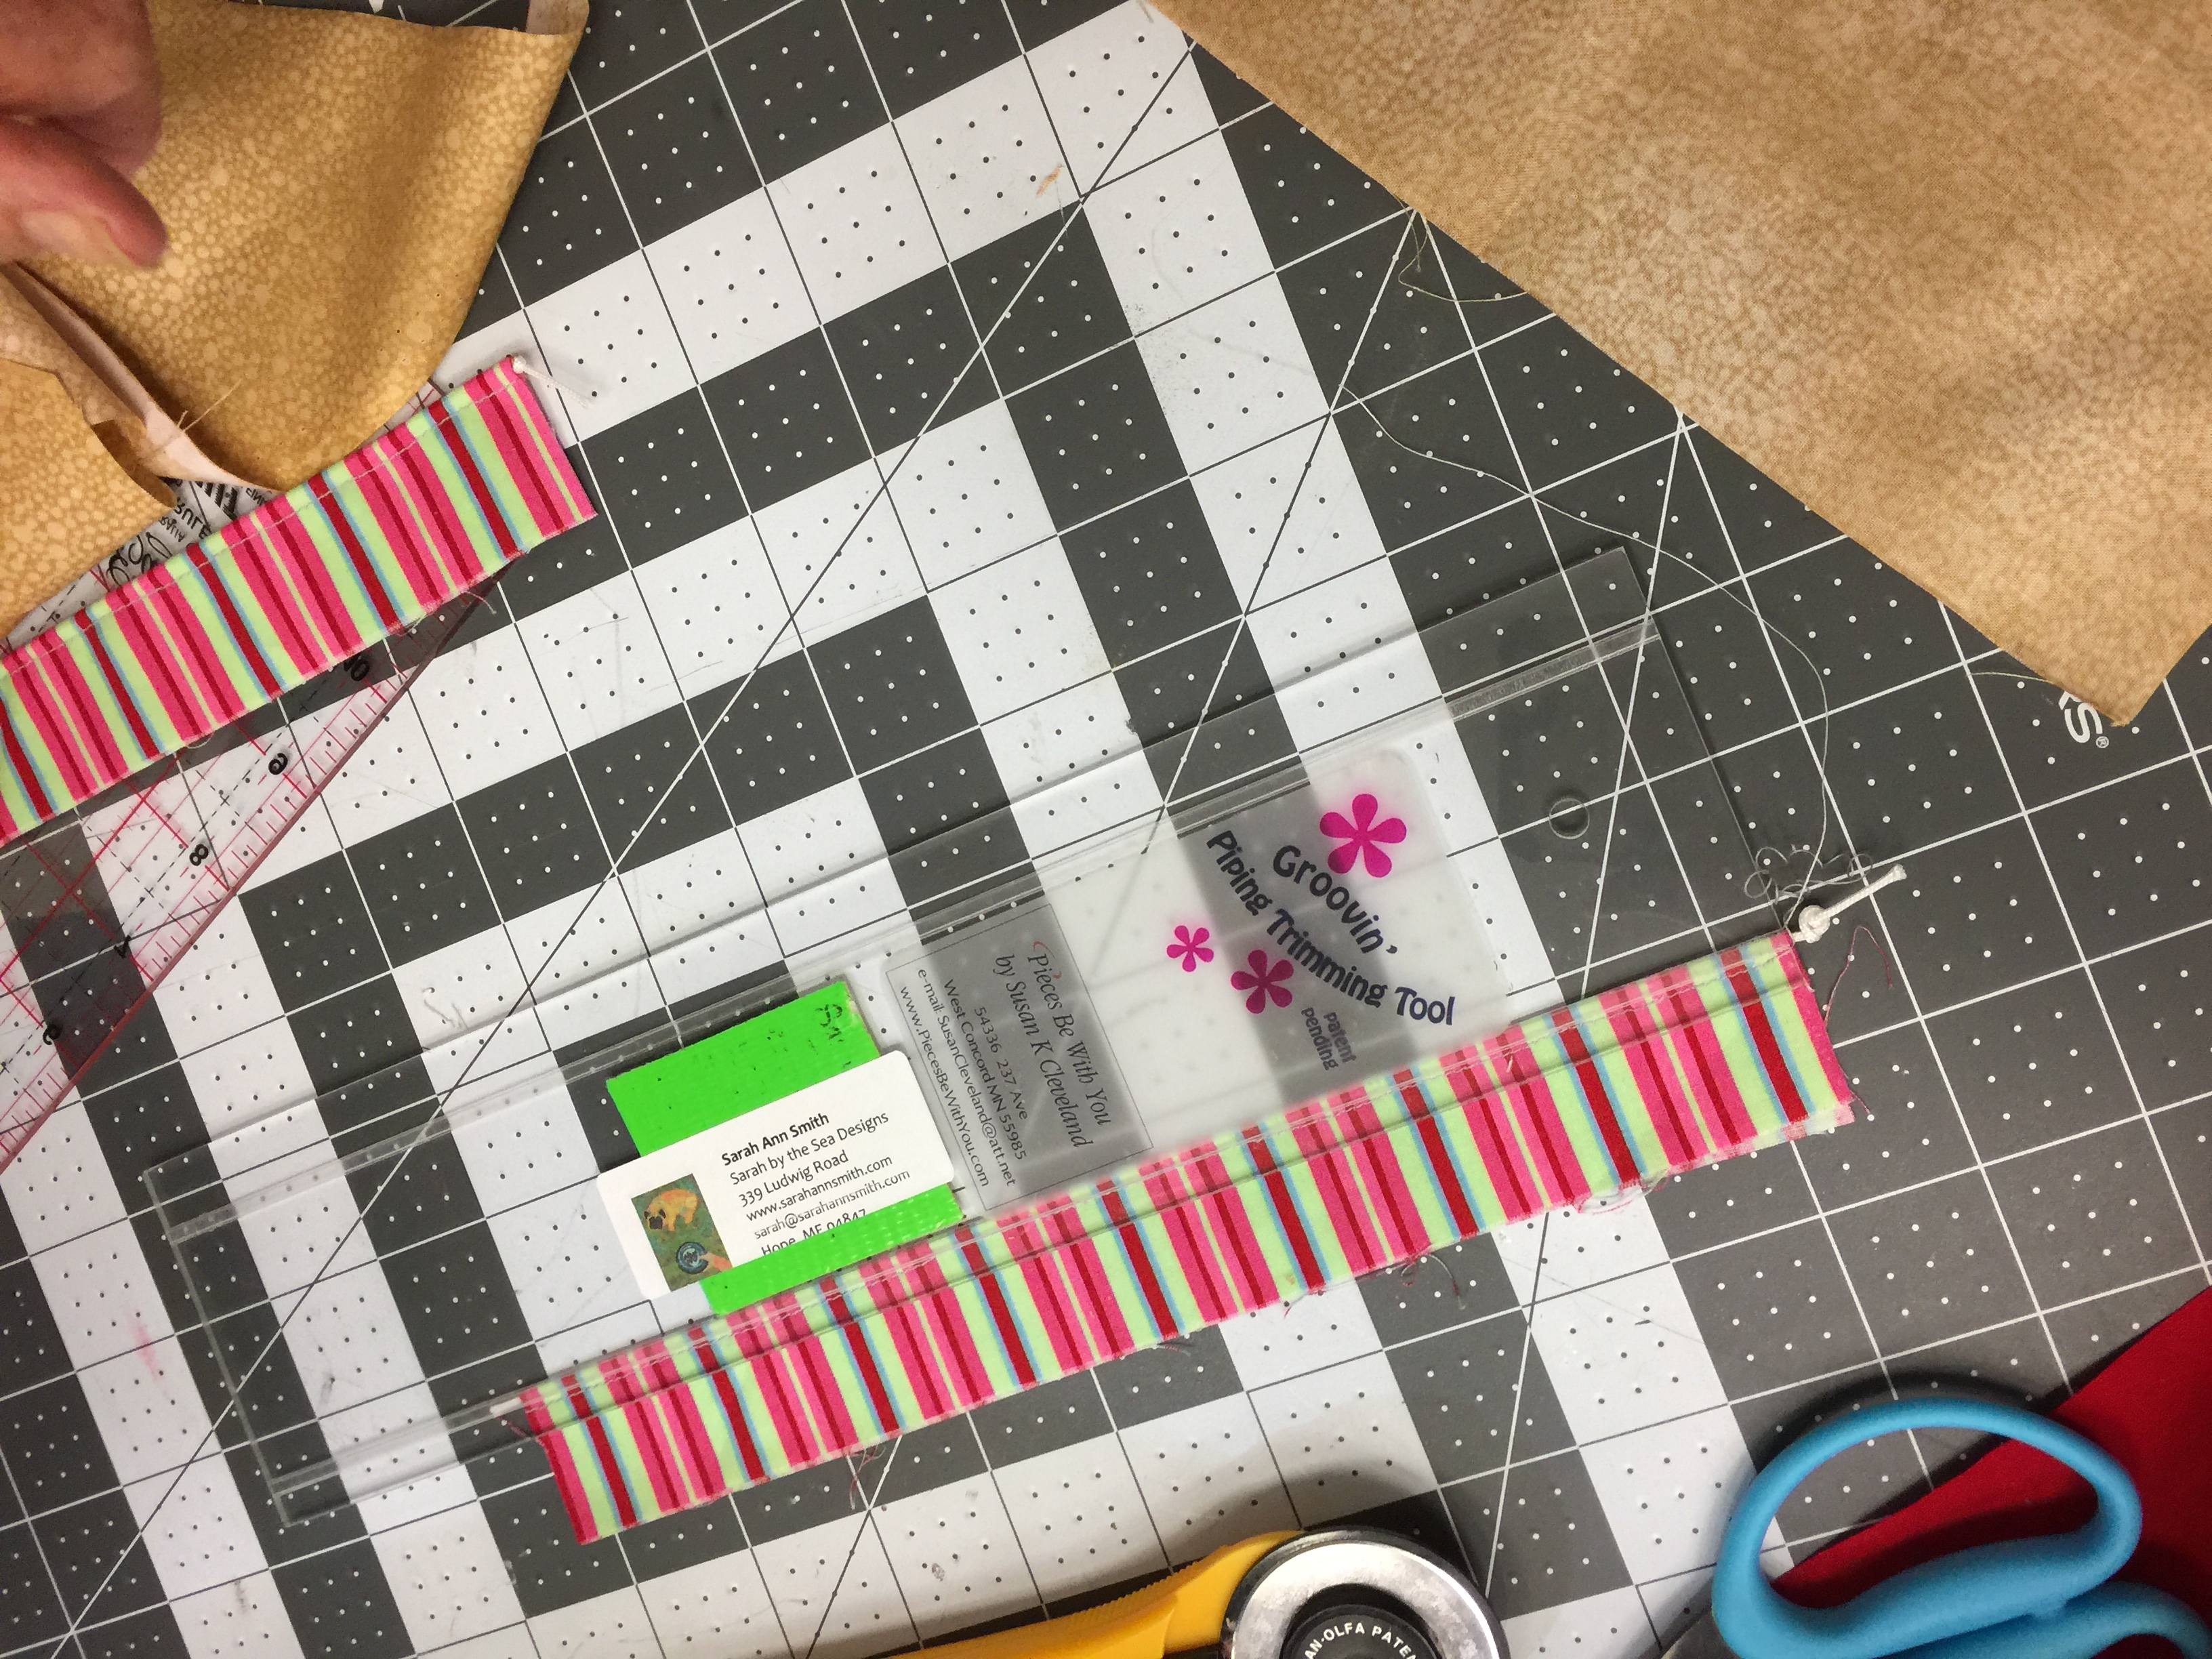
Midday/right after lunch we get to the piping (do the precise and time-consuming stuff first). LOVE Susan K. Cleveland’s Piping Hot Bindings tool. Available here. It may be available at larger online sites, but I like buying things direct from the creator–Susan’s website is Pieces be With You (in the link). I wrote my own instructions for the class handouts (without looking at Susan’s), but her more in depth instructions are worth every penny!
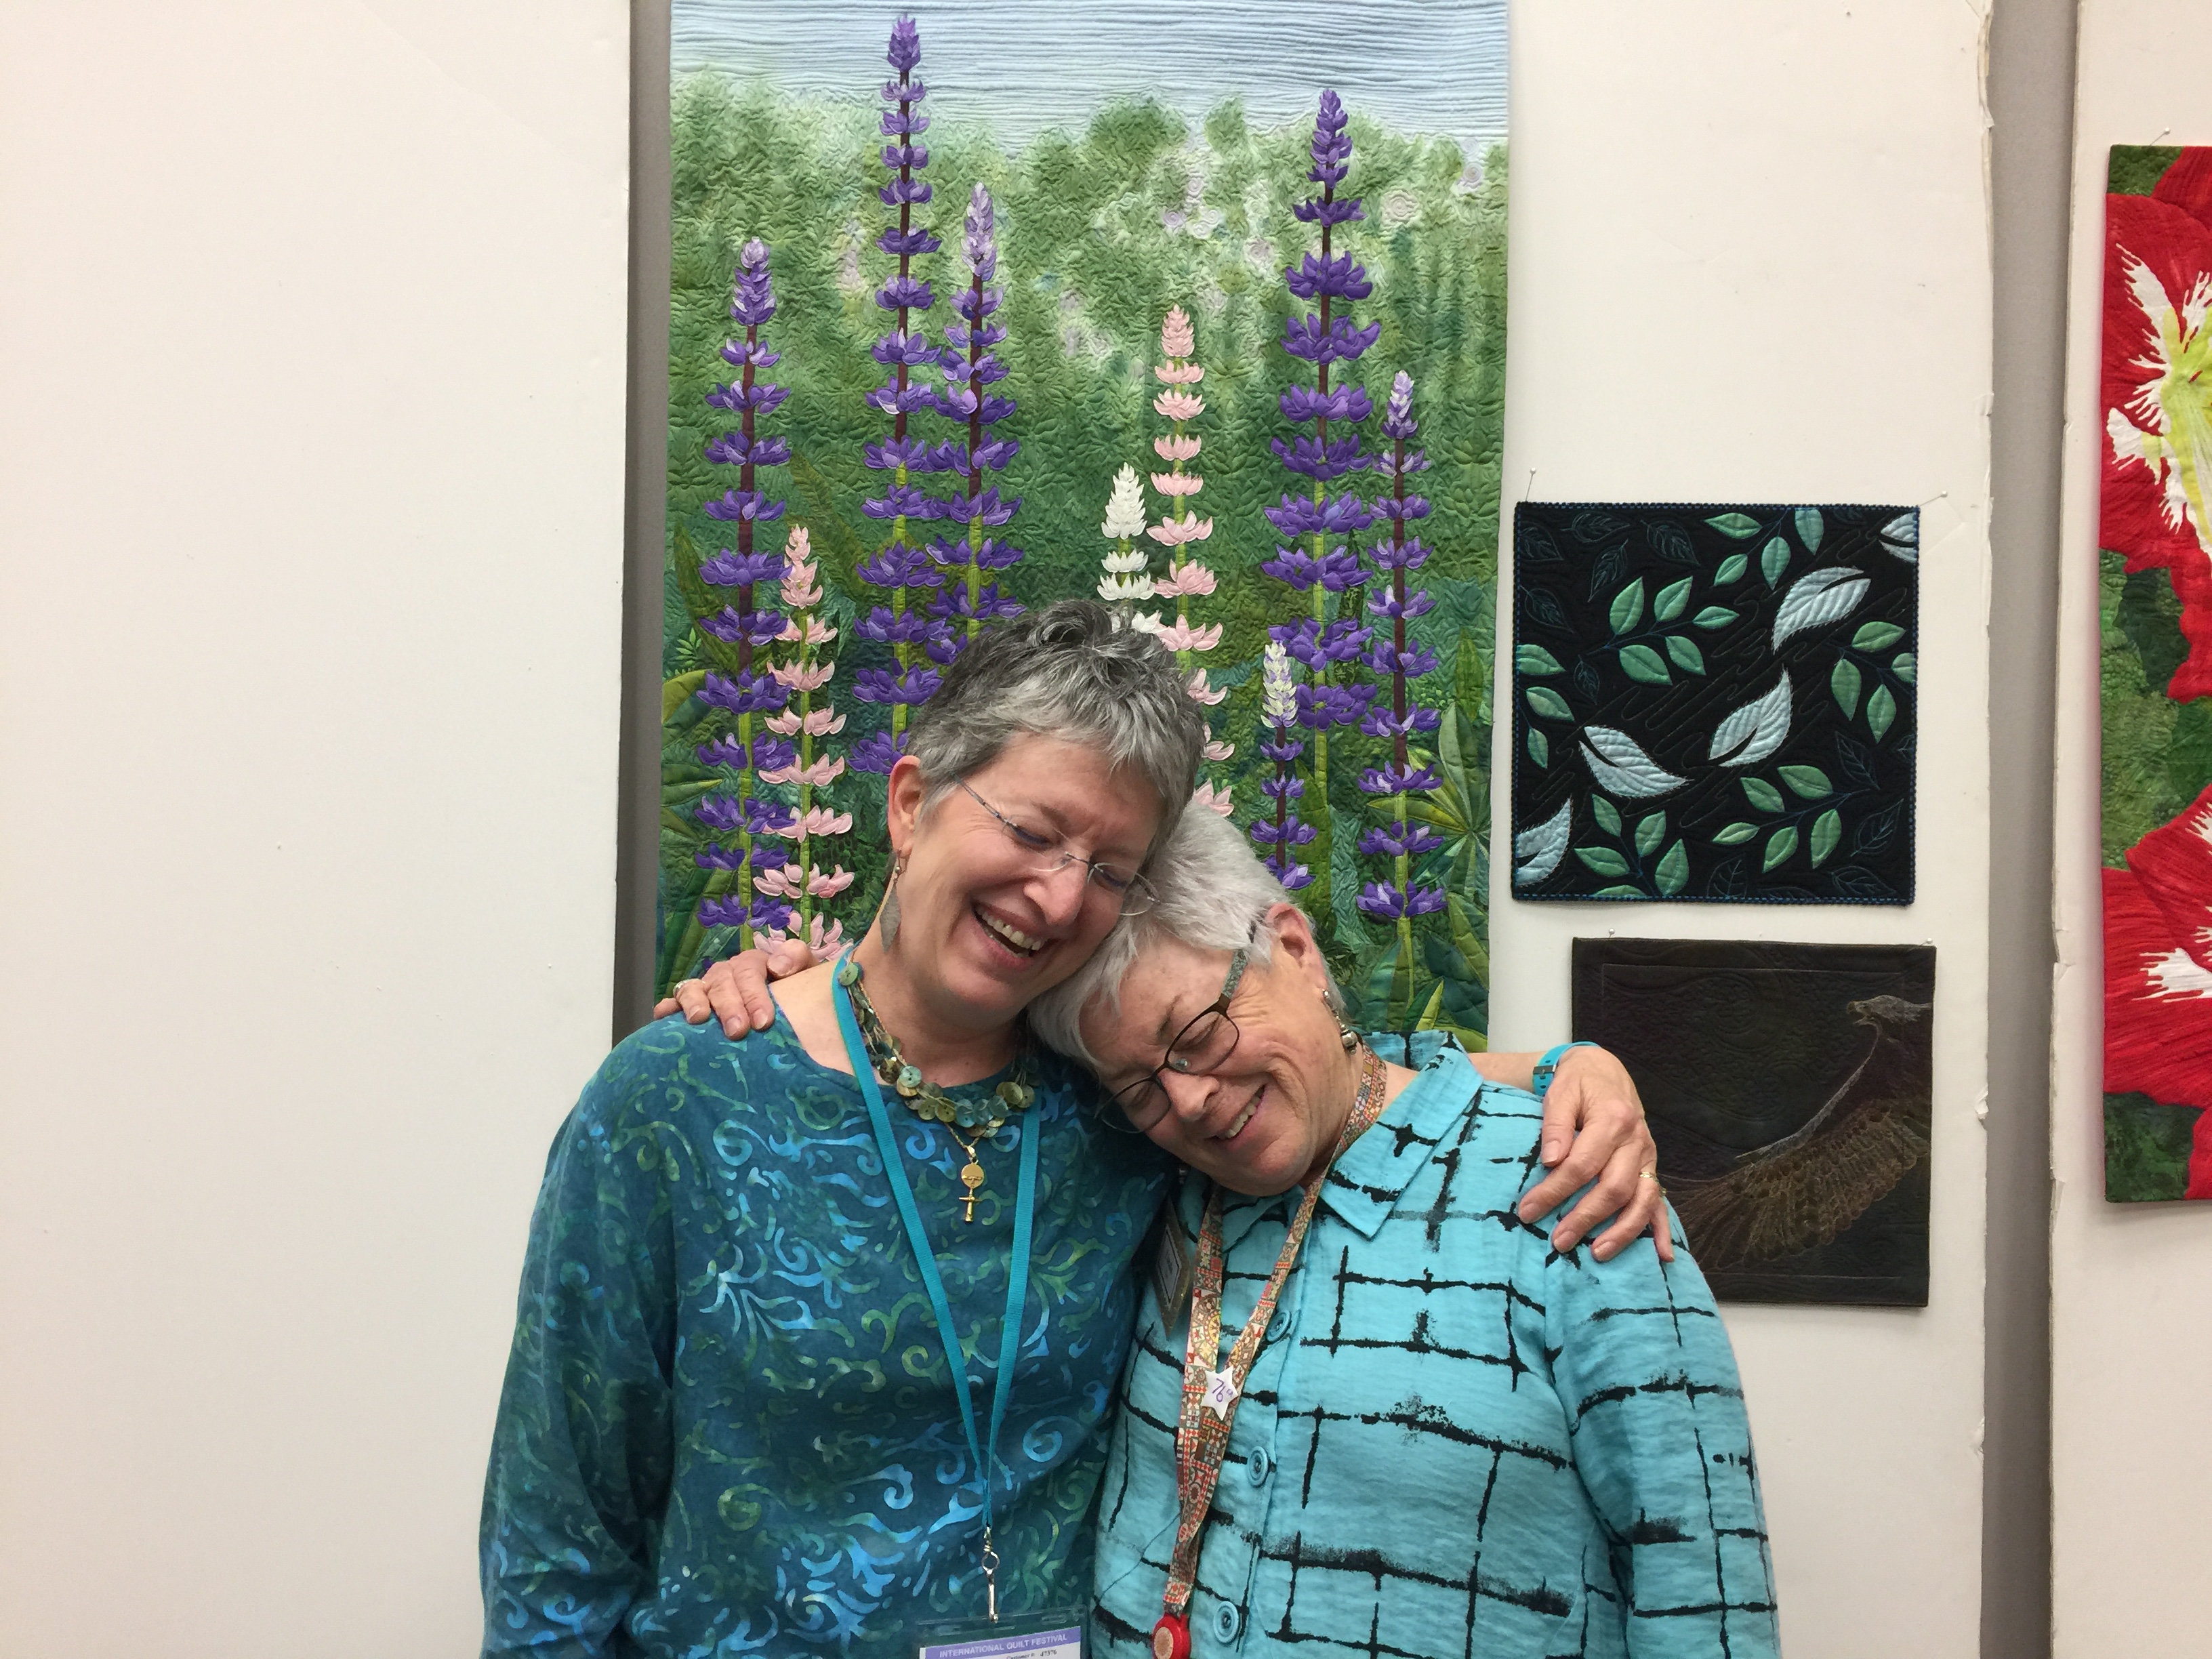
The best part of Festival is FRIENDS–Linda Cooper
The absolute BEST PART of International Quilt Festival is FRIENDS! Over the summer I learned that Linda, a BFF from my life on San Juan Island, would have a quilt in a special exhibit and was coming to Festival. On Tuesday she showed up at my classroom door at lunch break with her friend from SJI. They decided on the spot to take my Bindings class on Friday, their last full day at Festival (pitter patter, tear in my eye)! It was like the intervening 14 years since I left the island evaporated.
She and Barbara managed to get the stuff to make the quilt sandwiches (class prep) and amongst the three of us came up with the requisite thread, scissors, rotary cutters, etc. to use.
Class….the lunchtime lull. Thank you Kathy Spier for being my “Teacher’s Pet”—so much fun, met Suzy Webster when she took one of my classes a couple years ago. This year her mom took Bindings, and we all had lunch together! Like I said, the BEST PART of Festival is friends, old ones and making new ones!
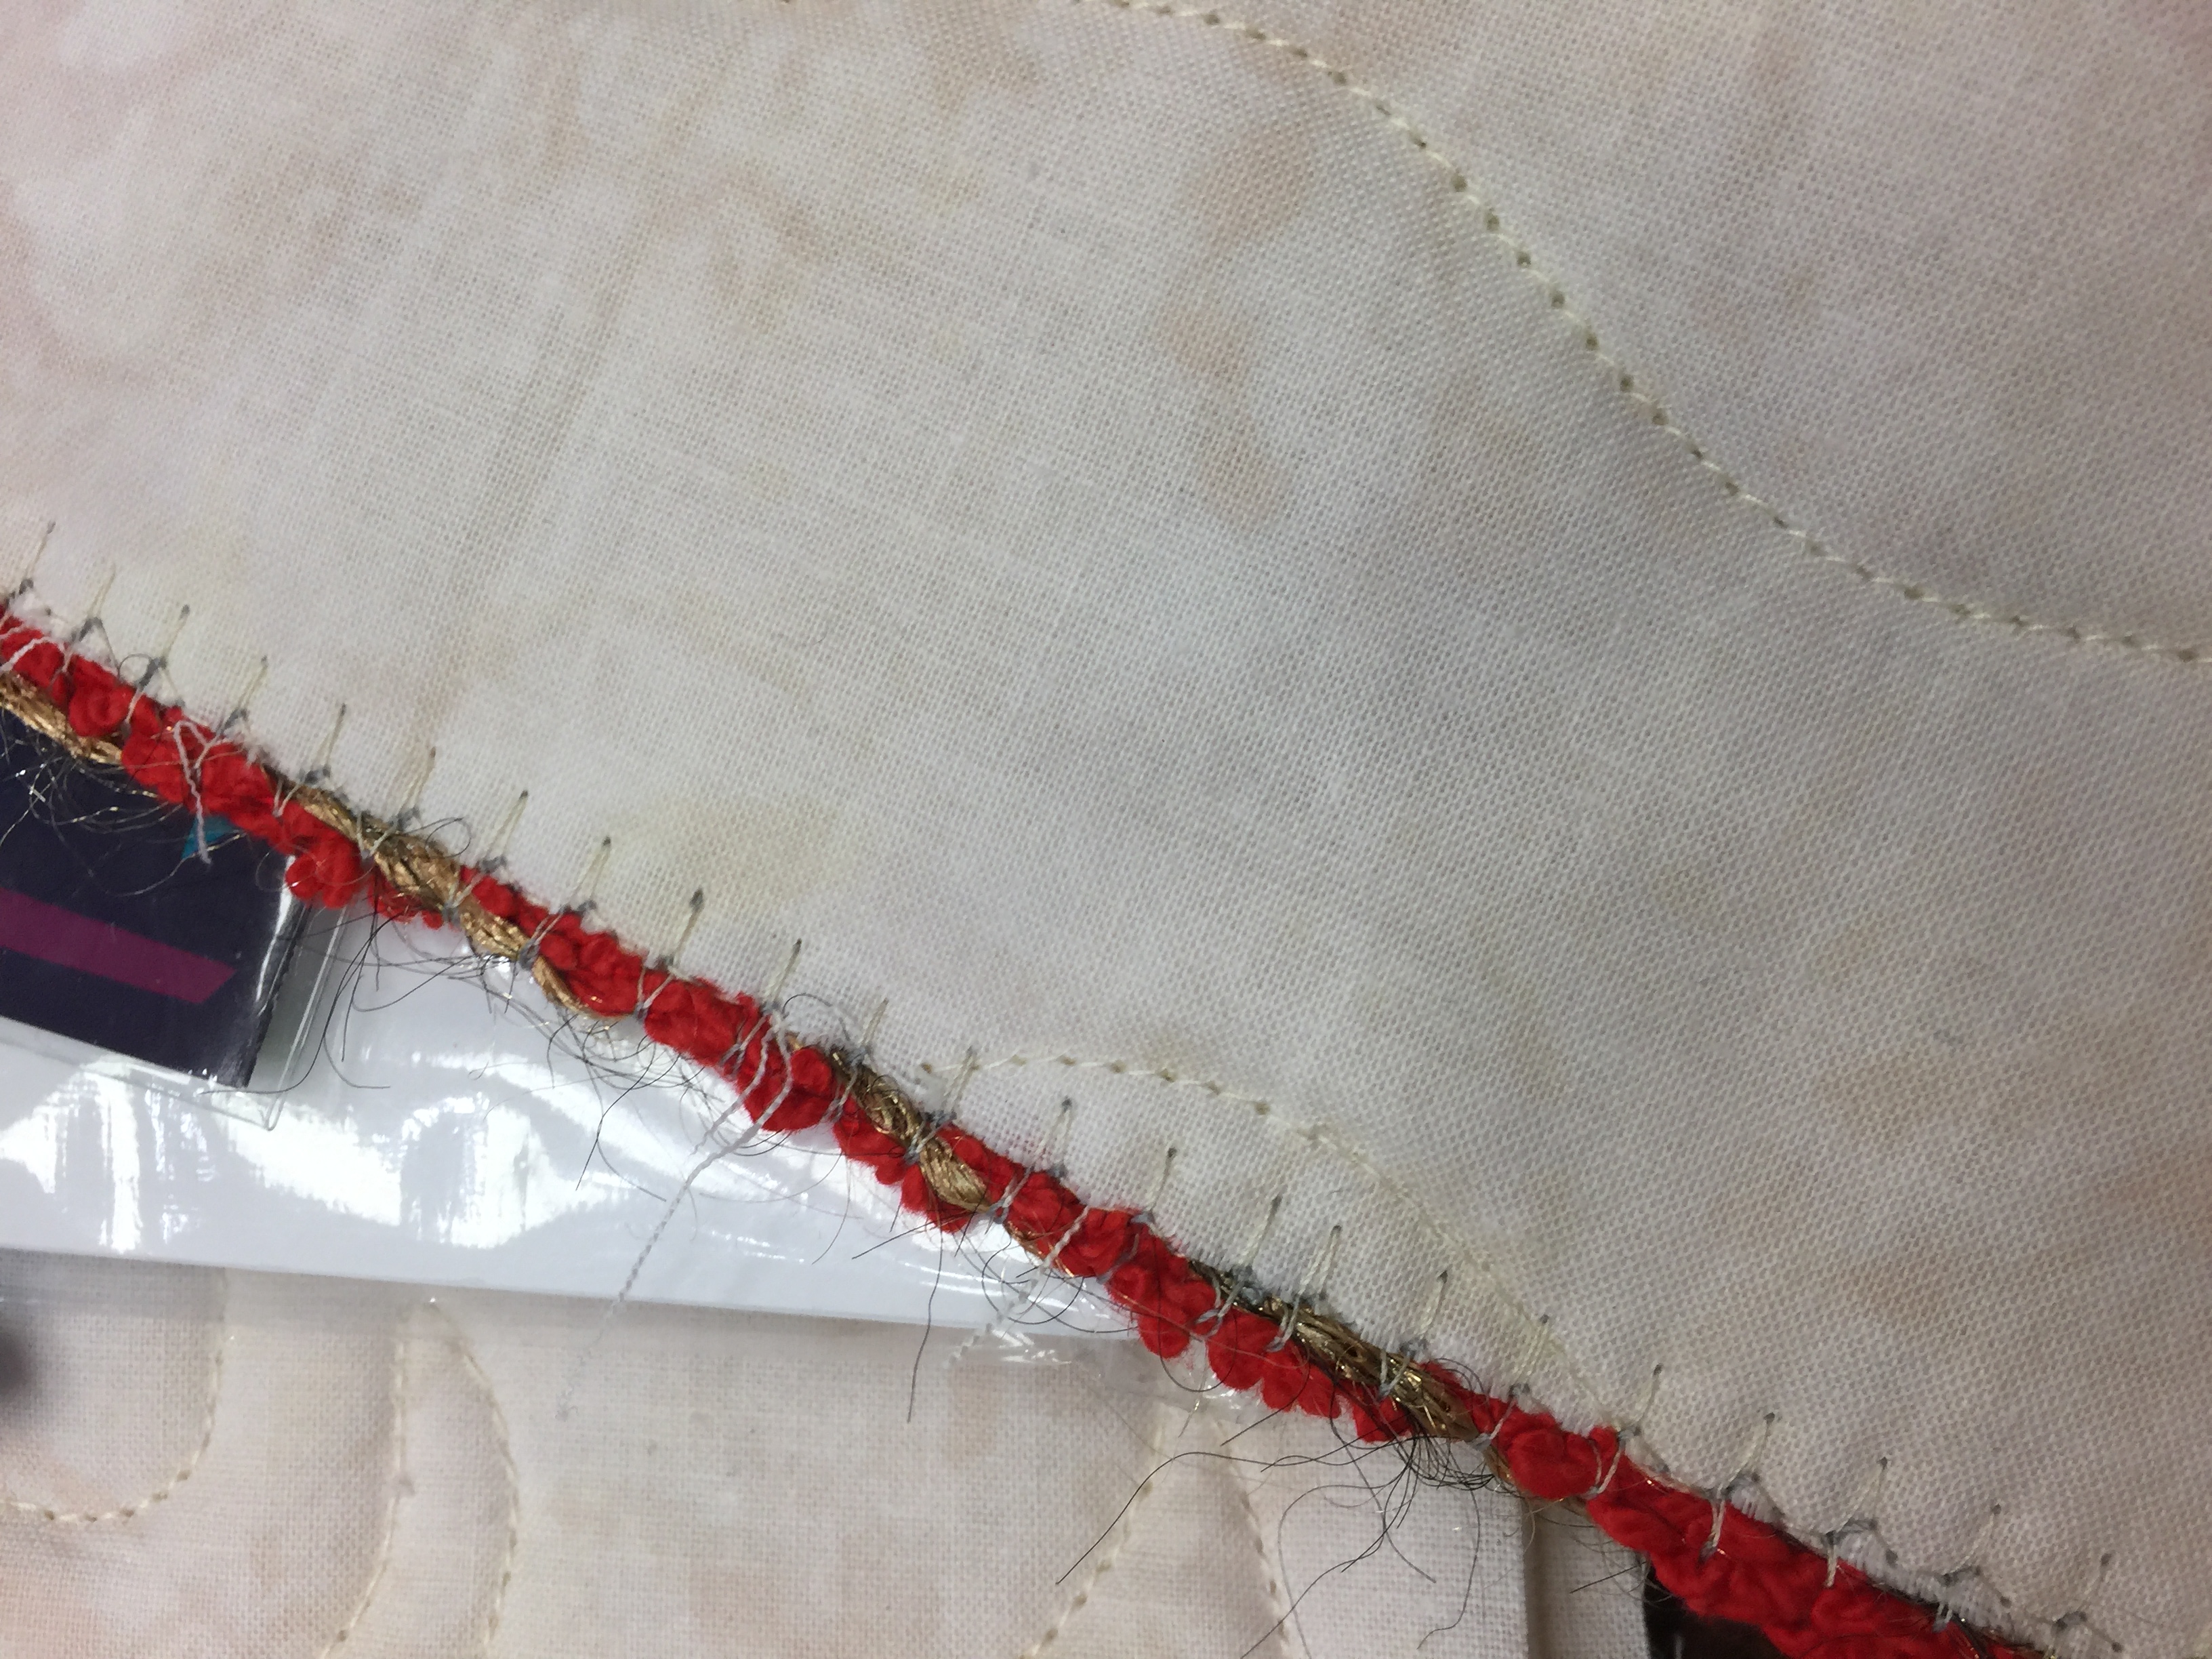
Time permitting, we even get into some fun alternative edge treatments…couched yarn is perfect for postcards and small works
And miraculously, I remembered Linda and I needed to get a photo before she packed up for the day!
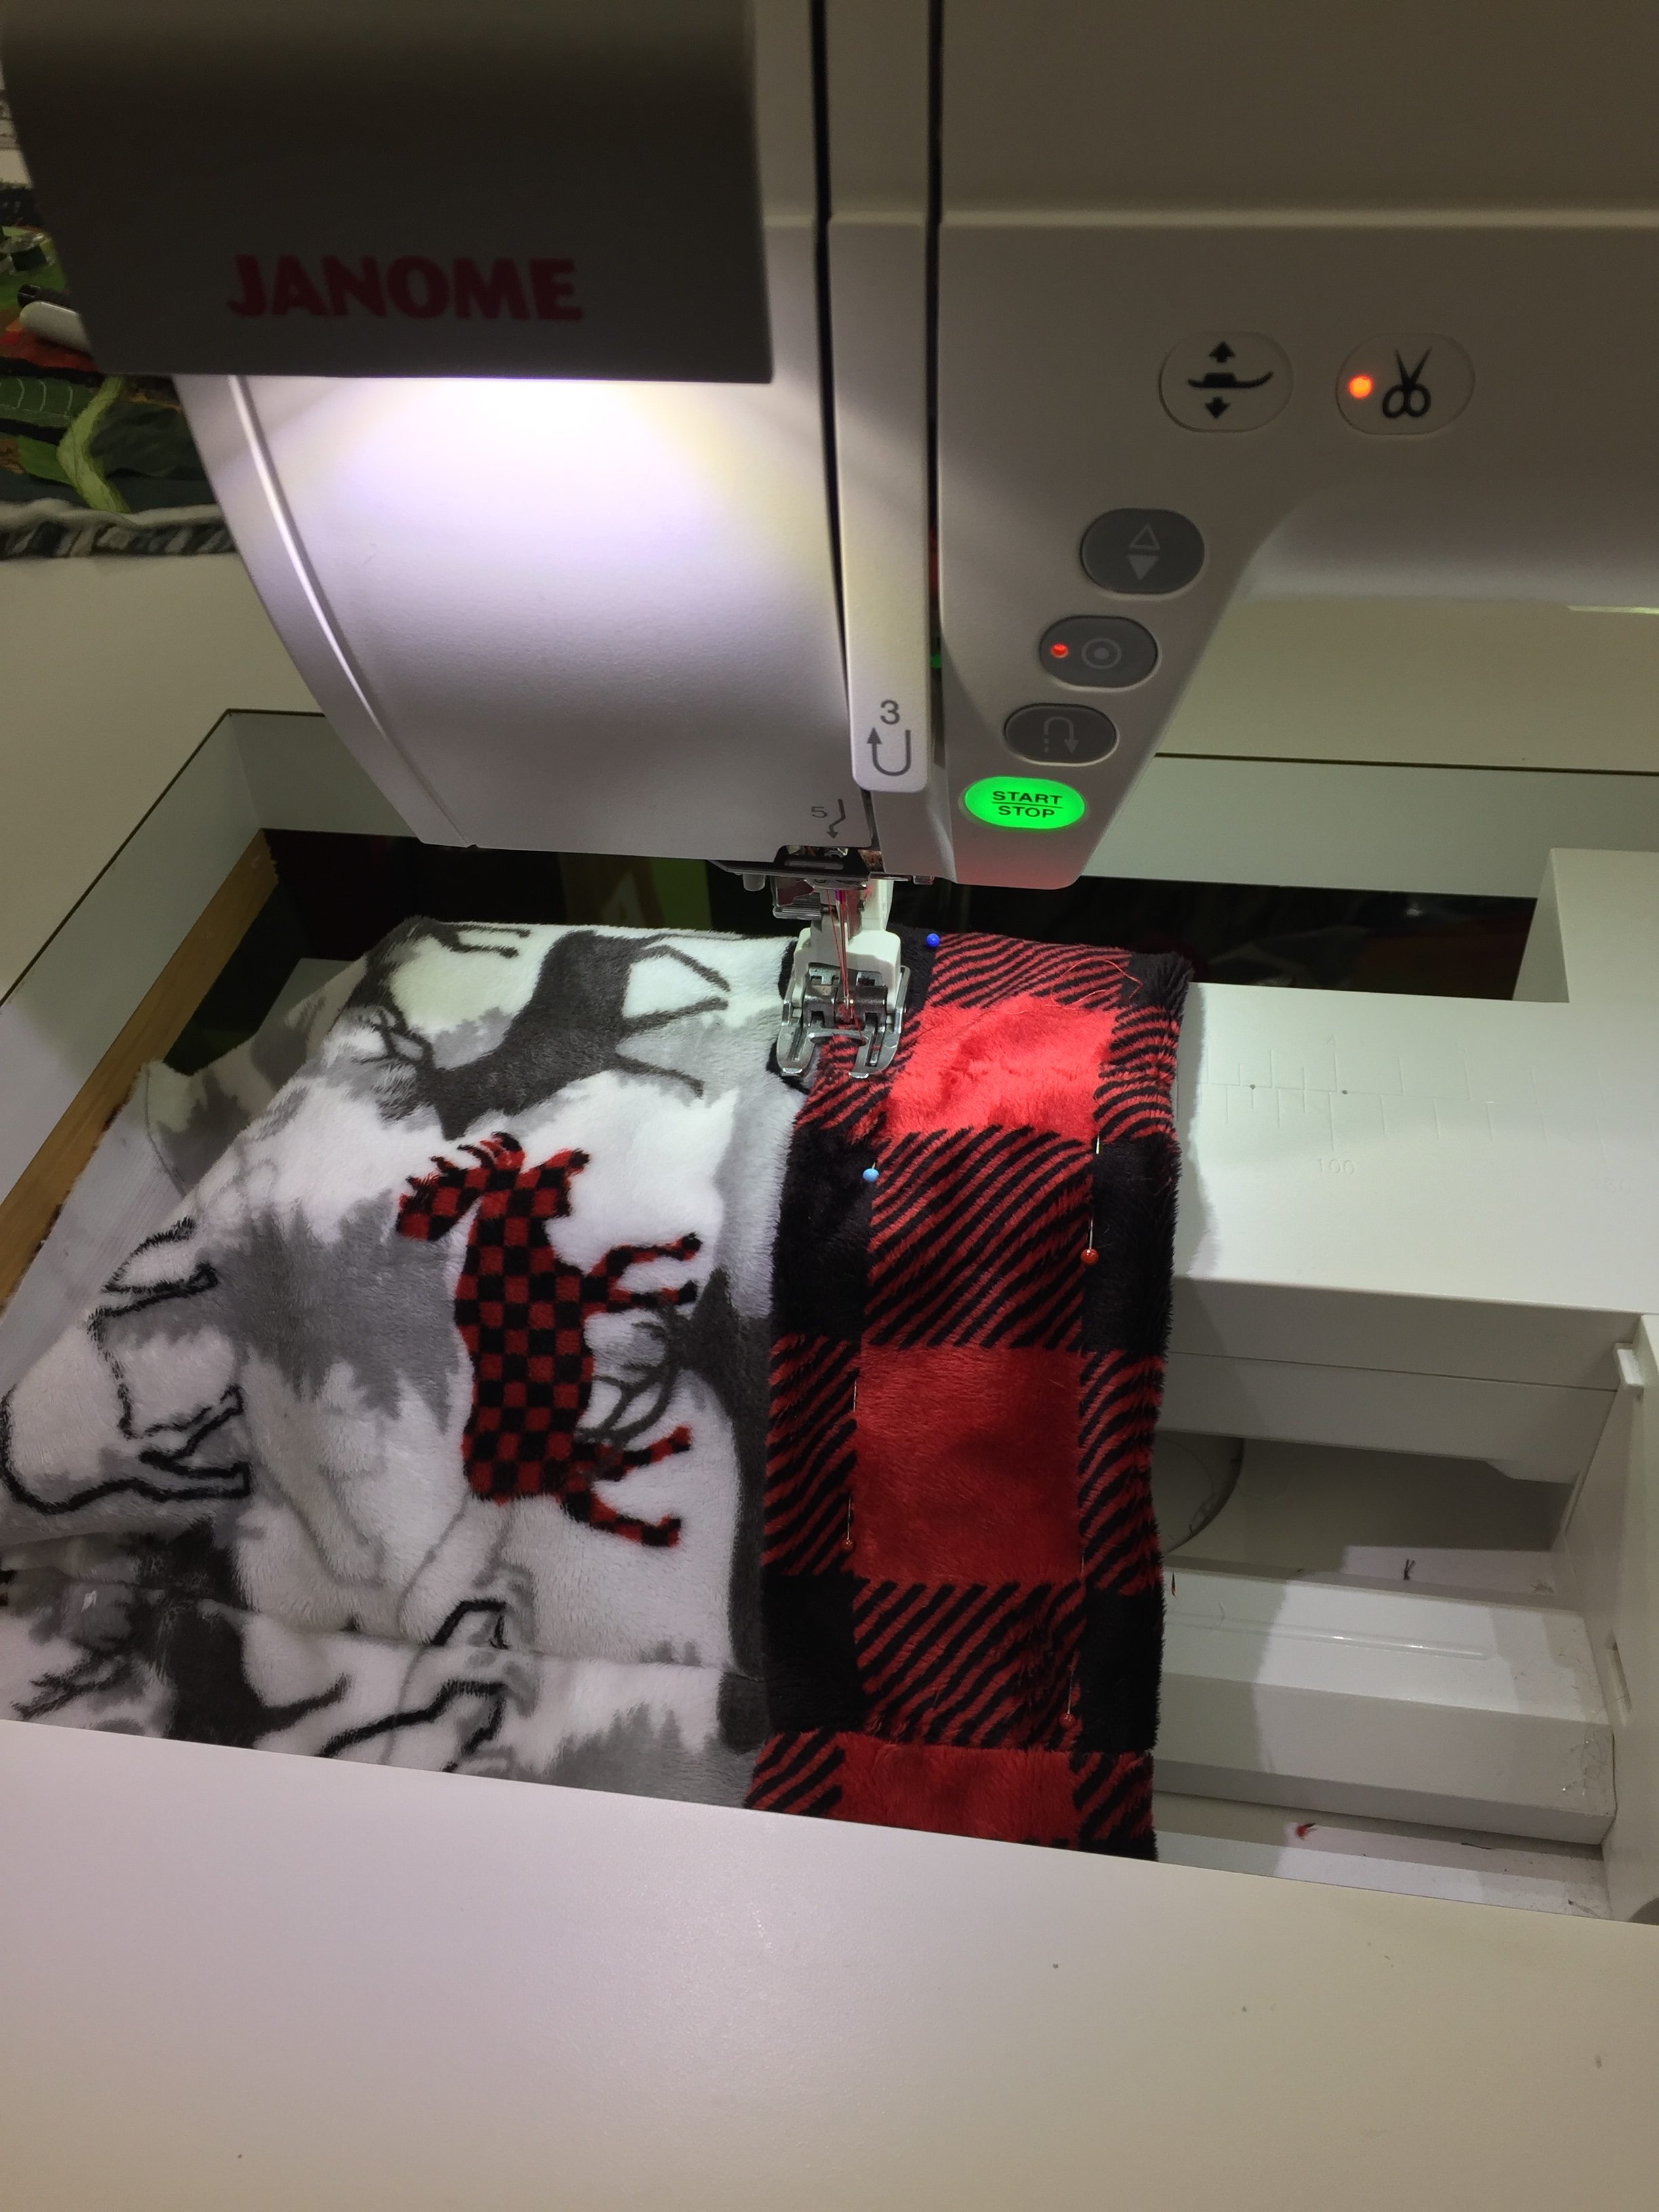
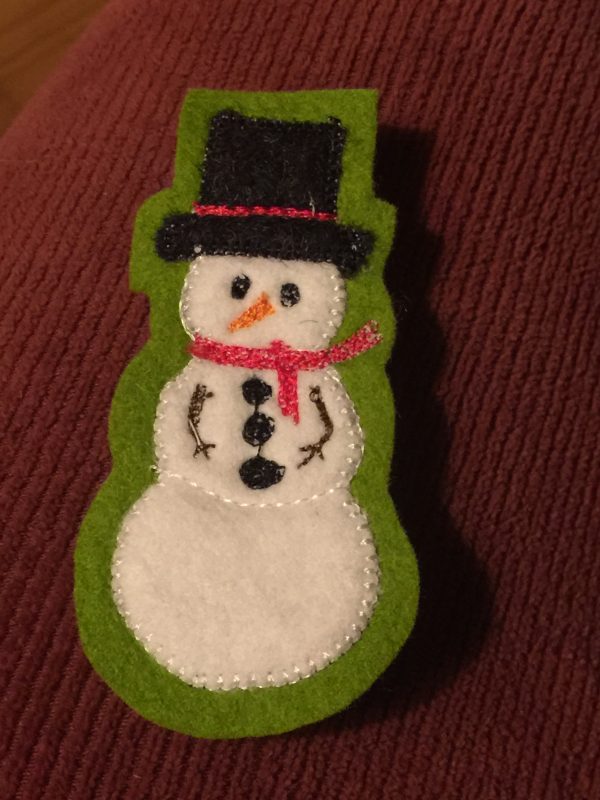
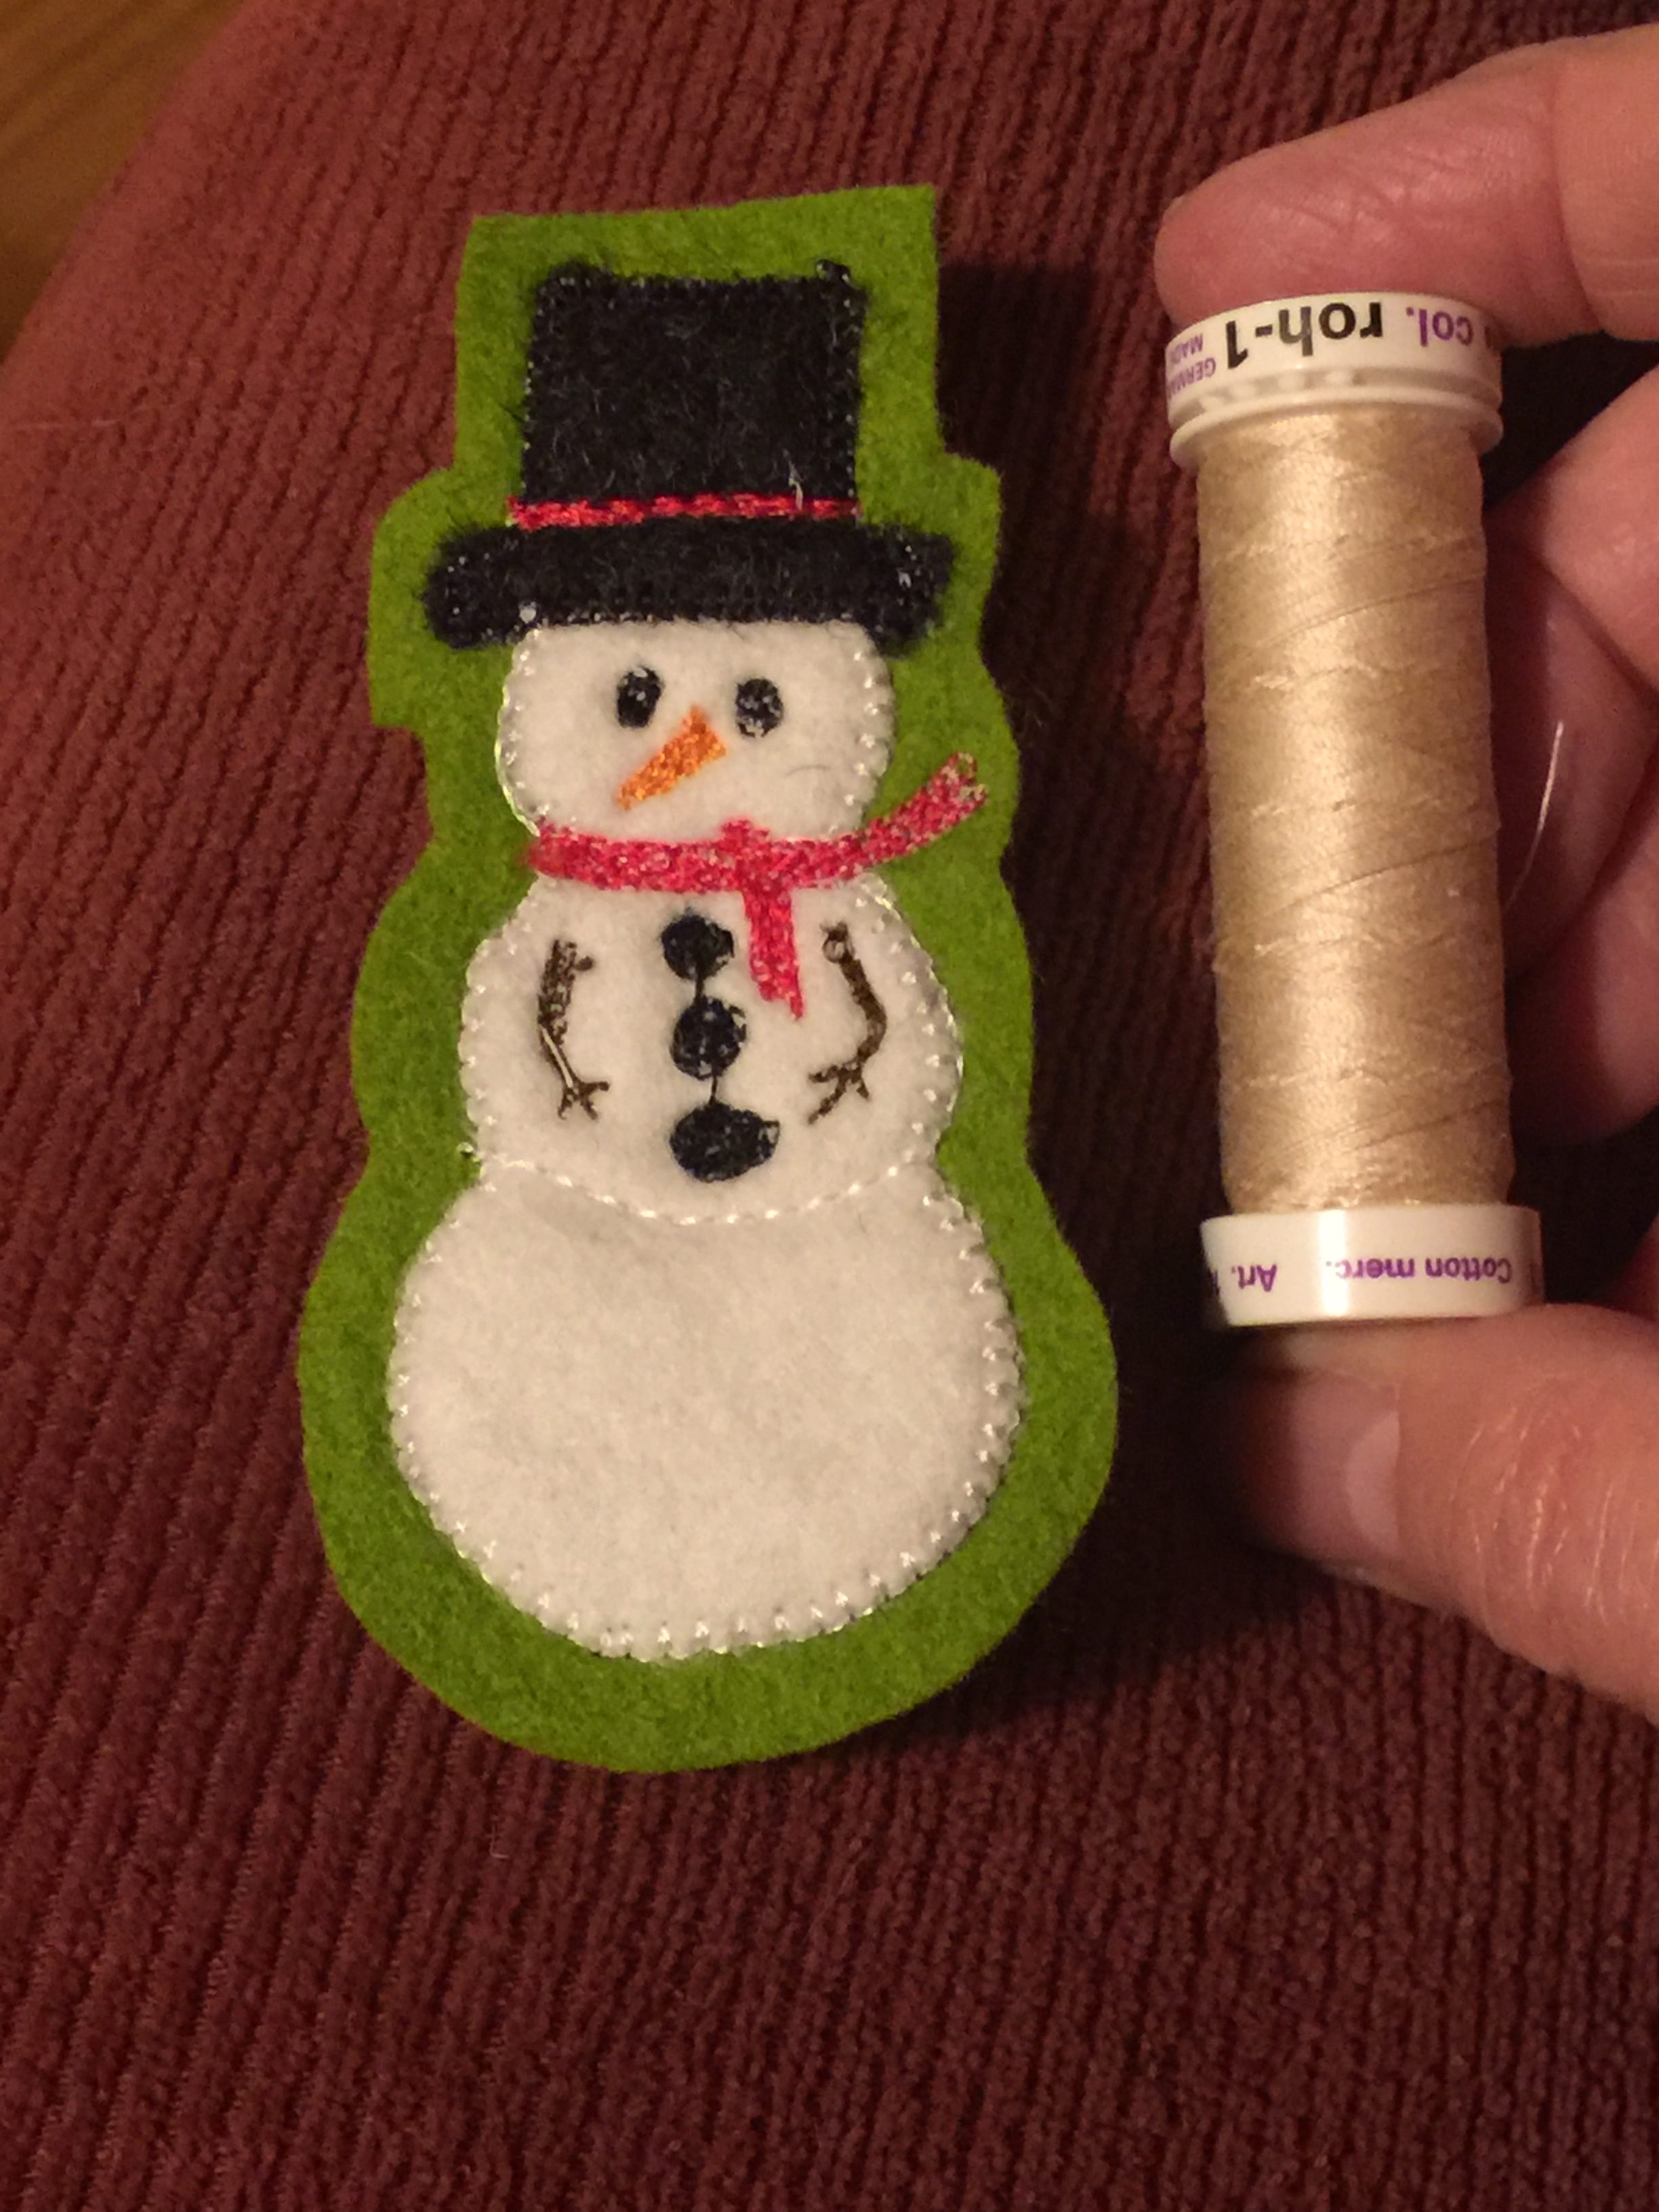
Ashley’s snowman, sewn on my trusty Janome 9400, using the buttonhole stitch and free motion stitching.
Do ya ever have those moments when you walk into your studio / crafting space / hides hole and have a near panic attack because there are so many mid-stream projects that serious ADHD kicks in and you can’t do anything because you keep getting distracted by yet another something? Yeah. It was one of those days.
I’ve added enough books and class materials (classes I’ve taken) that my shelves are too full. So I had to find a box and remove 15+ years of Threads magazines that I never look at to clear space because I’m tired of moving the piles from place to place. And a bunch more tidying happened. Really…it was like a minor panic attack.
But Ashley and Joshua are visiting. And a while back Ashley mentioned that she liked the Apple Pin I gave her, seen here, so much she’d like to do a bunch for each season and holiday. So I found my felt and the pin backs and made this little guy in under an hour. He’d look adorable done with real hand stitchers! I also need to find decent quality pi backs. These are by Beadalon from my local quilt and fabric shop and they are junk! Last photo is for scale.
Spool of thread shown to indicate size. Pink back is under hat brim. Need to find much better quality pin backs!
(1).png)
.png)
.png)