The cover (back and front) of my DVD, Art Quilt Design From Photo to Threadwork, with Fabric Collage and Machine Quilting. Order the DVD from me here, or the download and DVD from Quilting Arts/Interweave here. Right click so you can open in a new tab and read all the bits on the left.
Today I want to share some hotlinks to some of my favorite things, products that I use and recommend in my DVD. By having the hotlinks, you can go straight to a site to order. I expect I’ll be referring folks to this post for a long time; if you discover a link is no longer working, please let me know by leaving a comment or using the Contact Me page and I’ll try to find a new link. Thanks! Since this post is quite long, here is what you’ll find below:
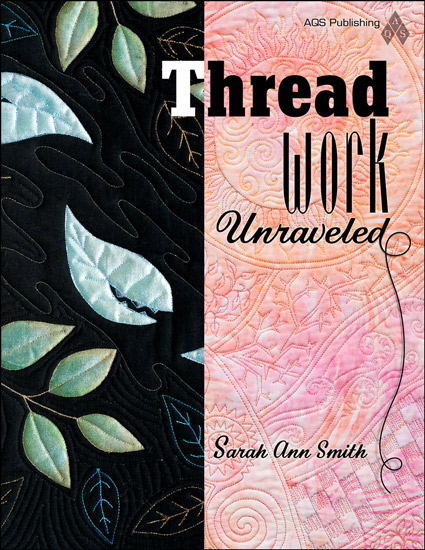
- Threadwork Unraveled, my book about all things thread
- Point, Click, Quilt! by Susan Brubaker Knapp
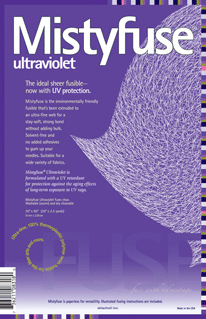
- Mistyfuse Adhesive Web
- Mistyfuse Goddess Sheets
- Transdoodle from Mistyfuse
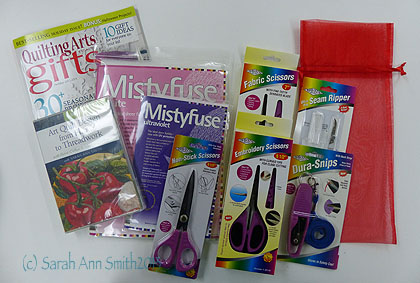
- Karen Kay Buckley’s Scissors
- Janome 8900 Sewing Machine
- Havel’s Scissors
- Panasonic Titanium non-stick Iron
- Textile Paints and Derwent Inktense Pencils
Threadwork Unraveled by me, Sarah Ann Smith
 My book is about all things thread. You’ll learn everything you need to know about thread, from how it is made to what will make your life easier, and your quilting better! The book is organized in three sections: The Basics, Applique, and Quilting, and is designed to be a reference book you’ll come back to again and again. You’ll learn how needles, tension, your workspace, sewing machine, stabilizers, and other tools all help you in using all those wonderful threads now available. I’ll help you understand how and why certain tools and notions work best and when another option is a better choice. Click here to read more and to order.
Point, Click, Quilt
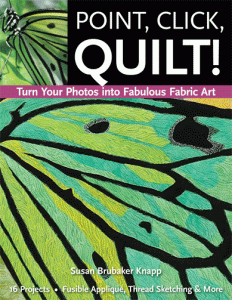 I met Susan Brubaker Knapp over the internet and we have become friends. We share a similar approach to our art and quilting, and her book is fabulous. Especially in regard to my DVD and how I work, I would like to recommend to you the first section on taking and selecting a good photo. Susan talks about composition, lighting and cropping, all of which are essential to a successful work. To learn more about Susan’s book, click here.
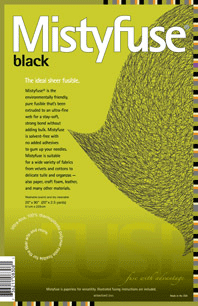
Mistyfuse Adhesive Web
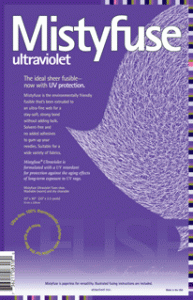
 I am a complete fan of Mistyfuse products. I LOVE this fusible web! It leaves such a light, soft hand, never “expires”, doesn’t gunk up the needle EVER, and works really well. I also like that it does NOT come packaged with release paper (which in other brands either comes loose too easily, or sticks, or whatever); you use baking parchment of a non-stick press sheet (next item) which is less wasteful than all that release paper, and once you understand how to use Mistyfuse is infinitely easier! For most projects you would want either the white or the Ultraviolet; the latter is best for light colored fabrics. The black has lots of fun uses… All items are listed on one page, so just scroll down until you see what you seek!
and Mistyfuse Goddess Sheets
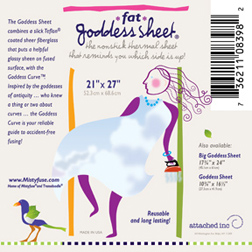
Mistyfuse Fat Goddess Sheet
Goddess Sheets are non-stick press sheets. You could use Reynolds brand Baking Parchment, but these sheets won’t wrinkle and wear out or tear like Reynolds Baking Parchmnet. I’ve been using my press sheets for YEARS–the only wear and tear is where I accidentally sliced off a sliver with my rotary cutter! I prefer the largest sheets, the Fat Goddess, so named because it allows you to fuse up an entire Fat Quarter (18×22 inches) of fabric without having to move the sheet. In fact,
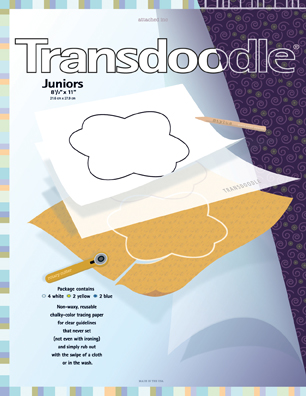
and Transdoodle Transfer sheets and Saral Transfer Paper in a roll
 To transfer designs, I use Transdoodle or trace; I don’t use a light box. Either the fabric is light enough in color that I can trace by placing the fabric over the design, OR I layer things up with the fabric on the bottom, Transdoodle Transfer paper in the middle, and the pattern on top. These sheets last a LONG time, can be used over and over and over again. They come in 8 1/2 x 11 inch packs with white, yellow and blue in the package. I use mostly the white and blue. Saral is a transfer paper available in art supply stores and online and is available in sheets like Transdoodle and in rolls. It lasts a while, but not nearly as long as Transdoodle. However, sometimes you just want a long roll of white for a large design or motif. You can find Saral here at Dick Blick among other places.. I will note one caution: if like me you forget to test for removability, whenever you use ANYTHING yellow, TEST! It doesn’t like to let go of some fabrics!
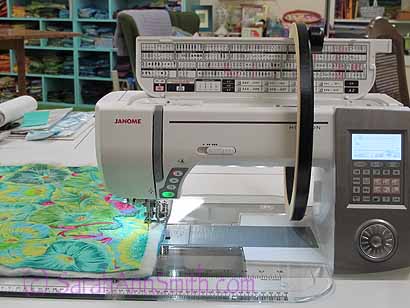
Janome 8900 Sewing Machine
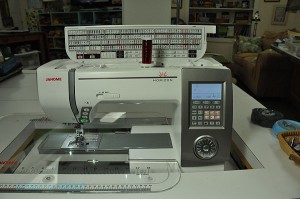
My beloved Gandalf, well OK, he’s really a Janome 8900…..
For quite a good long while now I have used and loved Janome’s wide-harp sewing/quilting machines, beginning with the 6500, then the 6600, 7700 and now the 8900. I LOVE THEM! In 2003 I was frustrated with my then-machine’s balkiness using assorted fun threads. I wanted to decide what threads to use, not have my machine dictate what I could use because the machine would otherwise crab at me (for example, on that other-brand-machine, it didn’t like it when I used Superior Threads 40-wt poly in the needle and 60-wt Bottom Line in the Bobbin; ALL the Janomes I have used handle that with ease). When I test-drove the 6500 it handled every thread I put on it with ease, as has every machine since. I was so in love with my 6500 I didn’t think they could make it better but with each generation they have. A HUGE, HUGE HUGE Thank you to Janome America for their long-term support of me! I think I’ll go hug my Janome 8900 right now!
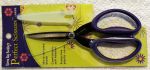
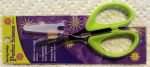
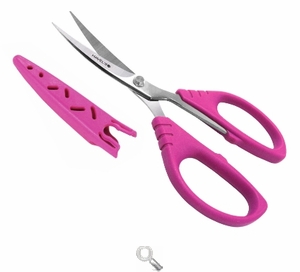
Karen Kay Buckley’s scissors
Karen Kay Buckley Large scissors, my most frequently used
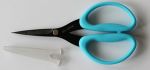
Karen Kay Buckley’s Medium scissors, which may soon take over as my most-often-used scissors
Karen Kay Buckley’s curved tip scissors, great for trimming. At first didn’t think I’d use these much, so surprised at how useful I have found them. Nice large finger holes!
Karen Kay Buckley’s Little scissors, great for detail work
Honestly, I love and use all four of them! They are well worth the not- expensive price, and will likely soon become YOUR favorites, too. You can find all four of these scissors here on Karen Kay Buckley’s website. Karen’s products are great; she spent a lot of time perfecting these scissors, and they are now taking off in popularity with good reason! The Large, Medium and Small are all non-stick coated which is great for working with fusibles!
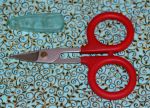
Havel’s Scissors
Havel’s 5 1/2 inch curved tip embroidery scissors
The 5 1/2″ curved tip Embroidery scissors from Havel’s are also great. I find I use them most at the sewing machine. I particularly like the length of the curved blades at the machine. Thank you!!!! to Havel’s for sponsoring various and sundry Quilting Arts TV and for sponsoring several Dinner@8 exhibits and International Quilt Festival over the past several years! And, drum roll–Havel’s is also donating goodies for my part of the Bloghop and Giveaways to celebrate the release on my DVD (more on that on September 17, 2013; giveaways will be in September and November 2013). Thank you!
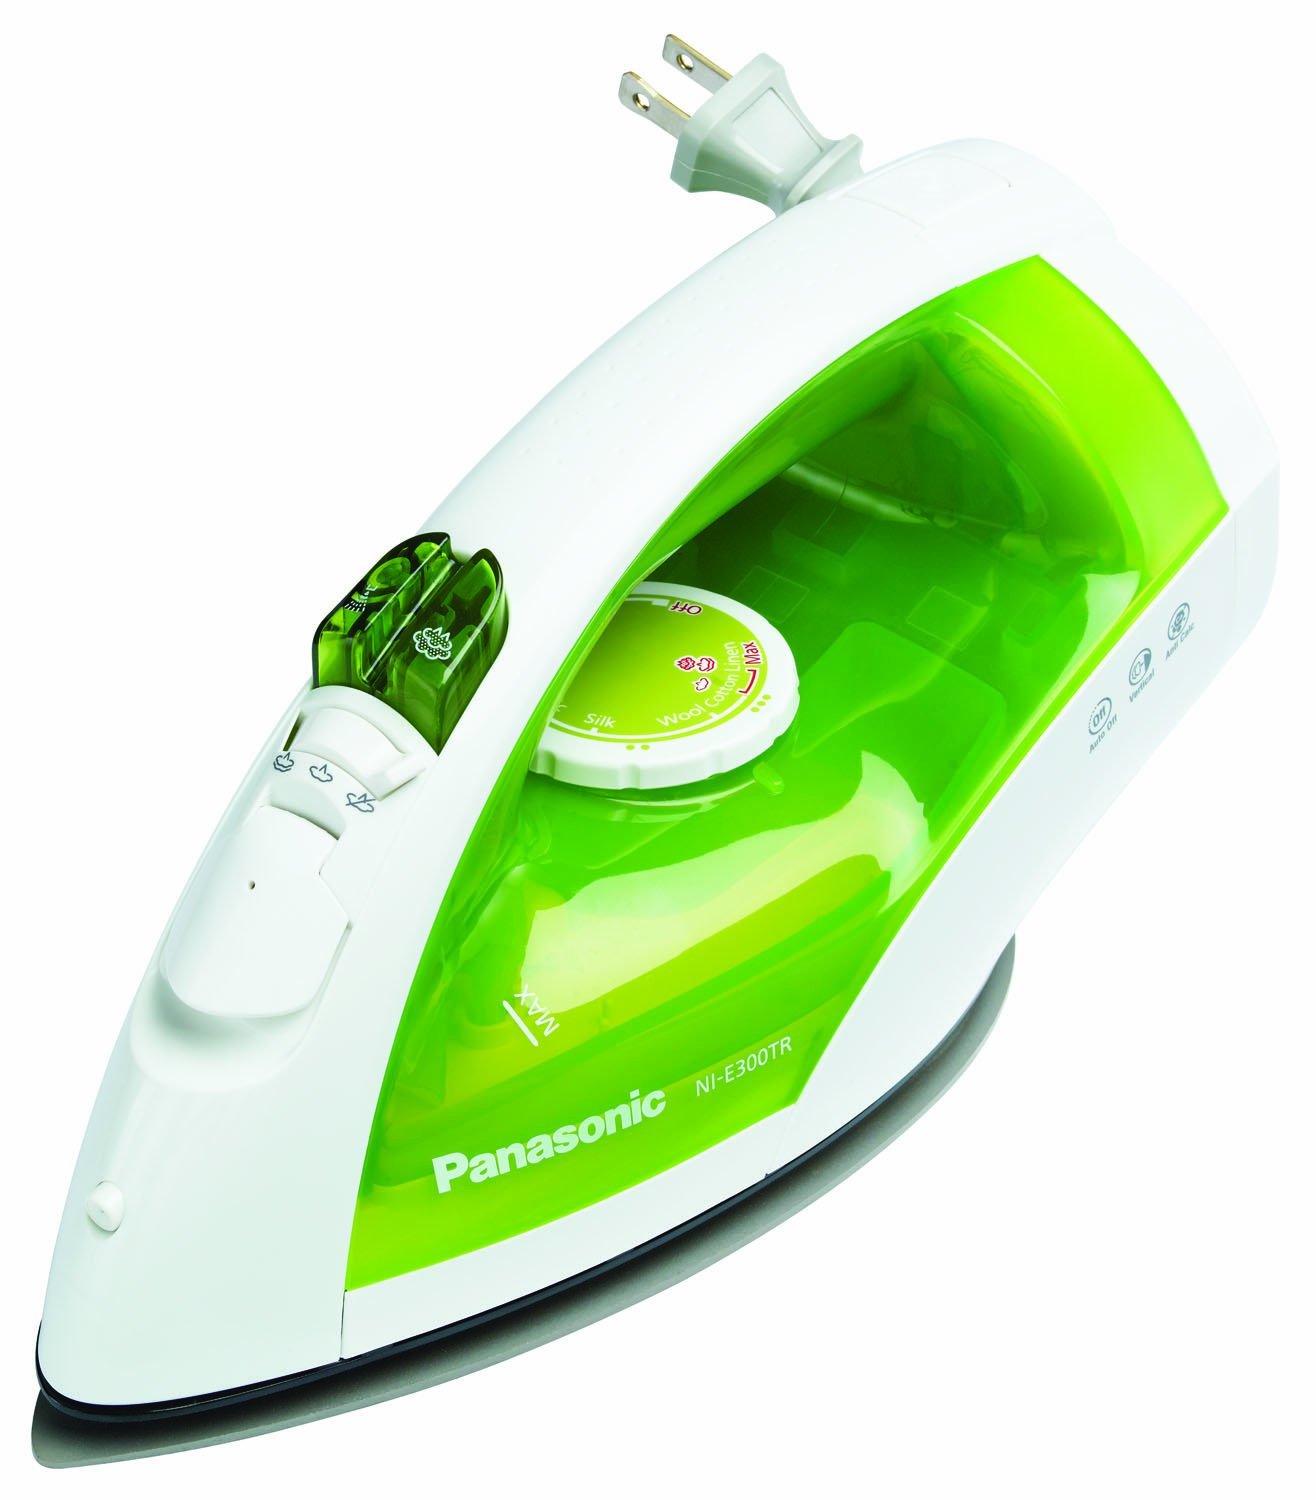
Panasonic Non-Stick Titanium Coated Iron
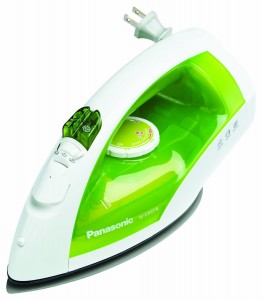
Panasonic TITANIUM Non-stick iron. Titanium coating is usually a gold color. Gunk just wipes clean!
Oh how I LOVE LOVE LOVE this iron! The key word appears to be Titanium–other non-stick irons don’t work the same way! And of course this one is lime green–this is GOOD! There are several models available at the moment on Amazon. The one pictured is here. They have other model numbers, different colors. They key thing is the word “titanium” in the description. You can put this iron down right on the Mistyfuse, let it melt onto the soleplate, and then wipe it clean! No more Hot Iron Cleaner! No more nasty fumes! For the price of four or five tubes of iron cleaner, you get an iron you can wipe clean! Mo’ bettah!
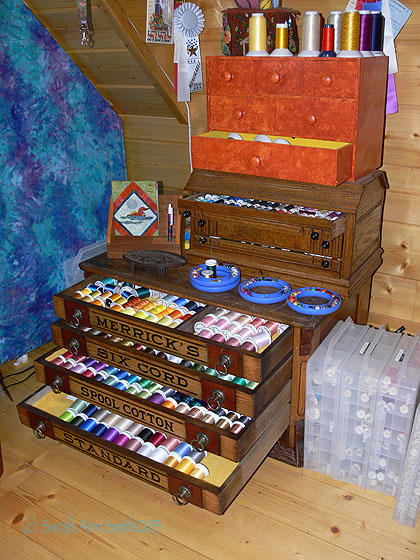
Superior Threads

Oooh pretty colors, so many colors! a.k.a. Sarah’s thread stash!
There are many brilliant threads out there now, that is one of the things that prompted me to write my book: so that folks could understand how to use them. Since I teach, I try to be fair, honest, and give all companies an equal chance. There are a number of companies that make threads I use, respect and like: Superior Threads, Aurifil, Madeira, Isacord and others. But Superior is far and away the best at striving to educate the public. I highly recommend the Education section of the Superior Threads website. As well, they make brilliant quality threads, stand behind their products, and have great customer service. When I switched from quilting with only cottons to using a wide range of threads (thanks to my Janome’s ability to do so without a grump), I decided to build my stash to “one of each please”–the thread equivalent of the BIG box of crayons! I did so 10 or 12 spools at a time, and having a wide range makes it so much easier for me to do my thread-coloring.
Textile Paint and Derwent Inktense Pencils
You could spend years having fun with surface design, textile paints, drawing materials and dyes. My DVD just mentions the use of transparent Textile Paints and Derwent Inktense pencils. To take the easy one first, Derwent Inktense pencils look like a pencil but, when activated with water and set according to instructions, they are pretty much permanent. The lead used is also available as blocks, but for the way I used them a pencil works better. You can find the box of 12 colors here at the Interweave Store; one year for Christmas I asked for and received the box of 72 (of course I wanted the BIG tin!). We got it here, at Dick Blick.
There are many, Many, MANY types of textile paints including opaque, transparent, metallic and so on. You’ll find different ways to use them, too. In my DVD I used Setacolor Transparent Textile paints (here at Dick Blick , please note this link takes you to a page with opaque as well as transparent–check the instruction in the video to see what you prefer). I also love Jacquard Lumiere paints, which are opaque, metallic and delicious (Lumiere here at Dick Blick). Last but definitely not least, I really like the paints made by Pro Chemical and Dye, a dye house in Fall River, Massachusetts. Click here to visit Pro Chem‘s paint page, where you can find transparent, opaque and metallic textile paints.