email Youtube

Home
Galleries
Blog
Workshops & Calendar
Store
Resources
About
Contact

Archive for the ‘Favorite Products’ Category

I Love, Therefore I Am (Widgeon’s quilt)

Tuesday, August 20th, 2019
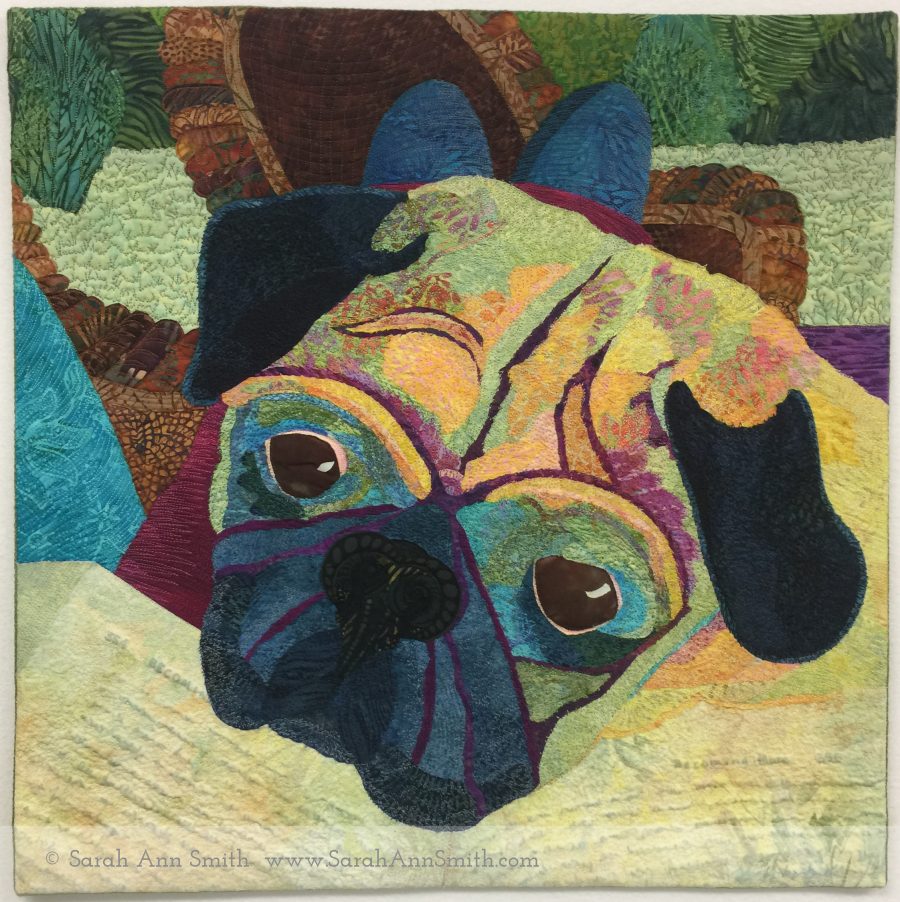
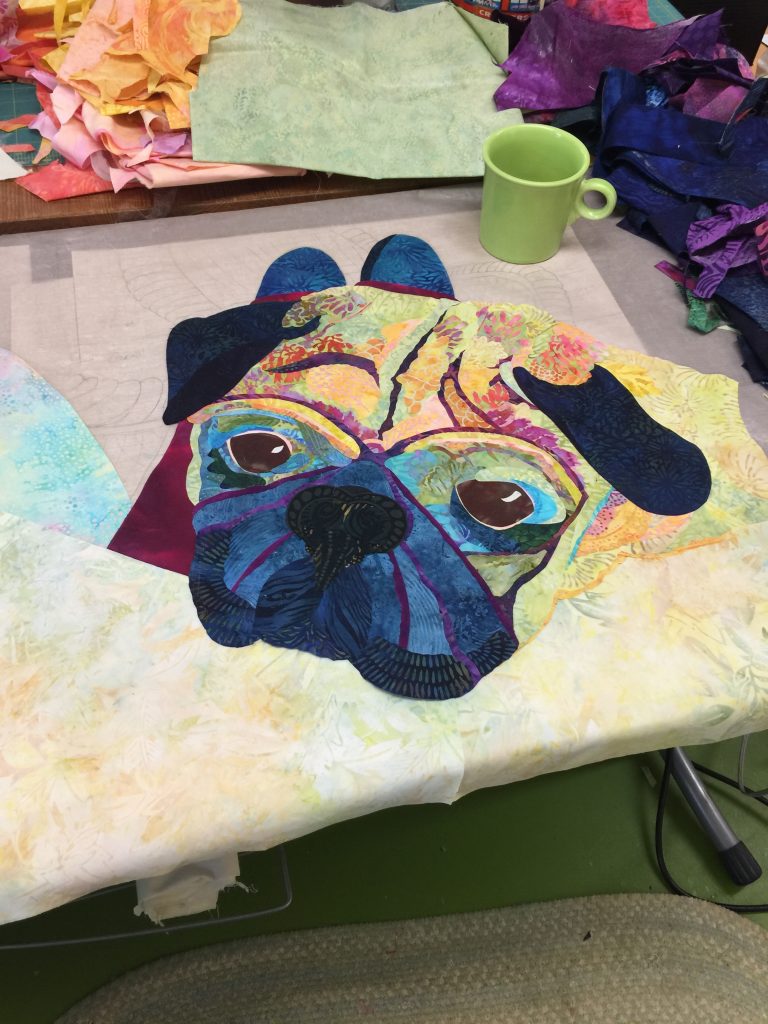
“I Love, Therefore I Am” is the perfect title for this quilt of our beloved pug, Pigwidgeon.

Earlier this summer I made three quilts for Janome America to share at the upcoming dealer conference in Florida this week. Janome has generously sponsored me with a machine and included me in their Artisan program for over 15 years!!!! THANK YOU (yes I’m shouting)! I was delighted to make these in appreciation. Here is the blurb I wrote to go with Widgeon’s quilt.

I Love, Therefore I Am
 
Yoda, the love of my life, tells me that Mom has done a good job on my portrait.  Mom and I were sitting on the porch in late Spring even though it wasn’t quite yet warm enough, so I snuggled under the blanket and kept her company (and warm) one afternoon.  I don’t see or hear very well any more, but Yoda tells me the picture shows how much I love everyone in the whole universe, especially him, my boy, Mom, the rest of my family, and well, the whole world.”  (Pigwidgeon is a 12 year-old industrial-sized pug.)
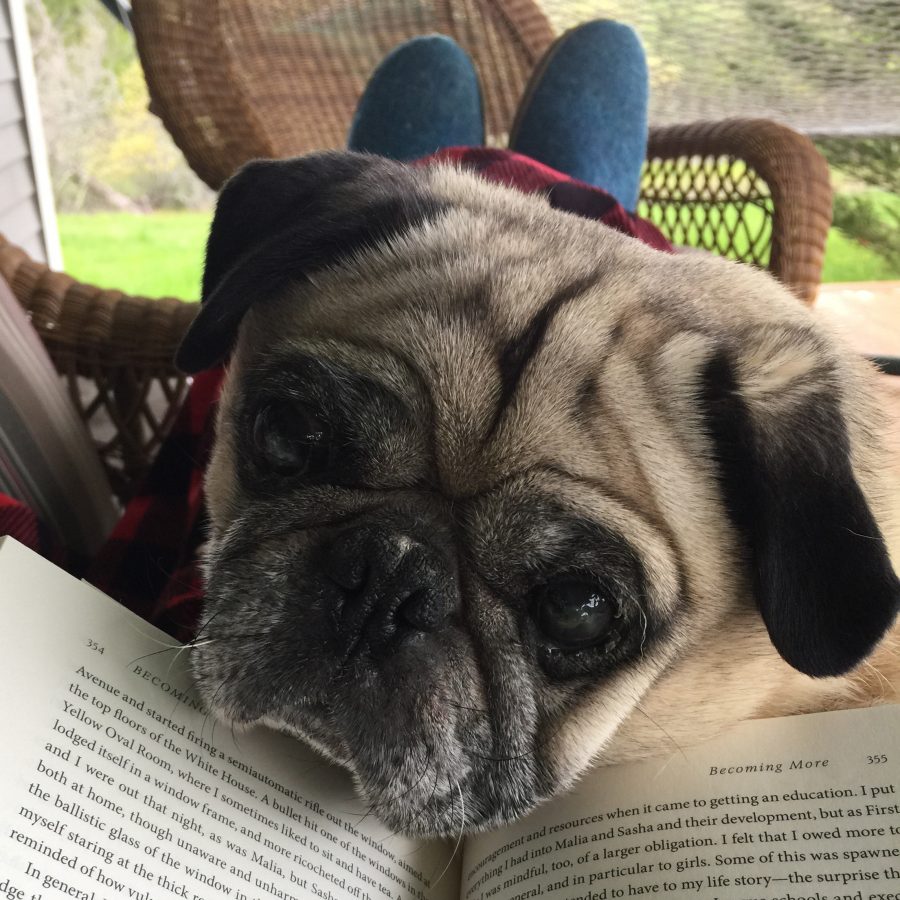
My Facebook friends know Widgeon because of my dog walkies posts and other photos. My friend Rachel Parris commented on this photo that it was the best one I had ever taken of him, and the idea for the quilt was born! Often I end up working too much during summer and don’t get my “Porch Time” to relax, read, and enjoy life in Maine. So this year I started early, in our long, late, cold Spring, wrapped up in warm fuzzy clothes with a two-layer fleece blanket on my lap and the dog snuggled underneath.

This post will be mostly photos and captions (because we all know photos are better). They show the sequence of how I work, and towards the bottom if you keep going you’ll be rewarded with a mini-tutorial on couched and faced edges. And yes (gratuitous self promotion here) I TEACH classes on how to do this –my Bindings and Facings and Piping, Oh MY! class, and also my collage and thread coloring process: Collage the Garden and Thread-Coloring the Garden–just click the link. Have students (and contract) will travel (hint hint).
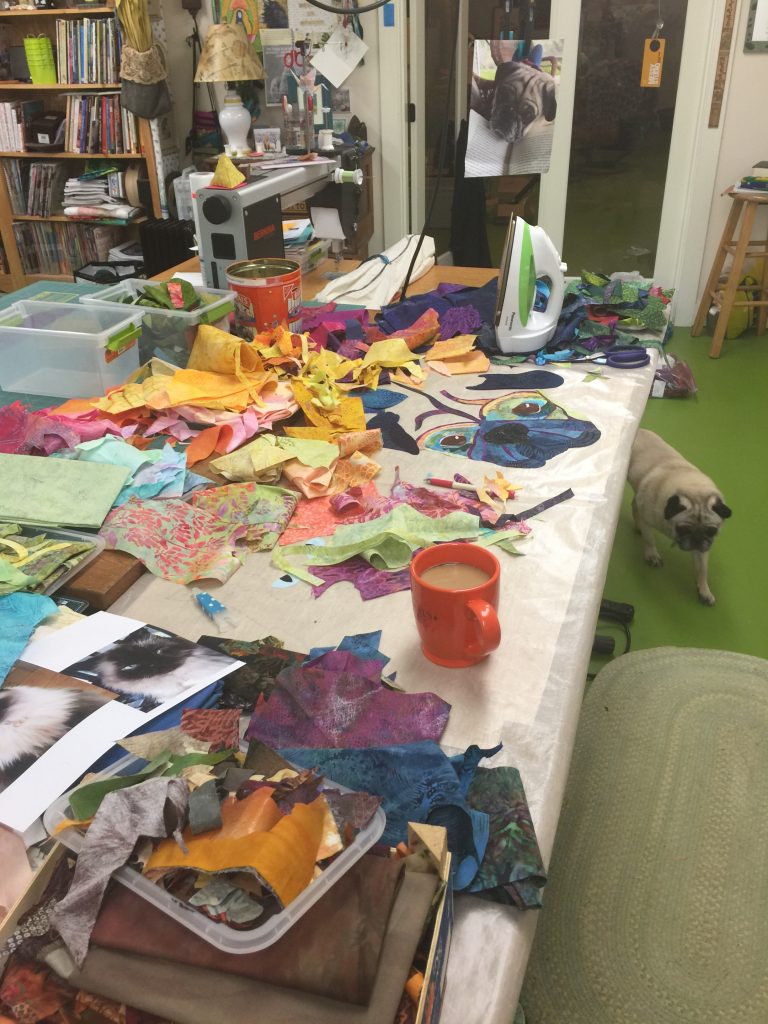
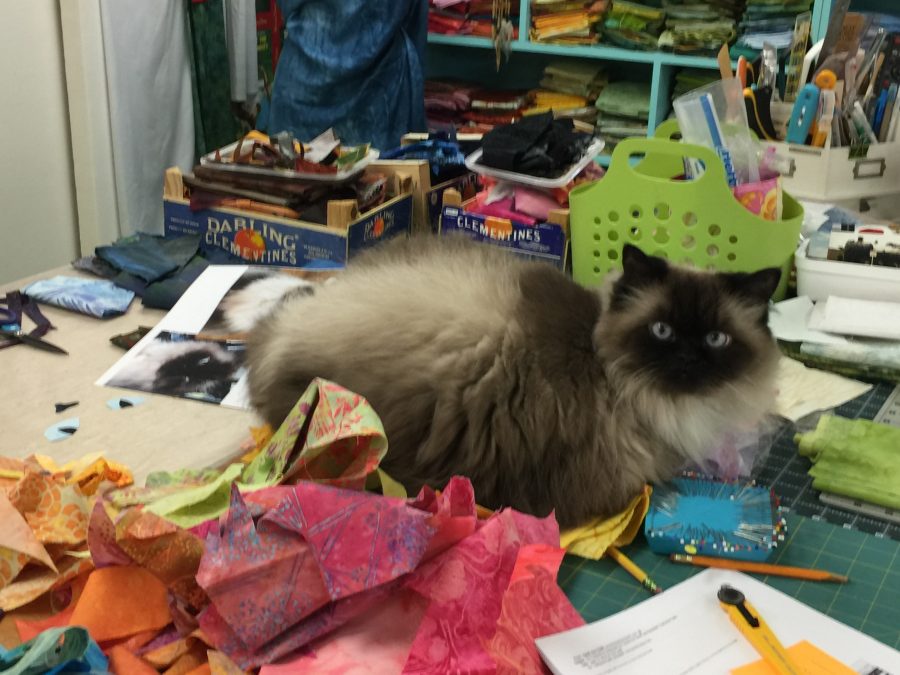
As you can see, the work area ends up just a bit messy! I tend to sort prefused (Mistyfuse ROCKS! It changed my life!) fabrics by color and value, then start working. The heaps are the “sorted” stuff (ha!). Widgeon is coming to lay down right under my feet so I can trip over him. He likes to stay close to his beloveds.
Sometimes Yoda supervises…..
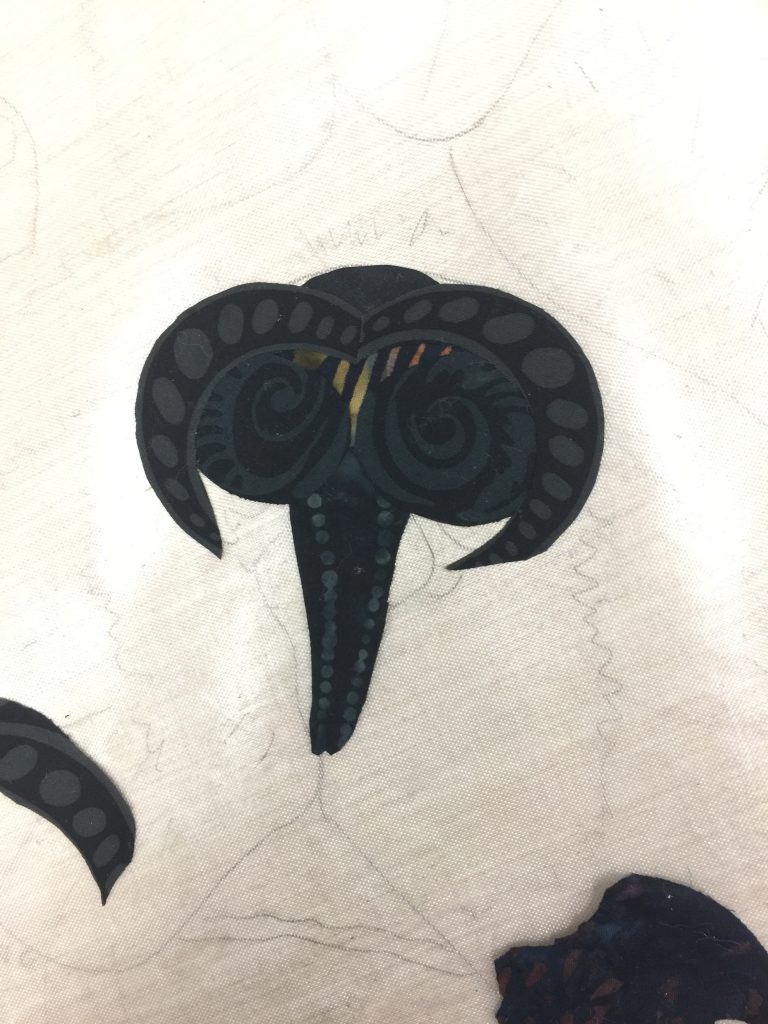
Folks say “Oh that’s the perfect fabric for the nose.” Sorta. This is seven pieces of fabric, and that’s about half of the fifteen or so tiny bits that eventually created his nose. You can see the sketch under the non-stick mat (check out Goddess Sheets at Mistyfuse.com).
Here I’m looking at what to use for the background. I used pale yellow (on which I used a pale gray pen) for the book in my lap. The pale aqua for the pillow on the left got changed for a darker value.

Now it’s time for that mini tutorial on couching yarn for quilts with facings.
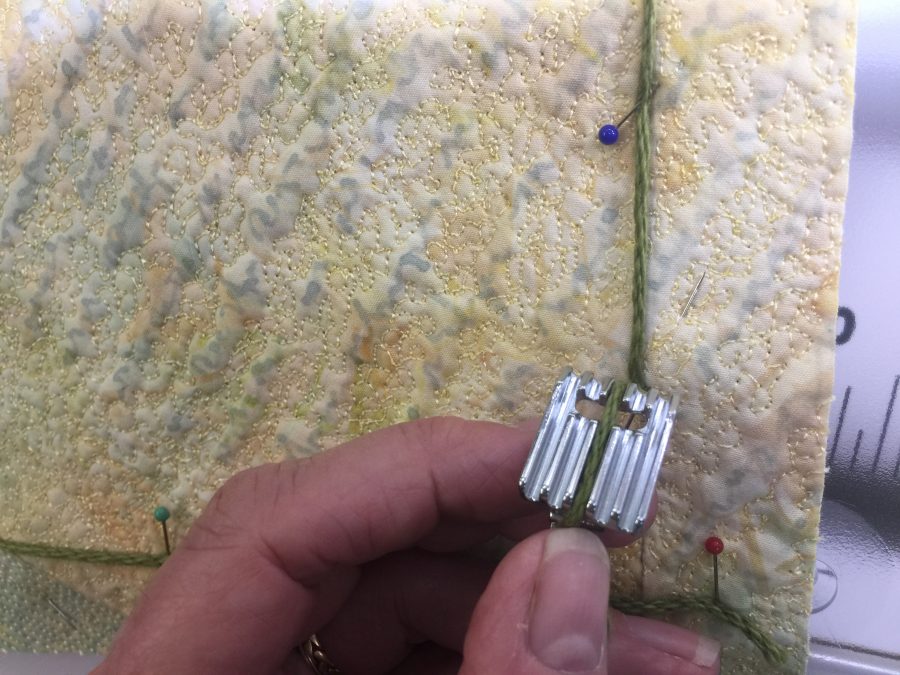
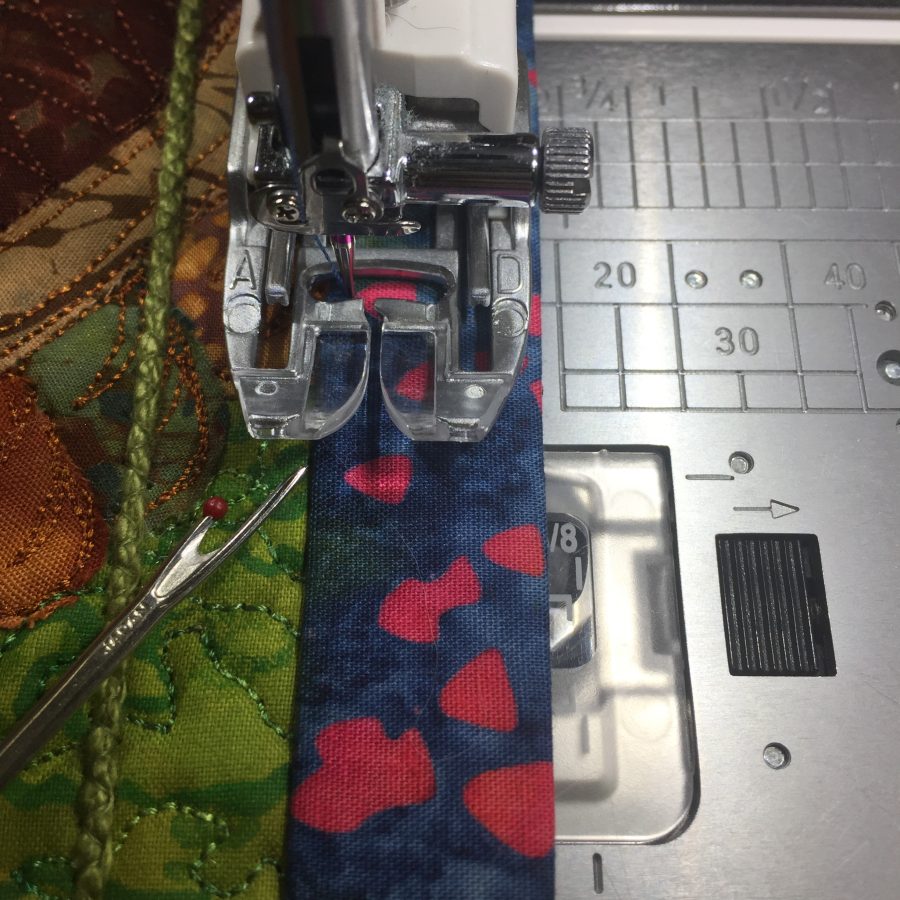
Most of the time, my quilts have facings, and some of the time they *also* have yarn couched on the edges. This makes the edges more crisp and makes it WAY easier to turn the edges in a perfect straight line (provided the yarn is sewn ON in a perfect straight line). This is what the bottom of the pin tuck foot looks like. Mine is a five-groove. There are other sizes (seven I think, and maybe three), which I prefer to the usual “couching” foot because I can fit the yarn to the groove that will best control placement. See how the yarn fills the groove…not too big, not too little, but just right.
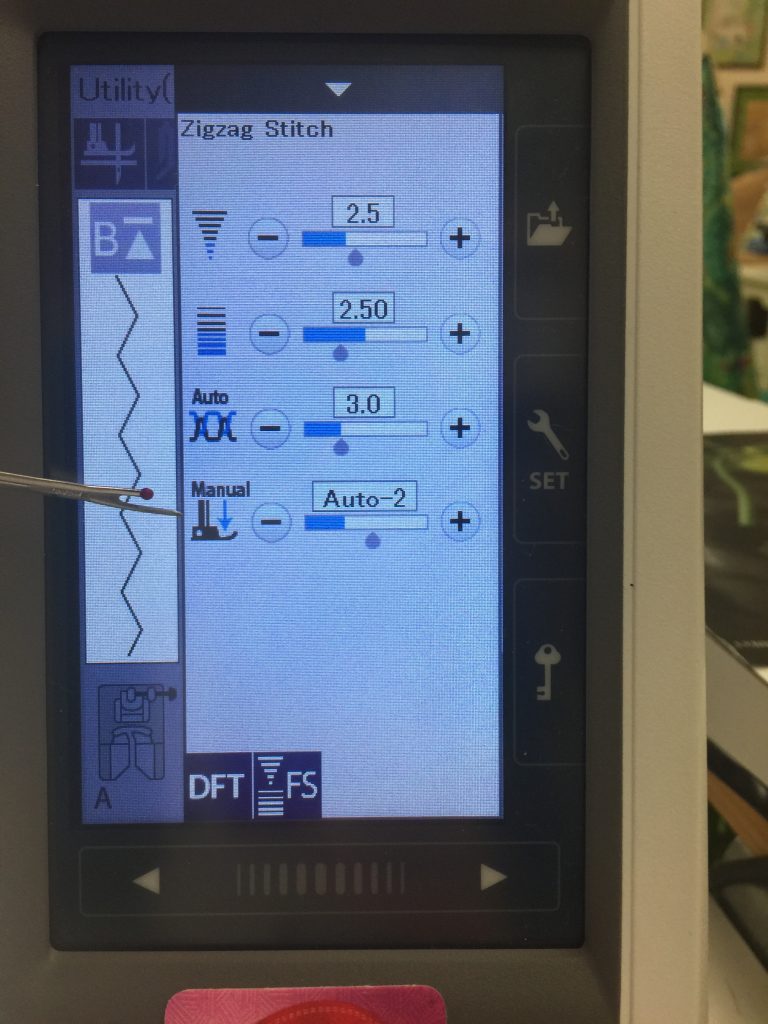
I used 2.5 stitch width and length, then reduced the presser foot pressure (how much it pushes down on what is going under the needle) to couch the yarn that ends up on the edge of the quilt.
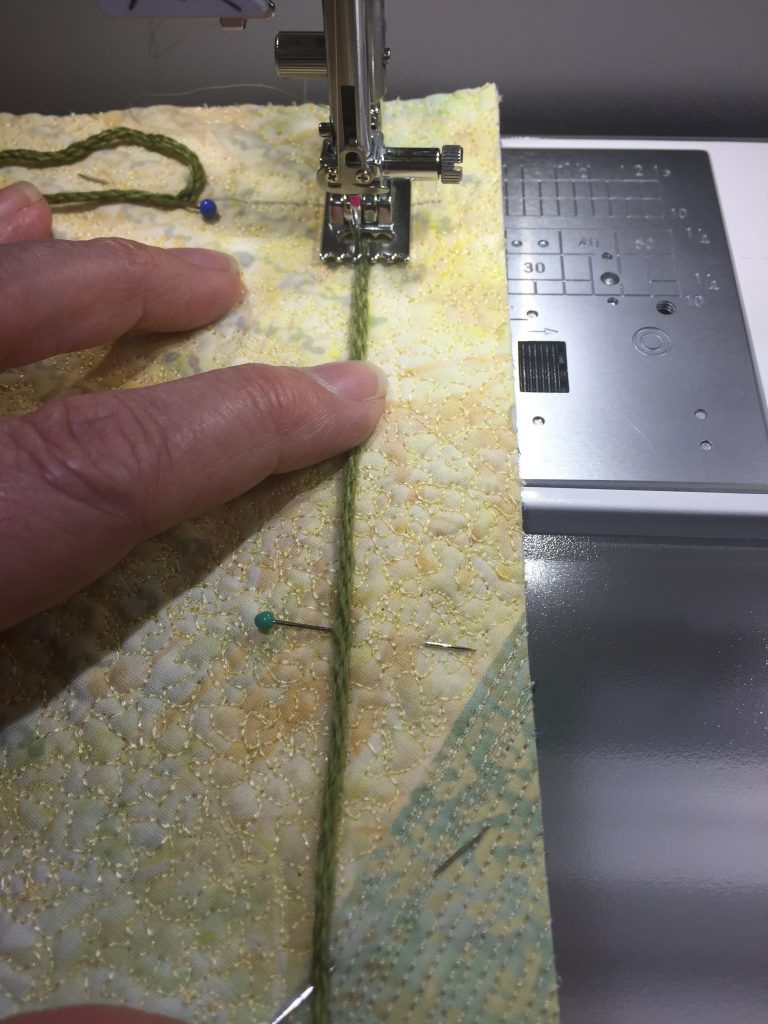
You can see the yarn is in the center groove of the 5-groove pin tuck foot. It is the perfect sized groove for the cotton yarn I favor for sharp edges on quilts with facings. I always used to chalk-mark where I wanted the yarn to go and then hold it in place with pins and my finger. But even then it would sometimes wobble, requiring picking out the stitching and fixing. Then I discovered a much better way on this quilt!
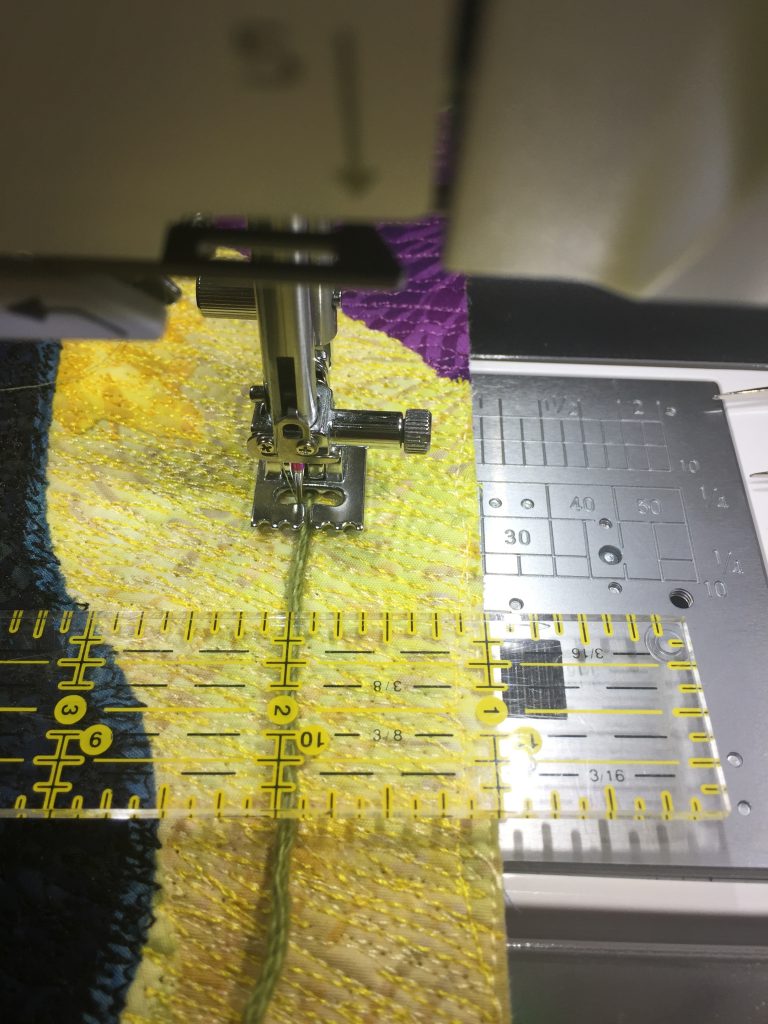
Drum Roll! Sound the Trumpets! A Better Way!!!! Using a ruler, Janome’s pin tuck foot, and a narrow open zigzag makes couching yarn on what will be the edge of the quilt easy! It worked best for me if I let the ruler hang over the edge and use the 1″ line. If I used the end of the ruler it was actually harder to see if it was perfectly aligned with the trimmed edge. And yeah, lookit all that threadwork!
Gotta love Janome’s great presser feet and plate markings, which make it possible to create a perfect facing. In my class I explain some of the extra stuff I do that makes my facings behave so well.
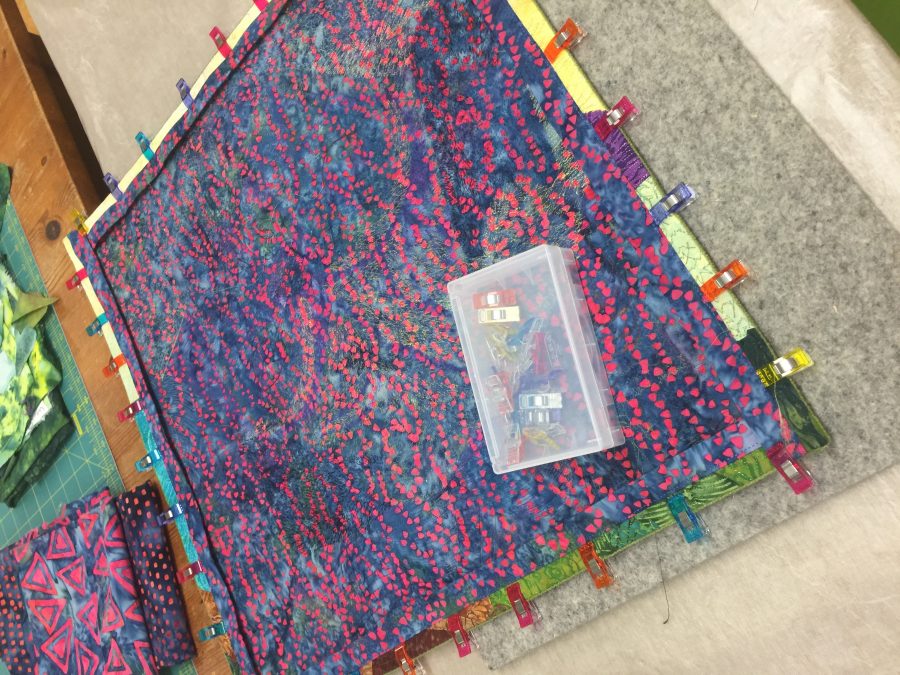
Wonder Clips by Clover. Buy them. Buy a whole lot of them. SO MUCH BETTER than being skewered by pins. If you buy the big set from Clover, they come in a well made reusable box.
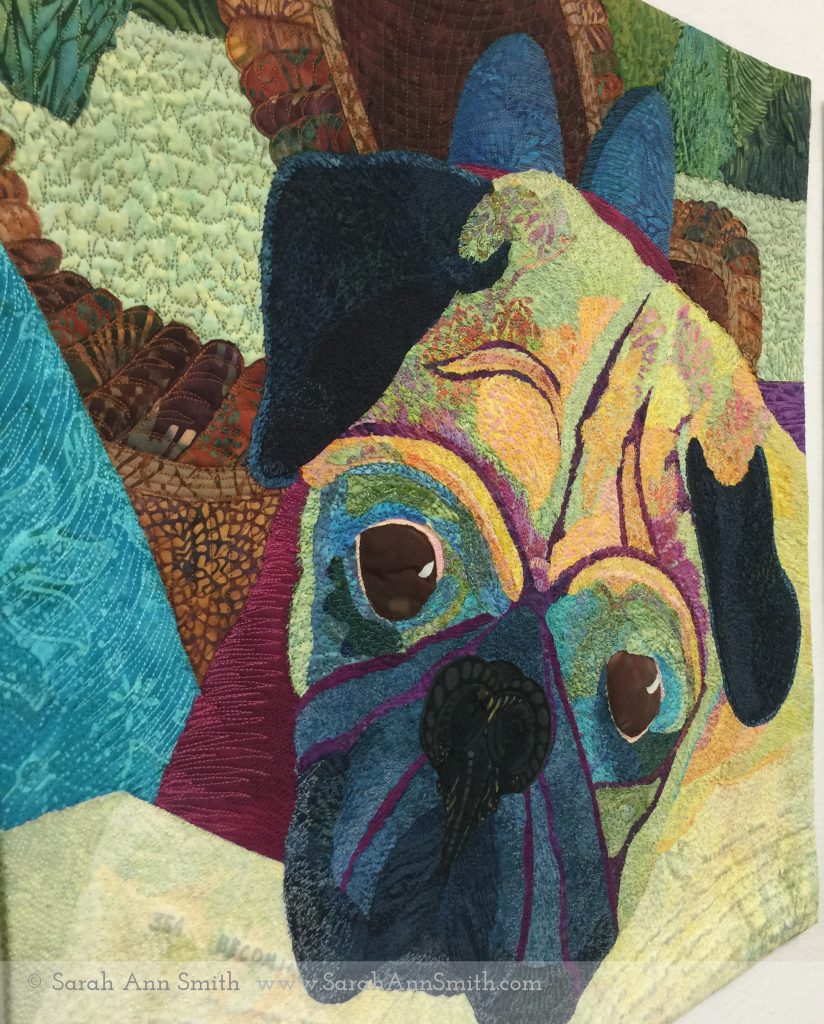
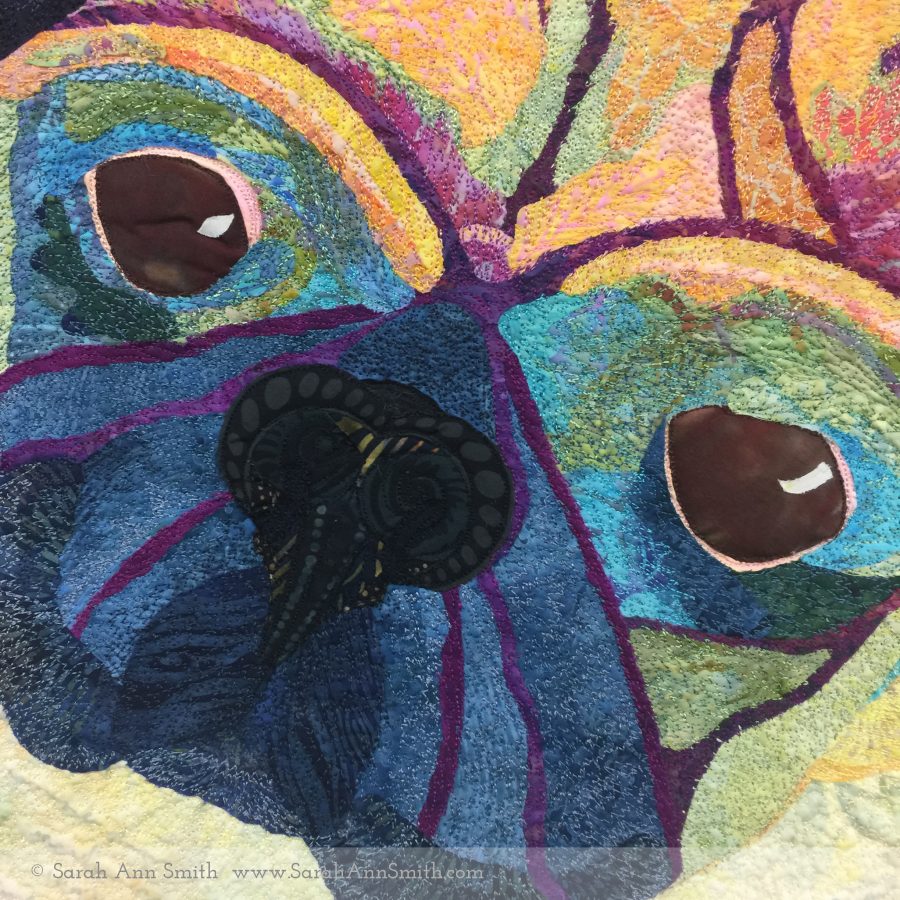
I Love, Therefore I am. A view of the quilting from an angle which shows the stitching better.
And a close up of the Beloved.

To see Yoda’s quilt, go to this post. Next, I’ll share Boo’s. He is the Usurper. The Delinquent. Chirpy.
Quoted in Quilting Arts Issue #100

Monday, July 8th, 2019

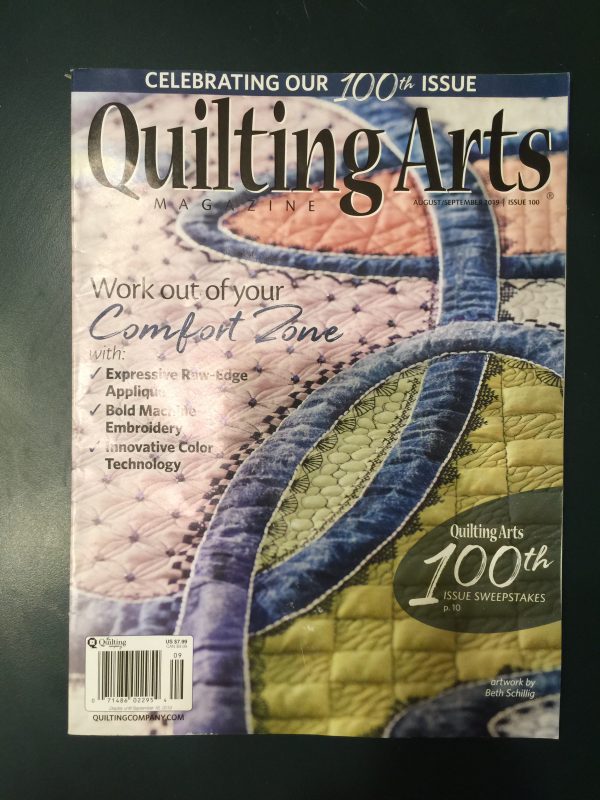
I’m thrilled, touched and honored to be quoted in the Centennial Issue of Quilting Arts magazine! First though, CONGRATULATIONS to founding editor and publisher Pokey Bolton for starting a classic, congratulations to current editor Vivika Hansen DeNegre and the entire QA team (including alumni members among others Kristine Lundblad, Cate Coulacos Prato, and Helen Gregory) at QA for what you have collectively created and given to all of us. The two-page spread on pages 86-87 of all 100 magazine covers gives me goosebumps: it is still on my dream bucket list to make the cover of QA — I came close once, was one of the top two choices, so I will strive! It’s good to reach for the stars–even if you don’t ever make it, you’ll enjoy the journey.

The current issue of Quilting Arts magazine, issue #100!

When QA began, I was living on San Juan Island off the coast of Washington state. I was in King’s, one of the two main grocery stores on the island, and by mainland standards a pretty small store. It was the only store on the island to stock magazines, which I was browsing. I picked up Issue Number 2 of something called Quilting Arts, and the rest is history! I ordered issue #1 so I have every. single. issue!

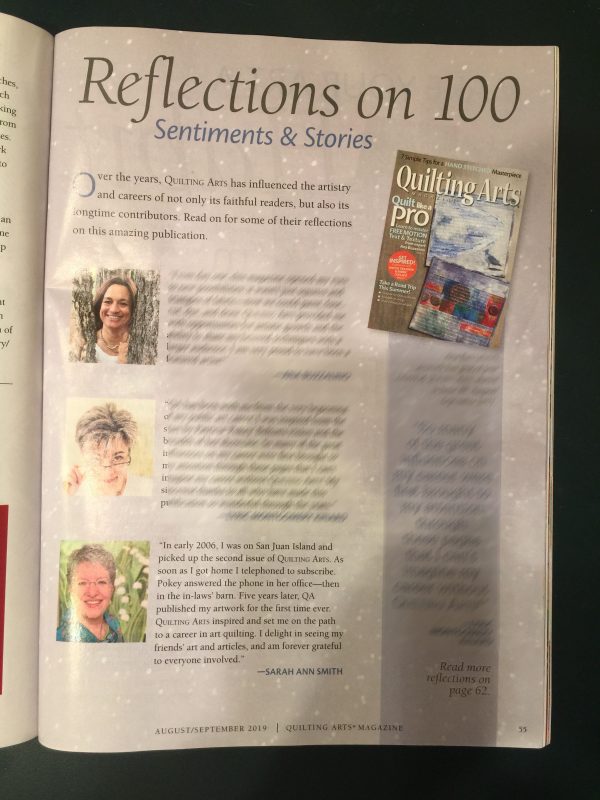
A while back editor Vivika Hansen deNegre wrote many of us who have contributed to the magazine over the years (I KNOW… Me???? How lucky am I to have been published so many times?) to ask for quotes that might or might not be used. I was THRILLED when she said it looked like my quote would make it into the magazine, and indeed it did. Check it out on page 55!

I’ve blurred out most of the page…you’ll have to find a real copy, but left my bit un-blurred. But honestly, go find a copy and enjoy the whole thing!

When I got home, before I had even read the entire issue, I picked up the phone to subscribe. That was the first time I ever spoke to Pokey, and learned that she had attended San Domenico School in grade school, my beloved Alma Mater, and grew up in Marin County, California, where I did! She’s a good bit younger than I am, but what fun–and when I won a second prize at International Quilt Festival Houston in the Art Quilts Miniature category, it was sponsored by QA and Pokey presented the prize to me. What memories.

So THANK YOU QUILTING ARTS, and you betcha I’m shouting. Thank you for the opportunities you have given to me, including my own video workshop! (available here as a download), the opportunities and inspiration and learning you have given to legions. Here’s to issue #200!

Paint on Cloth at ProChem, Fall River, Massachusetts

Thursday, March 14th, 2019

Another SQUEEE–this time ProChem! I am delighted to share that I will be teaching a 3-day Paint on Cloth Workshop from August 5-7, 2020 at Pro Chemical & Dye in Fall River, Massachusetts. Think kindergarten for grown-ups with paint and cloth: silk paint, transparent, opaque and pearlescent textile paints, as both the Movie Star and the Supporting Cast. I’ll be developing course materials over the next 15 months, so if you’ve got something you want to learn, TELL ME! And if you’ve got a brilliant title, I’m sure I’m gonna need suggestions on that, too!

Modify the fabrics that you already have to create your art

I’m not usually an abstracts person, but I love the layers I was able to get from handwriting, screen printing, and stamping…come play with me!

Please let me know what YOU would love to do in a paint-on-cloth workshop. Personally, I want to go to dinner at the fabulous seafood restaurant out on the shore in Rhode Island after class, too! I’ll be back later in the year with more details, but in the meantime, tell me what you’d love to learn from me!

Cross Pollination

Saturday, February 2nd, 2019

Sometimes you need to do something else. You totally love your main “thing” (in my case it is clearly art quilting), but you need a break. And sometimes, that makes your main “thing” even better. I’ve learned over the years that good design is good design, whether it is landscape, interiors, architecture, photography, painting, sculpture, apparel, the principles are the same. So I have taken online classes in drawing and photography and been enriched.

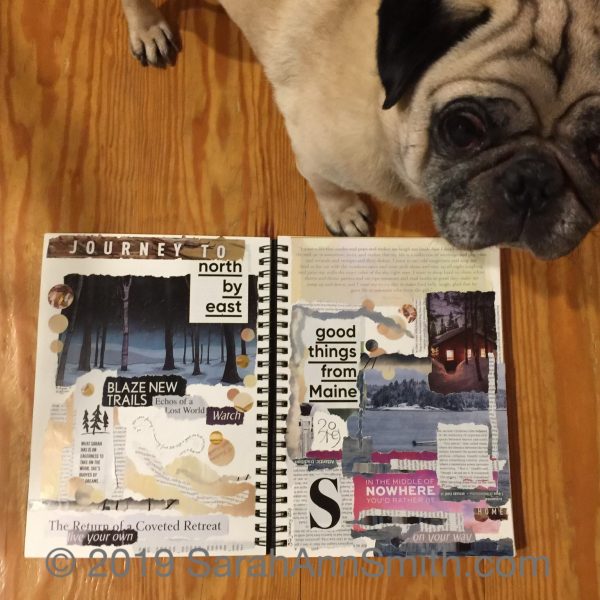
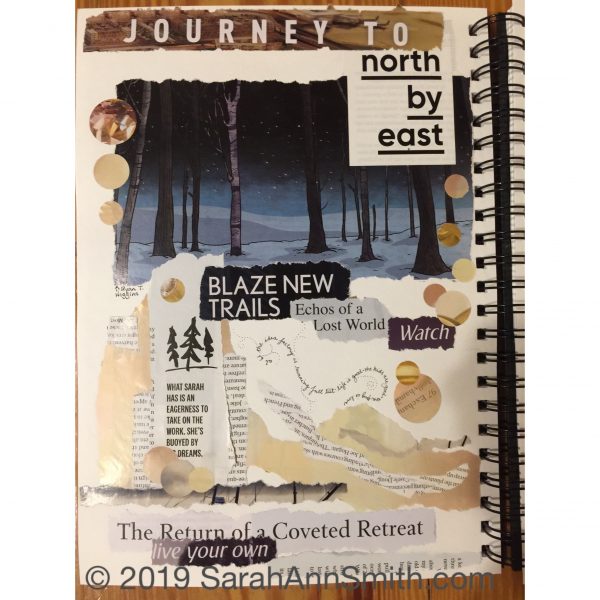
At least ten years ago, I sat down between Christmas and New Year’s desperate to do something creative. The boys were still pretty young so time was scarce. I grabbed a pile of magazines and started tearing out words and pictures and glued them into my sketchbook. That has become an annual tradition…at least most years. This year Widgeon decided he needed to see if the collage passed inspection. Happily, it merited a wag.

I don’t know if I’ve done it every single year, and some years — like this one — it was done in (late) January instead. But I like reading what words have called me to use them and seeing where my head was in a given moment.

This year, I made sure to add information about whose artwork or photo. As with most years, a lot of my fodder comes from Down East magazine. North by East is a monthly column, and in December they featured work by Ryan T Higgins, a Maine Children’s book author. I must now go to the Library and see what they have of his. I was also stunned to see the “Sarah” quote, obviously about another Sarah. I covered up the “big” before dreams, but otherwise I really liked it.
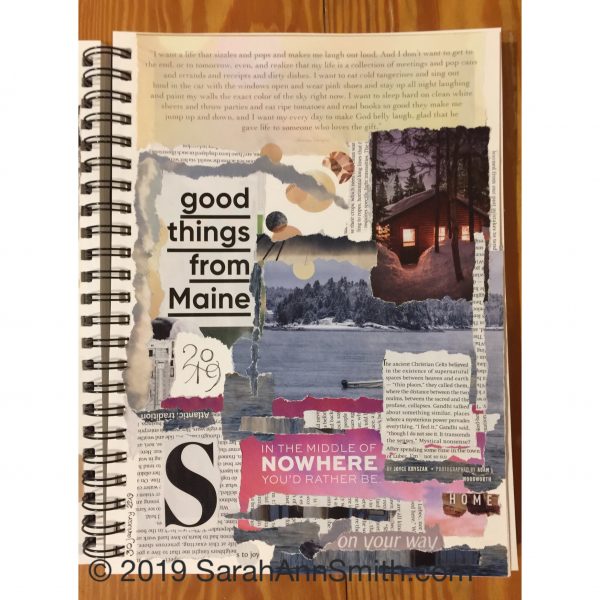
This page got pretty dense…but I liked the quote at the top (from an ad for something). I also liked the bit on the pink, but it was too much pink, so I covered it up. Using blocks of text upside down or sideways works. And I LOVE torn edges…LOVE LOVE LOVE…that exposed white framing the image or words. I also dug out my circle punches. Have some circles and a few squares.

I’ve also taken a number of outstanding art classes from Val Webb over the years, ranging from birds to children to faeries to animals, using pencil, ink, watercolor, colored pencil…I learn so much, both about materials and tools but more importantly about SEEING. Observing. I’ll never want to be a colored pencil artist, but taking birds in colored pencil with Val taught me about patience and layering. I found I now do that with dyes, with paints on cloth, with thread, in my art quilts. And this year I also took a brilliant course at Sketchbook Skool, Watercolor. I always want more watercolor!

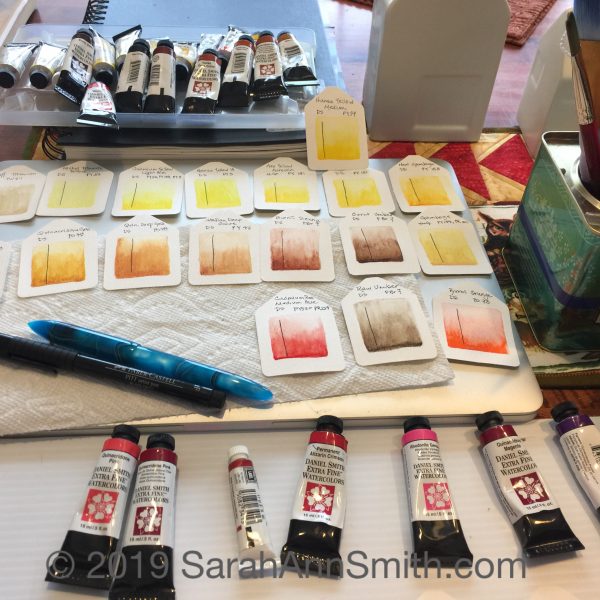
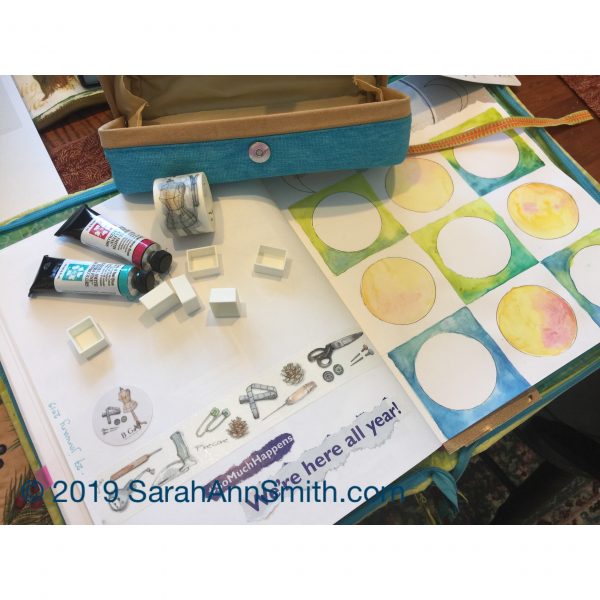
Over the past 8 years or so I have learned about the difference between student grade and artist pigments, that using quality paper makes all the difference in the world, and using pure pigments and mixing your own (just like dyeing fabric!). I decided I needed to get a bit organized and SEE the actual colors painted out from each tube. I had bought some icky (Bienfang) cheap watercolor paper that I will never use for a finished anything, not even a class practice piece. So got out my “tag” punch and did a paint out of every tube I have. Then ordered two more tubes! In search of the perfect pink…..and replacing one teeny tiny tube that is almost done. Each tag has the name, code for the manufacturer, and the universal pigment code (PV 42 for example is Permanent Violet 42). Yes, you can go wwwwwaaaaayyyyyy down the rabbit hole with this stuff!
A good mail and watercolor day. Turns out quilting templates and rulers have lots of uses, of course we all know that! I saw the clamshell cases at Jetpens.com and couldn’t resist. When I went to order, I discovered I had left that awesome washi tape in my cart, so it had to come to me also. And then there are those two tubes of watercolor and some empty half pans. That’s another thing I learned: make your OWN palettes with your favorite colors, use magnetic tape that sticks to the bottom of the pan, put inside a palette or metal tin. And then I used my quilting rulers and circles to mark a grid in my notebook/sketchbook.

I used to have both my to-do-etc notebook and a sketchbook. I never had the one I wanted handy. So I said to heck with the cost, and bought a GOOD sketchbook and use that as my “everything” journal. I write lists, take notes at SAQA (Studio Art Quilt Associates) meetings, suss out ideas for quilts, and sometimes even sketch or paint in it! Now I will start filling in the circles with words, quotes, ideas, images/sketches, may fill the white backgrounds with ink textures…we shall see!

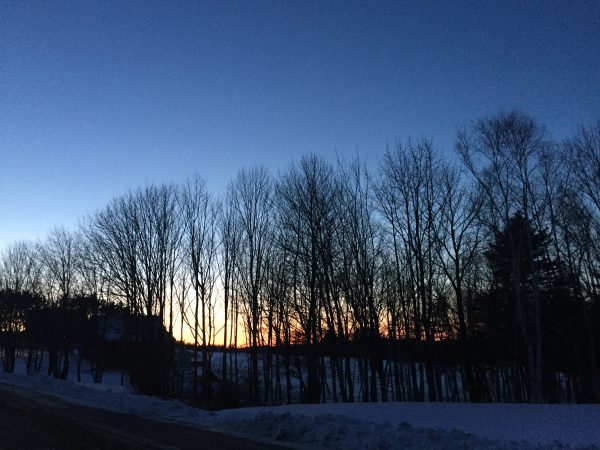
So that’s what I’ve been doing…along with quilting. What about you? And here’s an end of the day/blogpost dog walks photo from yesterday:

Sunset from the bottom of our driveway.

Little changes help: Rose Hip

Wednesday, January 16th, 2019
Not quite done yet, but improved and much closer to done and basting

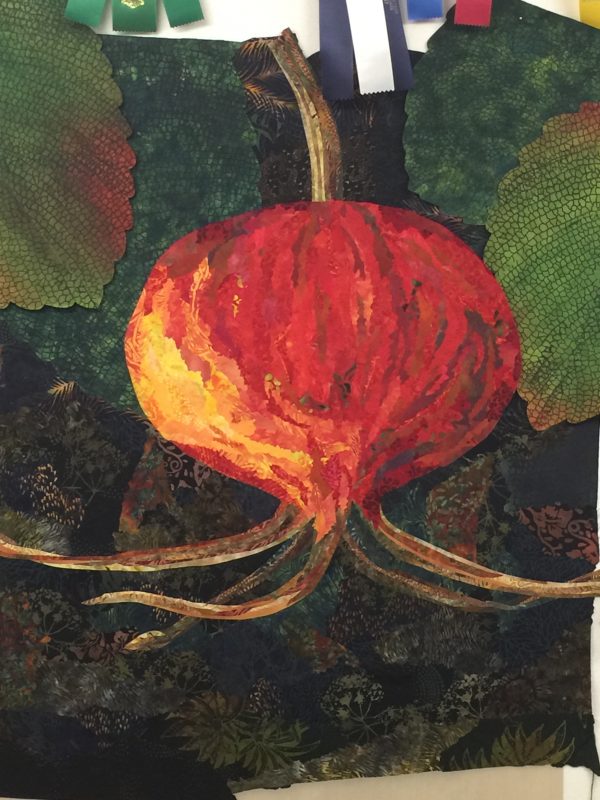
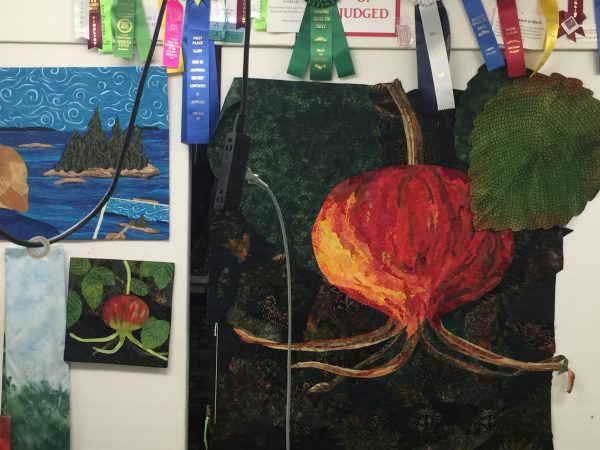
Better. I finally got a little time in the studio (and the hammering on the roof is more muffled down there–we are having a new, metal roof put on–who knew they could do that in Maine in January?). I had thought the Rosehip top was done when I left it on Sunday evening but, I’m learning I need to let things set a spell, after I looked at it with fresh eyes realized it needed some help. I made a small rose hip quilt (below), and when I saw it next to the big one, I realized the large one looked a bit dead.

My Cherrywood “Vincent” challenge quilt just returned home. Just beneath it, on the left, is the 12″ version. See how cheerful those leaves are? The large one was crying out for some life.
I thought I was going to have to dye more fabric as what I had was either too dark OR too light. Then I looked in my stash and found some fabric Lisa Walton of Australia gave me about ten years (!!!!) ago. I had used a bit of it in a quilt that won my only (so far) ribbon at International Quilt Festival, Houston, but otherwise it was safe. So today I pulled out my Rugosa Rose leaf texture thermofax screen, the paints, and Lisa’s fabric. PERFECT!
I also needed to extend the bottom of the quilt–it will end up square, but I decided it needed more breathing room on the bottom and the stem at the top will just be shorter. Since it is the foreground, a larger motif was suitable. The original colors were plum and caramel…too bright and wrong! So I used ProSilk textile paints to fix.
If you’ve ever wondered what to do with a cutting mat that has vastly exceeded its life expectancy, it makes a good surface for painting!