email Youtube

Home
Galleries
Blog
Workshops & Calendar
Store
Resources
About
Contact

Birch Pond Class

March 16th, 2009

200903blogbirchtreesclass001

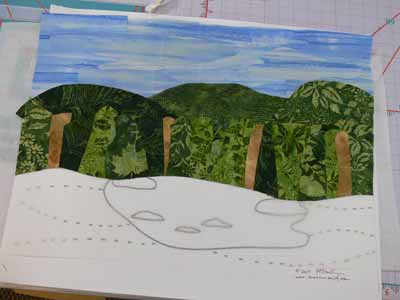
Today’s post is about a new pattern I’ve designed to help folks who want to start art quilting or for folks who are experienced art quilters but want an appealing yet fairly easy pattern.  The class to teach Birch Pond Seasons (when I get winter and spring made, I’ll have four views of the same pond across the four seasons) for the first time went swimmingly well as you’ll see by the photos!  The pattern itself will be available in about two months (guessing…have to send it away for printing the large sheet this time).

As you might guess by that rather extended absence from the blog, I’ve been busy! Between the first draft of my next article for Machine Quilting Unlimited magazine, getting together the stuff for taxes (not only ours but mom’s, too…bleah), attepting to get some sleep, going to wrestling meets, the usual family and household stuff, making a new small quilt for the article, and teaching, I’ve been rather behind the curve.  A while back, I got to teach my Birch Pond landscapes pattern for the first time at Maine-ly Sewing, and it was a gas!  I will definitely be polishing up the instructions, sending the pattern off for printing (it’s oversized, and copies at Staples are about 6 times more expensive than shipping it away and getting it professionally printed).

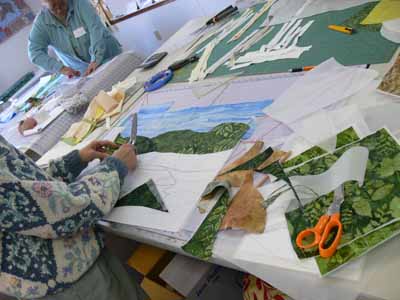
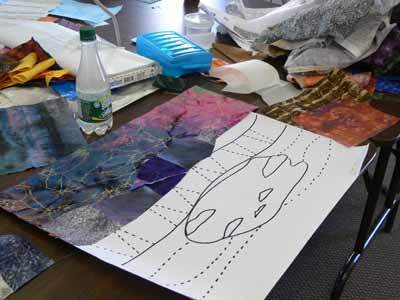
After showing the students how to fuse up fabric (both large chunks and smaller bits) they began composing their quilts.  The easiest way proved to be setting out the large pattern (the piece of paper is about 18×22), placing parchment paper on top of the pattern, then the pre-fused fabrics on top of the parchment.  Here you can see the pattern through the parchment on the lower half of this quilt.  This student did a fabulous job with her sky; she had one piece of fabric that was perfect, but WAY too narrow, so we cut, spliced and overlapped for it to look like a summer’s cloud-dotted sky.

Another student chose a dramatic lightning-streaked sky and dark mountains for her quilt:
200903blogbirchtreesclass009

200903blogbirchtreesclass012

Working from farthest away (sky) to the front (foreground), we began with the sky, then the distant hills, then what I have called “the woods behind the pond.” You could cut a single swath of fabric to go across the entire quilt, but I think by cutting chunks and “piecing/fusing” a band, you get greater depth in the piece:
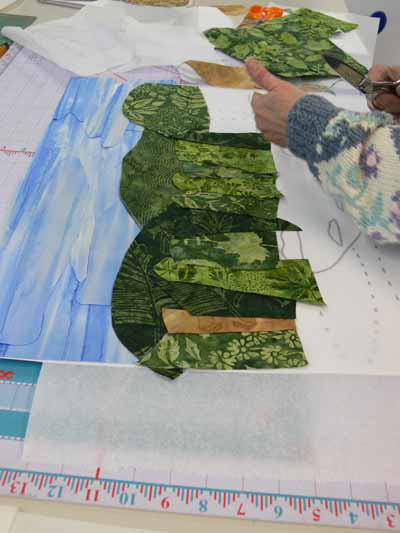
Creating the woods behind the pond

Creating the woods behind the pond

To make the tree trunks, we created “new fabric” by cutting strips of white, cream and gray, then cross-cutting into tree trunks:
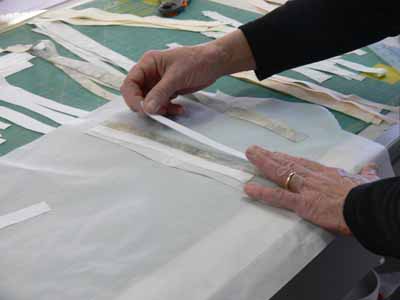
Using strips to create new "fabric"

Using strips to create new "fabric"

One student decided to go for wild and funky colors… I’d love to see how this one turns out after she adds the birch trees, foreground plants and quilting.  Here is her quilt at the adding the pond stage:
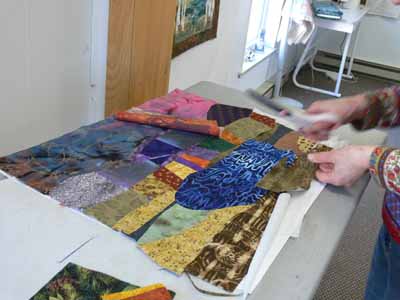
Adding the foreground in the wild and funky one

Adding the foreground in the wild and funky one

After the pond, we added the foreground and rocks:
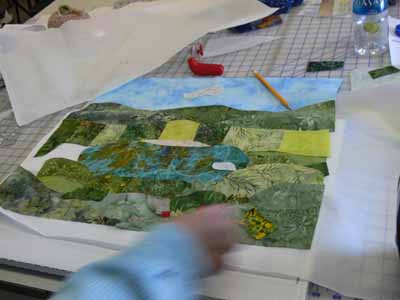
Adding the foreground and rocks

Adding the foreground and rocks

Or, you could add the birch trees behind the pond first:
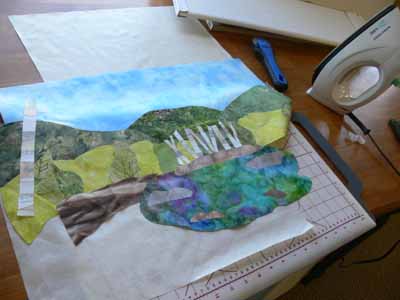
Adding the birch trees behind the pond

Adding the birch trees behind the pond

Two sisters took the class together, and decided to combine forces.  Rather than both of them working separately, they decided by late morning to create one quilt together and get it to nearly-done stage, then make another at home.  Here is one of them “building” the scene and adding the birch tree trunks first:
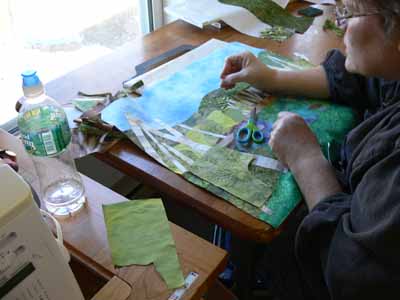
Building the scene

Building the scene

Finally, a nearly complete top (minus borders):
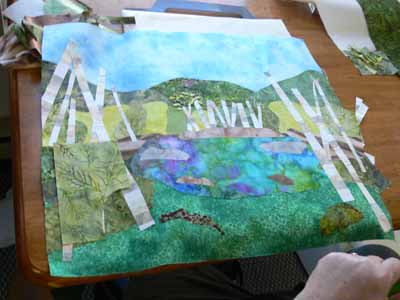
Birch trunks added...next, foliage!

Birch trunks added...next, foliage!

At the end of the day we discussed border selection, quilting designs (the ones on my quilts, which you can see here, are designed to be do-able by newbie machine quilters), and  using a facing to finish the edges.

And thanks to one student who went home and finished up, a finished student quilt…hoooray!  I REALLY like how she added red flowers going back to the sides of the pond…really helps lead the eye to the pond and the birch trees behind it:
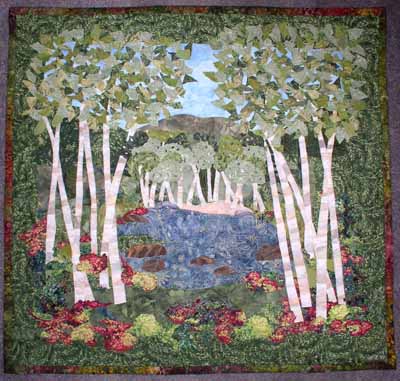
Finished student quilt (thanks Martha!)
Finished student quilt (thanks Martha!)
Spring is really coming!

March 12th, 2009

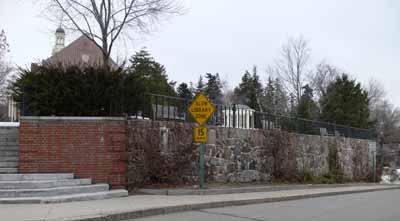
So, how do I know (besides the willow and oak twigs flushing yellow, and the maples sporting a tinge of red on the tips)?  The Library of course…. you see, it has this South-facing stone wall that gets warmed by the sun:

The Stone Wall at the library

The Stone Wall at the library

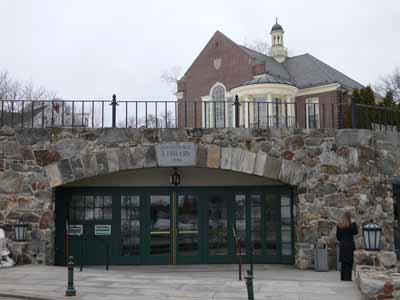
The old part of the library is the building upstairs.  In the mid 90s, they expanded significantly the only place they could:  down, under the grassy slope.  Here’s the new entrance:

200903blogcrocus004

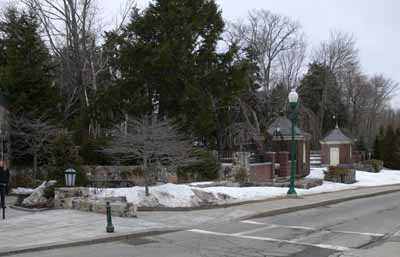
And the Amphitheatre park next to the library which, as you can see, is still quite snowy:

Amphitheater Park

Amphitheater Park

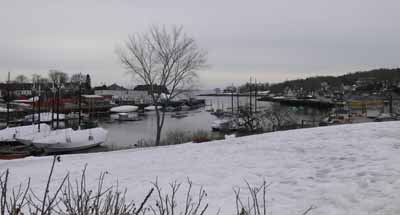
Here’s the view across the street, over the rest of the slope down to Camden harbor:

Camden Harbor, early March

Camden Harbor, early March

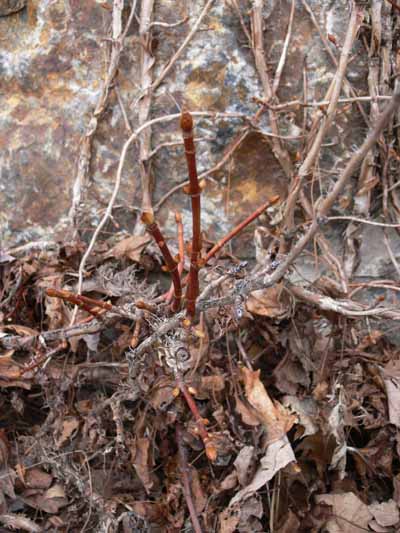
Well, the readers of Camden know quite well that the crocus at the base of the wall come up about three weeks before any other flowers peek their little green shoots above the ground.  Here is what I saw:

Buds on the climbing Hydrangea

Buds on the climbing Hydrangea

And, for a tease:

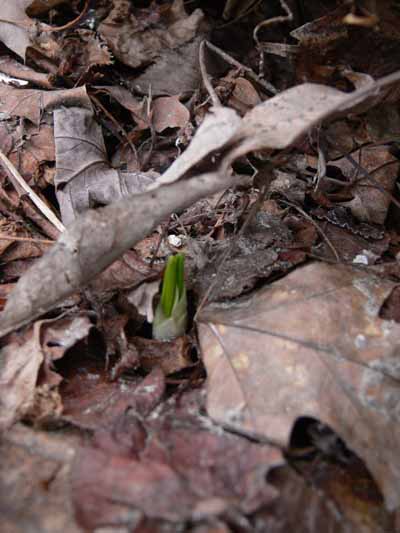
Just a bit of green

Just a bit of green

And last of all, DRUM ROLL PLEASE:

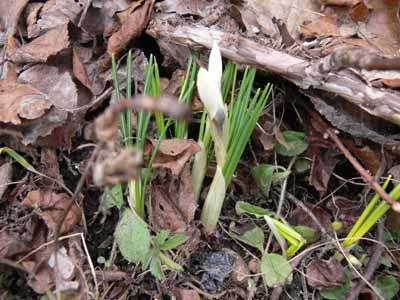
White crocus!!!!

White crocus!!!!

Actual BUDS!!! Soon, true open flowers…woooohoooo! Time to put away the snow stuff!

Beaded Notebook Cover Class

March 2nd, 2009

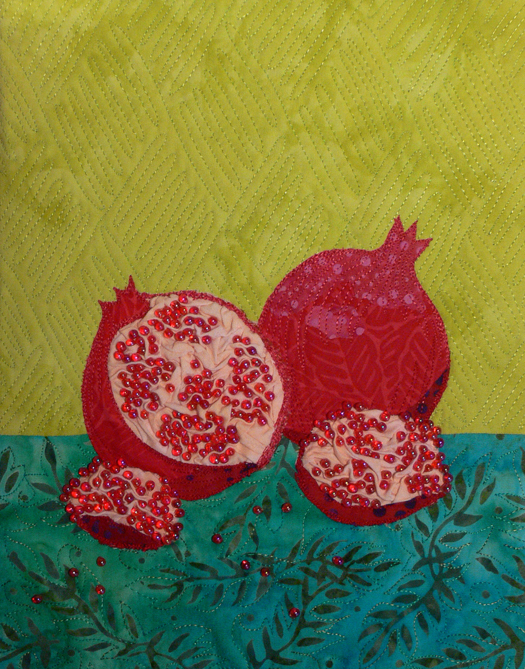
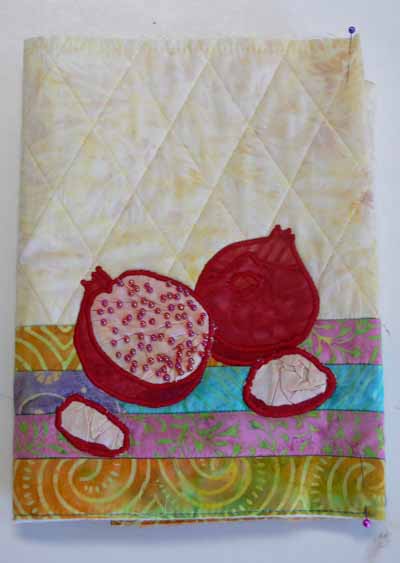
I had fun on two Fridays not long ago… I got to teach a very small class (of 3 students) at Quilt Divas in Rockland, Maine.  LONG time readers may remember that I was elated about this time last year to learn that my pomegranate notebook cover project, selected for a book by Lark Books, was on the cover of Creative Quilting With Beads. (by the way, only two copies left at my little store, but I have plenty of the beads available….they are hard to find so I bought a kilo!).

pomaquabrochuresize

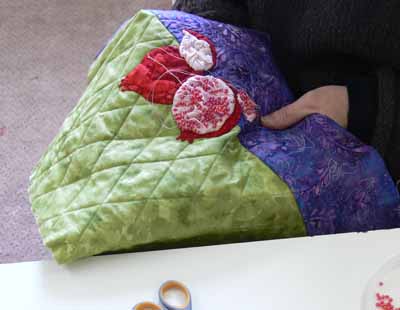
I hope the students had as much fun as I did.  Pam loves jewel tones and hand applique, so instead of doing the fusible applique thing, she did hers by hand.  Can you believe she had NEVER machine quilted before????  I can tell she’s gonna go gangbusters now!

Pam's cover, as she is beading

Pam's cover, as she is beading

Judy also likes bright jewel tones, and had brought a range of batiks.  I think if this brown batik had been in stock (Judy bought it at least a year ago which, SOB, means it is likely not around anywhere) each of us would have bought a couple yards….

Judy's cover

Judy's cover

I had a new idea, to piece the “table” area below the pomegranates, so Karen pieced up her bottom section. I love the summery colors (and we certainly need color…keep reading):

200902blogclass004

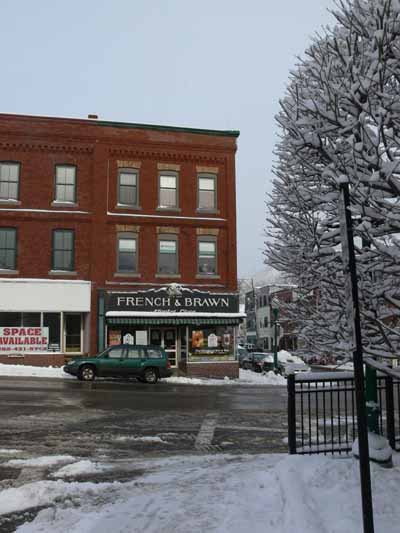
On the way to the final class, it had snowed yet again, so here is my little, old and bonked by reliable Subaru in front of the French and Brawn grocery that has been on the corner for over a century:

My green subaru on the corner

My green subaru on the corner

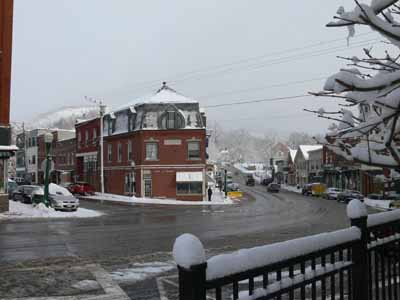
And the view down Main Street (PS…isn’t the building with the big round window in the roof cool?!):

Beautiful downtown Camden, Maine, Feb. 2009

Beautiful downtown Camden, Maine, Feb. 2009

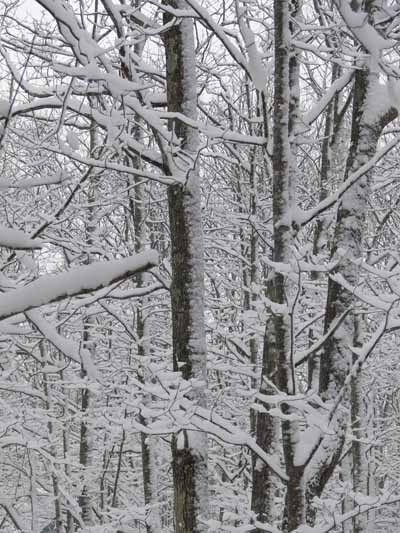
On the way home, there was more beautiful snow on trees:

Even more trees and snow

Even more trees and snow

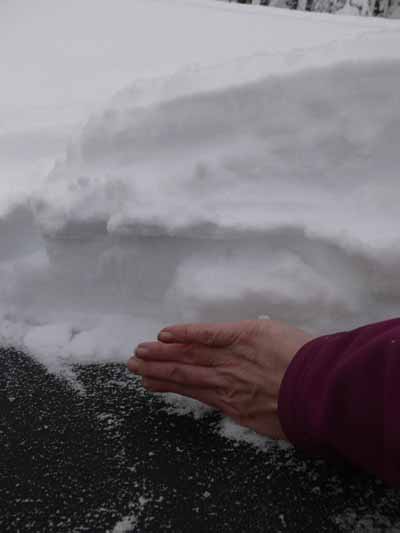
Then I decided I had best dig out the trampoline.  Here is how much snow we got in the Wednesday/Thursday storm….that is my hand, and I wear ladies’ large gloves….that’s a lot of snow!

Lotsa snow...about four hand widths...on the trampoline

Lotsa snow...about four hand widths...on the trampoline

Mounting a small quilt on a canvas

February 28th, 2009

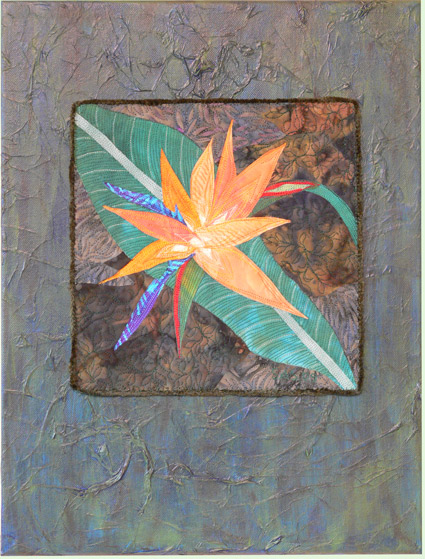
I’ve mounted a number of pieces on either painted canvas or fabric stretched over artist’s stretcher bars.  When I posted my piece for SAQA@20 recently, a friend asked if I could share how with her.  I decided it might be a good idea to share with EVERYone, so here goes.  Here is the SAQA@20 piece:

Bird of Paradise full shot

Bird of Paradise full shot

For this piece I purchased a primed canvas at my local art supply store (and how heavenly is it to LIVE near an art store…a real one, not a chain…. glorious!).

Here’s what I wrote to Debby, chatty and all:

  1. Buy canvas.  I take the finished (or nearly so) piece with me to the store to eyeball the right dimensions.  Make sure you leave enough space on edges that you can sew through canvas, not wood frame (otherwise it is E6000 glue time, and yes, I have done that too!) Canvas is usually primed (painted white).
  2. Mark the location of your work that will be mounted.  I placed mine, measured to make sure it was square/level and equidistant from the sides.  With a pencil, reach underneath the artwork and sketch a line, maybe an inch inside the edges of the piece.
  3. Find tissue paper-I actually happened to have a fairly old, tatty piece of acid-free tissue so used that, but I would just use plain old tissue paper if I had it.  Tear tissue into bits and “glue” to the surface, wrinkling and scrunching as desired.  I used Golden Mat Medium, but a Gel Medium or Mod Podge would work too as the “glue” with a sponge paintbrush.  The tissue will likely tear a bit–that’s OK.  I did NOT extend the tissue far under the location of the artwork… I went to about the pencil line.  Allow to dry–overnight if possible.
  4. Paint.  I used a blue paint first, and it was WAY too blue.  You may need a brush (not sponge) brush to get into some of the tissue crevices.  Allow to dry to the touch.  Oh yeah… I happen to have on hand Golden Fluid Acrylics (available at www.dickblick.com) so I used those.  You could also use craft acrylics, but the pigment load per   ounce (or whatever measure you want) isn’t as much…in other words, there isn’t as much pigment.  You get better coverage and durability with artist acrylics, but they aren’t necessary (my Cappuccino series that are on the square canvases…check in the For Sale tab… were painted with craft acrylics).
  5. Paint a second layer of same color if you don’t want the white of the canvas to show through.
  6. As I mentioned, mine was way too blue, so using a sponge paintbrush, I added some green, which made it too green.  By the way, I tested on the area that would be under the artwork so if it was awful and I couldn’t clean it off, I wouldn’t ruin the canvas.  Then I took a wadded up paper towel and swiped.  For this one, I kept the swiping vertical, but it could be fun to do every which way, too.  That lifted some of the green, and thinned other parts of the green, which was kinda cool.
  7. It still wasn’t quite right.  Did the same thing using Raw Umber (or was it Raw Sienna?), a dark earthy brown.  I applied less paint, almost a dry-brush technique dusting the color here and there, then paper-toweling.
  8. Oh…sewing it on.  Once everything is dry, I position the artwork, again measuring for level/equidistant.  I spear the corners with pins (and more on the sides if the piece is large).  Using a sturdy needle threaded with a double strand of thread that matches the outside edge of the quilt, I stitch about every inch or so.  Some artists may only do the corners, but I don’t trust cloth not to move.  On the bottom I’ll do maybe every two inches.  A thimble REALLY helps as the canvas is tough.  I have heard that some folks will sew felt to the back of the quilted art, then use maxi-hold glue.  I’ve done that, but don’t really like doing it.
  9. Finish the back.  Black dust-cover stuff (what is underneath upholstered chairs) works great on the backs.  I staple gun that (or whatever) to clean-finish the back, and hammer one of those picture hangers to the center top… I call them alligator hangers…straight across the top, downward facing triangles/teeth on the bottom.
  10. Turn around, admire and enjoy.  Hope for a quick sale!

Really fancy eh???

I suppose I should have applied a varnish to the top.  I KNOW I should have with the craft acrylics since they are starting to scuff a bit on the edges.  I think I shall apply Glad Press N Seal to the top of the quilted parts, then use a spray varnish (Matte or Satin) for those pieces to protect the paint.  Maybe on this one too.

Some alternatives:

Buy a canvas the same size as your piece.  Paint the edges.  Sew felt (black would be best) to the back of your quilt.  Glue it using permanent glue to the canvas.  By using felt, you can later change your mind and remove the quilt from the canvas if you feel like it.

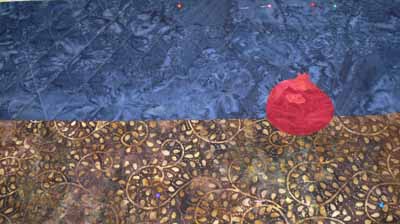
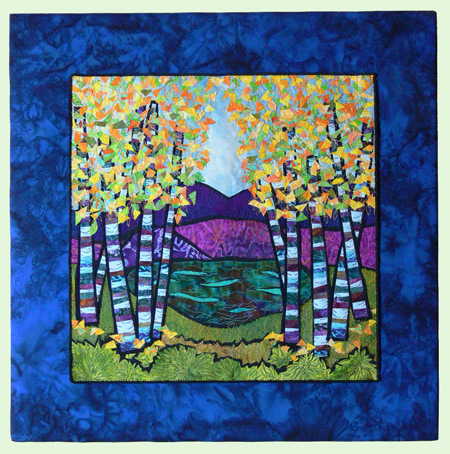
Use artists stretcher bars, cover with batting and coordinating fabric, as I did with Birch Pond and a number of other pieces (check the for sale gallery… the Cloud crane, Tree Branch Moon and maybe some others are done this way):

Birch Pond, on blue batik over stretcher bars

Birch Pond, on blue batik over stretcher bars

If there is anything that is confusing…just ask! OK…NOW it’s done.  I think…

Even MORE snow…and baking bread on top of the woodstove!

February 26th, 2009

200902blogbigsnow007

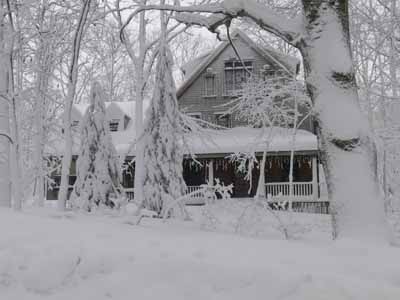
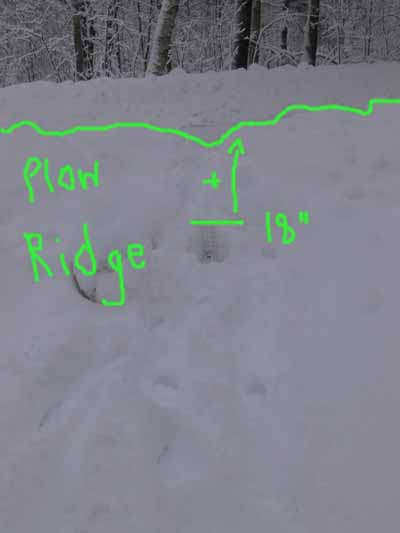
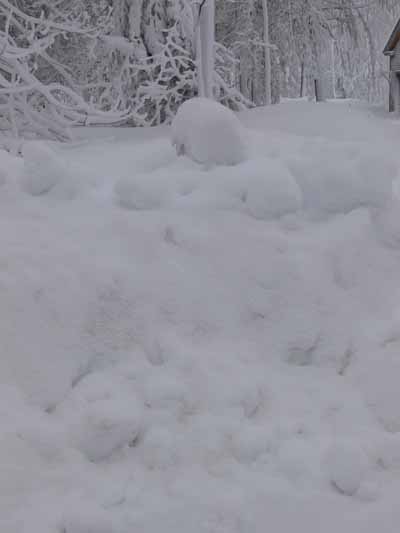
Wowie zowie…that was a snowstorm!   On Sunday it began to snow, and snow, and snow… when it finally stopped on Monday (yes school was cancelled for the day) we had 11 inches of fresh, WET powder in the driveway and a prodigious snowplow pile.  The photo above is of our house, from the street.  Here is my handy dandy quilting ruler in the snow next to the snowplow ridge…that is an 18 1/2 inch ruler, dwarfed….:

200902blogbigsnow002

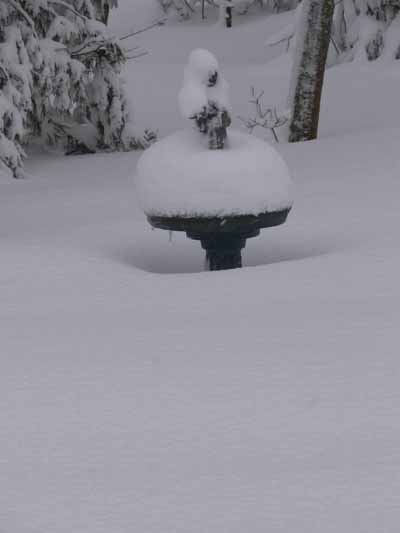
I always take pics of the St. Francis birdbath and the nearby pot.  The latter is large, and buried.  Here, you can see the snow is almost up to the basin!

200902blogbigsnow010

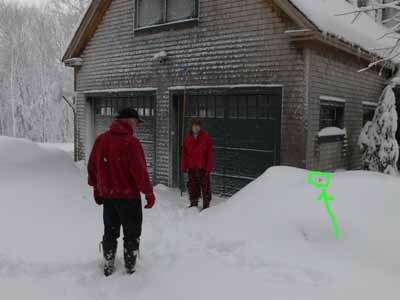
Paul and Joshua in front of the snow-crusted garage.  See that little bitty orange thing sticking out of the snow?  That’s the 3 foot post to show the plow guys the edge of the driveway…..

200902blogbigsnow006

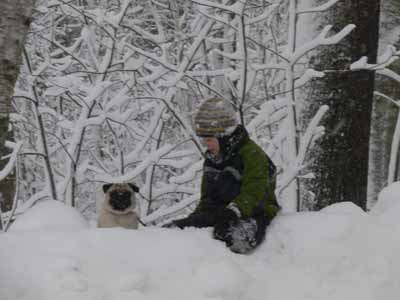
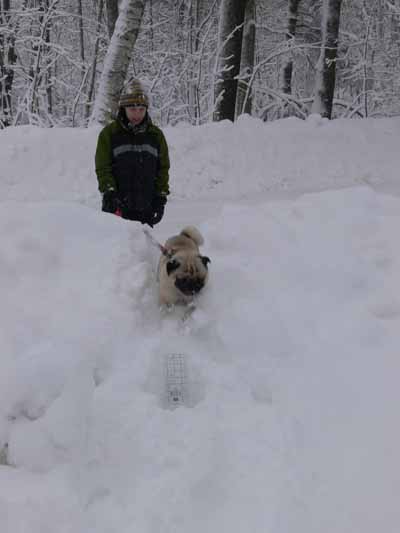
Eli took Widgeon for walkies, cross country in the little woods across the street.  Are those not the cutest two things on six feet?  Widgeon LOVES the snow and doesn’t care if his tummy and dangly bits get all cold and red! Silly sweet dog!!

200902blogbigsnow003

And coming over the plow ridge…if we have much more snow we’ll have to park in the driveway or have a bonfire as there is nowhere else to push the stuff:

200902blogbigsnow004

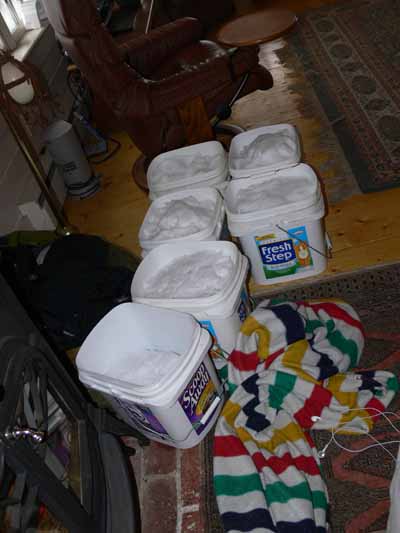
Shortly after the Oscars began, the power went out.  For 21 hours.  Since we have a woodstove and gas range, this isn’t too big a deal.  Except the water pump is electric.  That means each toilet has one flush.  Ooops.  So what to do?  Well….melt snow! All this barely made a dent in the mound on the front porch steps:200902blogbigsnow008

Then there is the mailbox…see that lump in the middle…that’s it!

200902blogbigsnow005

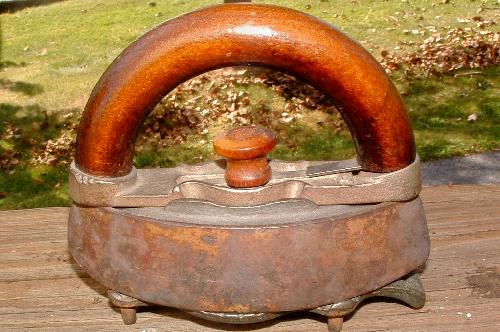
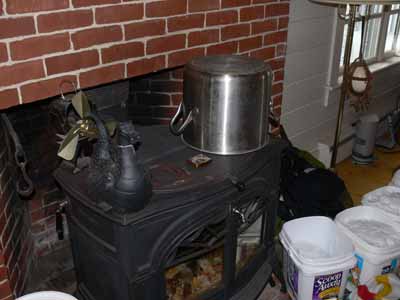
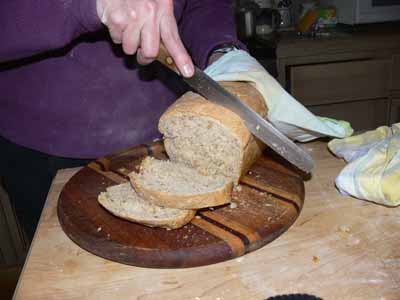
The boys were at first at a loss without iPod (battery gave out), cell phone for texting (ditto), laptop (ditto), internet….so they got out the board games and I treated myself to reading a fluff quilty novel! Paul slept or read. Then, at some point, I discovered we had a scant half-loaf of bread, so decided to bake some.  I had forgotten that while we can light the burners (they have knobs), the oven does NOT have a knob.  So I had 12 cups of flour (4 loaves) kneaded, risen, punched down, and formed into rapidly rising loaves.  What to do????  Well, I figured if I could find a metal box (yeah right) I could improvise an oven…Paul’s thermometer on the stovetop tells him when the surface is 500, where he keeps it.  I needed a 375 degree oven.  So….I thunk on it….the canning pot!   Down to the basement.  But the bread would burn on the bottom…hmmm… my sad iron trivet…kinda like this … under the pan.

sadironntrivet

And here’s the improvised oven:

200902blogbigsnow009

Guess what…It WORKED!

200902blogbigsnow011

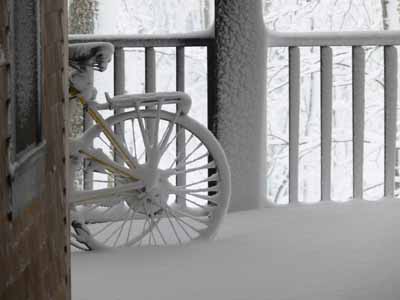
And one of my favorite pics just because….the ancient bike on the deck:

200902blogbigsnow001