email Youtube

Home
Galleries
Blog
Workshops & Calendar
Store
Resources
About
Contact

Archive for the ‘Favorite Products’ Category

Janome’s new Skyline S7 Sewing Machine

Monday, October 26th, 2015

Janome never ceases to amaze me with the quality of its machines.  The Janome Skyline S7 is a more modestly priced machine than what I have used for the past decade, but it has features straight from the top of the line 15000 (click on the link to open a new tab to Janome’s page with all the features).   If your budget or preferences don’t run to expensive machines, this machine may have all the versatility and dependability that you need with the right sticker price.  I am, quite bluntly, surprised and pleased at the wide array of features and outstanding performance of the S7.

Here’s the nice photo of the S7 from Janome’s site (NOTE:  photos are mostly clickable to view larger):
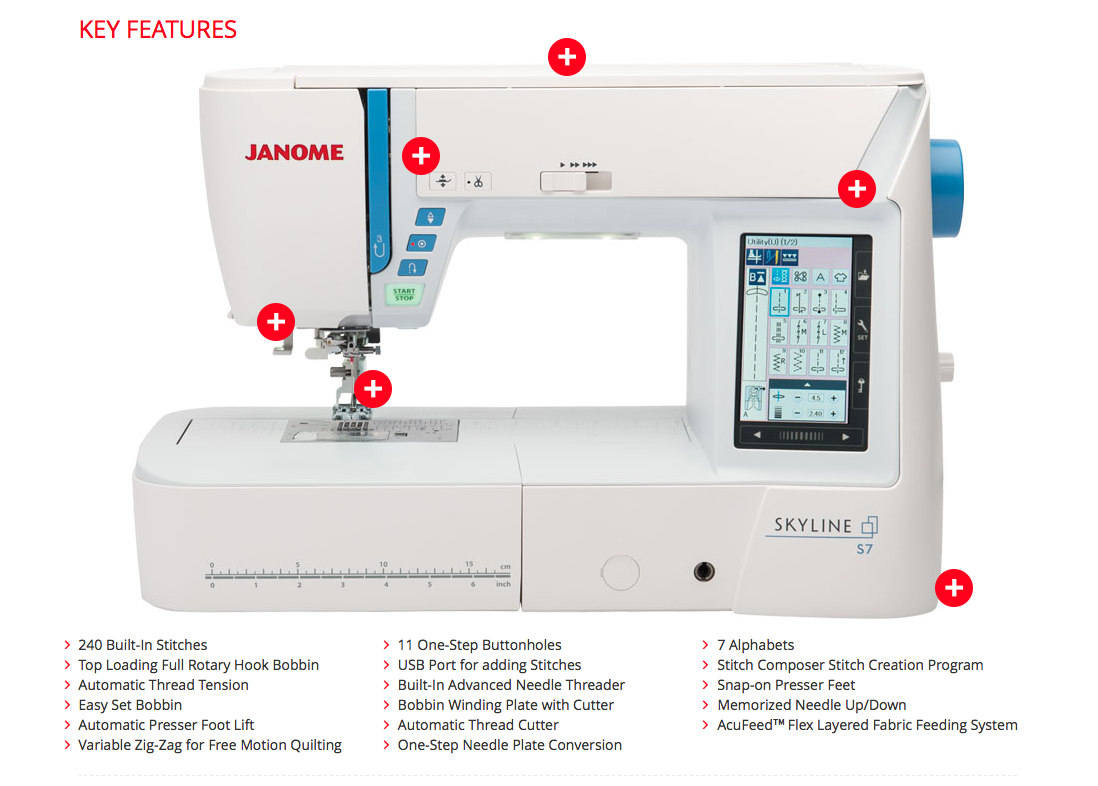
A screen capture from the Janome America website. To link to the site, go here.

A screen capture from the Janome America website. To link to the site, go S7 and scroll down.

Also from the Janome site, the included parts. Pretty much everything you need for routine sewing.

Also from the Janome site, the included parts. Pretty much everything you need for routine sewing.

And much less fancy shot of the S7 in my studio:
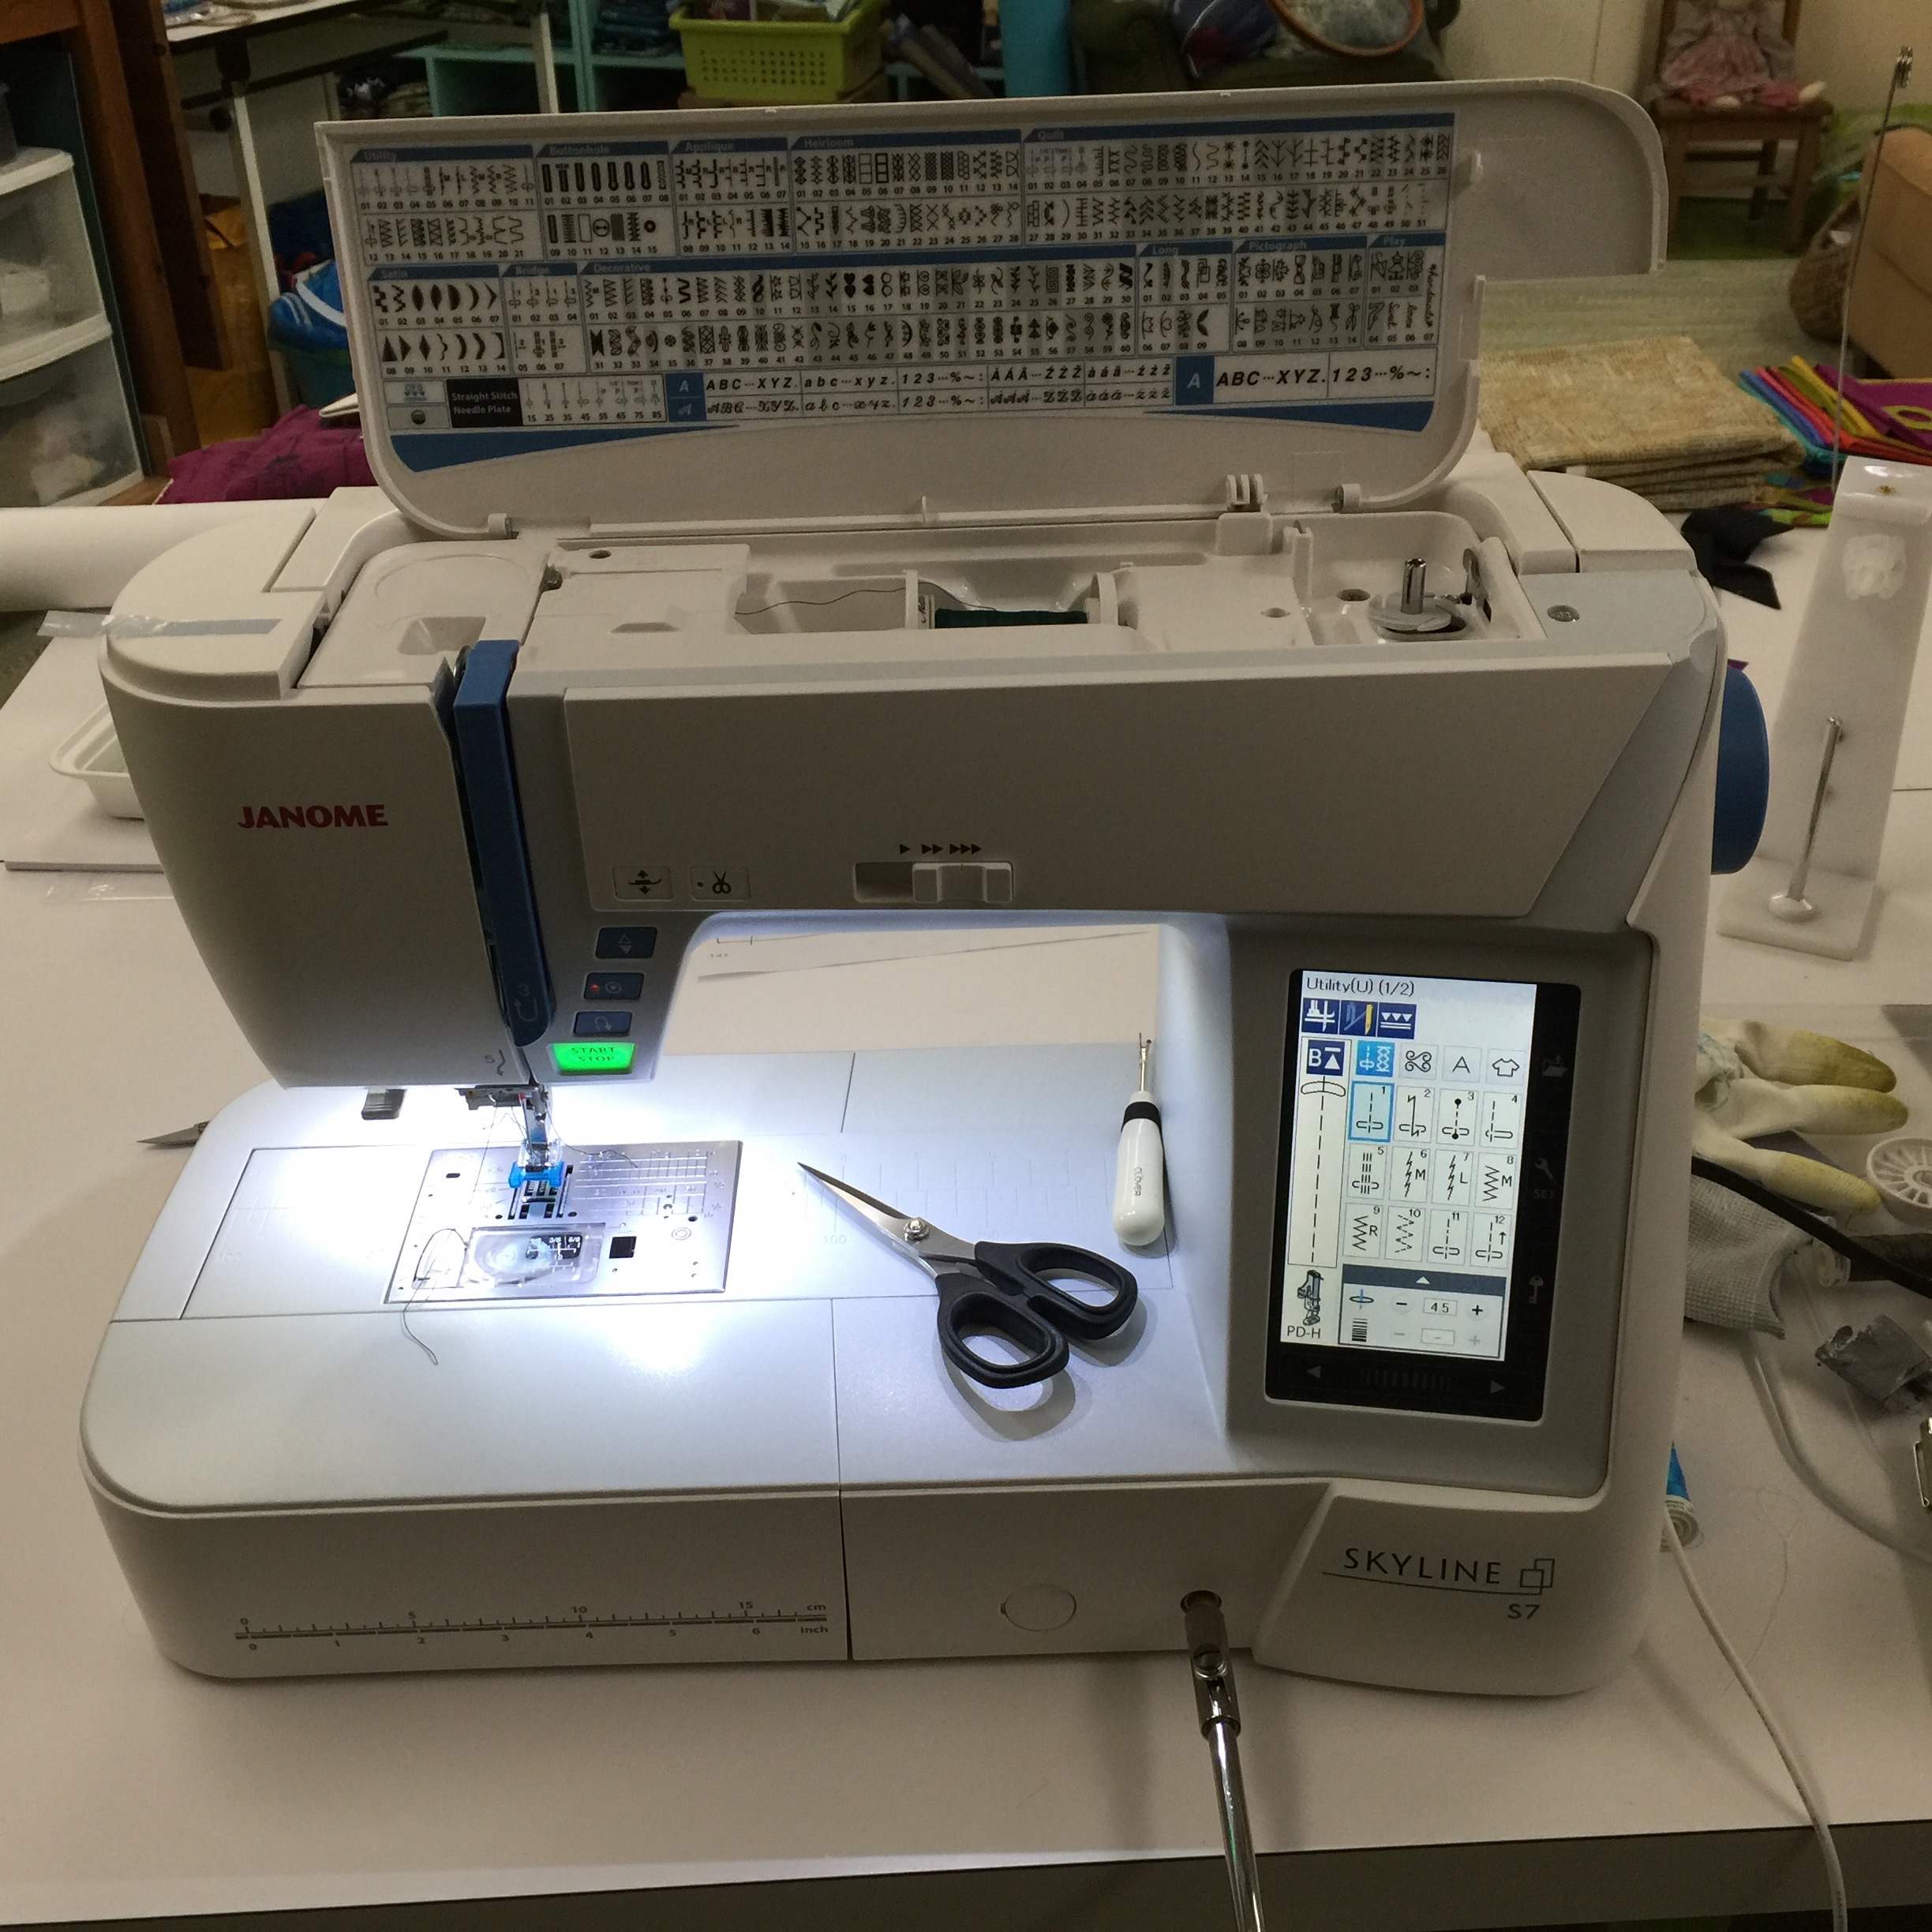
The Janome Skyline S7 in my studio.

The Janome Skyline S7 in my studio.  Notice the wonderful knee-lift in place!

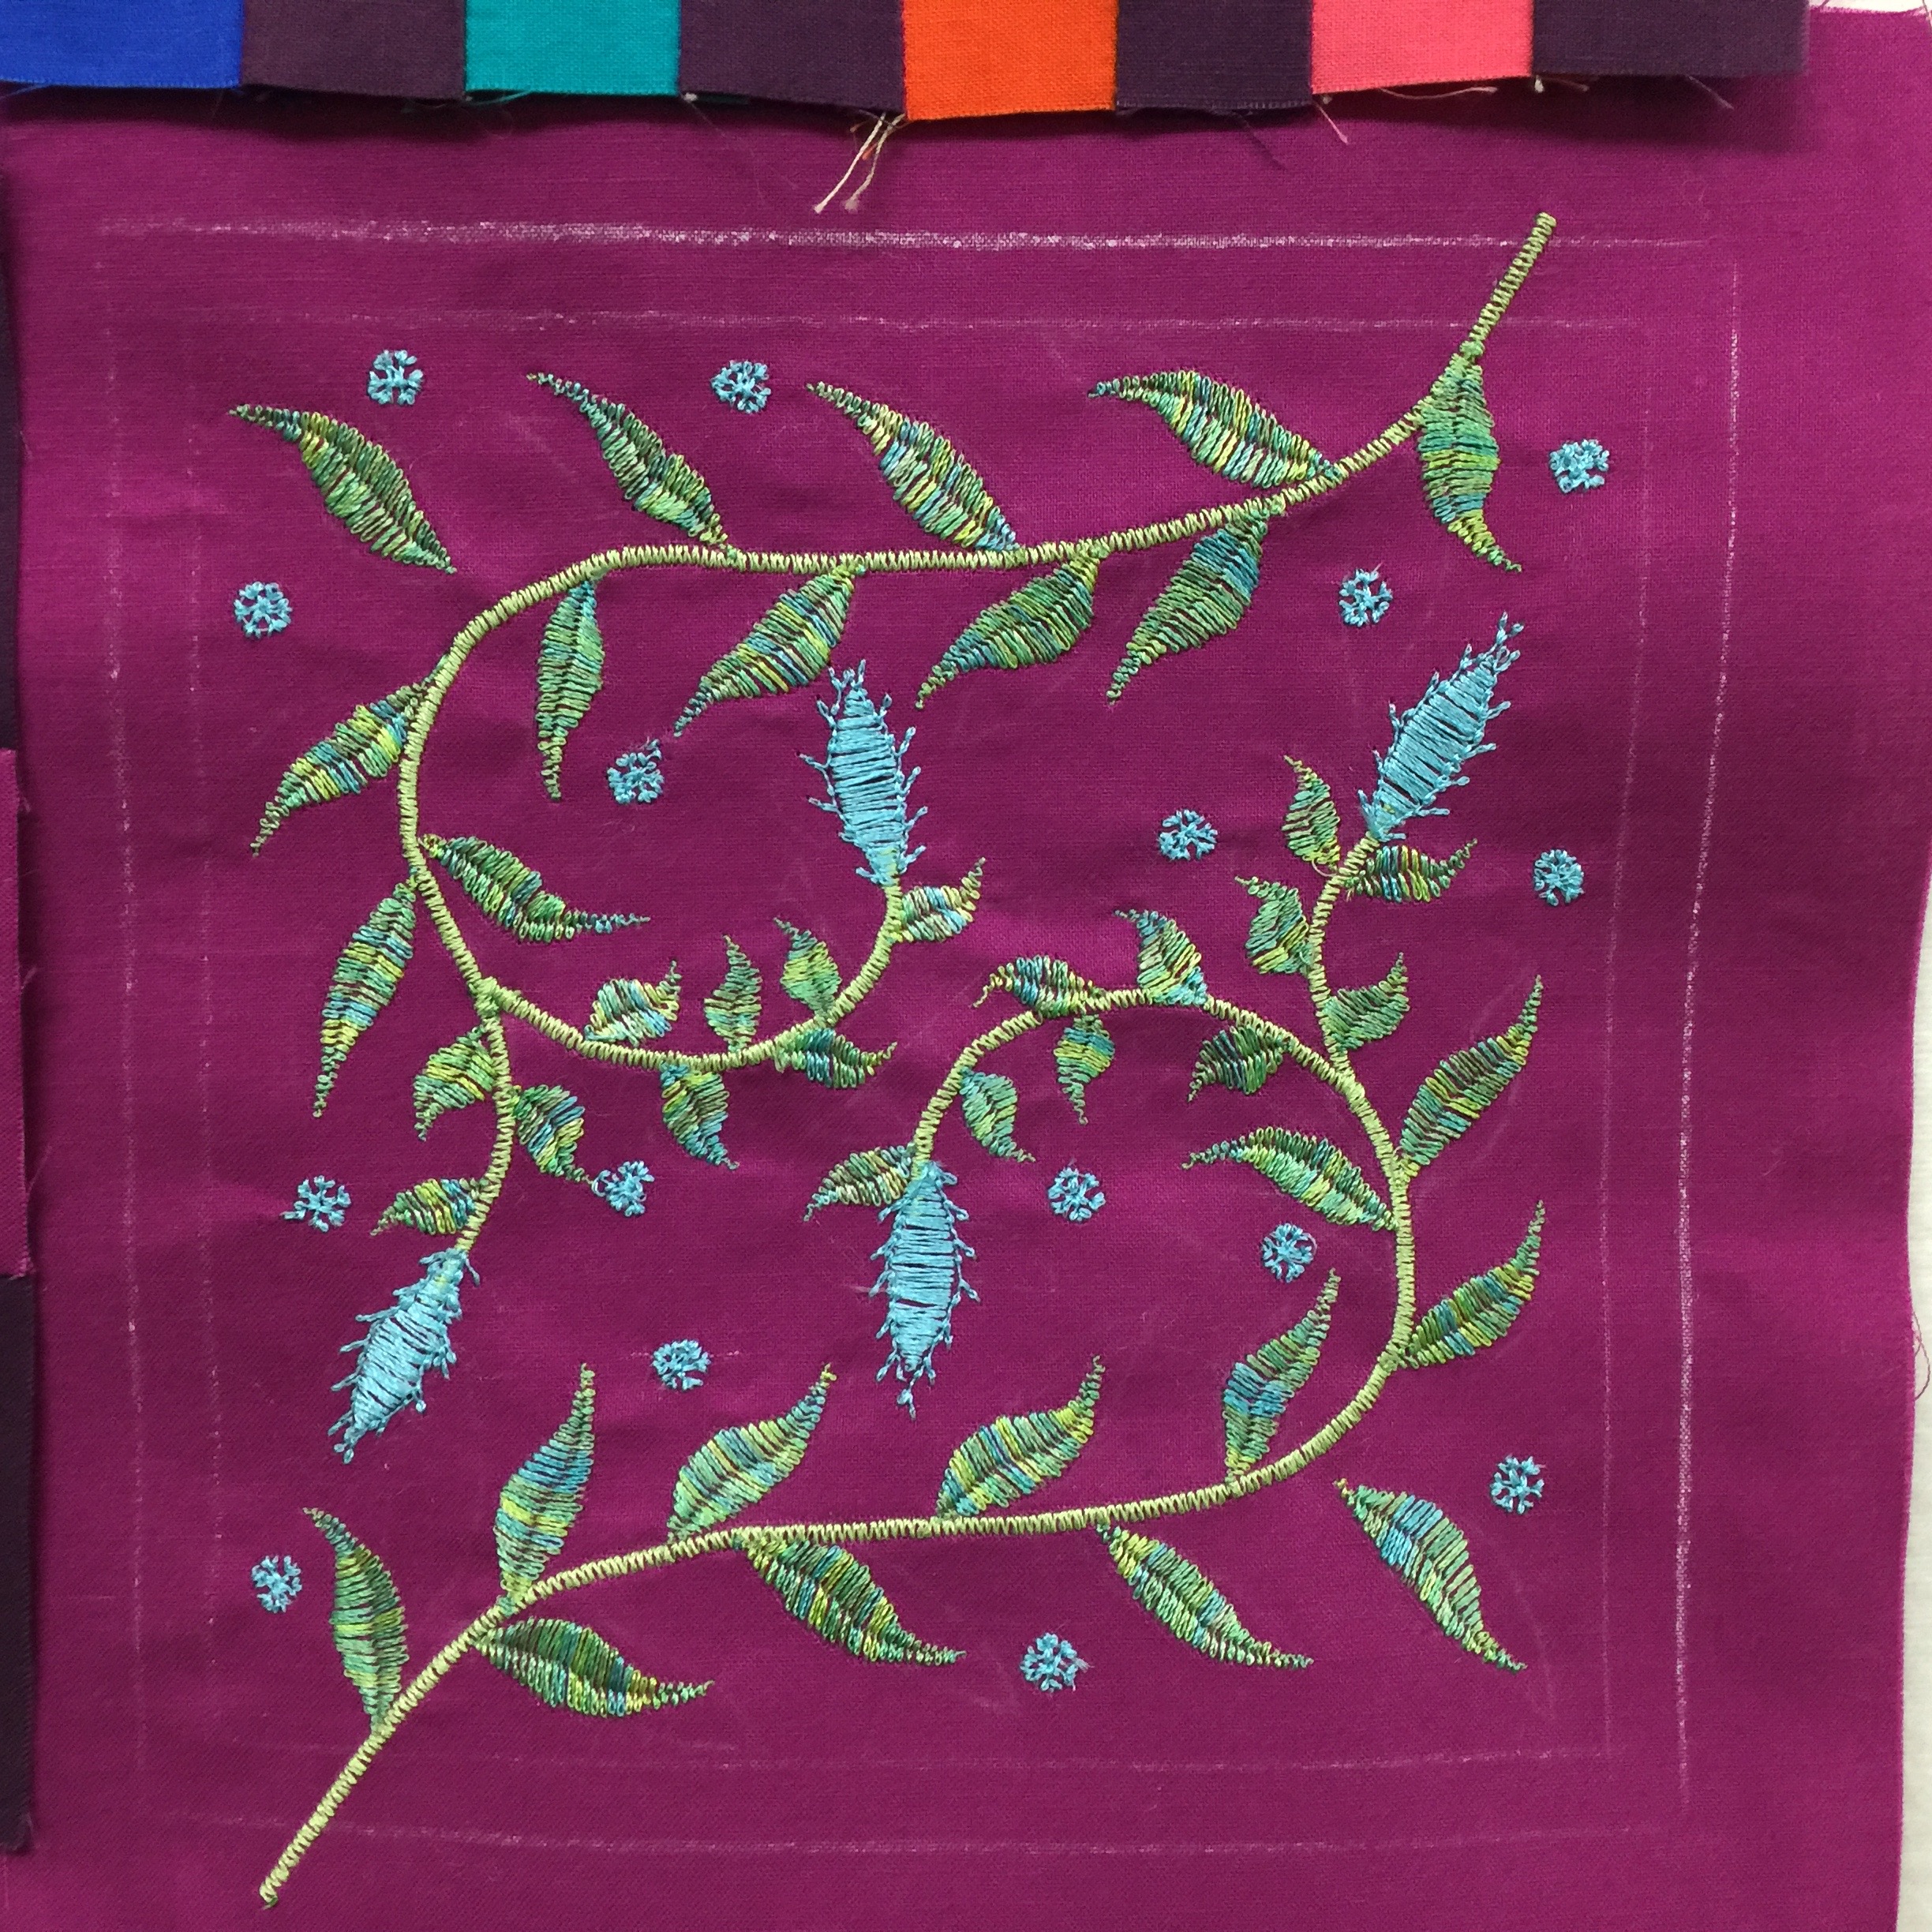
I prepared a variety of projects to work on during my brief loan period for the Skyline S7, which Janome introduced/debuted at Janome Institute late this August and is now arriving at Janome dealers.   I had piecing for quilting, mending and repairs, sewing a new top, free-motion quilting, and decorative stitching.  The machine handled every task like a champ.  Here’s a teaser…keep reading to find out more about this block:
IMG_6042

For free instructions on how to use the built-in stitches to create this block, see below. This block will work with Janome’s ongoing 100 blocks in 50 days project; read more about the 100-Blocks Janome 100 Blocks.

Now…back to the regular review (I just wanted to tuck the pretty block up top!)
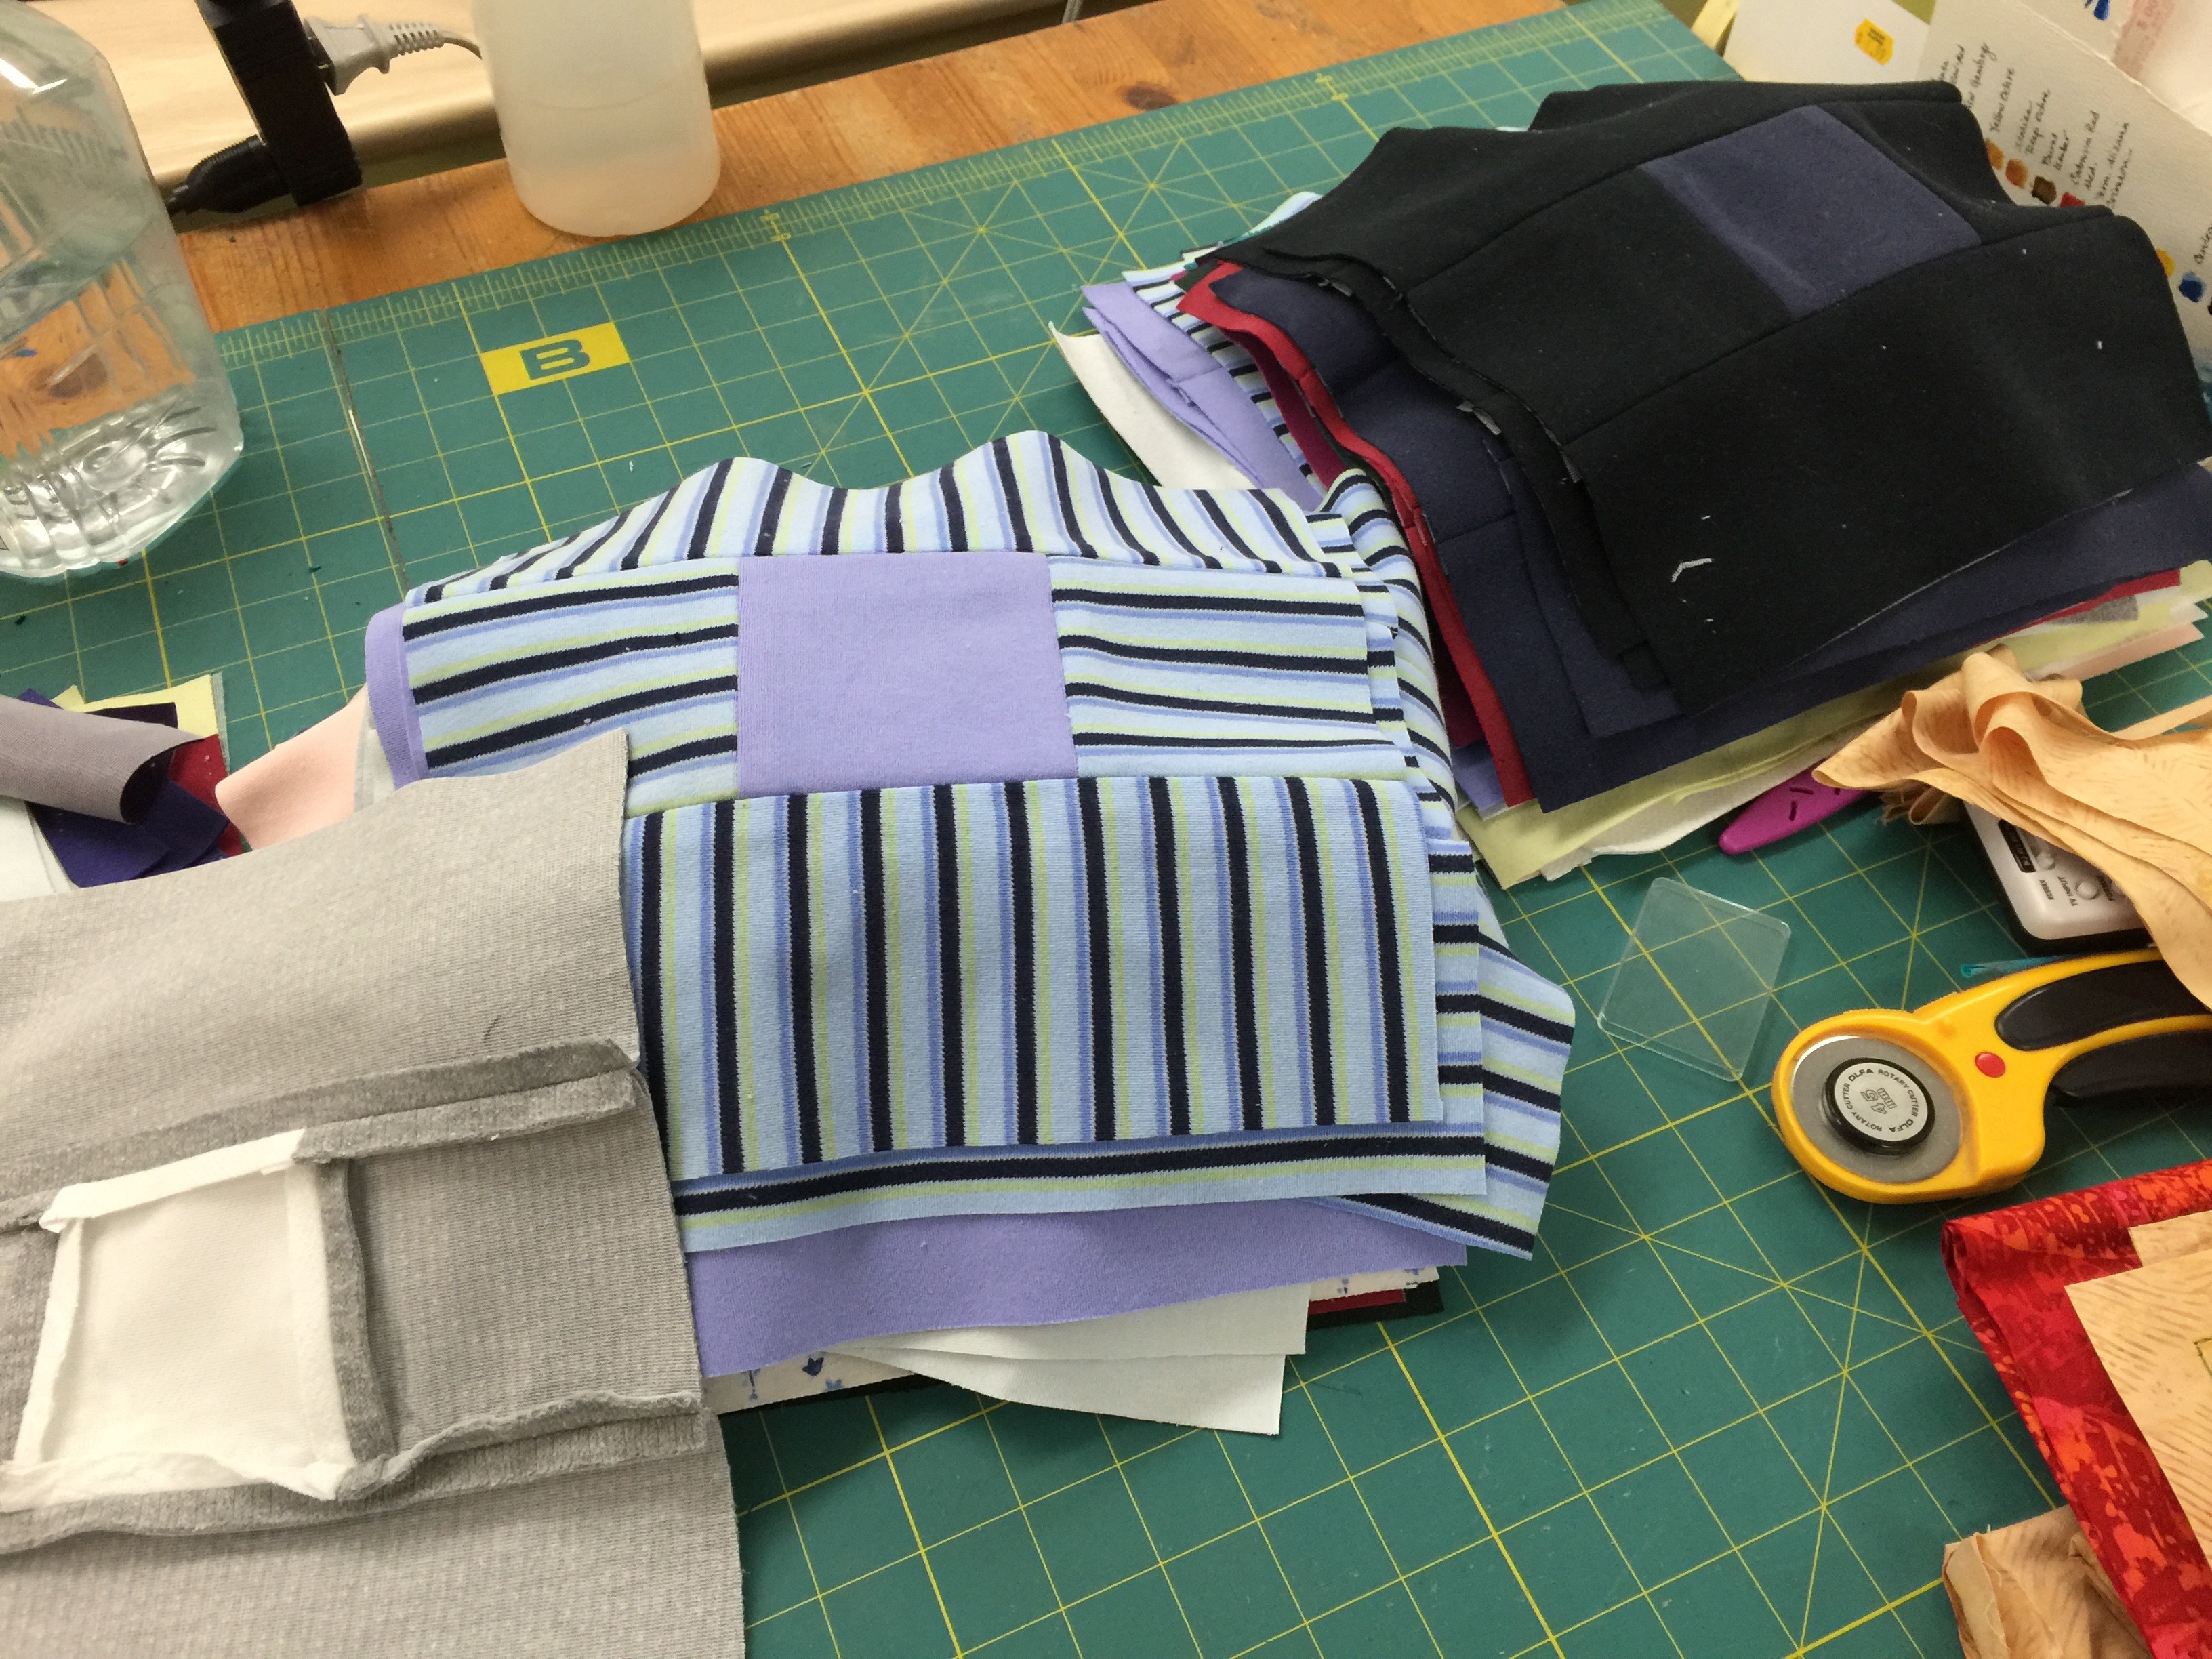
I've been piecing some blocks (who me?): made of turtleneck shirts. Eek! I had to stabilize all of them with interfacing (gray one in lower left corner). As expected, the machine breezed through without nary a burp.

I’ve been piecing some blocks (who me?): made of turtleneck shirts. Eek! I had to stabilize all of them with interfacing (gray one in lower left corner). As expected, the machine breezed through without nary a burp.  Because of the thickness of the fabric, I did find using a leader/ender so the stretchy fabric didn’t get pushed into the opening was a good thing.  Of course, I could have (and should have) used the straight stitch plate instead!

I had a tunic top cut out to make on this machine (see blogpost here or just scroll down two posts–and take a look at the review of the Janome15000 App while on your way).  I like a nice, clean finish.  So I used French seams (center vertical), overcast (using one of the utility stitches), and a bias edge as you can see in the next photo.
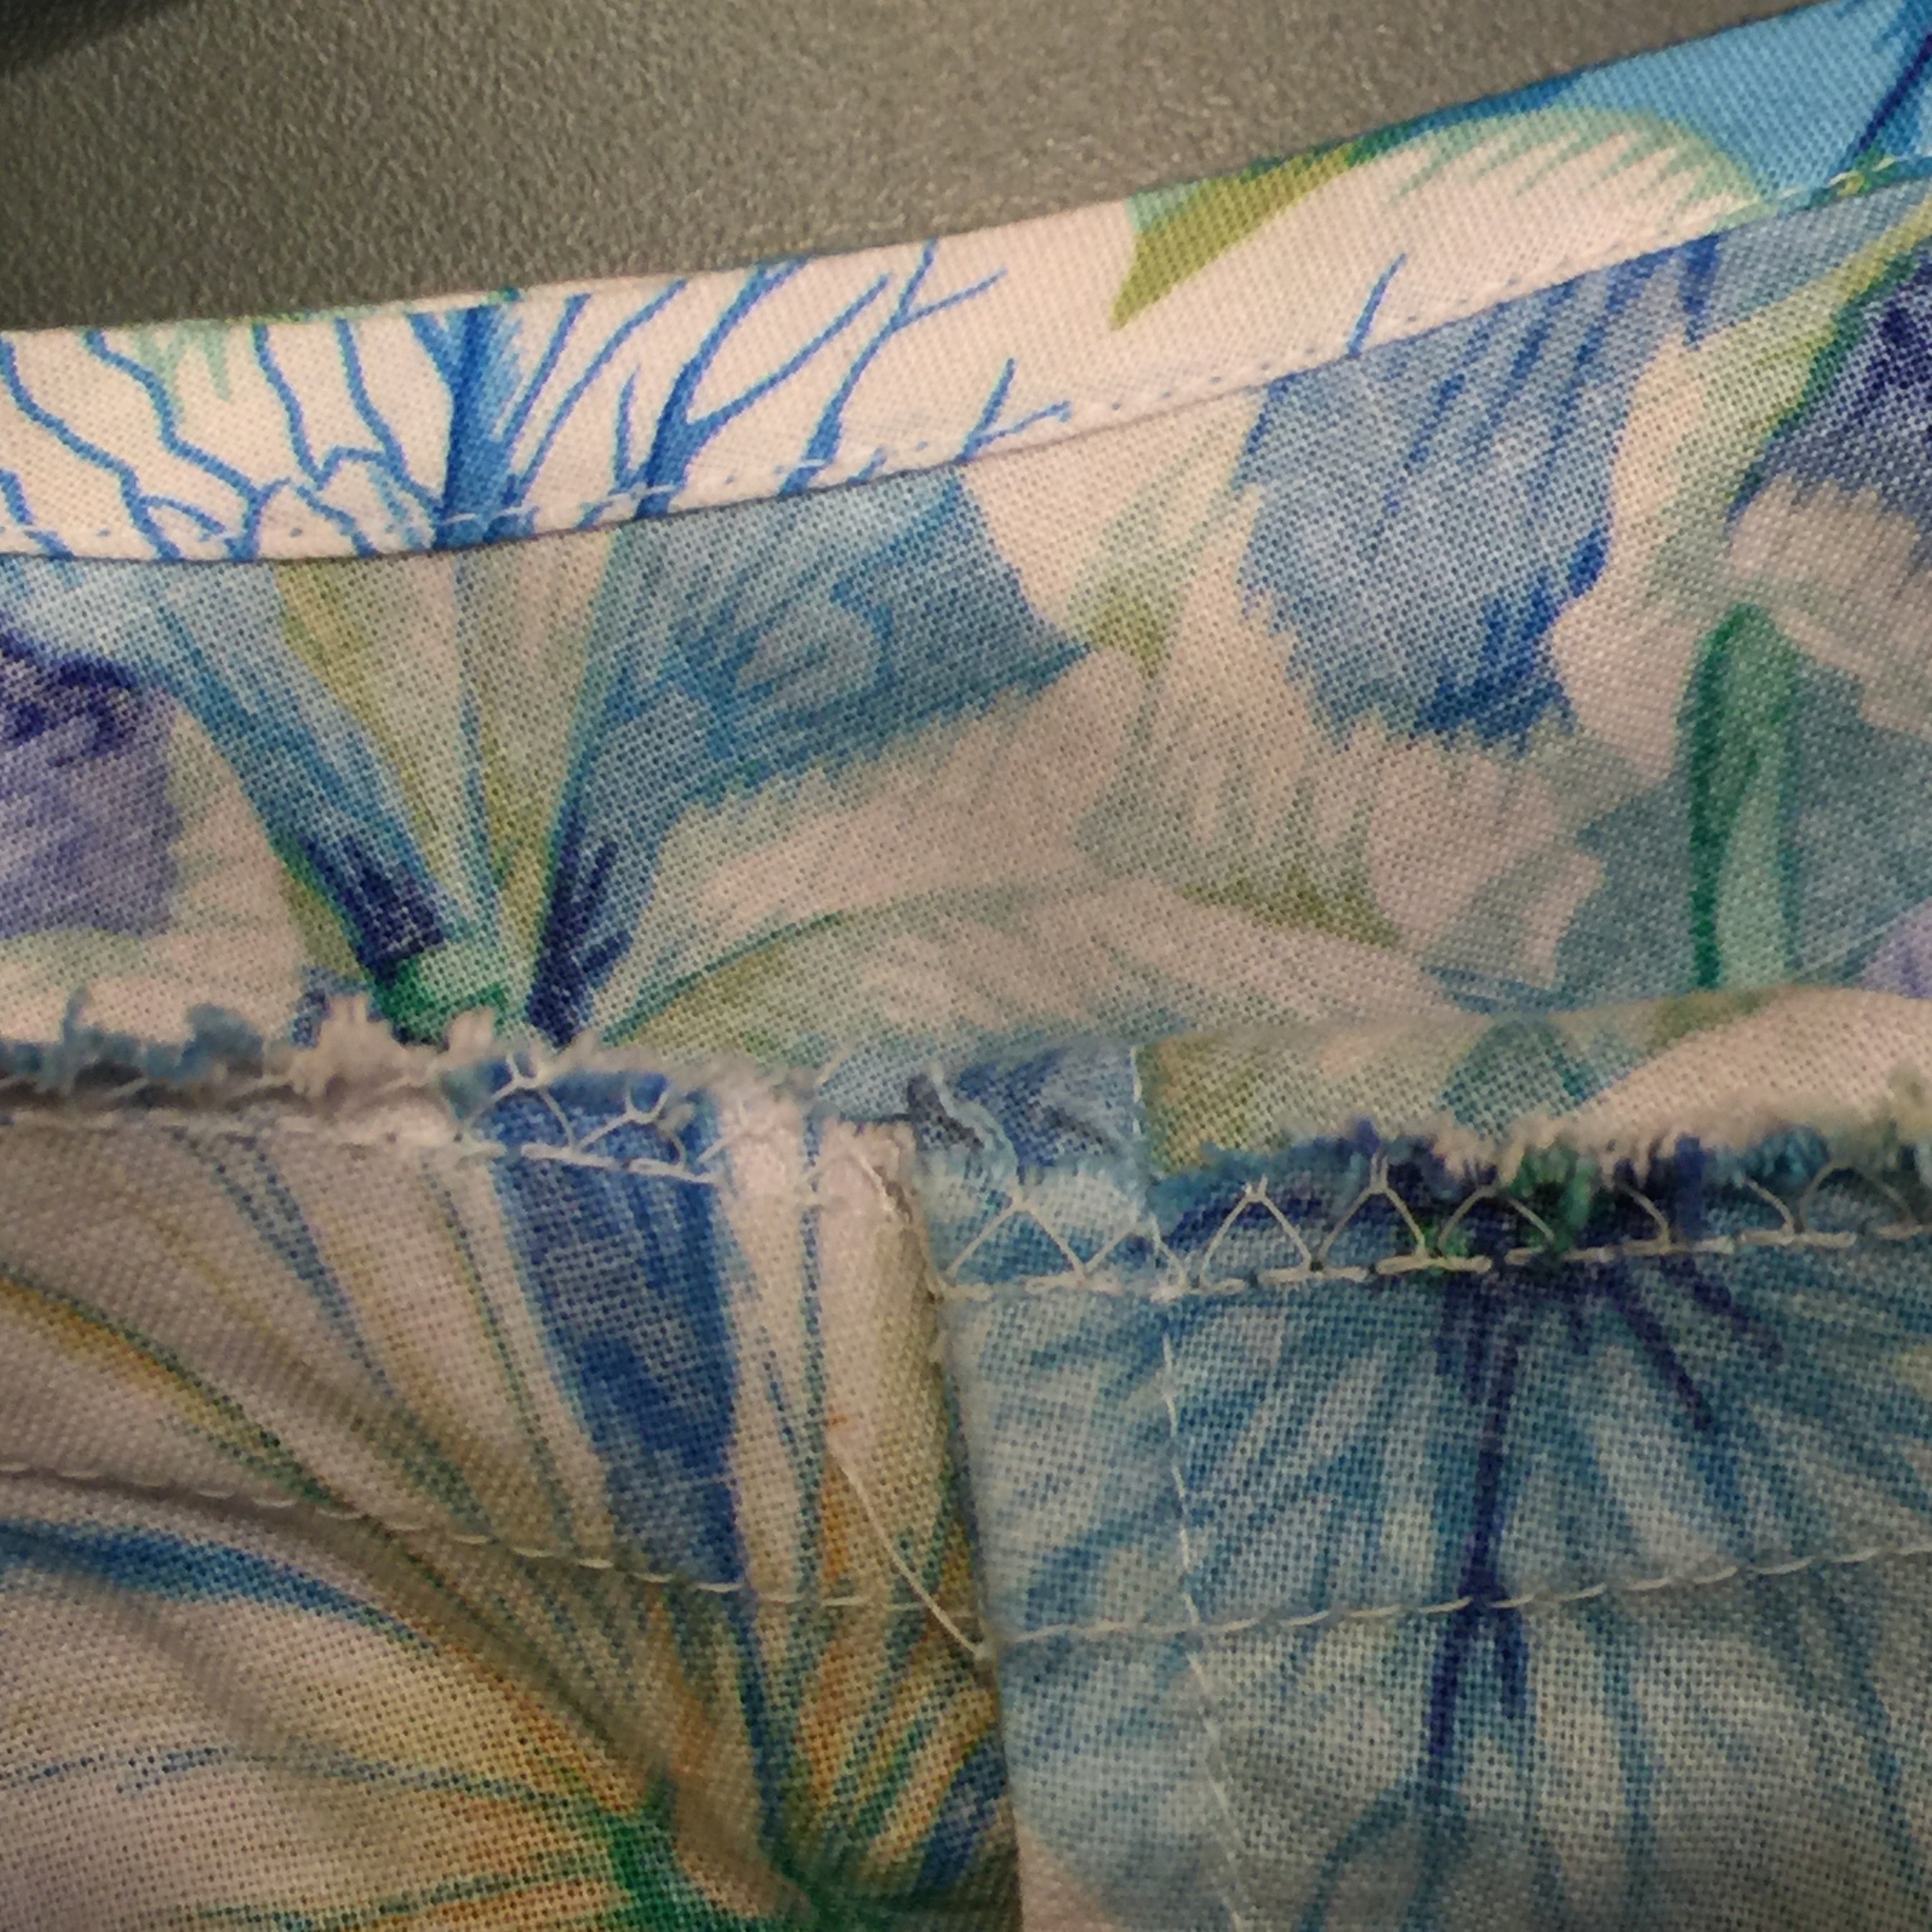
Seam finishes in my tunic: bias facing, on the top, overcast edge at the armscye (set in sleeve seam) and French seam (enclosed raw edges) on the side seam.

Seam finishes in my tunic: bias facing, on the top, overcast edge at the armscye (set in sleeve seam) and French seam (enclosed raw edges) on the side seam.

I did a quick free-motion quilting practice using the open toe foot skimming foot.  The default setting with my preferred threads, a 40-wt shiny poly in the needle and a 60-wt fine poly in the bobbin, wasn’t quite perfectly balanced for that thread combination, so I adjusted the balance by one notch and it looks excellent.  This is a common adjustment when using threads that are not identical.  Why do I use a thinner thread in the bobbin?  For art quilts, durability for wear and washing isn’t an issue.  And with the density of my stitching, the finer bobbin thread means less thread-build up, not as stiff, and more miles of thread to the bobbin!  ALWAYS test a potential new machine with the fabrics, batting and thread combinations that are your favorites–not whatever the sewing machine store has on hand!
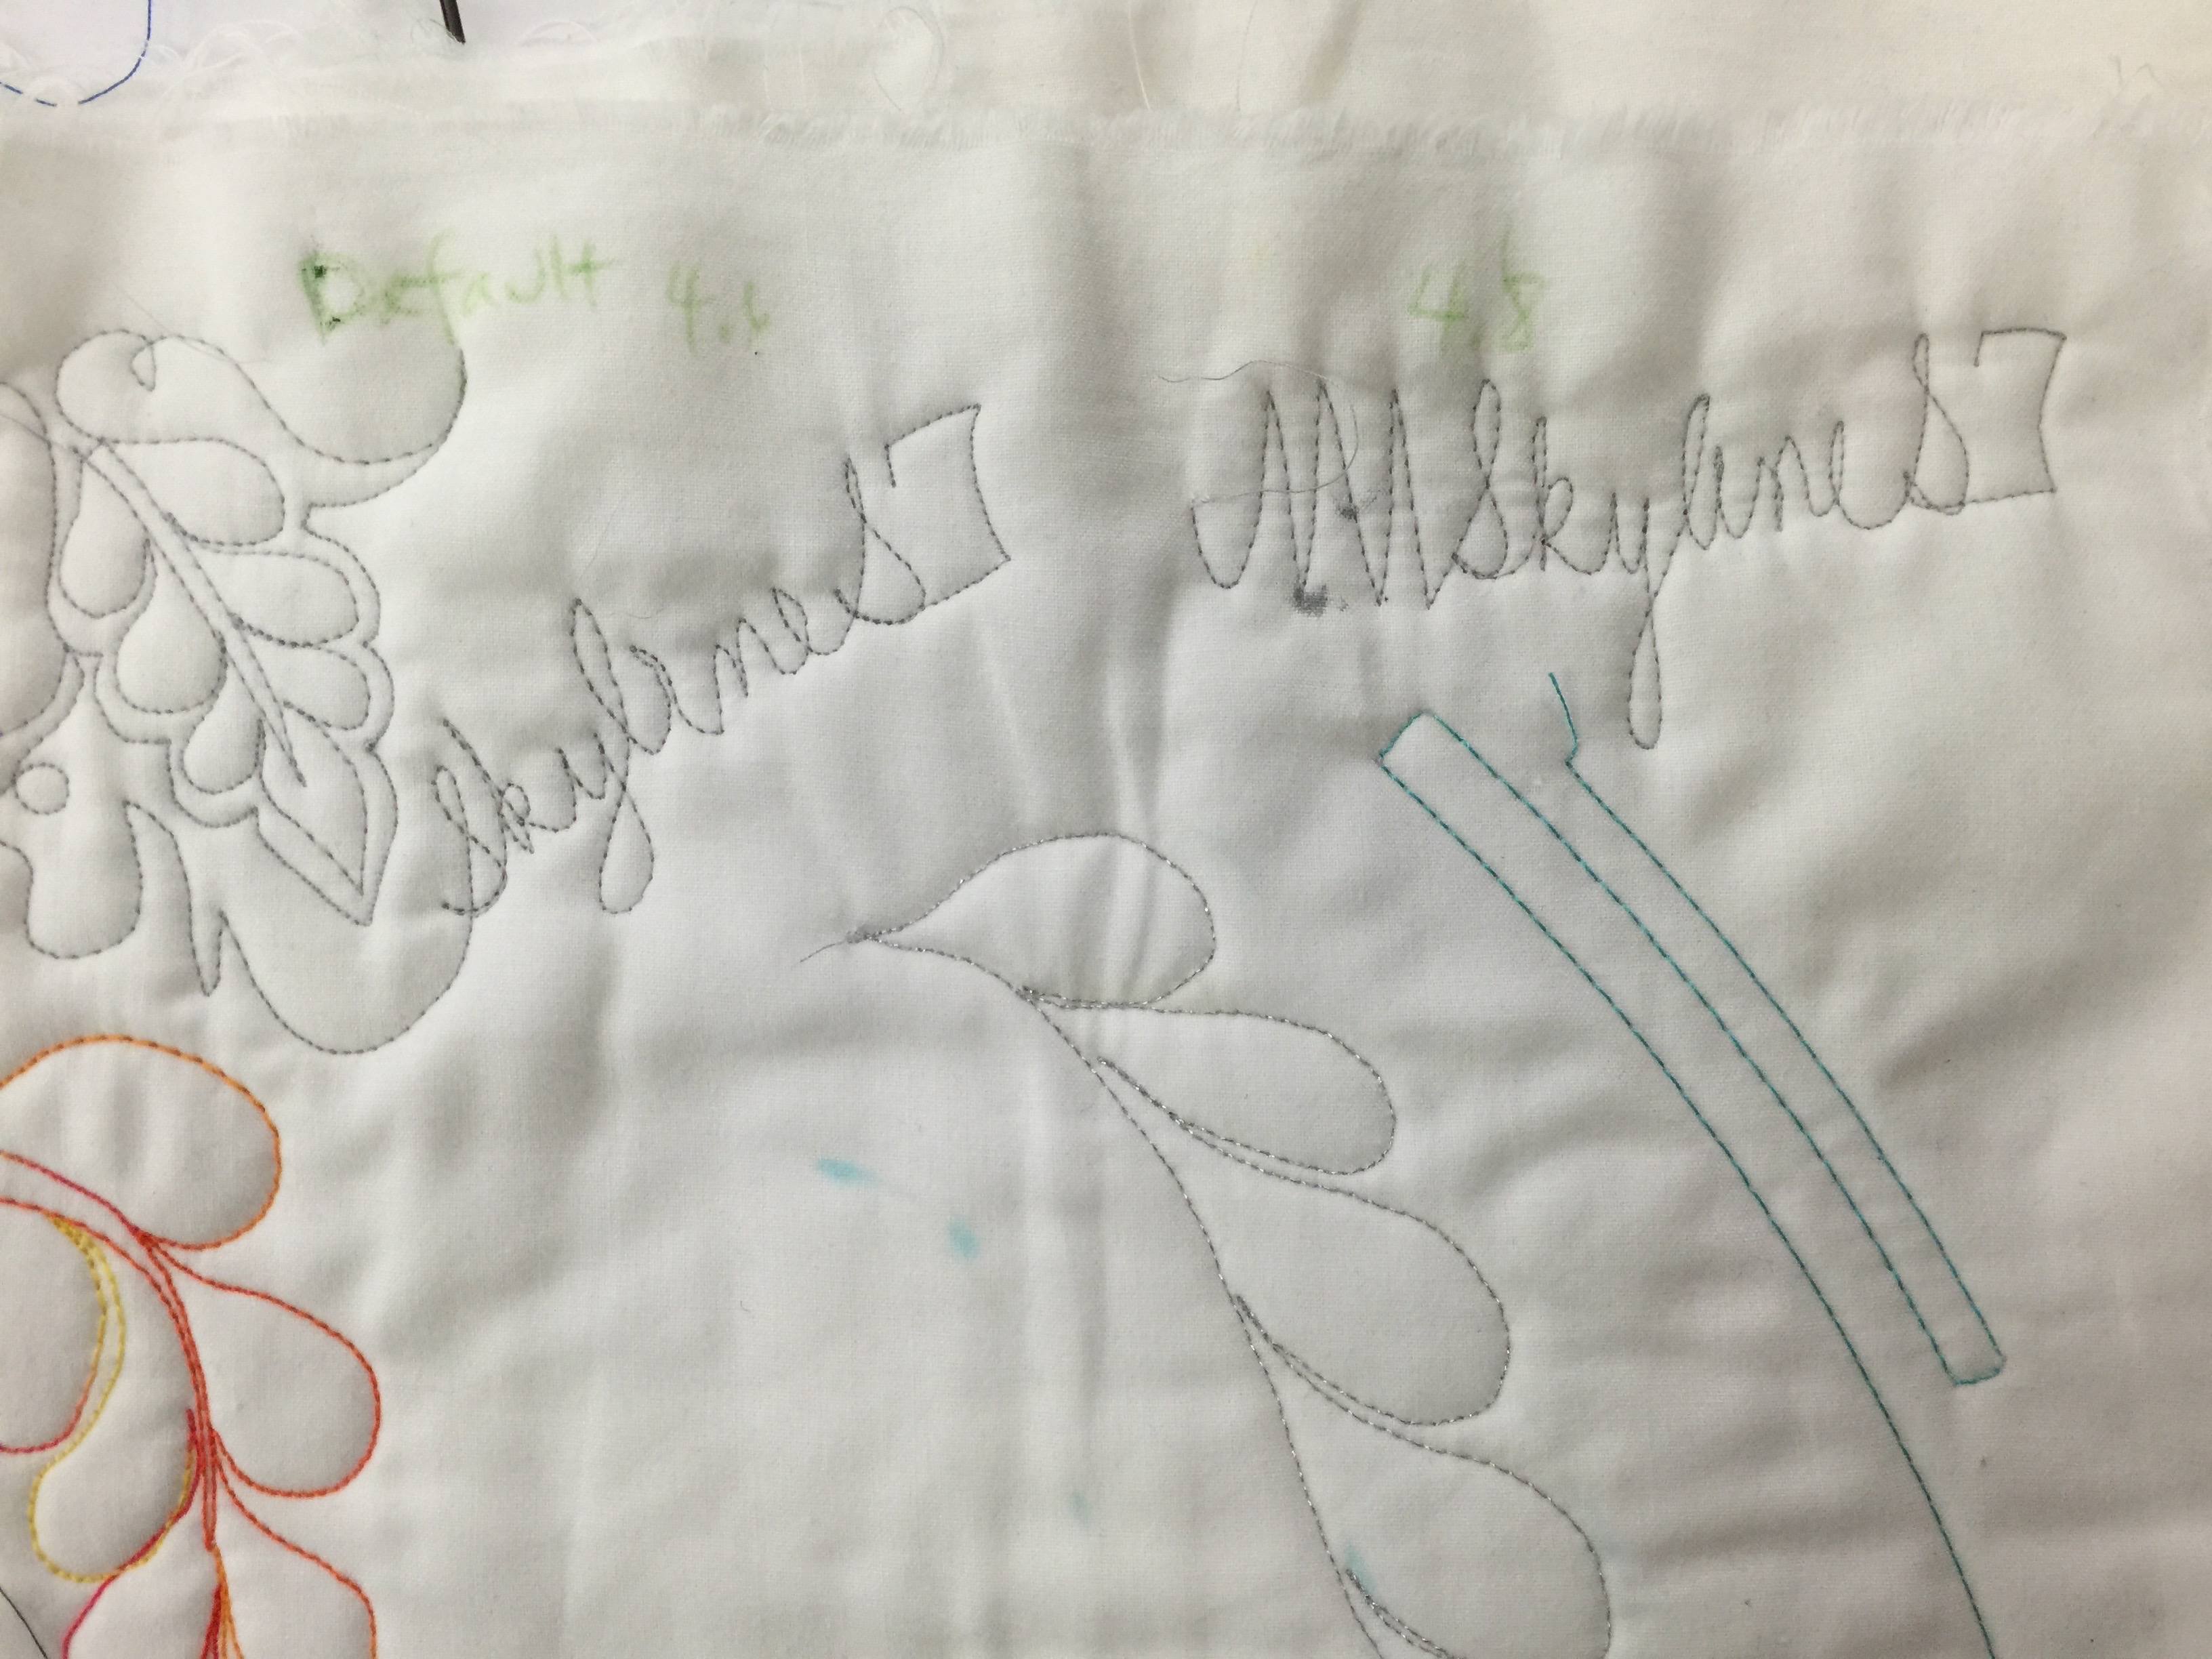
Test free-motion stitching on the S7.

Test free-motion stitching on the S7.  You can see my note that says “Default 4.6” and “4.8.”  After looking at the back having stitched the first feather and name, I decided I wanted to have the balance adjusted slightly.  I always test for stitch balance with two contrasting colors so I can see what is happening.
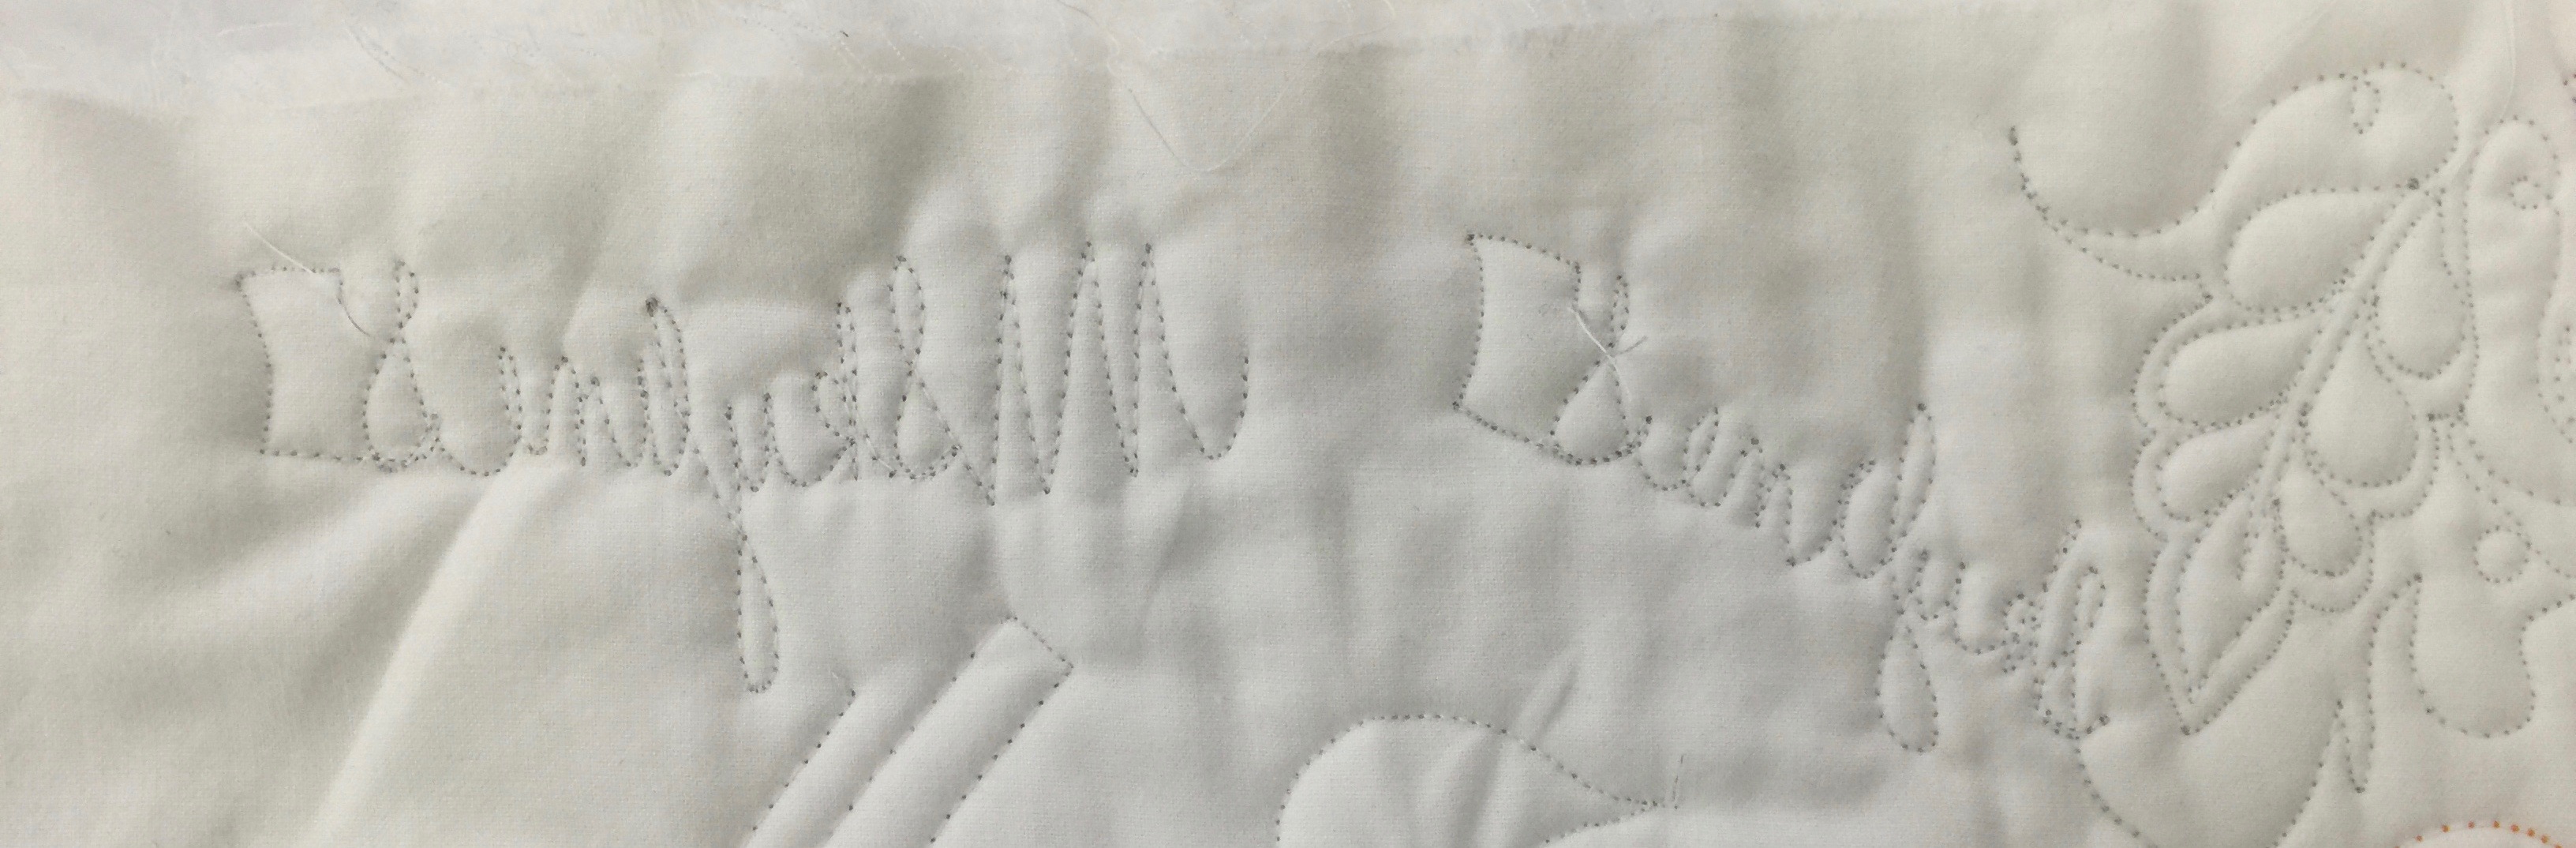
Reverse of FMQ.

Reverse of FMQ.  The stitching on the right is the default setting.  I was seeing a TINY bit too much of the needle thread on the back, so I loosened the top tension one notch.  The second stitch out, on the left in the photo above, is better.  The tiny bit of dark you see is the shadow inside the needle hole.  A bit of moisture/steam or just time will close up those needle holes.  (Click for larger view)

The drawbacks to the S7 were VERY few and minor:  the harp, the space between the needle and the housing on the right, is that of a standard sewing machine.  I’ve been sewing on the machines with a longer harp area for a decade now.   However, I have also quilted a king-sized quilt (carefully) on a machine with a smaller harp than this one.   If you want to quilt king-sized quilts at home you might want to consider a longer harp, otherwise, you’ll be fine with this machine.  Also, the machine does not come with an extension table included.  These are minor quibbles:  this is a great machine for someone doing garment and home dec work, and for someone who is newer to quilting and doesn’t want to spend the bigger bucks for the larger machine.

Note:  one commenter told me “a regular sewing machine has a harp area of 6″-7″ and the S7 has a harp area of 8.25″ That makes it even more of a real winner (I hope you correct this on your S7 evaluation.)”   OK, I don’t have a measuring tape or the time to check this out (plus the machine is back at Janome), but let’s just go with “the harp area is smaller rather than larger.”  You can still quilt on it!  <grin!>

Janome makes a “Quilting Kit” to go with it that includes an extension table and my most-favorite-in-the-world convertible free-motion quilting foot.   The Skyline quilting kit part number is (according my lovely Janome contact) 003863402005, and comes with an extension table, appliqué foot, clear view quilting foot, ditch quilting foot, open toe satin stitch foot and (drum roll please!) the convertible free motion quilting foot set that is my fave!

My final test was the decorative stitches.  I’ve been able to be a part of Janome’s 100 blocks in 50 days project (ongoing now, here).  I liked the Michael Miller Cotton Couture fabric SO MUCH (silky, soft, glorious) that I made extra blocks for myself, and designed this embroidered block to go with mine. Here is the PDF for my Janome Embroidered Block .  Basically, start with a 7 inch block and stabilizer suitable for the weight of your cloth; you want to cut large because stitching can shrink a block a bit.  Basically, cut it big and trim to exact size when done.  Use a satin stitch (a short length zigzag) to create two stems coming in from opposite corners of the block.  Use the Satin Stitch leaf (built in on the S7–similar stitches on other machines) and adjust the stitch length (doubled on some) following the instructions in the manual, width and stitch density (refer to the PDF) to stitch out the leaves using my block as a general guide for placement–you don’t have to be exact.   I outlined the leaves with an overcast stitch from the basic utility stitches menu.  Then use the snowflake stitch, reduced in size, to make the “dots” in the background.  When complete, trim to 6 1/2 inches to match your other “100 Blocks” project.

Notice that I chalk marked a 6 inch square and a 5 1/2 inch square inside it. I needed to know the edges of the finished block, and wanted to leave a bit of clearance around the design so none of the decorative stitching accidentally ended up in the seam allowance.
Notice that I chalk marked a 6 inch square and a 5 1/2 inch square inside it. I needed to know the edges of the finished block, and wanted to leave a bit of clearance around the design so none of the decorative stitching accidentally ended up in the seam allowance.
An Embroidered Tote for Janome

Friday, April 3rd, 2015

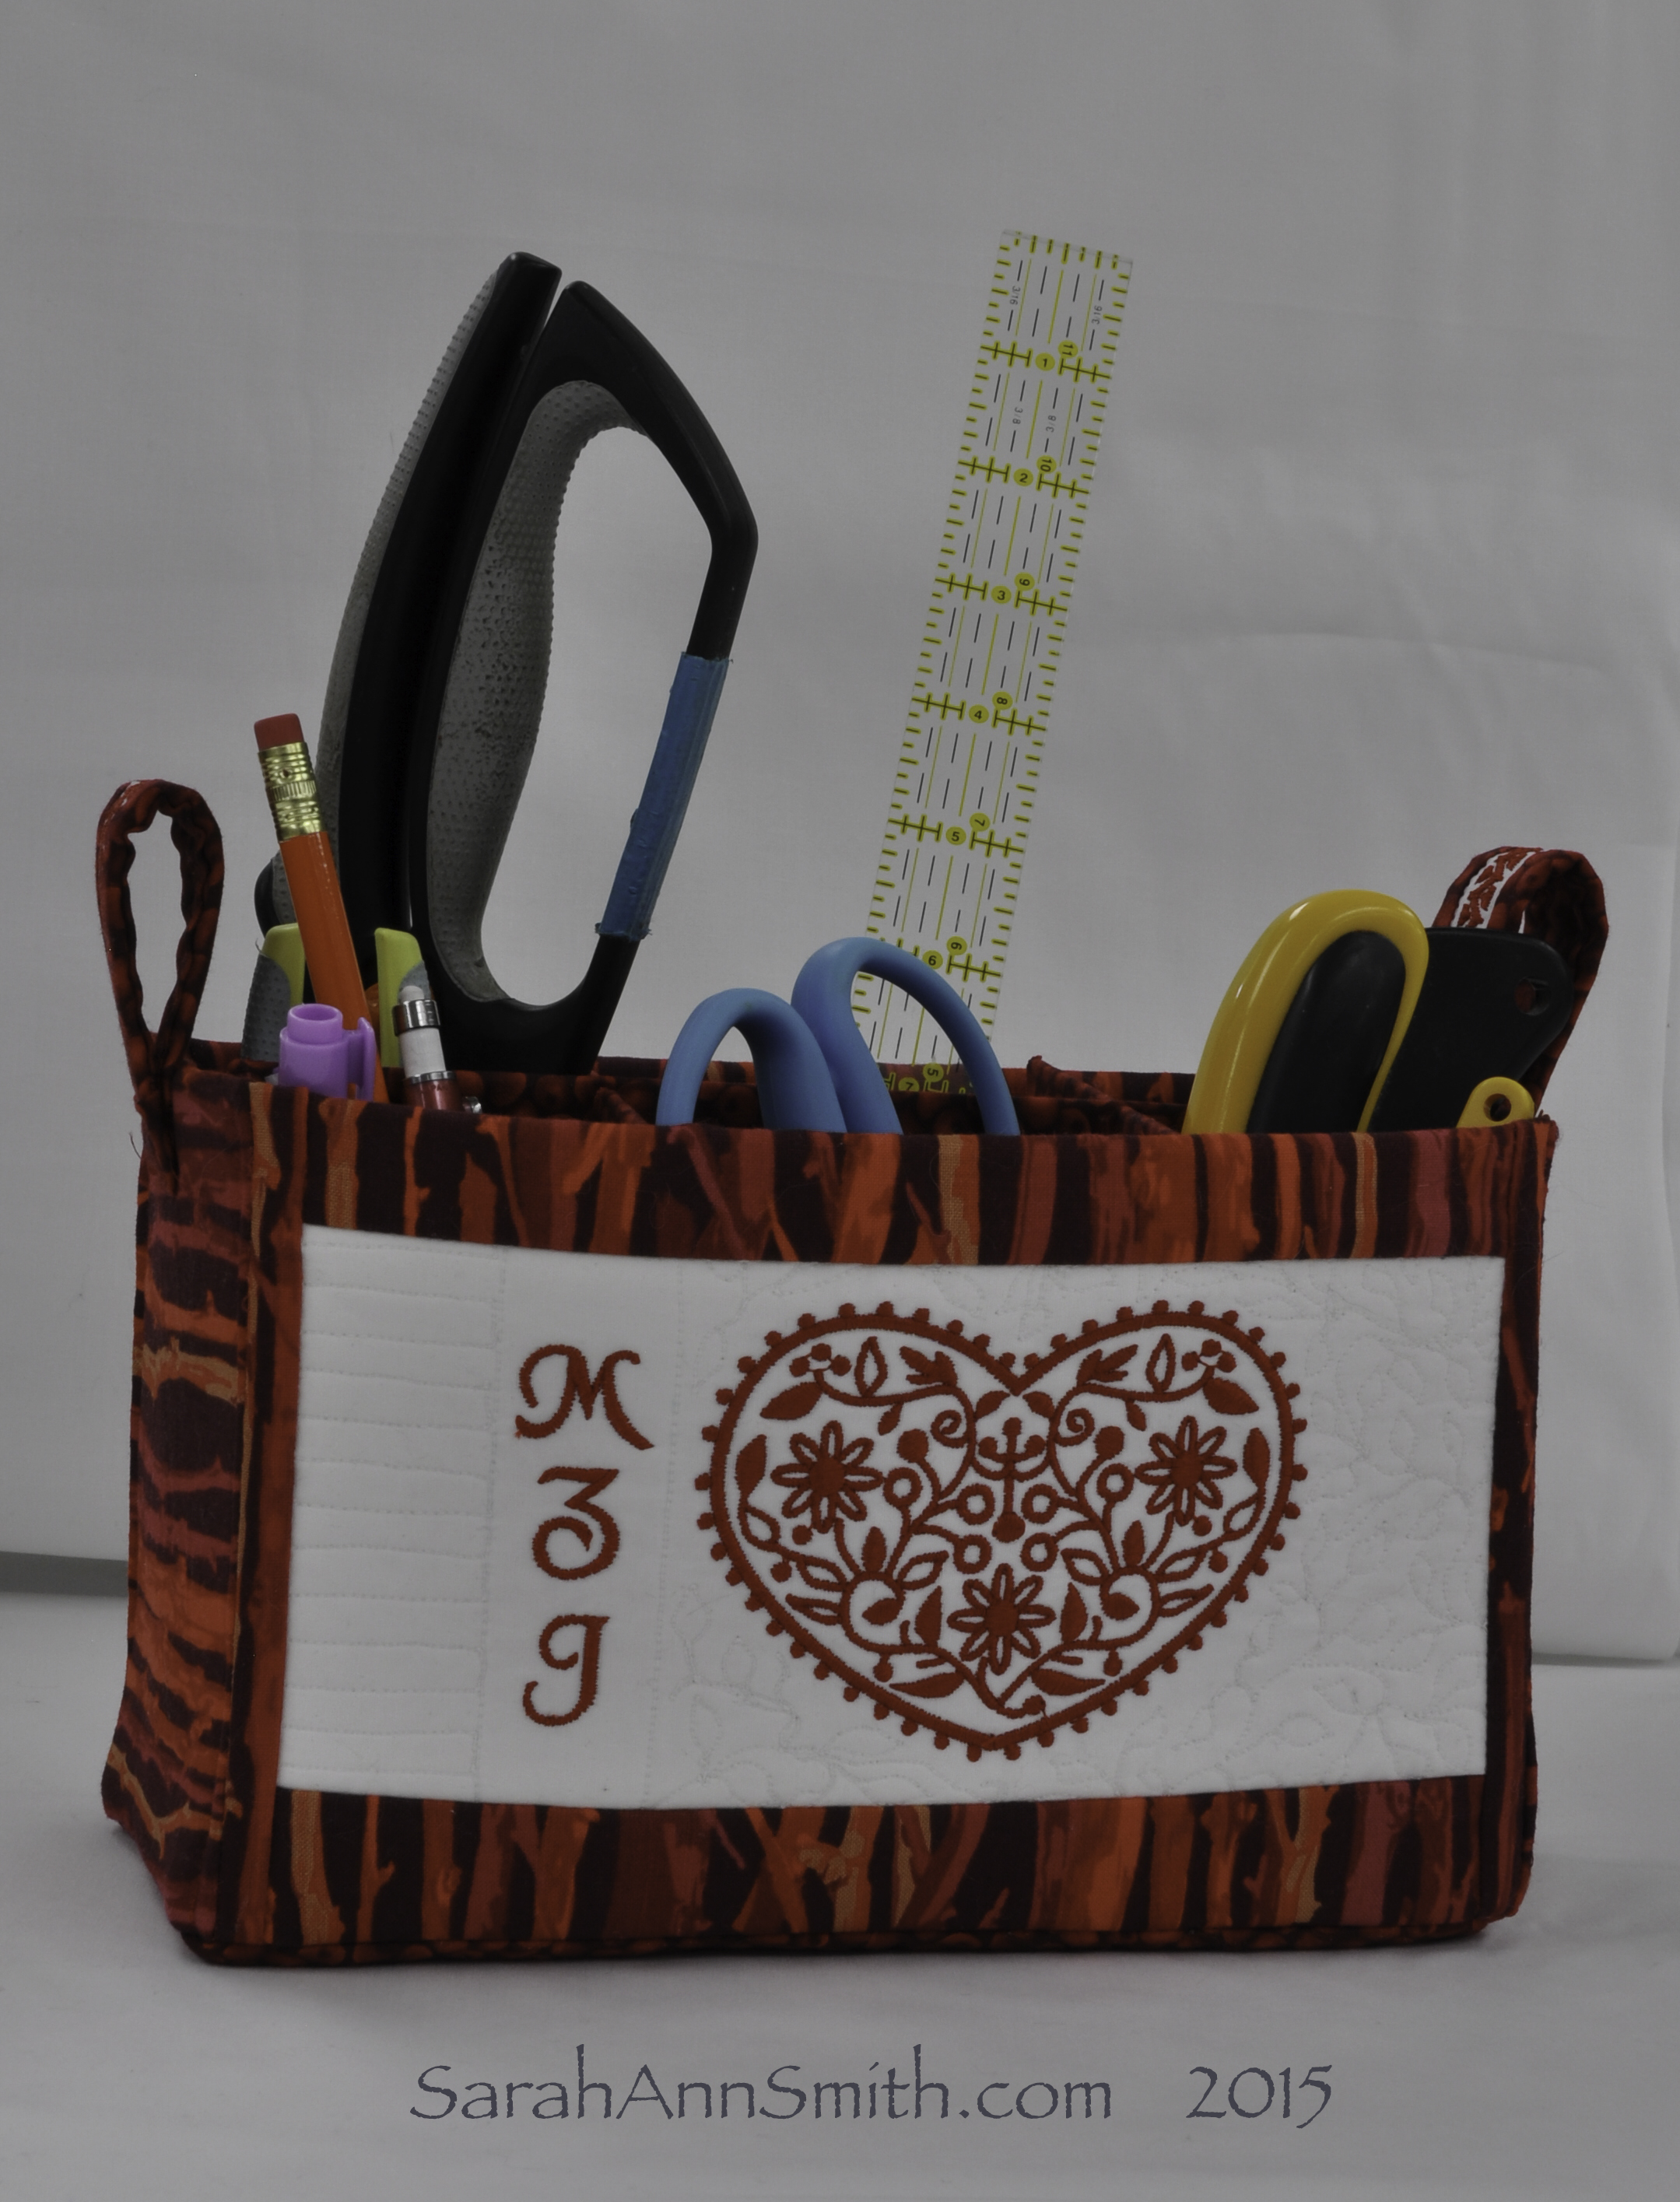
As many of my loyal readers know, I sew on a Janome.  I have been incredibly fortunate to be a part of their artists and teachers loan program for an embarrassingly, blissfully long time.  THANK YOU, JANOME AMERICA (and yes, I’m shouting!)  As part of this program, I gladly and happily make things which they can use, whether it is a banner for their booth (and also used in their adverts!), a project used online, asking to teach in Janome classrooms at big shows, you  name it.  This season, I have been using a (gasp, gulp!) top of the line 15000 embroidery and quilting machine.  Links for a free tutorial on this caddy are at the end of this post.

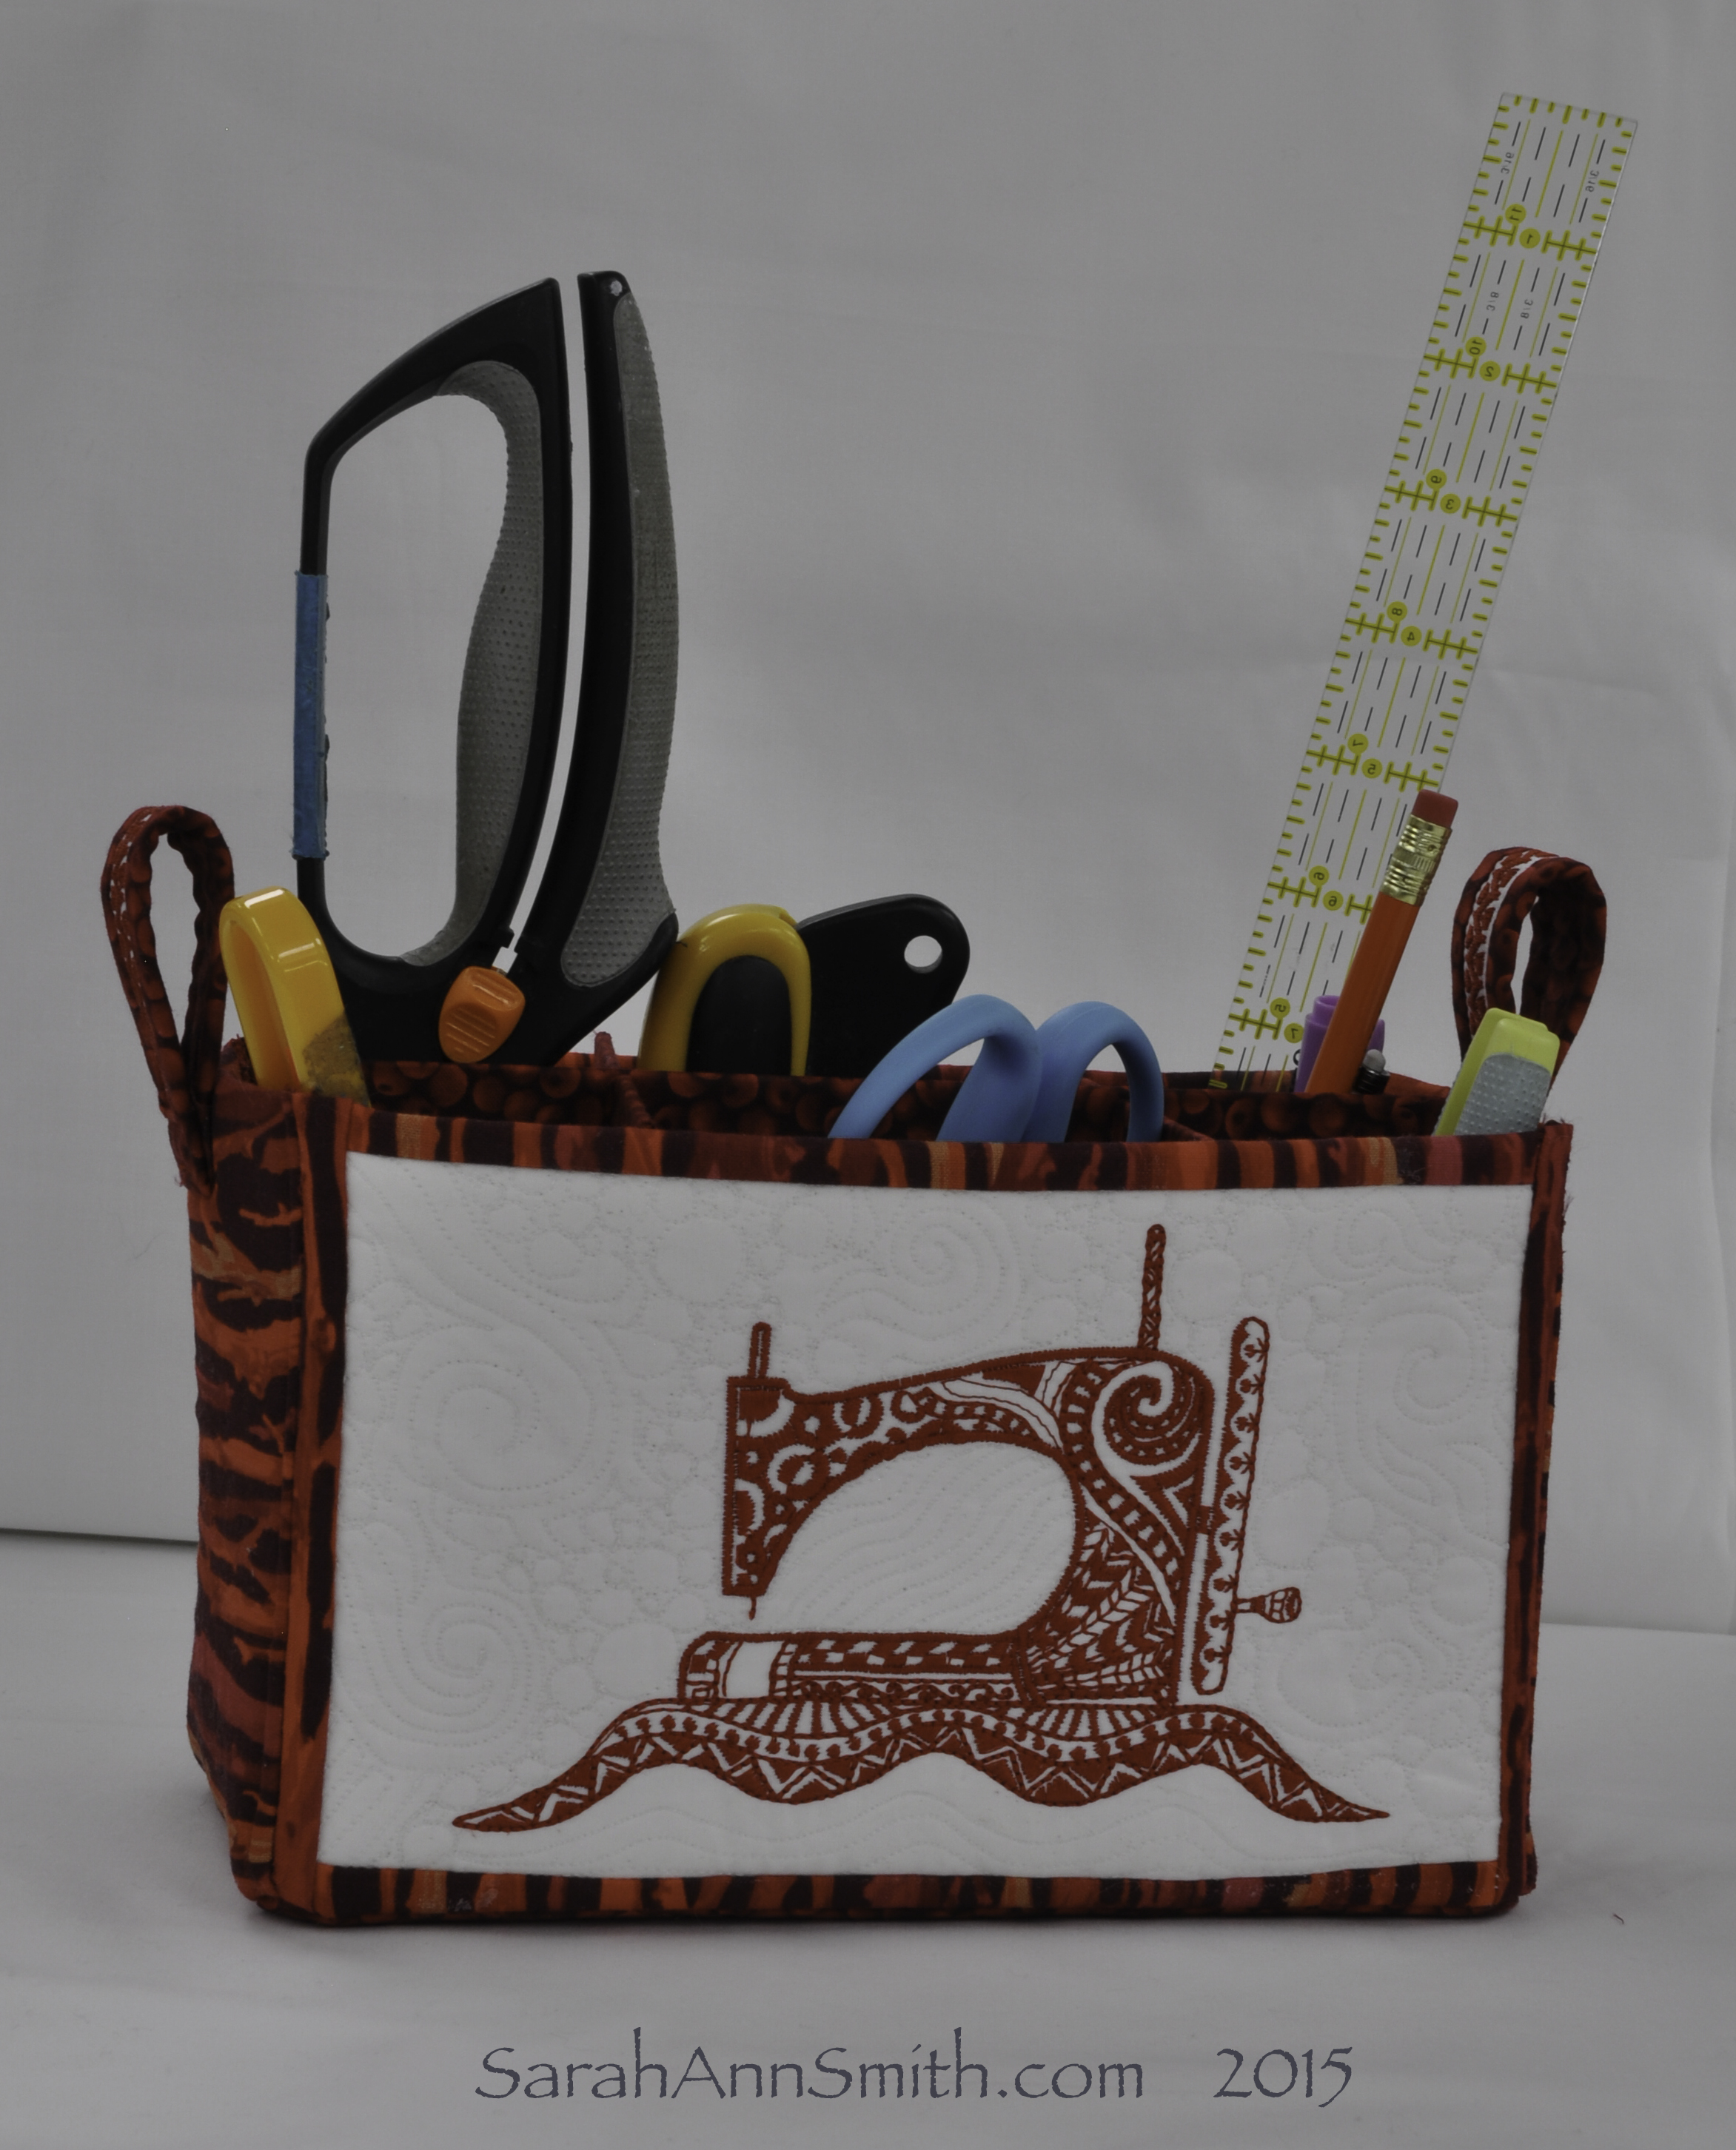
Embroidered Caddy for Janome America.  The sewing machine is a built-in design on the top of the line Janome 15000.

Embroidered Caddy for Janome America. The sewing machine is a built-in design on the top of the line Janome 15000.  Right Click to see larger.  Thanks to Jean S.  I know now this design was created by Jill Buckley, who has fun stuff on her blog here.  Nice to meet you Jill!

Embroidery you say?   Well, I never would have thought that *I* would fall in love with machine embroidery–the pre-programmed kind, but I have.   I’ve got a project for fall that will be awesome using one of Lonni Rossi’s designs built into the machine.  But for spring, I have made that lovely little tote!  It is 4×8 inches (footprint), 5 inches tall.   I used two embroidery designs that are included on the machine along with the initials that are one of several included alphabets (see photo below for the other side).

One of the things that most surprised me is how easy the interface is with the software.  I’m not very patient with that sort of computer-ish stuff (and after all, these machines are really computers that sew).  This was SO EASY to size, position, all of it.  Even *I* could do it using the manual–no classes needed!  And utterly cool:  there is an iPad app that allows you to do stuff elsewhere in the house. With the iPad and your 15000 sharing your wifi network, you can view the progress of the stitch-out so you know if you need to go to your sewing machine and change thread colors or insert a full bobbin.  Totally cool!

FREE TUTORIAL!

Best of all, this project has just been featured on Janome’s blog where you can find a link to free instructions!   Today you can see my project here as a featured project.  Scroll down their blog to April 1 for a blogpost  on it.  Or go straight to the project, here.  At the bottom of that post is a link to download a PDF of my full instructions.

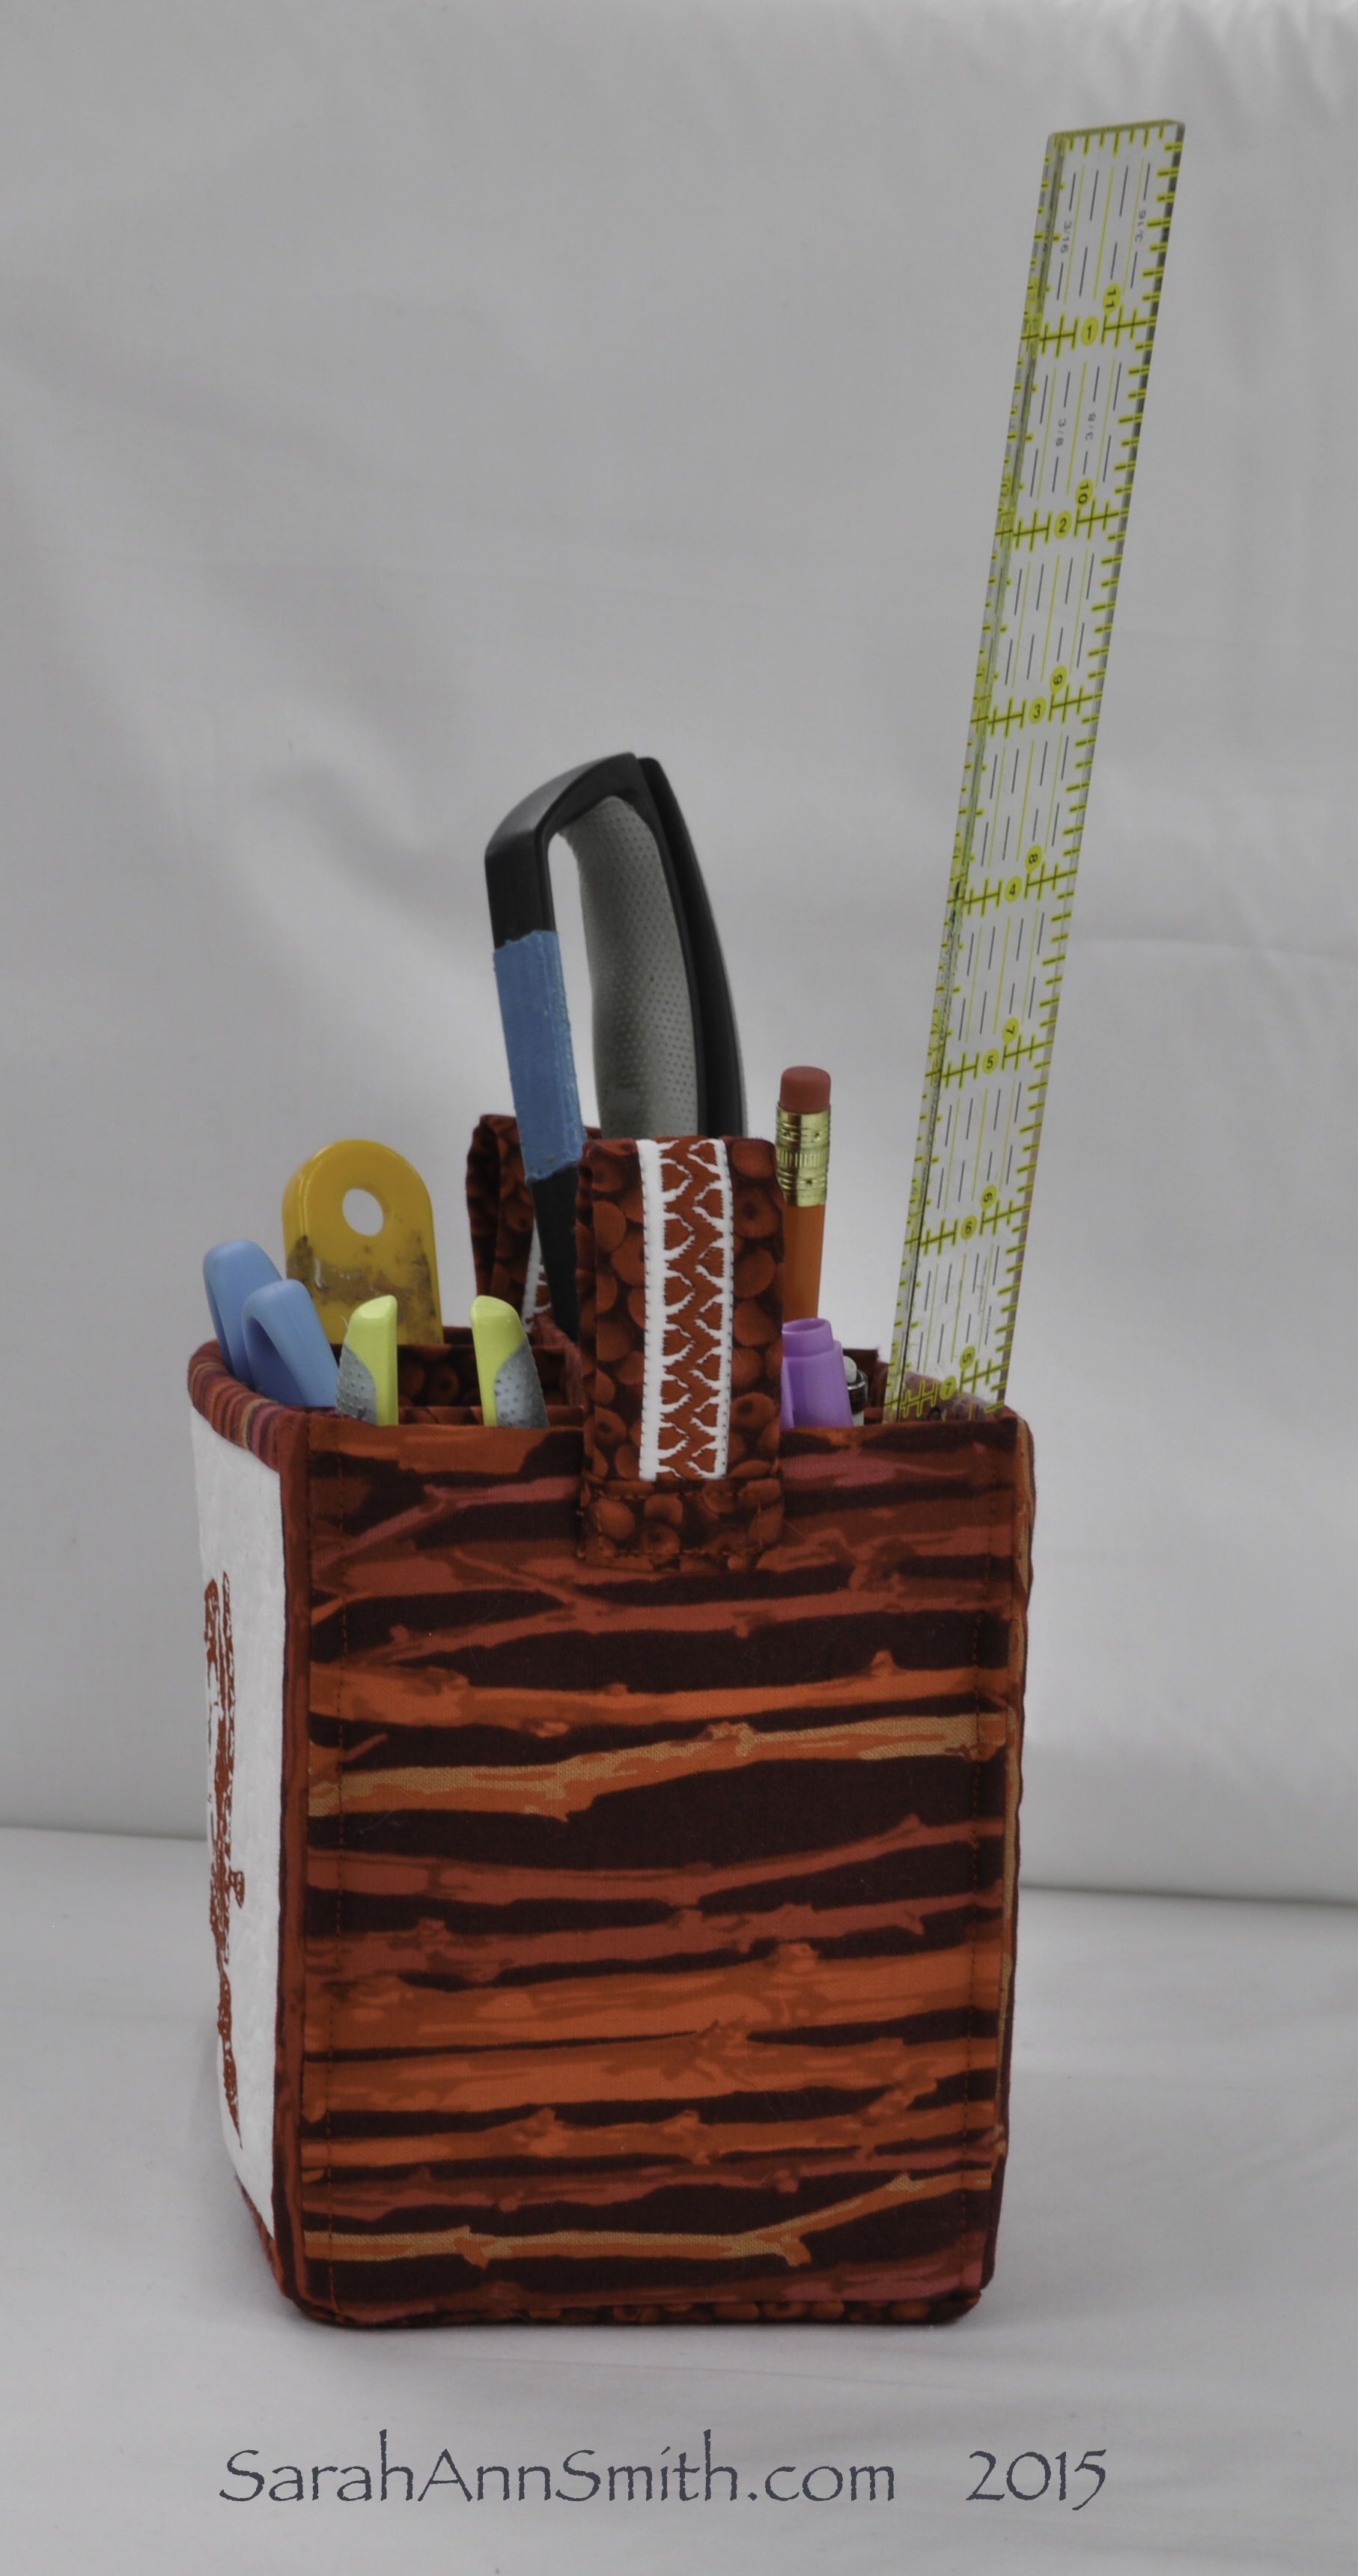
Here’s a view of the other side and the end:

Side two:  the Heart is also an included design, the font is called "Galant" and is also included on the machine.  It was surprisingly easy to create the design on the machine.  And if you happen to be my BFF living on SJI with the initials MZJ, yep--this is a sneak peek at part of your birthday present!  Red is the theme this year.....

Side two: the Heart is also an included design, the font is called “Galant” and is also included on the machine. It was surprisingly easy to create the design on the machine. And if you happen to be my BFF living on SJI with the initials MZJ, yep–this is a sneak peek at part of your birthday present! Red is the theme this year…..Right click to see larger.

End view of the caddy.  I used one of the built-in decorative stitches on the handle.

End view of the caddy. I used one of the built-in decorative stitches on the handle.

Thank you again, Janome, for years of support.  Your fabulous machines make it possible for me to do what I do!

Looking back, looking forward

Wednesday, December 31st, 2014

What a year it has been and what an end of a year–have come down with a sinus infection after Christmas.   But while I was putting things together for the family Christmas newsletter, I decided to browse my blog to remember what had happened.  Of course I remembered Eli going to wrestling camp and our big trip to England, but it felt like I really hadn’t accomplished much art-quilt-wise.  It appears my memory was faulty–what a year!

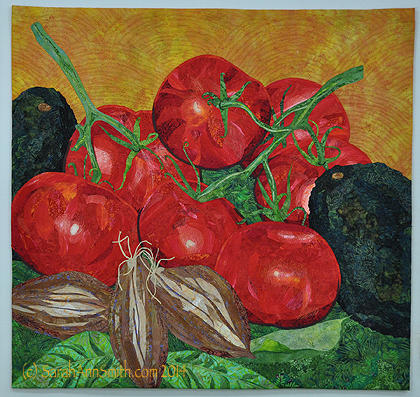
Insalata, (c) Sarah Ann Smith 2014.  First major presentation in public at lecture, Tuesday, How Did She Do That?

Insalata, (c) Sarah Ann Smith 2014.  In the Studio Art Quilt Associates exhibit Food for Thought.

  1. My line of Thermofax screens came out with Fiber on a Whim!  Blogged about them here and here, and you can buy them here.

  2. Two of Us–I was in the Beatles exhibit quilt and in the book! Blogged here, find the book here.

  3. Amaryllis quilt made and touring Australia and New Zealand in the Living Colour Textiles exhibit.  Blogged here; website for the exhibit here.

  4. Eli, Cross-Country 2013 quilt made for the Dinner@8 Reflections exhibit with the IQA shows.  Blogpost here; website for the exhibit here.

  5. Mr. Wiggles does the Circle Dance made and included in the traveling portion of Dare to Dance exhibit and book.  Blogpost here and here, and book here.

  6. Many articles for MQU / Machine Quilting Unlimited on various aspects of machine quilting.  I have to say I subscribe to this magazine and it is one that I read cover to cover each and every issue! There were lots of posts over the past two years, so I won’t put them all here, but here’s one about maintaining your machine.  Here’s the MQUmag.com website.  If I had to cut my magazine subscriptions down to 3, this would be one that I’d keep.

  7. QA TV–on PBS in three segments of Quilting Arts TV talking about needle and thread, quilting, and my easy-peasy inside-out bag!  Me?  On TV?   Here are a few blogposts here and here and here and a link to Series 1400 at the Interweave Store. If you want to shop at Interweave, use the link at the left of my blog for a discount on some items.  Thanks so much to my friend Susan Brubaker Knapp who was tapped to be the new host (and wonderful she is!) and Vivika Hansen DeNegre, editor of Quilting Arts magazine.

  8. Three works in the  Quilt Essentials book, a new book that covers the full range of quilting, geared at newcomers to the art and craft of quilting, published out of England.  Blogpost here and for sale here.

  9. Insalata, my latest piece, has been juried into on of SAQA – Studio Art Quilt Associates — exhibits, Food for Thought.  Apparently, I’ve been SO busy I forgot to blog about finishing the quilt and getting it submitted!   I’ve tried many times, but this is the first time I’ve made it into a SAQA exhibit. My blogpost about the quilt in progress here.   The quilt is at the top of this post! I’ll add Insalata to my list of “Things I need to blog about!”

  10. I was lucky to attend, teach and lecture at International Quilt Festival, Houston, again this year.  For me, this show is the biggest and best show in the US, and I am  privileged to be able to teach there.  It is so much fun to have returning students in my classes!

  11. Our oldest son graduated and I actually made and gave him his graduation quilt within a few months of the event!   He and his girlfriend looked SO CUTE when they wrapped up in it in our living room.  Blogpost here.  It’s a whopper:  87 x 97 inches of riotous color!

  12. New workshops in development–I’ve got two new workshops/classes well under way.  The first is an a la carte series of classes called Quilting the Good Life, where guilds can pick from one to five days of classes that begin with a fused, collaged flower (Quilting the Garden), a second day to develop one’s own photo into an art quilt, a one or two-day quilting class for thread-coloring / quilting the piece, or turn it into a five day workshop including all of the above with extra time to work on the piece with my help.  The second workshop is using thermofax screens and other surface design techniques inspired by the mini-workshop I did in the Fiber on a Whim booth in Houston this fall, blogpost here.  I’ll blog more about these when they debut. 

  13. QA Holidays issue:  the easy peasy inside out bag and card holders I demonstrated on Quilting Arts TV were included as patterns in the annual Holiday issue!

  14. England trip–there are many blogposts and more still to come for this once in a lifetime trip.  How wondrous is it that a 16 year old teenager wanted to go with his Mom to England? 

  15. 500 traditional quilts book—I’m known as an art quilter, but I love traditional quilts.  I was thrilled to have 3 quilts included in this book juried by Karey Patterson Bresenhan and have 2 on display at the 2014 International Quilt festival in Houston in the exhibit of selected quilts from the book.   Blogpost here.

  16. Planting 300+ daffodil and tulip bulbs with my family!  Nearly 30 years ago we lived in DC on Capitol Hill.  One row house had a small front garden that was wall-to-wall tulips in spring.  I’ve always wanted to do something similar with daffodils….. have those joyous blooms spilling down a hillside.  Well, we have the hill, and in spring we should have the flowers.  I ordered about 100 tulips and 250 daffodils.   I have a feeling I will want to add a hundred more bulbs every autumn until I have my cascade of daffodils!  Blogpost here.

  17. Dog walkies—inspired by Susan Brubaker Knapp’s daily beauty photos, I have been documenting my little world on dog walkies with our beloved pug.  I post the pictures on Facebook, though get them shared here sometimes, too.   If you aren’t already a friend on FB, please do visit me here and send a request!

  18. Not enough exercise–well, something had to go, and clearly I should re-prioritize and get myself back in some sort of shape.  Hope springs eternal?

  19. Janome 15000, in Janome ads w/banner:  to my utter astonishment and delight, Janome America has sponsored me with a machine for nearly a decade now.   In exchange, I do projects for them and try to repay their kindness and generosity by talking about the features of the machine (which are fabulous and I would say that even if I DIDN’T get to use one for free).  This year they –GASP, and yes I seriously upgraded my business insurance to cover the cost of this machine– lent me a top of the line Janome 15000.  And they used a banner I made for them in their national ads, blogpost here.  Thank you Janome America!

  20. And last but not least by any  means, I am now published with a NON textile artwork in Lesley Riley’s Inspirational Quotes Illustrated.    And in another how-did-I-not-Blog-about-that-yet moment, I will prepare a blogpost to publish tomorrow with pictures of the book and my piece in it!  You can buy the book here.  And I will say, I almost never have TWO of a book, but this one is so cool because you can remove pages to go on the wall, so I am keeping my autographed-by-Lesley copy intact and bought another to take out pages for posting on my design wall as inspiration.

So that was one heck of year–and here I thought I hadn’t done much.  What a wonder!


A little holiday cheer–Ribbons galore

Friday, December 5th, 2014

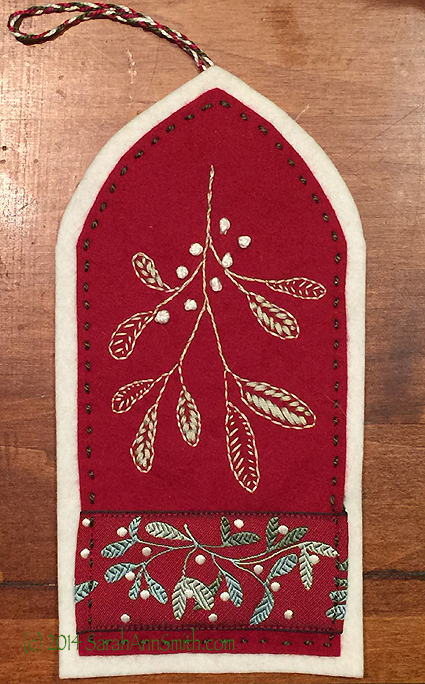
A brief interlude to show that I actually DO make stuff!   Ever  fall in love with those beautiful ribbons but don’t know what to do with them?  Well, I had purchased the ribbon for the ornaments (which have taken me eons to finally set aside time to make!) from that oh-so-tempting company Renaissance Ribbons.  THEN, wonder of wonders, owner (manager?) Edith Minne asked if I would like some leftover bits from their most recent (at the time) holiday trims.  Umm..YES!   I had a ball with the latter and made this narrow banner plus a similar one from the pink color way (that one says Joy, but not sure I have a photo!).

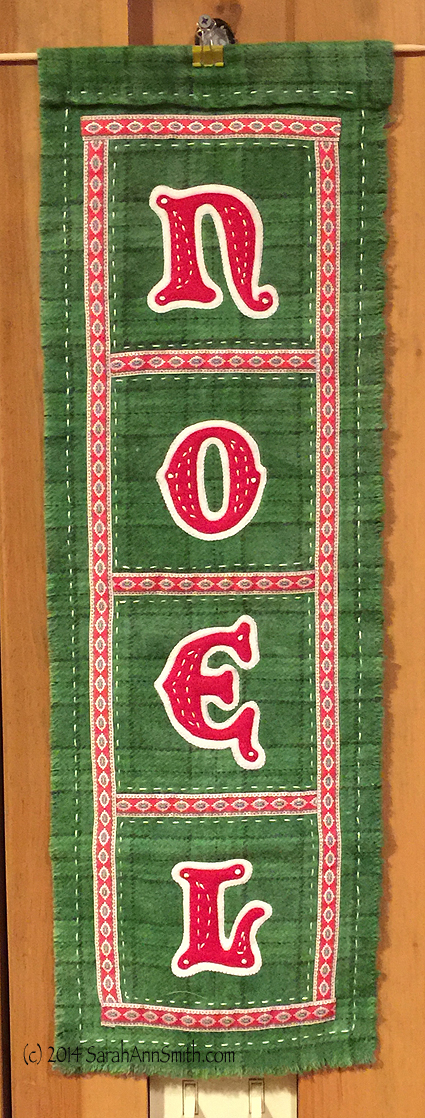
Noel by Sarah Ann Smith (c) 2014.

Noel by Sarah Ann Smith (c) 2014.

It’s made of trim, hand-dyed wool (from Fiddlehead Artisan Supply in Belfast, Maine), wool felt and perle cotton–all the impact (of floss) with 1/3 of the work.   There is no backing, just the wool.  The letters are machine appliques, as is the ribbon.  Then the white stitching is perle cotton no. 5.  Eventually I’ll make a proper hanger instead of a fat skewer and binder clip!

Then today I was in Rockland, Maine (to the south of me, instead of the north), where I popped in to the new fabric store, Clementine, to pick up some floss bobbins (after 40 years I’m getting organized…some of my floss was purchased the wrapper tells me for 12 cents a hank….ummm…think it is OLD?   Think I am OLDER?).  The owner used to work at Fiddlehead, and the store shares the modern vibe with a range of fabrics including silk blends, linens, ticking and more.  And perle cotton.  Yep, love the stuff.  So I was sharing about my ornaments, and thought SHEESH, I should share on my blog!   Feel free to adapt these ideas–yes, go buy that glorious ribbon!

Kathy Daniels, Deborah Boschert and Kate Cutko, if you see this you may read about the owl, but then STOP SCROLLING.  Spoiler alert at the bottom.  Ahem.

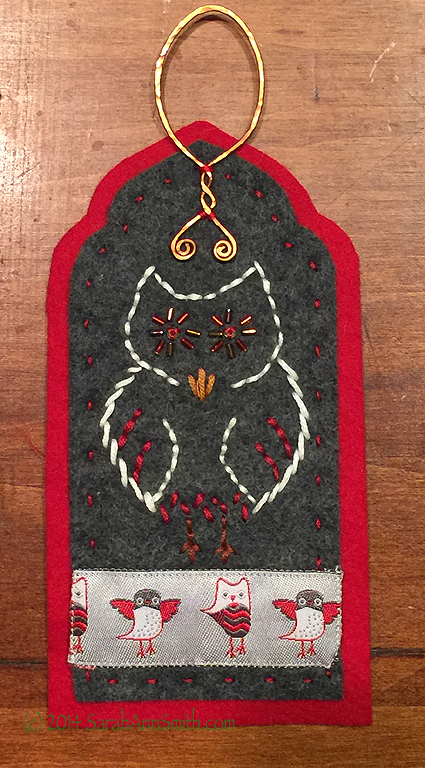
This is last year’s ornament, the owl:

The owl--with a nod to my friend Jacquie Scuitto, who LOVES owls.  I wrote a story in first grade about Rowl the Owl and his girlfriend, Jane.  This is Rowl.  And another nod to my friend Janice Berkebile who sent me her "retired" metalworking hammer and some tools with which I made the hammered copper hanger.

The owl–with a nod to my friend Jacquie Scuitto, who LOVES owls. I wrote a story in first grade about Rowl the Owl and his girlfriend, Jane. This is Rowl. And another nod to my friend Janice Berkebile who sent me her “retired” metalworking hammer and some tools with which I made the hammered copper hanger.

Kathy, Kate and Deborah:  STOP HERE!

Made with ribbon, wool felt, perle cotton and embroidery floss, and the copper metal wire.

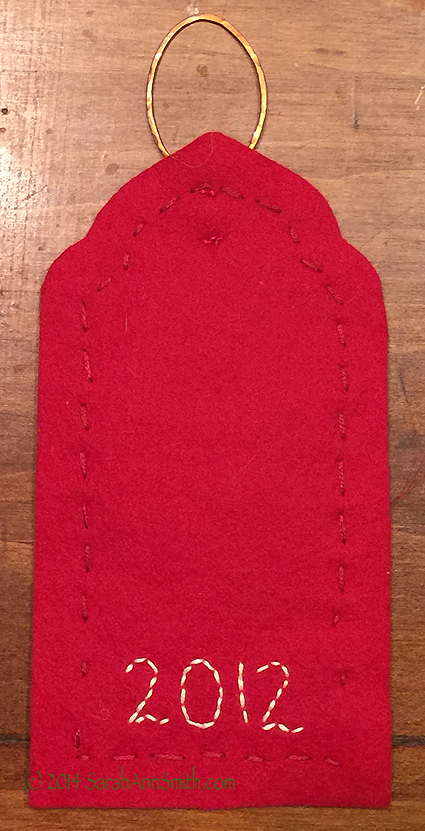
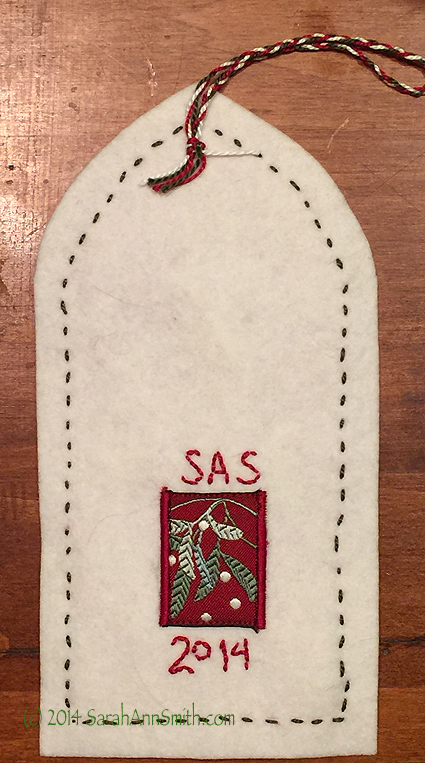
And the back with the date, since I always forget WHEN I made something!

And the back with the date, since I always forget WHEN I made something!

If I had realized how long it was going to take me to make the 2014 ornaments, I might have opted for machine stitching!  But instead I watched Endeavour, a Masterpiece Mystery series about Inspector Morse when he had just joined the force, and OH MY what excellent scriptwriting, acting and editing…if they don’t film a third series soon I may have to return to England just to throttle someone–with a cliffhanger like THAT?  Anyway…back to 2014….

SWOON....is that mistletoe ribbon not some of the most gorgeous ribbon you've ever seen?????

SWOON….is that mistletoe ribbon not some of the most gorgeous ribbon you’ve ever seen?????

Again, wool felt, ribbon, floss, perle cotton.  The white will make the ornament pop out from the depths of the tree.  I like “soft” ornaments like this near the bottom of the tree–that way if the cats swat them off, they won’t break!  The fancy glass goes up at the top of the tree!

And I did succumb to machine adding this little bit of ribbon to the back.  And I had the wit to include my initials this year, too.

And I did succumb to machine adding this little bit of ribbon to the back. And I had the wit to include my initials this year, too. What a concept. 

My stitching (stab) is clearly imperfect through the layers of wool felt, but oh well!   I’m kinda wonky and wobbly, too.   And I haven’t even had any wine.  Though I do have some leftover mint that is whispering mojito, mojito, mojito….yes, that’s a Christmas drink, mojito.  And I have Kate Cutko to thank for introducing me to them!   What a fun weekend that was my friends–here’s to this year’s giftie:  friendly hug under the mistletoe!  Yes, if you nab your favorite spouse (I’m assuming you only have one–sheesh…what’s with me tonight?) hold it overhead and it will be more friendly with him.

So you have my permission to head right over to Renaissance ribbons, spend money and start plotting how to use the ribbon.  I used their beauties in my Easy Peasy Inside Out Bag which is in this year’s Quilting Arts Holiday gifts issue (available here) and demonstrated on Quilting Arts TV series 1400, episode 1402 (I’m also in episodes 1405 and 1412).  It looks as though Interweave is out of the hard copy of the Holiday Gifts issue, but it is available as a download.  If you prefer a hard copy, eQuilter still has copies (as of Dec. 4) here.


Thermofax screens galore!

Wednesday, October 8th, 2014

I promised I’d share more of the thermofax screens I have designed and that Fiber on a Whim is making and selling, so here they are.  You can order these online or buy them at International Quilt Festival and other shows where Fiber on a Whim has a booth.

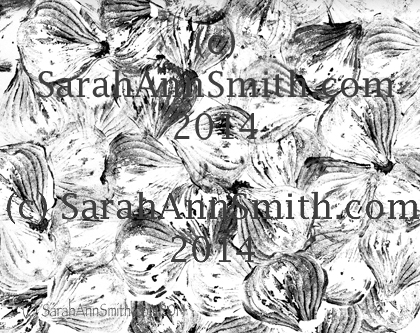
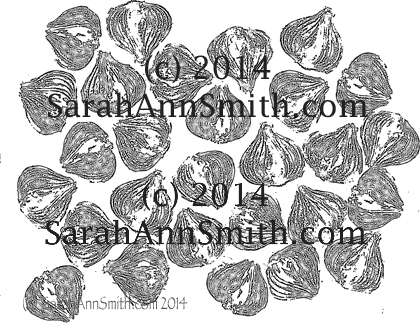
Onions is one of my favorite designs.  I used a small white onion to stamp, then fiddled with the print in photoshop to create this screen.  It makes a fantastic background print.

Onions is one of my favorite designs. I used a small white onion to stamp, then fiddled with the print in photoshop to create this screen. It makes a fantastic background print or part of a  layered piece of complex cloth.

I’m teaching two mini Whimsy-Classes in the Fiber on a Whim booth on the show floor at Quilt Festival, and we’ll be using the onion screen for oen of the two small projects in the classes.  For more information on this, visit here.  There is no advance sign up–come to the booth and the first 8 in line 15 minutes before the classes get in.  The modest $10 fee covers the kit fee–I provide everything you need.

The screens are so new I don’t even have some of them yet!

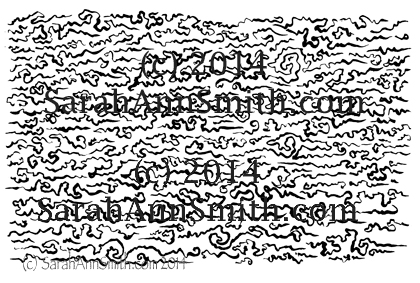
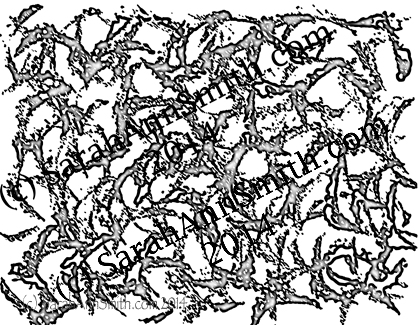
Squiggles thermofax screen by Sarah Ann Smith at FiberonaWhim.com

Squiggles thermofax screen by Sarah Ann Smith at FiberonaWhim.com 

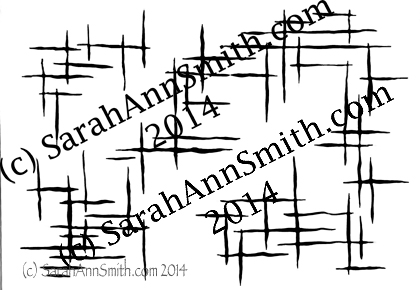
Woven, thermofax screen design.  Sometimes you just want a bit of something.  This is a full-size screen  so you can print as much or as little of the screen as you like.  With the somewhat irregular edges, it is easily overlapped.

Woven, thermofax screen design. Sometimes you just want a bit of something. This is a full-size screen so you can print as much or as little of the screen as you like. With the somewhat irregular edges, it is easily overlapped.

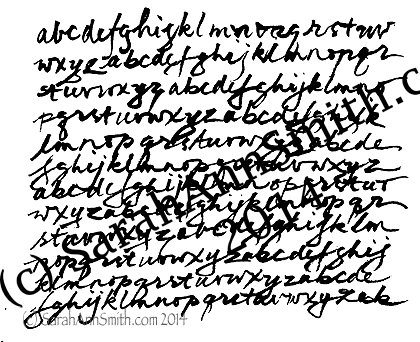
One of FoaW's best-selling thermofax screens is an old French ledger, so we thought we'd try an alphabet, hand-written by me in a brush pen.  Again, a good background design, which is what I was going for with most of my designs.

One of FoaW’s best-selling thermofax screens is an old French ledger, so we thought we’d try an alphabet, hand-written by me in a brush pen. Again, a good background design, which is what I was going for with most of my designs.

Another vegetable--this time celery!

Another vegetable–this time celery!

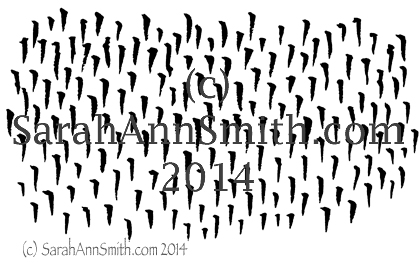
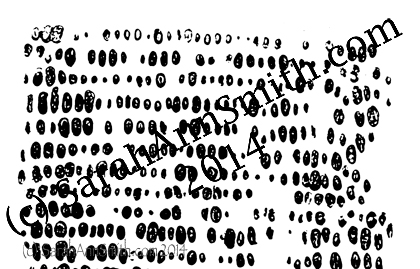
The dagger-drops screen is a smaller size because you can easily repeat it.  It will be fun to play with this, alternating the direction of the print 90 degrees or at diagonals or every which way.

The dagger-drops screen is a smaller size because you can easily repeat it. It will be fun to play with this, alternating the direction of the print 90 degrees or at diagonals or every which way.

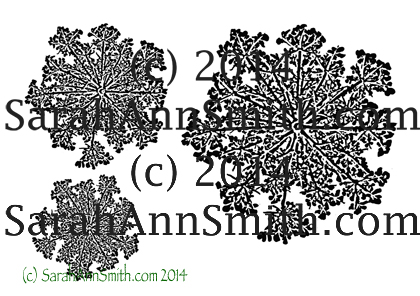
The Queen Anne's lace is from a photo I took, modified in photoshop elements, then scaled into three sizes.  We will use this in the mini Whimsy-Classes project you can see in this blogpost.

The Queen Anne’s lace is from a photo I took, modified in photoshop elements, then scaled into three sizes. We will use this in the mini Whimsy-Classes project you can see in this blogpost.

Another onion print, a full size (9x12 inch) screen, that I call Tossed Onions.

Another onion print, a full size (9×12 inch) screen, that I call Tossed Onions.

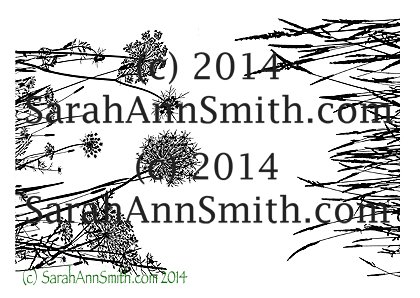
Grasses, a full size screen with two ends to use.  Kristin of FoaW requested this one--I had ordered it earlier for one of my own projects.

Grasses, a full size screen with two ends to use. Kristin of FoaW requested this one–I had ordered it earlier for one of my own projects.

And last but not least, another great background print design, corn!  Yep, I sacrificed an ear of corn on the cob for the sake of art.

And last but not least, another great background print design, corn! Yep, I sacrificed an ear of corn on the cob for the sake of art.

In a few days I’ll do a review of Lynn Krawczyk’s great new book, Intentional Printing.  It will give you TONS of ideas on how to use thermofax screens and other surface design techniques.  Stay tuned! Here’s a link to Lynn’s website in the meantime, and she’s a ton of fun and on Facebook here.

And just in case you don’t feel like scrolling to the top but want to see the website where the screens are sold, here’s the link one more time!  I can’t wait to go to Quilt Festival, but I’m also looking forward to returning to my studio and playing with paint and thermofax screens!