email Youtube

Home
Galleries
Blog
Workshops & Calendar
Store
Resources
About
Contact

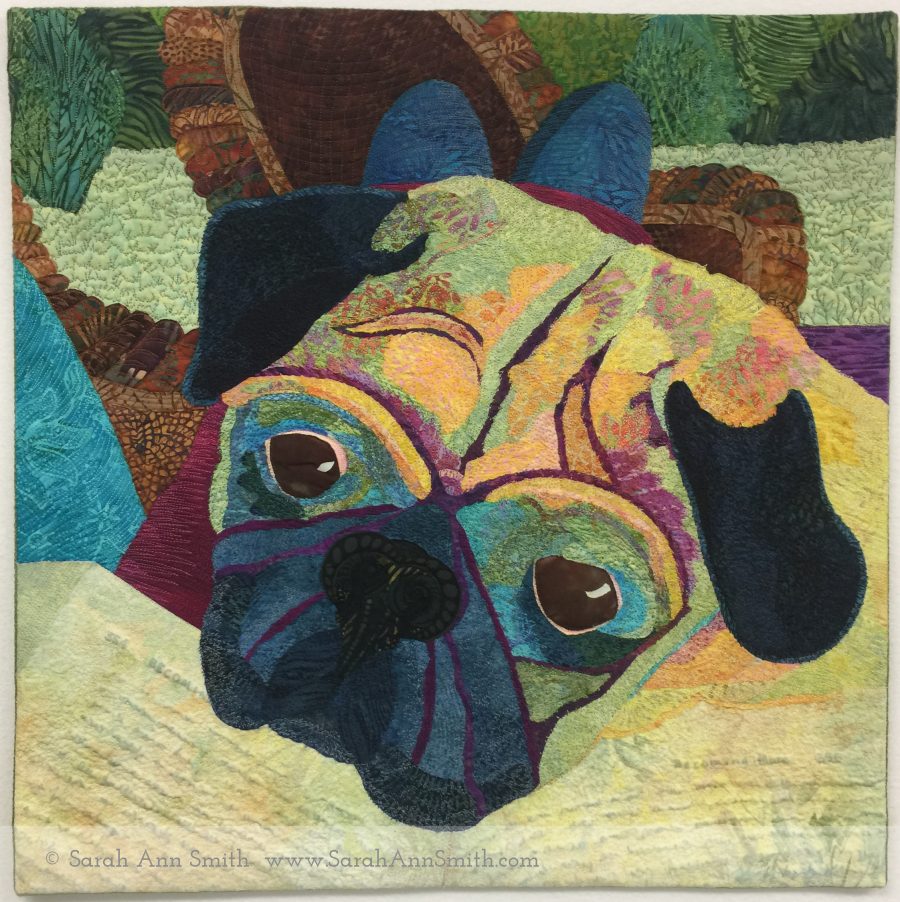
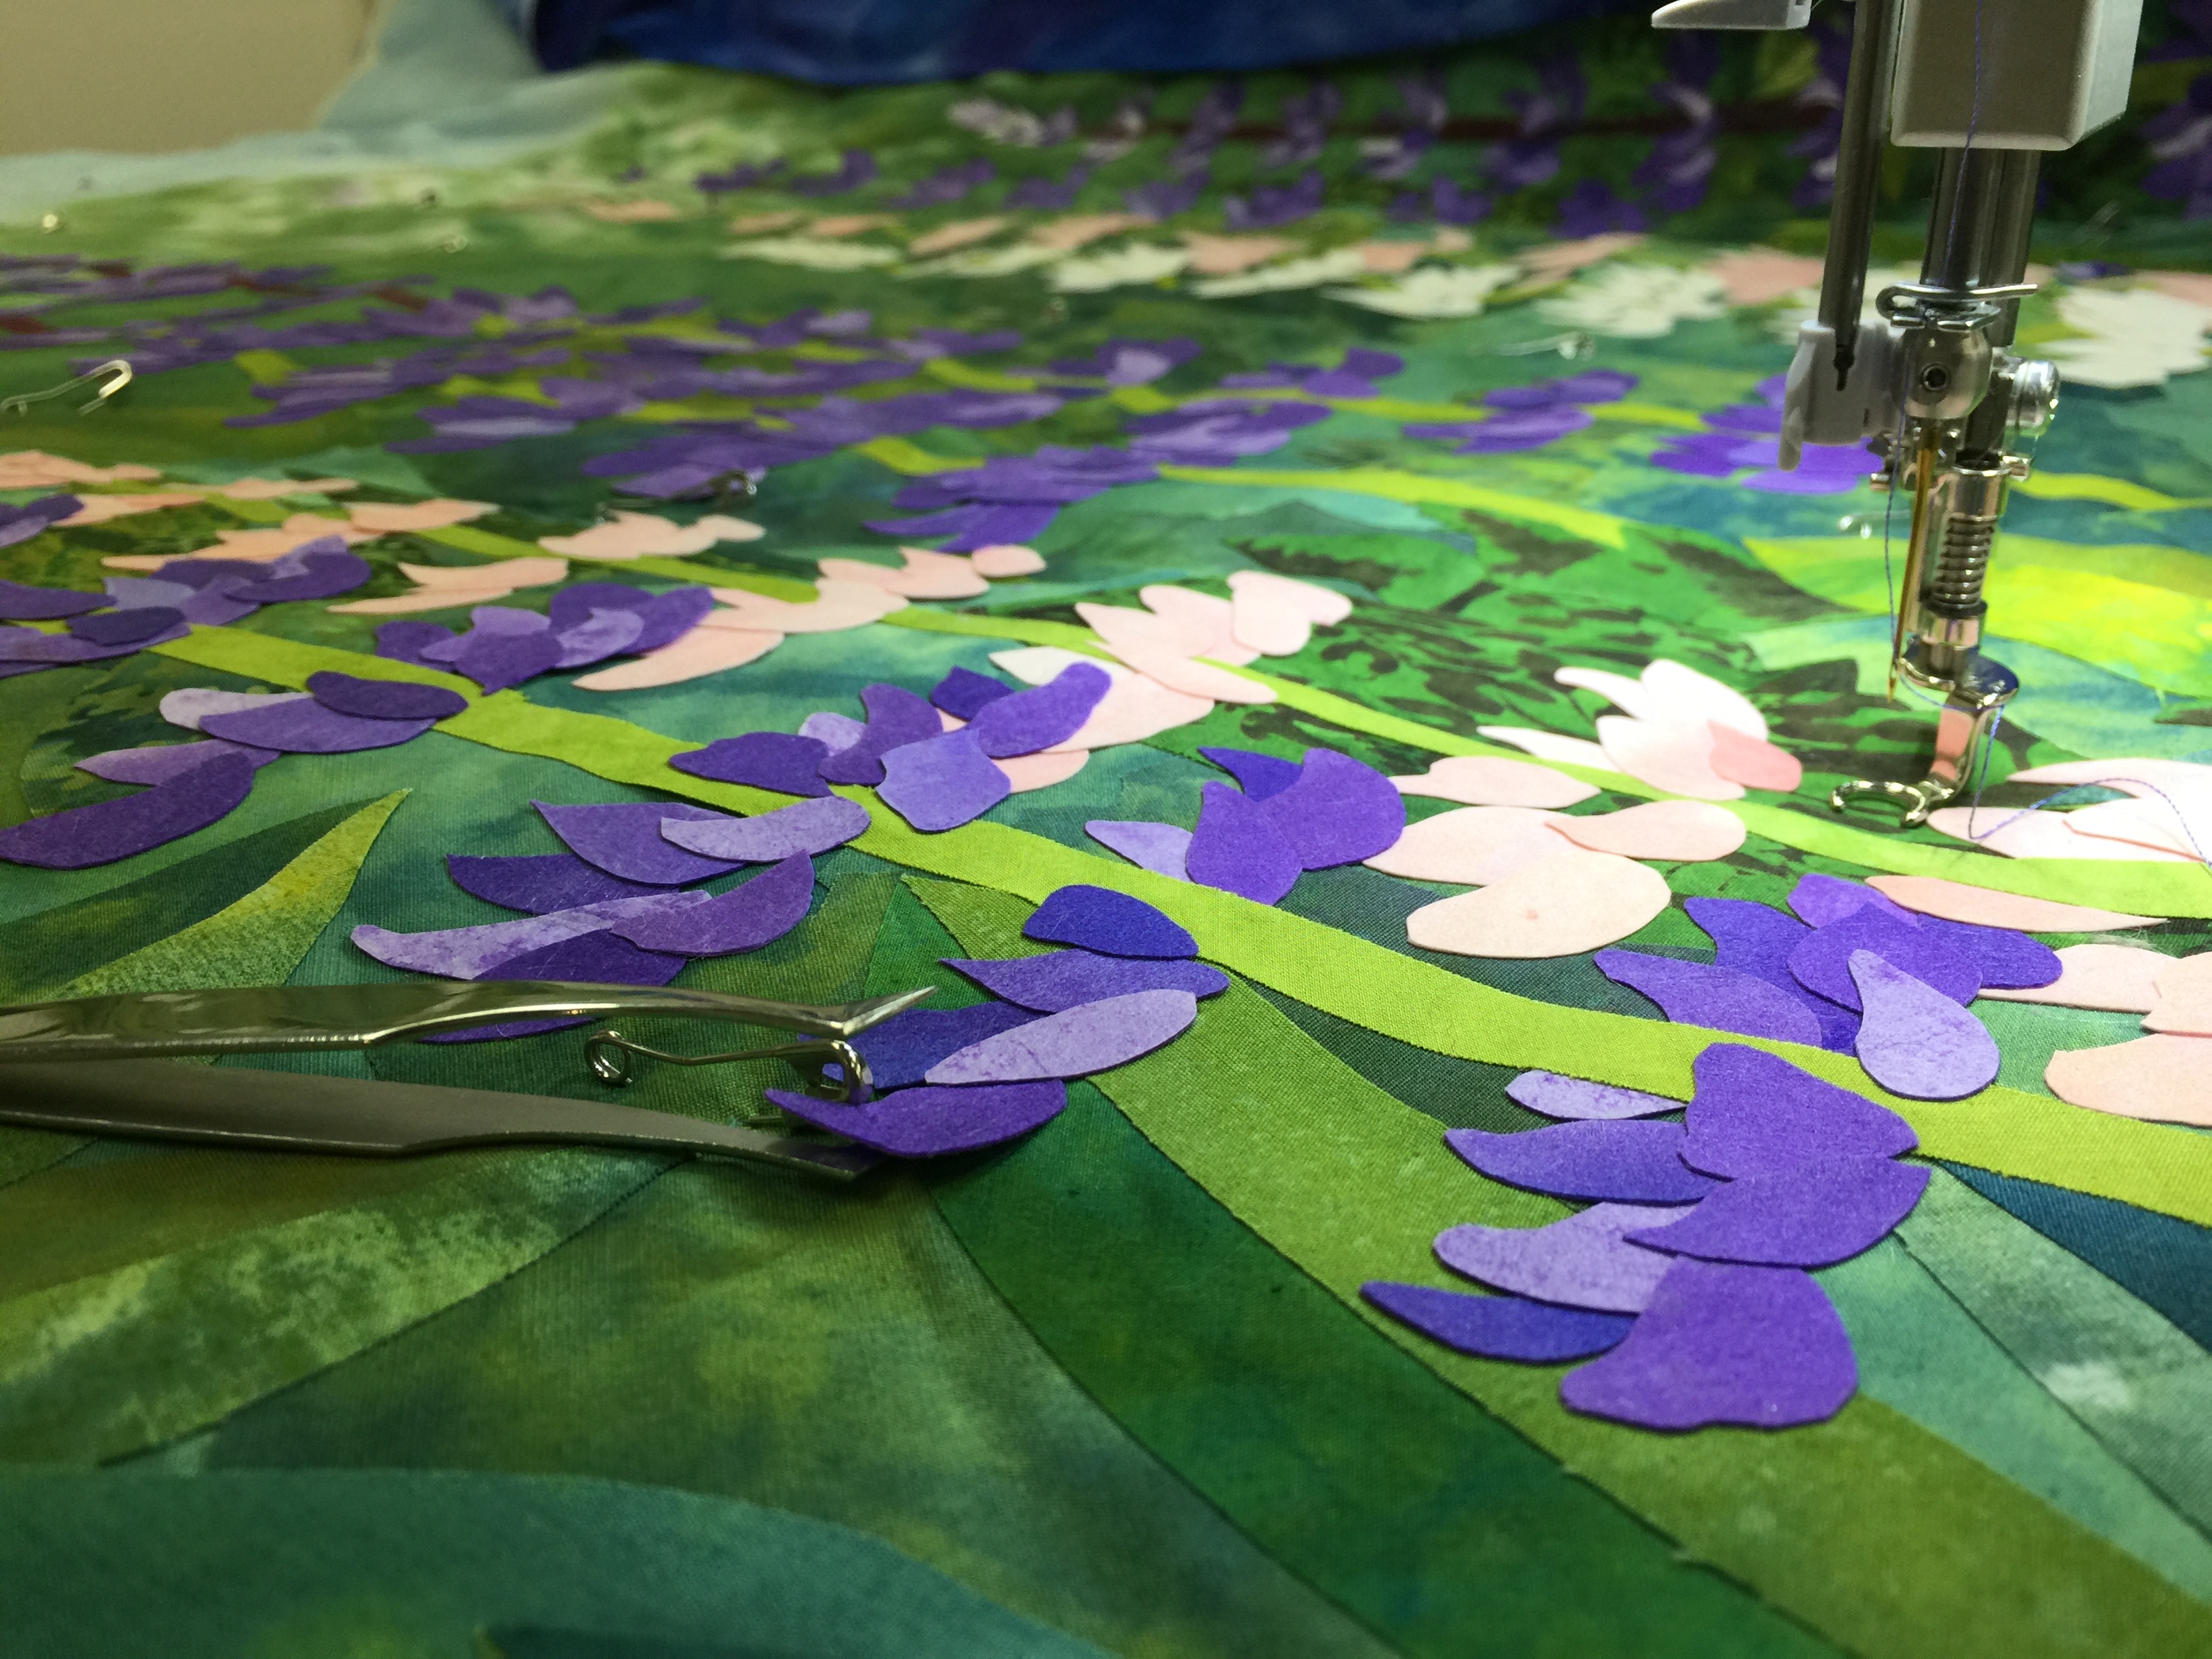
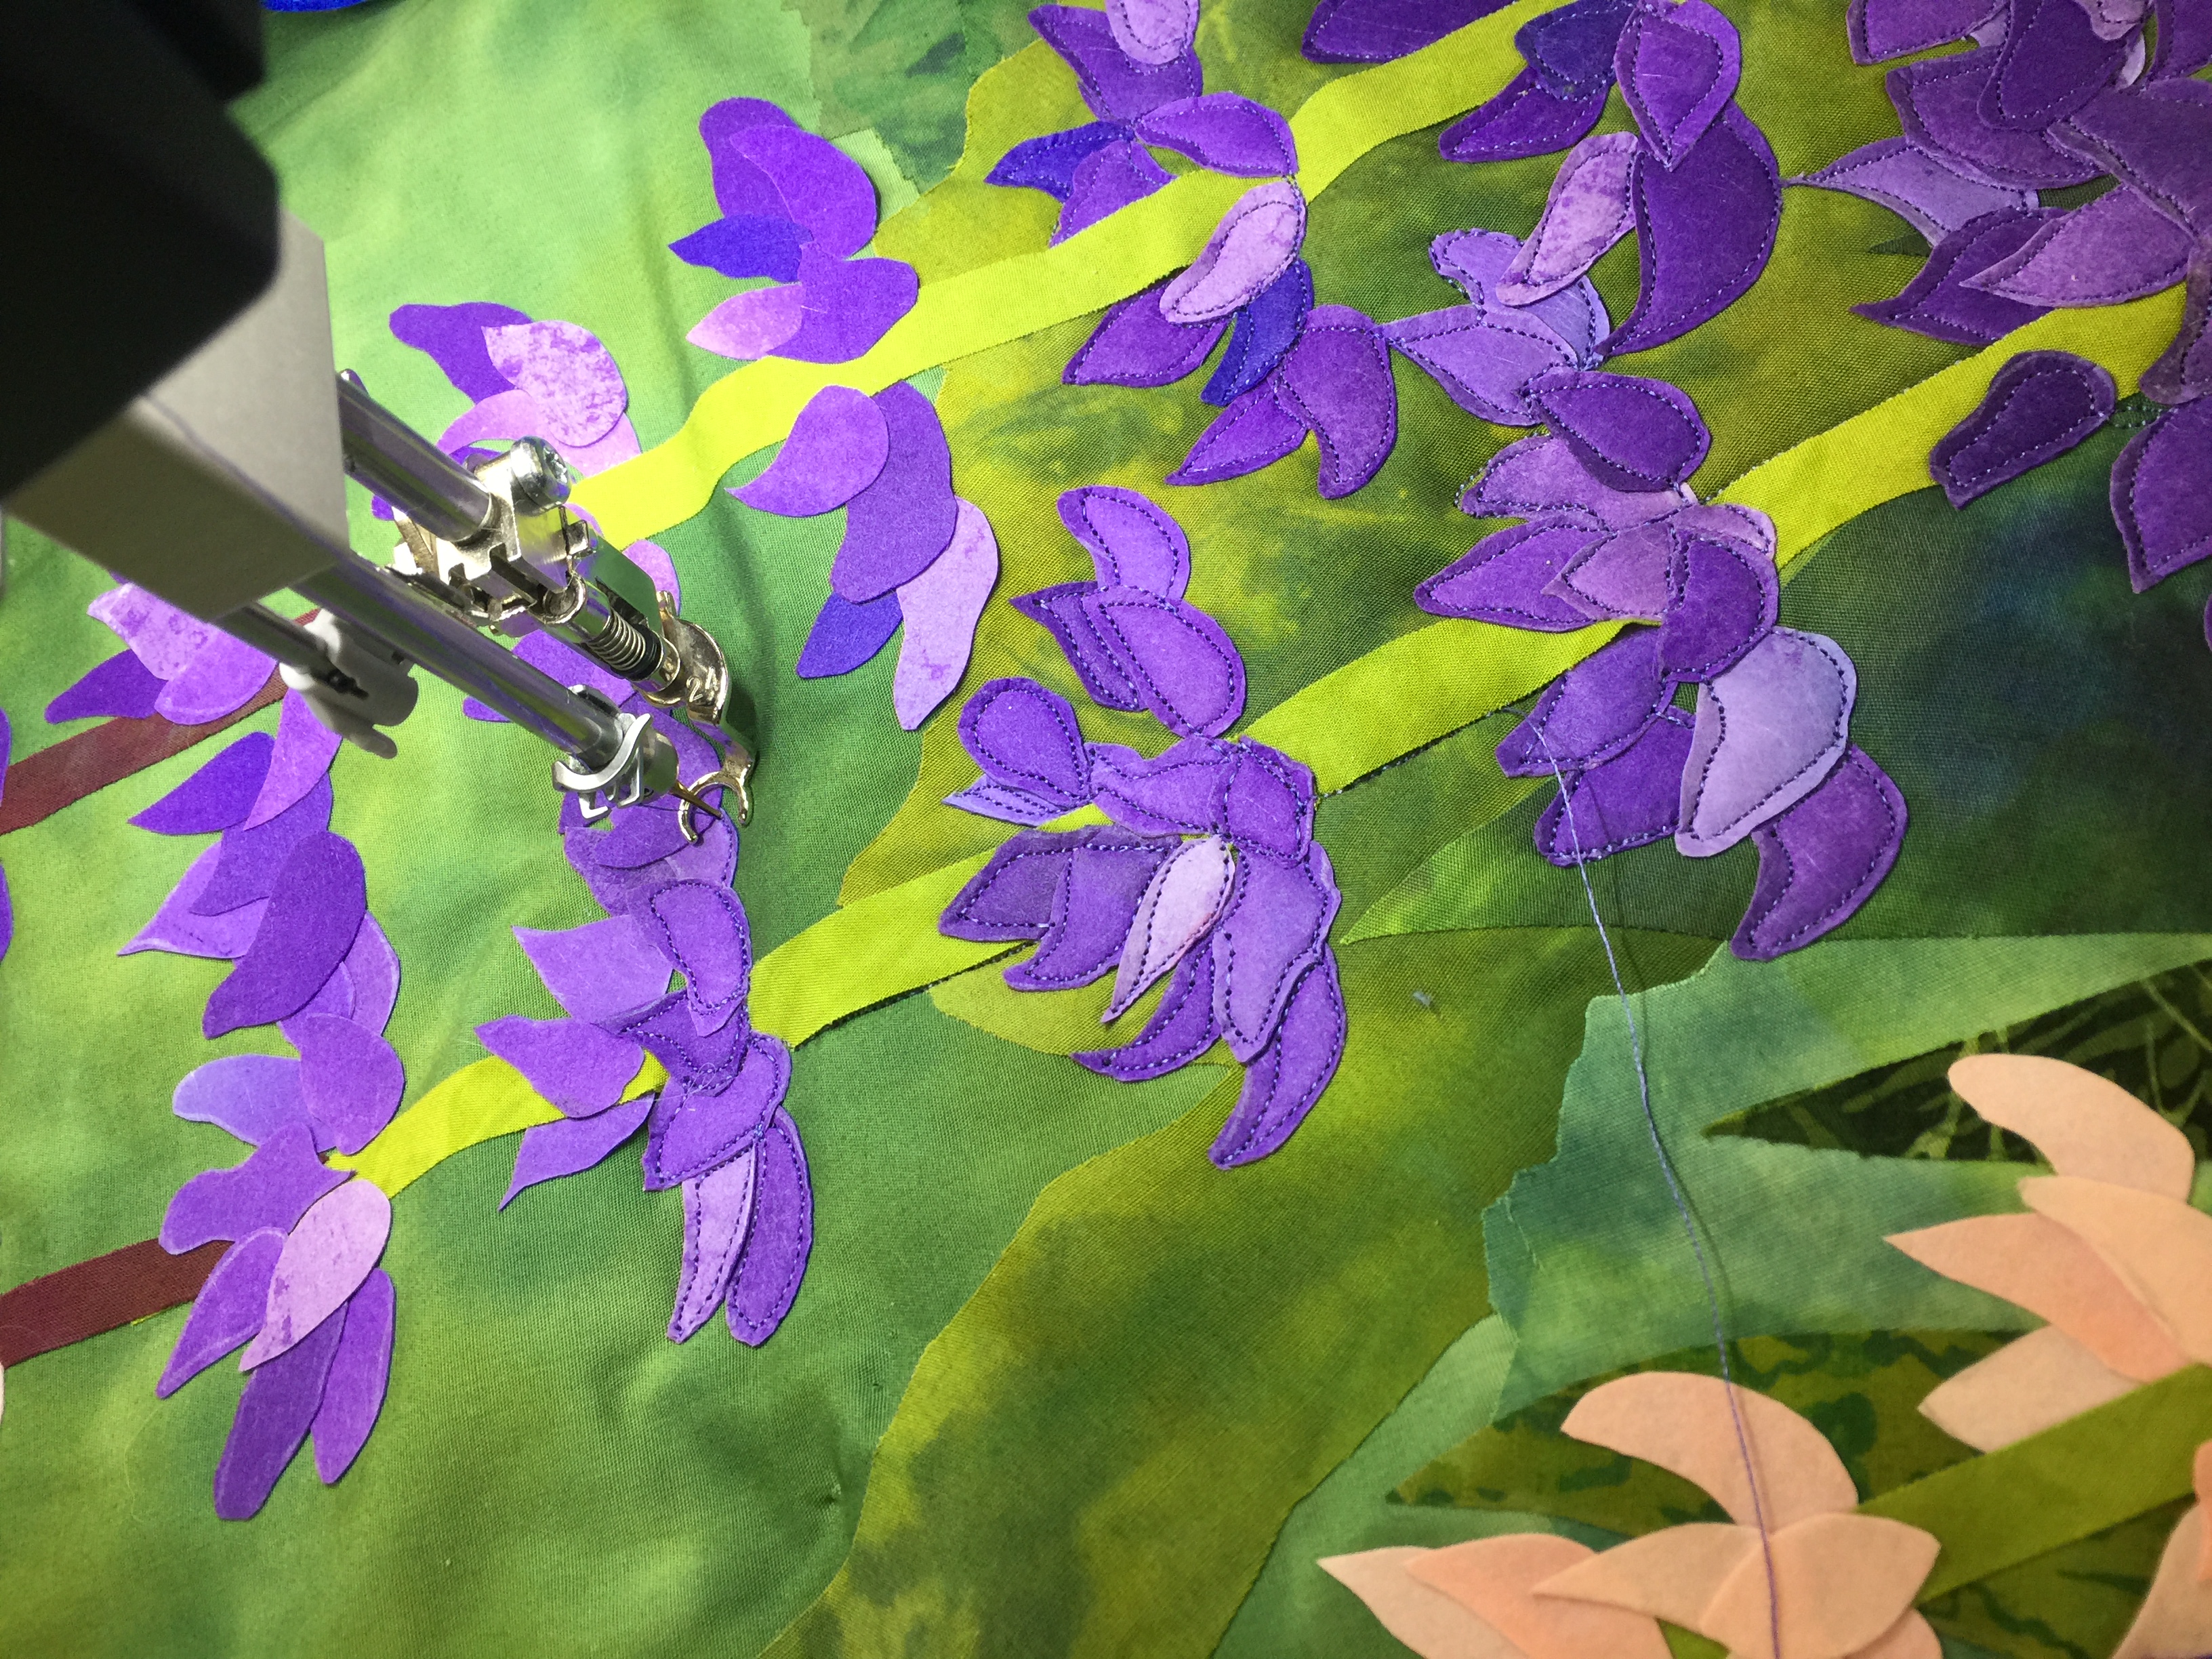
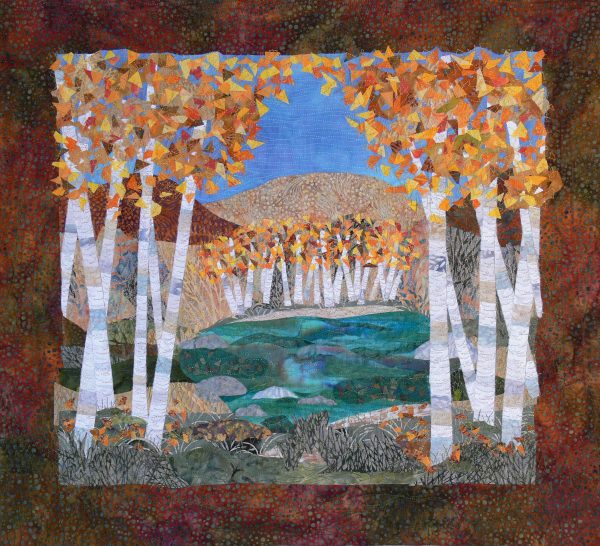
Irons: from tiny to dragon!

Saturday, April 18th, 2020

For a while now I’ve wanted to blog about irons, and why I love the ones I have. Yes, plural…..I have SIX! Three are “small” size, two are regular, and one is Sirius the Black Dragon. Yes, my Janome M7 sewing machine is named Albus (the second, he had a predecessor named Albus). There’s even a video at the end of this post about all these irons!

From left to right: the CHI, my beloved Panasonic Titanium Nonstick, the little mushroom style, the (SOB no longer made SOB) Clover, and Sirius, a LauraStar steam generator. I have a sixth sorta small iron, but it is too heavy/awkward for my hands and was upstairs for use steaming in the closet–not that I’ve actually ever used it for that. Sigh.

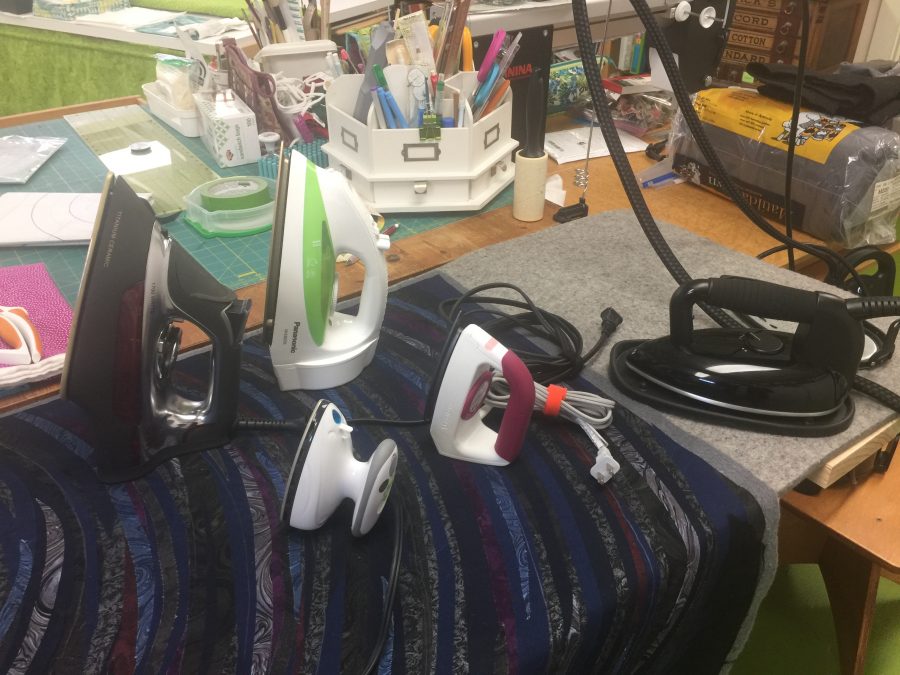
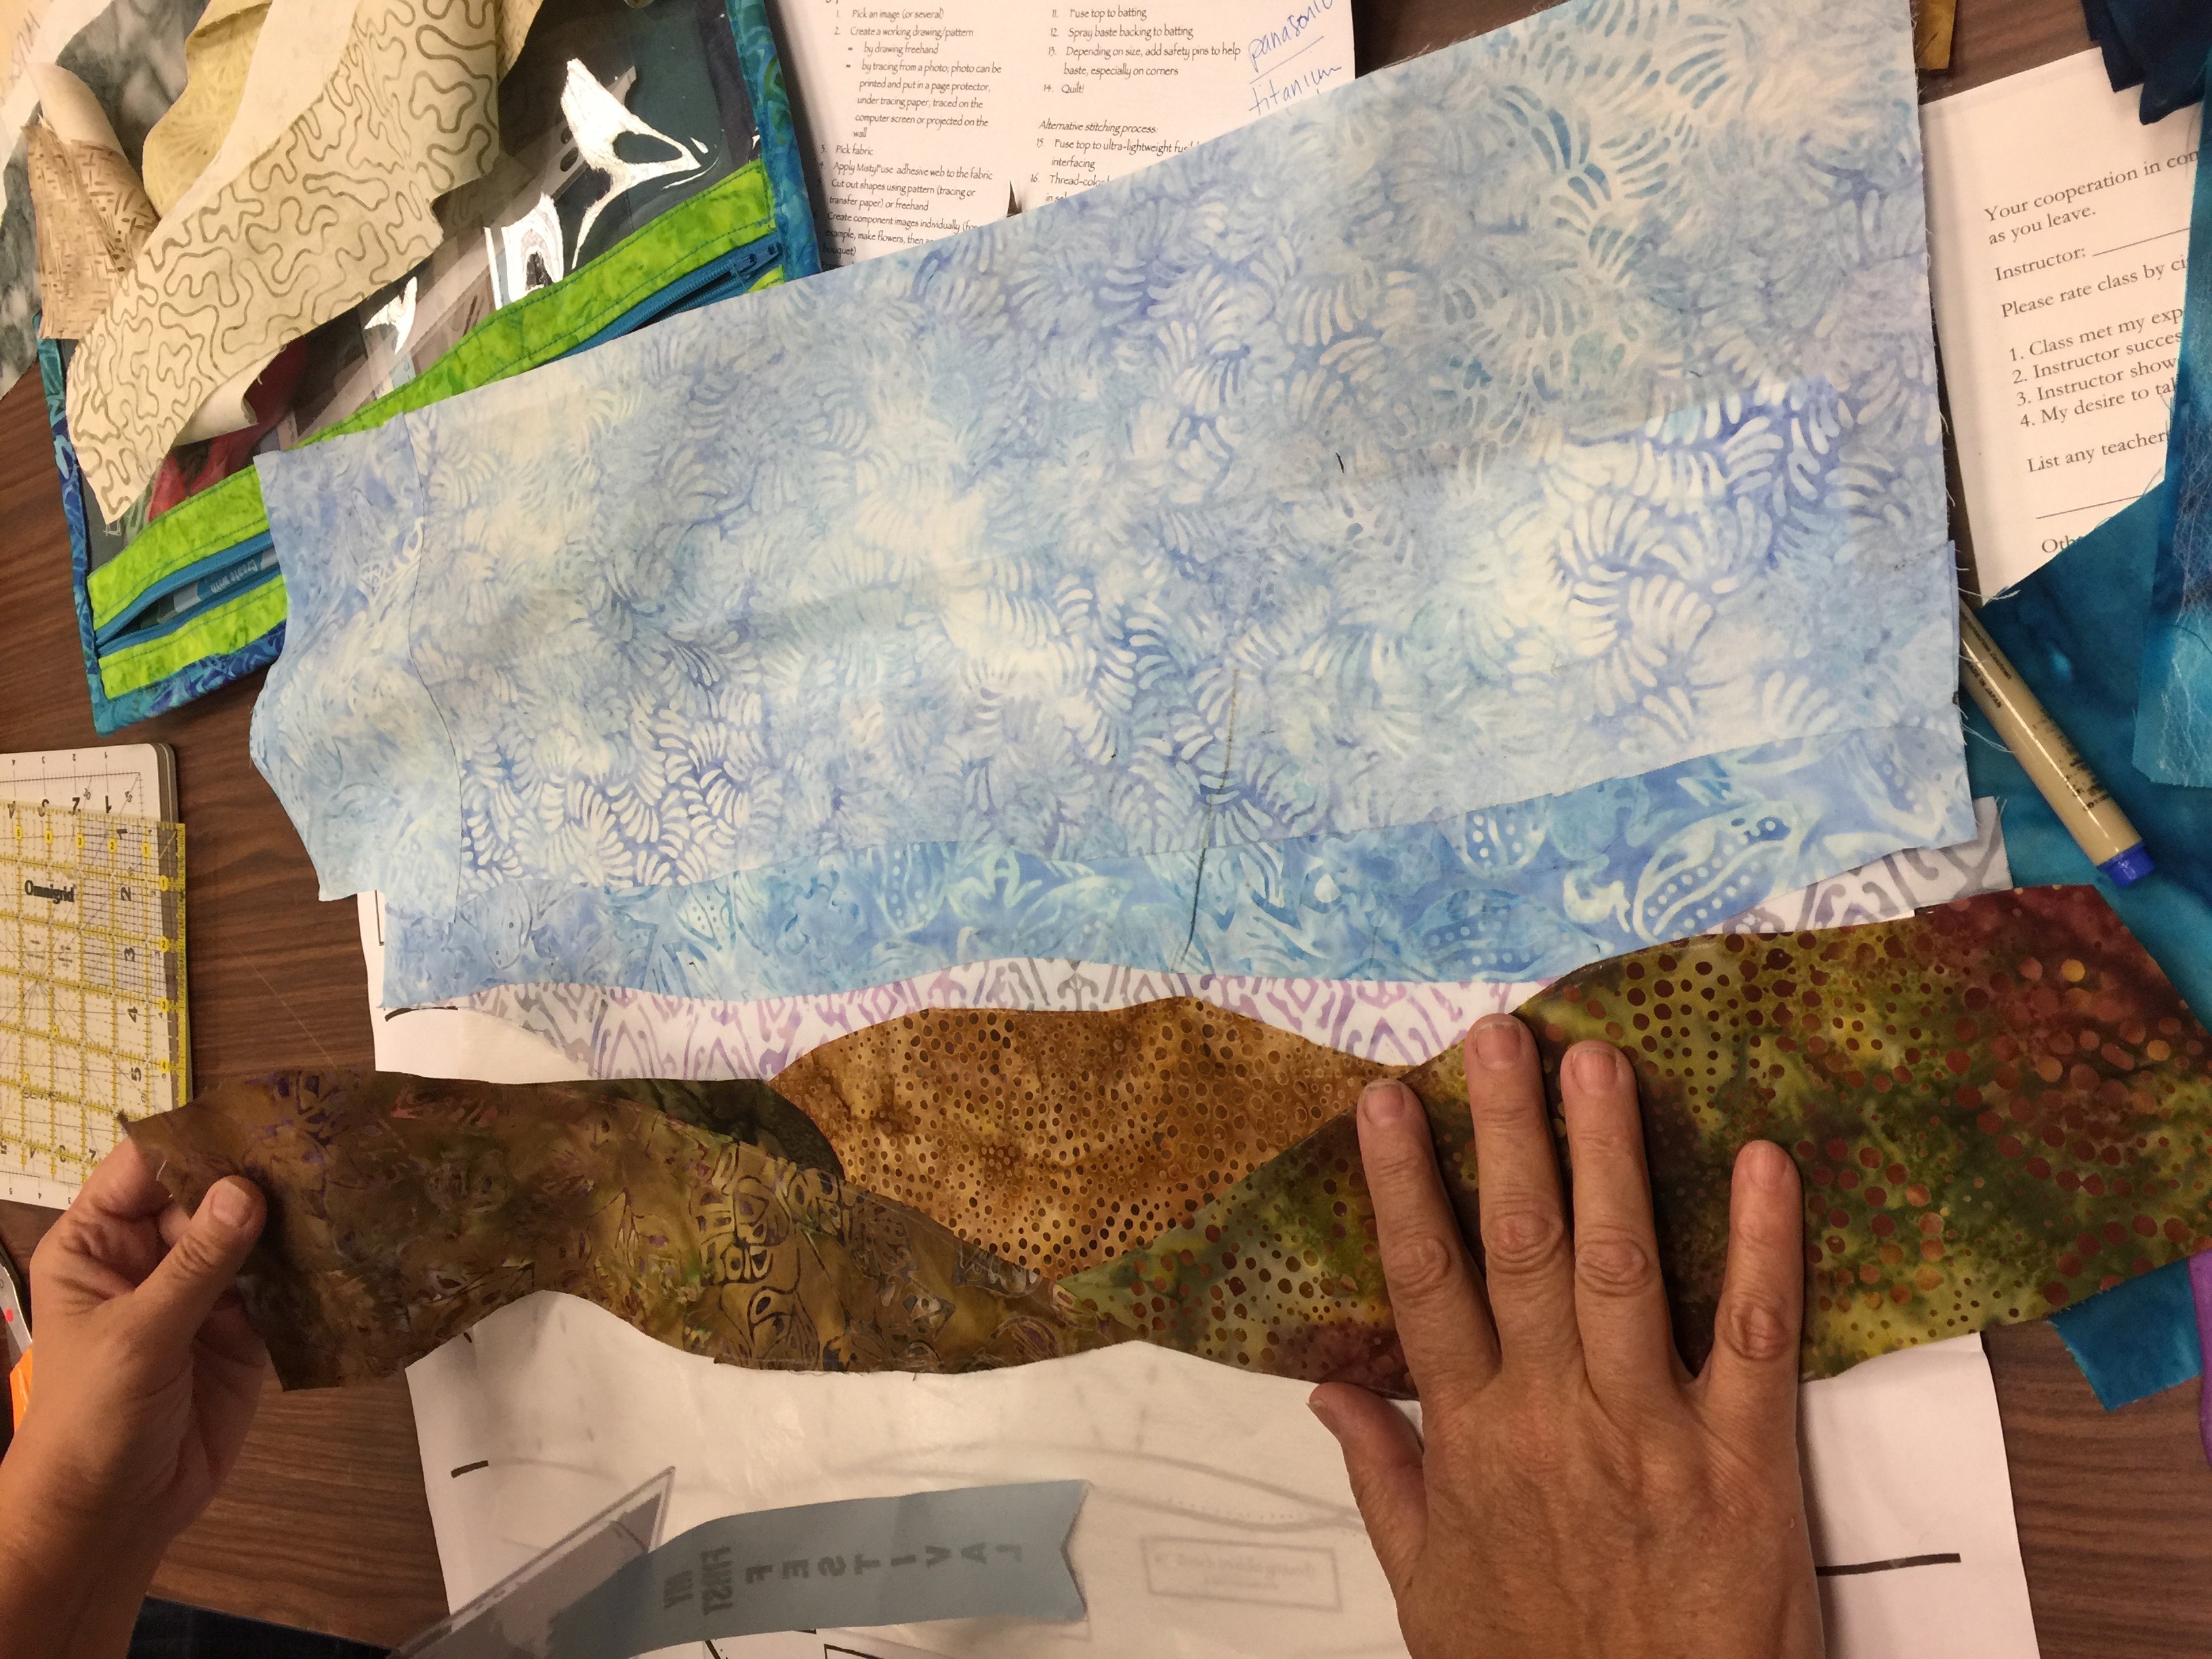
The Panasonic is my go-to iron for fusing. At 1200 watts, it gets hot and has acceptable steam, although I almost always use it as a dry iron. I love this iron so much I wore the finish off my last one! I always have one that is my working iron, and a brand new spare in the closet in case the cats or I knock it off the ironing board one time too many (studio is in the basement, cement floor…not good for falling objects). I can LITERALLY place this on Mistyfuse or other fusible web, melt it all over the bottom of the iron and WIPE IT CLEAN. No more hot iron cleaner fumes (which cannot be good to inhale–they set off smoke detectors)! For the price of four tubes of iron cleaner, you’re golden. This link takes you to the one I am currently using–I like that it has auto off because I am easily distracted. As of April 2020, it is a whopping US $27. Even if you only use it for fusing, it’s worth it!

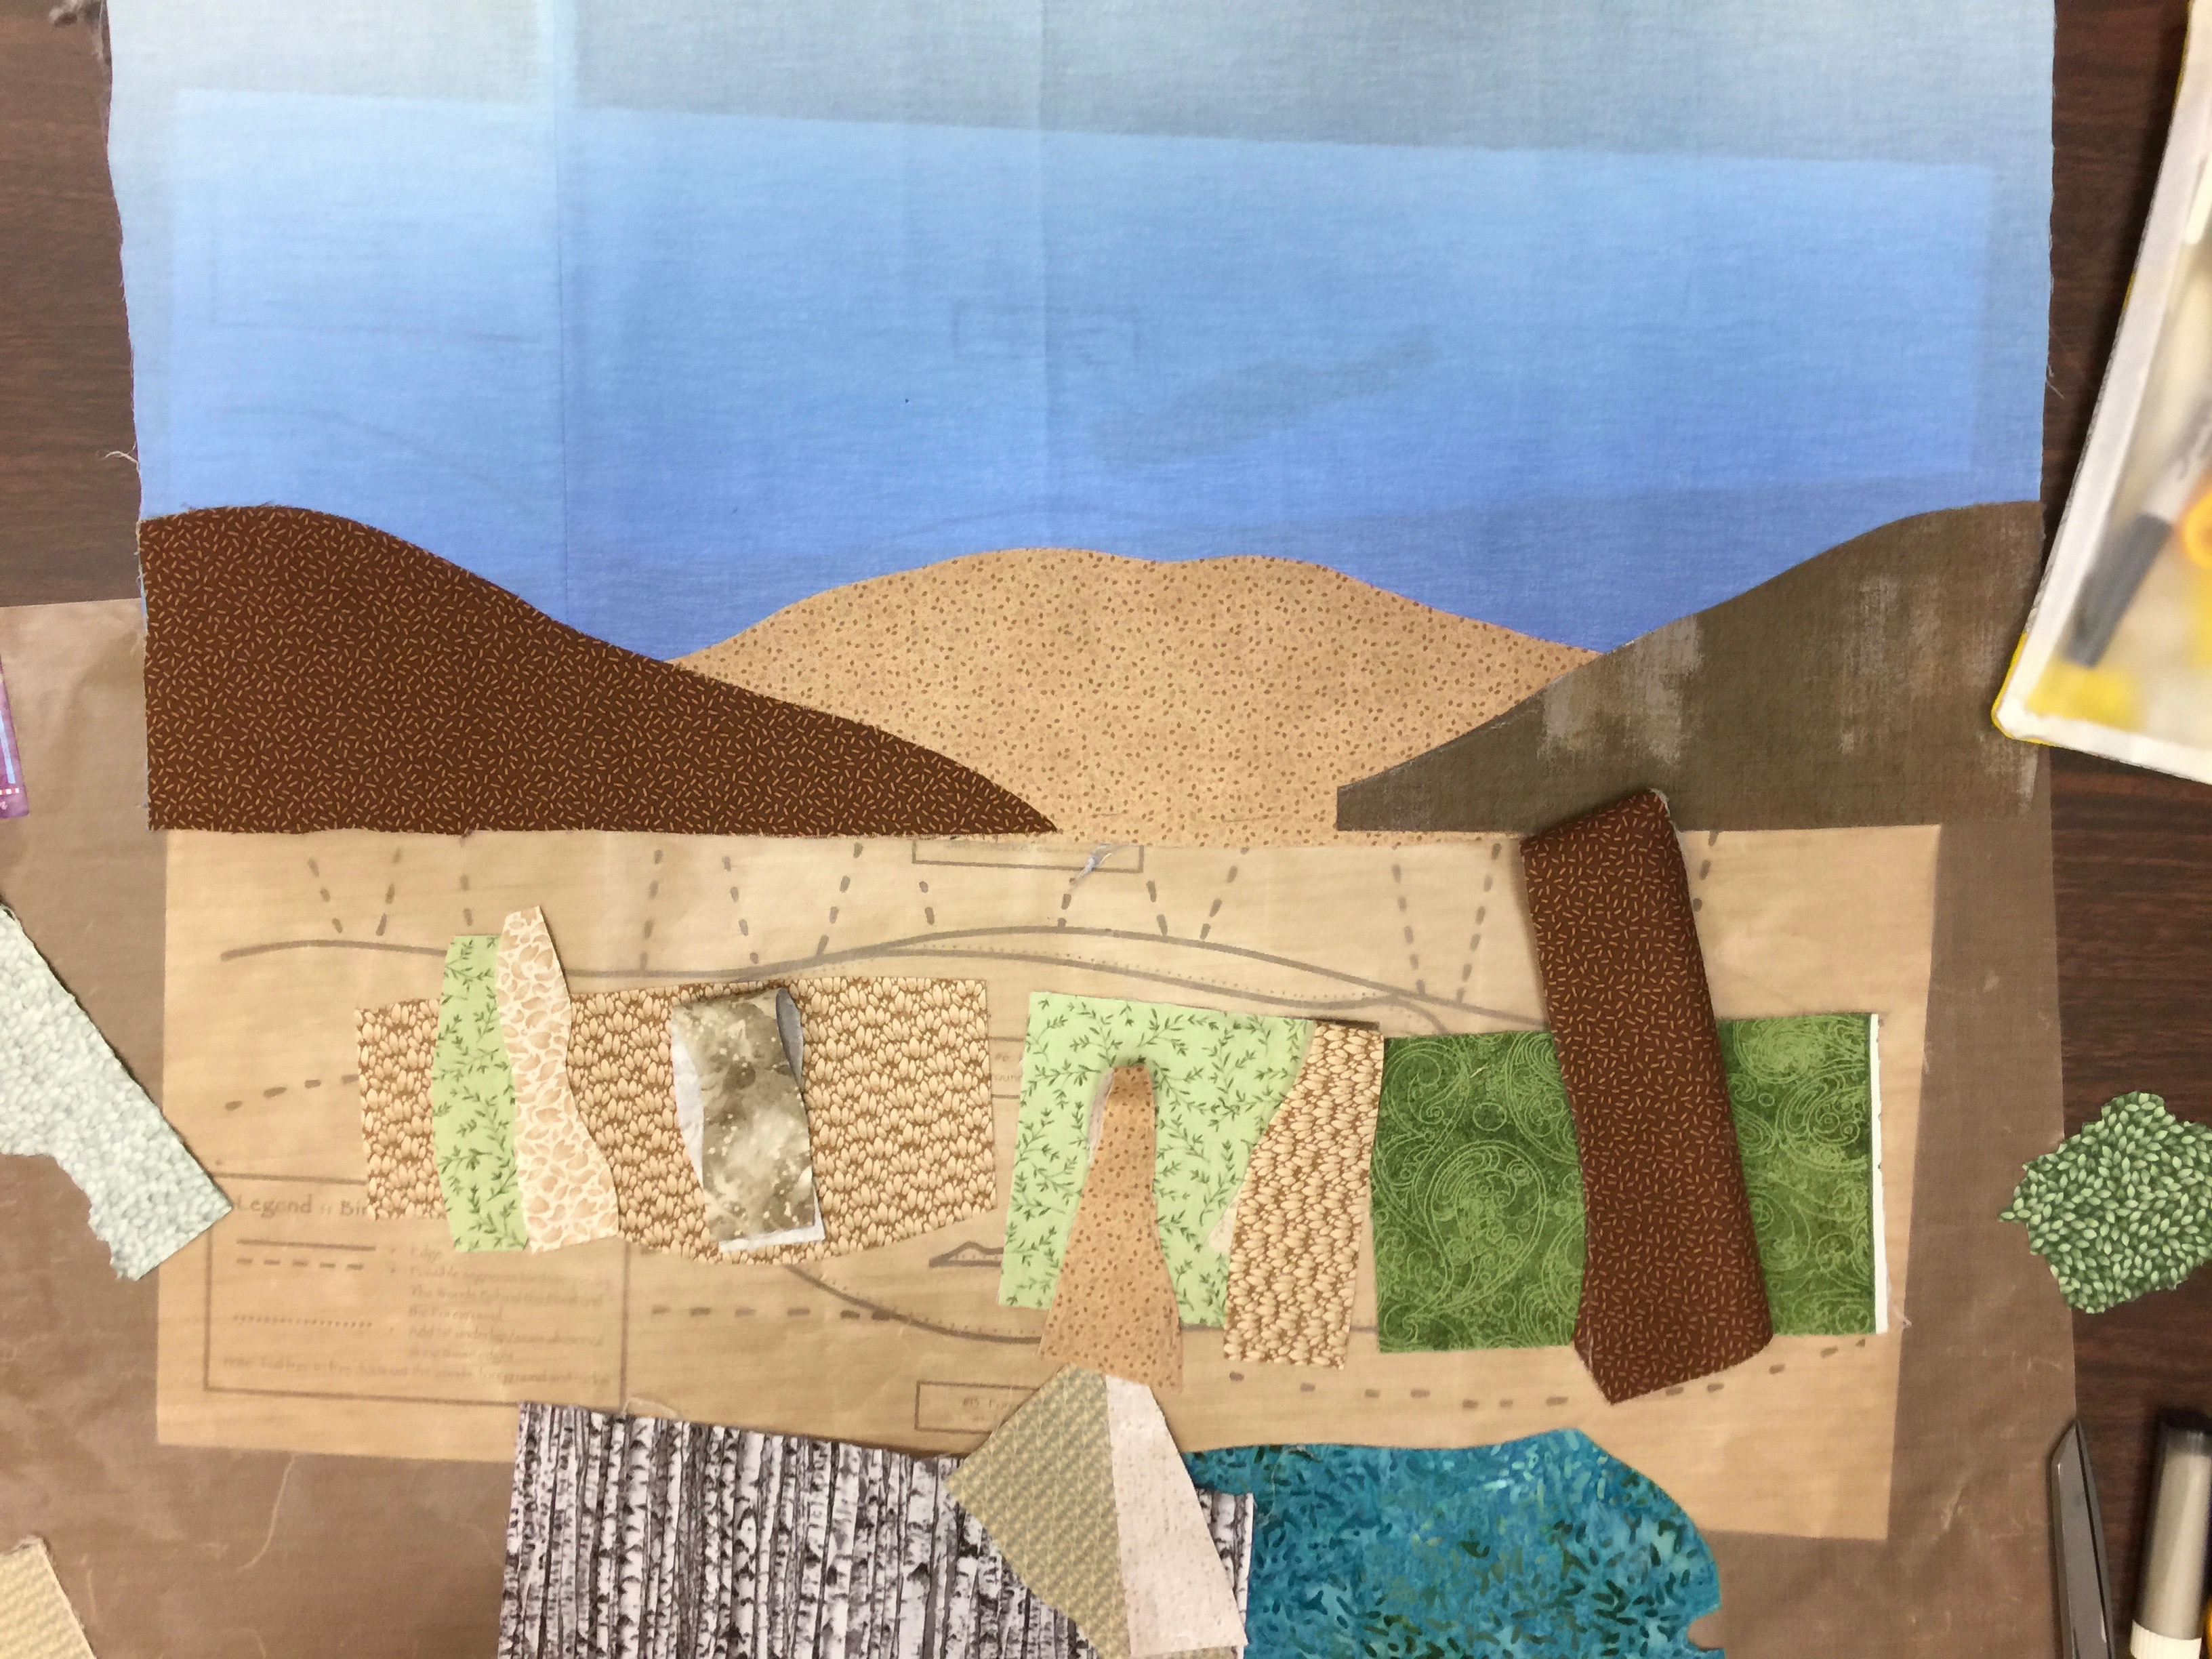
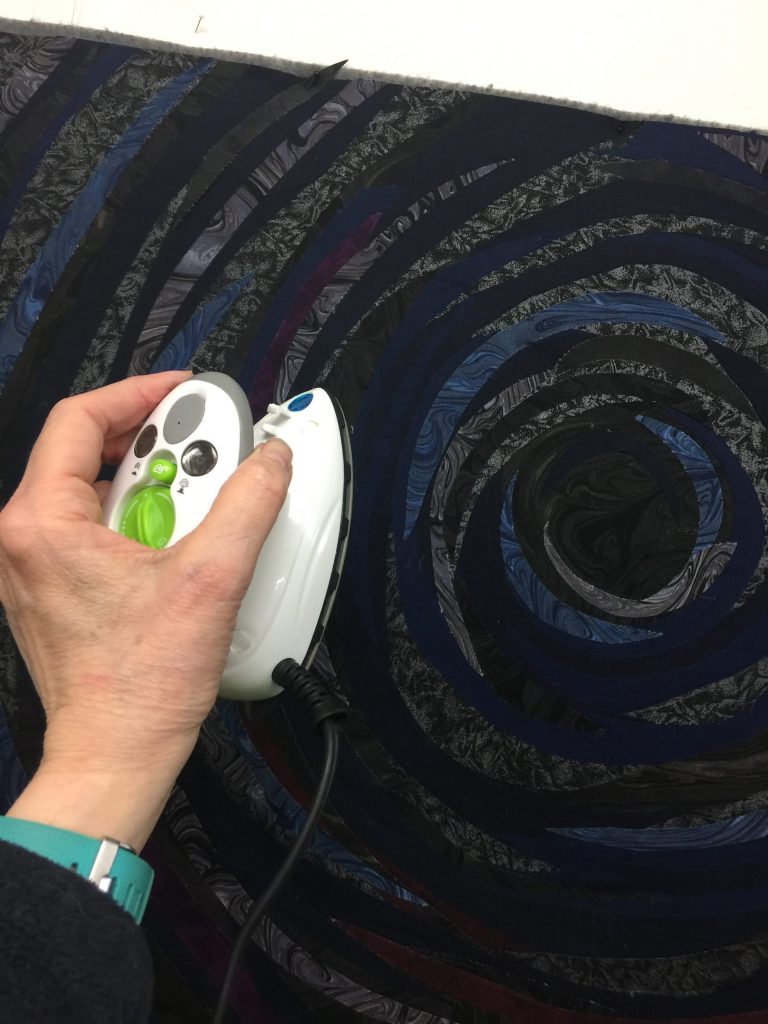
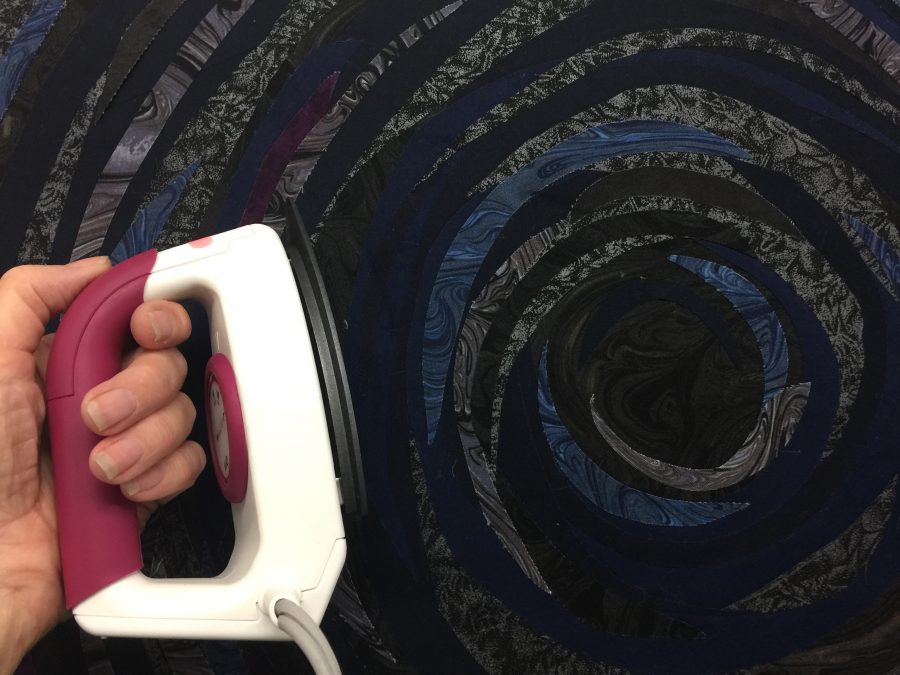
I fuse on top of my ironing surface, but also on the design wall. Holding the iron (which is relatively light) had gotten uncomfortable because I have arthritis in my thumbs and wrists. So I tried the little mushroom iron, the ones you see in classrooms and at retreats–many folks can plug them in and not blow the fuses. It is quite comfortable to hold when used on a flat surface, but on the design wall it requires you to bend your wrist, and that hurts for me.

Here I am holding the iron on the design wall, and I have to bend at the wrist which causes discomfort. That’s why I really prefer the…SOB….not longer available Clover iron. Yeah, I’m sorry, I know that doesn’t help you very much. I haven’t included a link for the little mushroom style irons…there are a bazillion available on Amazon, at quilt shops and so on. From what I can tell they are fairly similar.
The Clover iron is ideal for the design wall. The “mug” handle rests on my fingers, and I can see my hand and forearm in a single line–as if I were wearing a brace. That means I can tap it onto the design wall as I work with no pain at all. I don’t know if there are any models similar to this style out there….If ANYONE KNOWS OF SOMETHING SIMILAR, please TELL ME! I’d love to test one out and see if I can recommend it to my students. And if anyone knows someone at Clover that we can all write and beg them to make this again, tell me that, too!
The 1200 watt Panasonic Titanium non-stick iron is on the left, the CHI 1700 watt is on the right, and that glorious fabric is Meadow color of HashDot by Michael Miller Fabrics.

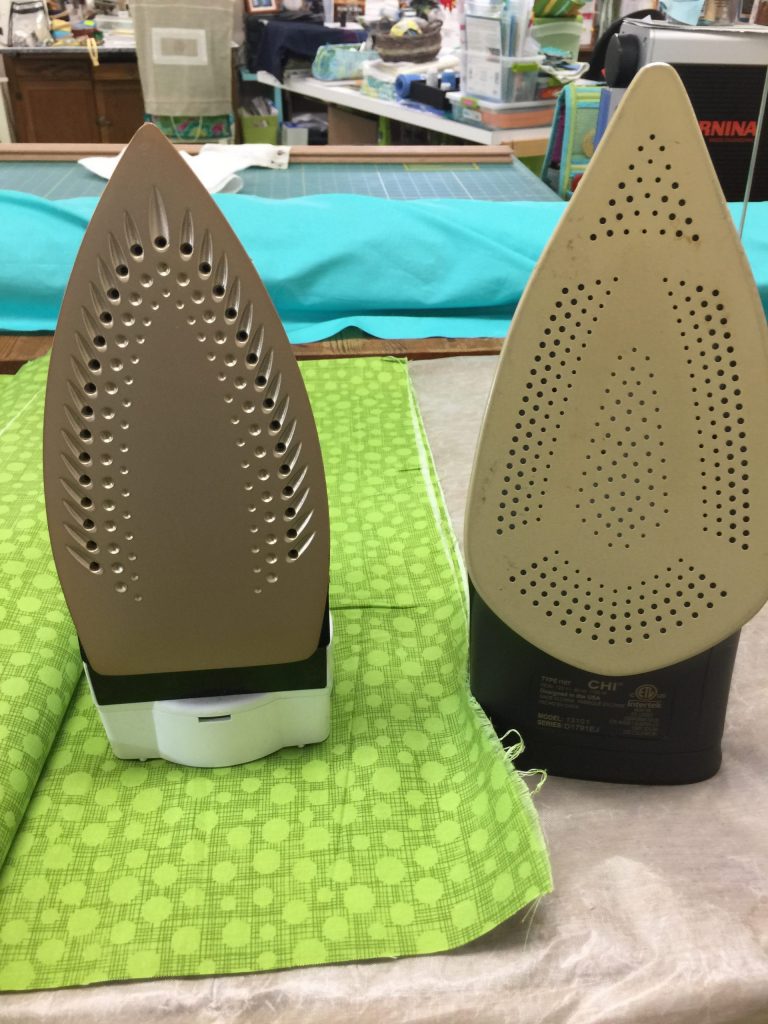
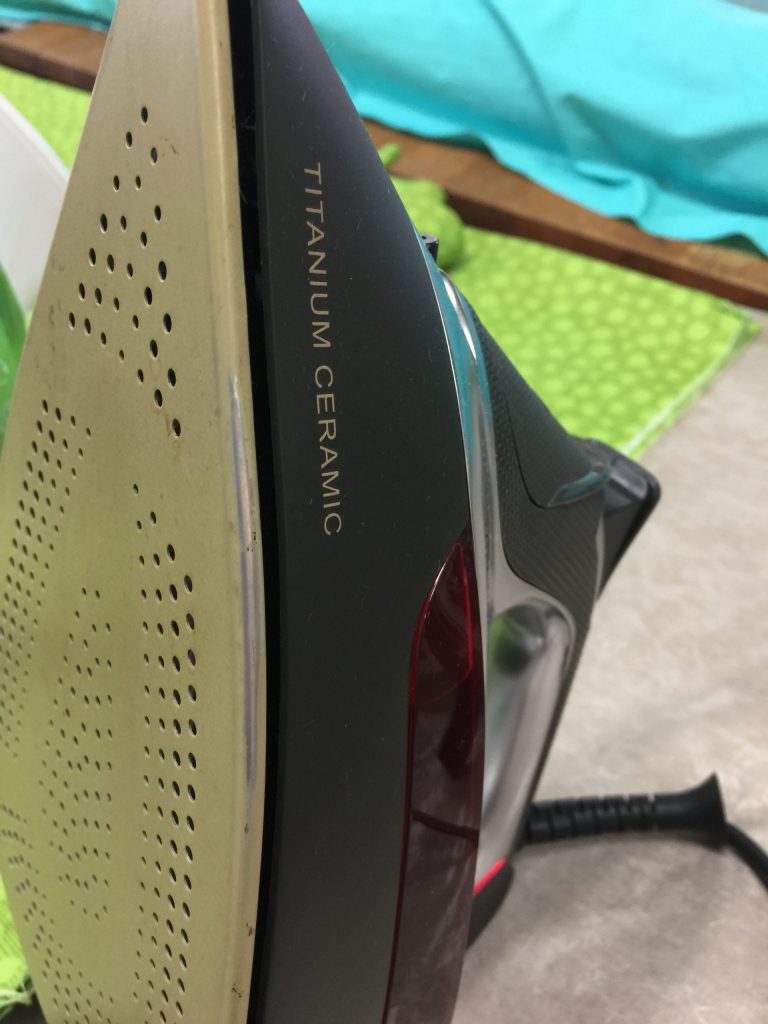
For years I have recommended the Panasonic Titanium nonstick iron to students–Panasonic should give me free irons for life I’ve sold so many for them LOL! But I had (note the past tense) suggested that the gold-ish colored titanium appears to be the key. Not so much. First, my “in the closet” iron-in-waiting is a Panasonic Titanium ordered earlier this year, but is now a silvery color instead of gold-ish, but still works the same. Second, not all Titanium non stick is the same. I decided to give the CHI Titanium Ceramic, below, a try. It costs more, about $59, and has 1700 watts so lots of heat and power and good steam. It’s great for steam ironing, but not so great at the non-stick–it really doesn’t wipe clean the way the Panasonic does. Here’s what happened:

I needed to (yuk) get out the hot iron cleaner. This surface just doesn’t wipe clean well. I use Faultless Iron Off hot iron cleaner on a soft white terry towel. And look what happened: I rubbed off the finish on the gunky edge!!!!!! It’s still a good iron, and I use it, but not for fusing. It has quite a large capacity water reservoir which is good in principle, but again that pesky arthritis poses a problem: it’s heavy. That’s where Sirius the Dragon comes in. Keep reading. ANYway, if you don’t use fusibles (or even if you do) this is a good, hot iron with good steam.
The LauraStar steam generator is a grand indulgence! Please be sure you are sitting down when you see the price on this black beauty…they are expensive. But OH MY! I had been lusting after a steam generator for a long time, but (to repeat myself in a short space) they are expensive. And this is on the expensive end of expensive. But I’m sure glad I indulged–nothing beats a great tool.

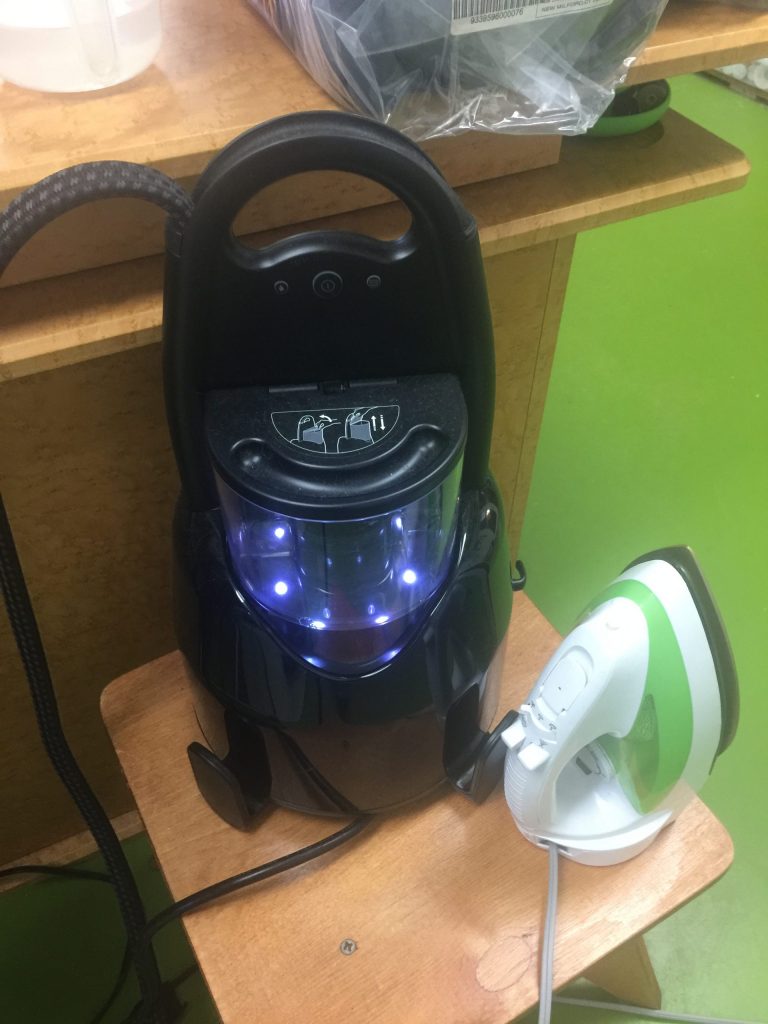
The model I purchased is the same as this one (minus the soleplate cleaner, which I wish I had). The steam is IMPRESSIVE…literally, it sends out a jet about six feet….watch the video below! It comes with a cord stand (which I don’t point out in the video. There is the power cord and, wrapped in cloth, the line that powers the iron and brings the steam to it. Unlike a regular steam iron that produces steam constantly (if you set it to do so), you need to push the button, but that is easy to do given the location on the handle.

The steam cord is a bit stiff, which is why having the clamp-on cord guide is so helpful. You also get a silicone mat so you don’t have to tip the iron on end, just set it on top of the mat. That is comfortable for my arthritis. So is the light weight of the actual iron. AND you can steam things that hang, like curtains and garments!

When I have a lot of ironing (like yards of dyed fabric, or just washed fabric), the steam generator is a DREAM. Also excellent when doing a final fusing of the finished art quilt top and when blocking a quilt. Many steam generators if the tank runs dry, you have to turn it off, wait for it to cool, then add water. Not so this one–just open the lid to the easily accessed tank and add water (shown in video). BINGO! WINNER! Just be sure not to send a blast of steam in the direction of your other hand. Guess you don’t need to ask why I advise you of that. Ahem. Only did it once! If you are also a garment maker, you’ll love this. I will grant you, it is *expensive.* But in my case, worth it.

Bottom line: I use the Panasonic for all fusing. For smaller ironing jobs, I use the CHI. For working on the design wall, I use the Clover. And when I need STEAM or have a lot of ironing to do, the LauraStar. So there you have it…why I ned at least FOUR irons! What are your favorites, and why?

I Love, Therefore I Am (Widgeon’s quilt)

Tuesday, August 20th, 2019
“I Love, Therefore I Am” is the perfect title for this quilt of our beloved pug, Pigwidgeon.

Earlier this summer I made three quilts for Janome America to share at the upcoming dealer conference in Florida this week. Janome has generously sponsored me with a machine and included me in their Artisan program for over 15 years!!!! THANK YOU (yes I’m shouting)! I was delighted to make these in appreciation. Here is the blurb I wrote to go with Widgeon’s quilt.

I Love, Therefore I Am
 
Yoda, the love of my life, tells me that Mom has done a good job on my portrait.  Mom and I were sitting on the porch in late Spring even though it wasn’t quite yet warm enough, so I snuggled under the blanket and kept her company (and warm) one afternoon.  I don’t see or hear very well any more, but Yoda tells me the picture shows how much I love everyone in the whole universe, especially him, my boy, Mom, the rest of my family, and well, the whole world.”  (Pigwidgeon is a 12 year-old industrial-sized pug.)

My Facebook friends know Widgeon because of my dog walkies posts and other photos. My friend Rachel Parris commented on this photo that it was the best one I had ever taken of him, and the idea for the quilt was born! Often I end up working too much during summer and don’t get my “Porch Time” to relax, read, and enjoy life in Maine. So this year I started early, in our long, late, cold Spring, wrapped up in warm fuzzy clothes with a two-layer fleece blanket on my lap and the dog snuggled underneath.

This post will be mostly photos and captions (because we all know photos are better). They show the sequence of how I work, and towards the bottom if you keep going you’ll be rewarded with a mini-tutorial on couched and faced edges. And yes (gratuitous self promotion here) I TEACH classes on how to do this –my Bindings and Facings and Piping, Oh MY! class, and also my collage and thread coloring process: Collage the Garden and Thread-Coloring the Garden–just click the link. Have students (and contract) will travel (hint hint).

As you can see, the work area ends up just a bit messy! I tend to sort prefused (Mistyfuse ROCKS! It changed my life!) fabrics by color and value, then start working. The heaps are the “sorted” stuff (ha!). Widgeon is coming to lay down right under my feet so I can trip over him. He likes to stay close to his beloveds.
Sometimes Yoda supervises…..
Folks say “Oh that’s the perfect fabric for the nose.” Sorta. This is seven pieces of fabric, and that’s about half of the fifteen or so tiny bits that eventually created his nose. You can see the sketch under the non-stick mat (check out Goddess Sheets at Mistyfuse.com).
Here I’m looking at what to use for the background. I used pale yellow (on which I used a pale gray pen) for the book in my lap. The pale aqua for the pillow on the left got changed for a darker value.

Now it’s time for that mini tutorial on couching yarn for quilts with facings.

Most of the time, my quilts have facings, and some of the time they *also* have yarn couched on the edges. This makes the edges more crisp and makes it WAY easier to turn the edges in a perfect straight line (provided the yarn is sewn ON in a perfect straight line). This is what the bottom of the pin tuck foot looks like. Mine is a five-groove. There are other sizes (seven I think, and maybe three), which I prefer to the usual “couching” foot because I can fit the yarn to the groove that will best control placement. See how the yarn fills the groove…not too big, not too little, but just right.
I used 2.5 stitch width and length, then reduced the presser foot pressure (how much it pushes down on what is going under the needle) to couch the yarn that ends up on the edge of the quilt.
You can see the yarn is in the center groove of the 5-groove pin tuck foot. It is the perfect sized groove for the cotton yarn I favor for sharp edges on quilts with facings. I always used to chalk-mark where I wanted the yarn to go and then hold it in place with pins and my finger. But even then it would sometimes wobble, requiring picking out the stitching and fixing. Then I discovered a much better way on this quilt!
Drum Roll! Sound the Trumpets! A Better Way!!!! Using a ruler, Janome’s pin tuck foot, and a narrow open zigzag makes couching yarn on what will be the edge of the quilt easy! It worked best for me if I let the ruler hang over the edge and use the 1″ line. If I used the end of the ruler it was actually harder to see if it was perfectly aligned with the trimmed edge. And yeah, lookit all that threadwork!
Gotta love Janome’s great presser feet and plate markings, which make it possible to create a perfect facing. In my class I explain some of the extra stuff I do that makes my facings behave so well.
Wonder Clips by Clover. Buy them. Buy a whole lot of them. SO MUCH BETTER than being skewered by pins. If you buy the big set from Clover, they come in a well made reusable box.
I Love, Therefore I am. A view of the quilting from an angle which shows the stitching better.
And a close up of the Beloved.

To see Yoda’s quilt, go to this post. Next, I’ll share Boo’s. He is the Usurper. The Delinquent. Chirpy.

International Quilt Festival #1: Tuesday, Birch Pond Seasons

Wednesday, November 21st, 2018

Tuesday Morning looking at the George R. Brown Convention center from my hotel room, ready for the first day of teaching!

Before any more time elapses, it is time to blog about a wonderful International Quilt Festival 2018.   Since I have a billion photos, I’ll just insert images with little verbiage.   On Tuesday, I taught my Birch Pond Seasons class–because it was the day between Market and Festival, the class was smaller but that meant students had plenty of space to spread out and work, which is great for this class.  I love what my students did!   If you put Birch Pond Seasons in the search box for this blog, you can find one or two other posts about previous classes.

My stuff up on the foam core at the f front and students composing their quilts! The two class samples are on the right hand board, a summer and an autumn version.

Love how Cathryn Sullivan of Pipe Creek, TX, cut the ridge line with the shape of trees–her ridge is closer to the viewer than the hills in my quilts. See below for this quilt as she worked on it more.

And Kathryn’s piece with the closer hills and “woods behind the pond” added. LOVE the silhouette of the treetops!

I love when students use fabrics that aren’t in my wheelhouse and make it their own

The sky fabric was inspired! Love that she used purple for the distant hill. See her progress in the next photos.

She had this great watery fabric for the pond, but it just didn’t sit well for either of us

The brilliant students near her helped her trouble shoot with what fabric she had and they picked this one for the pond

Once the ground/foliage near the pond was in, it worked so much better — ponds reflect the color in the sky so it fit perfectly. The blue was great as water, just not in this composition where it kinda screamed. Mo Bettah!

More great water…this student had a gentle, subdued palette that spoke to her–and amazing blue batik for the water

Another version!

And one more

And towards the end of the day with more trees and ground blocked in

LOVED the fabrics for the sky!

Work in progress!

At some point during the day, friend Luana Rubin (half of the creative team with her hubby who founded eQuilter) popped in for a quick photo:

With Luana Rubin

Then, it was a quick dash to pack up, haul the suitcase and stuff back to my room, then go to the Awards ceremony and cheer on the winners, especially my quilty friends! 

Neroli Henderson, The Eternity Spiral, 

Heidi Profetty’s heart-warming mosaic quilt

Sue Bleiweiss, Graffiti 2

Jenny Bowker’s moving and astounding work

Andrea Brokenshire won one of the top eight awards and did what I’d do if I ever get so lucky–happy-danced her way up the stairs!

And Patty Kennedy-Zafred, SAQA member, blazing new ground for IQA with her Silent Canary

CONGRATS to everyone who entered, whether you got in or not…here’s to inspiring works!

Lupines: the quilting begins!

Sunday, July 22nd, 2018

Ever so slightly ahead of schedule, I have begun quilting on the Lupines. Luckily (and one reason I chose this imagery) this will be easy quilting.  And yes, once again, I LOVE MY BERNINA Q20.  Crazy expensive and worth Every. Single. Penny.   Lots and LOTS of pennies.

This morning I finished basting the Lupines quilt.  I decided to try something I haven’t done before:  a double batt.   I definitely wanted to use wool, but I haven’t been able to find a source for my favorite Matilda’s Own Wool-poly blend batt in the US recently, and I’m hoarding my last batt.   So I used  Quilters’ Dream Wool which is much fluffier; I fused my top to that.

BUT I was concerned about distortion because of the fluffiness–it just didn’t feel like it would hang well and be stable.  Dreamy (pun intended) in a bed, lap or snuggle quilt, but by itself on a densely quilted wall quilt?  Not so much.  So I took the only cotton batting I had, Quilters Dream Select, and layered that underneath the wool.  If I had had Request, the thinnest, I would have used that instead.  Finally, spray basted the backing and safety pinned intermittently.  I am using up long lengths of print fabric in my stash when they suit the quilt–time to move them along.  Will have to dye something to match for facings and hanging sleeve.

I also selected thread yesterday afternoon and this morning.

When I choose thread for a quilt, I “test drive” it by drizzling on the surface. If it works, it goes in the shallow box. I probably won’t use all of these, but will use most of them–about half the solid greens and almost all of the rest. And I added a medium purple this morning and will likely not use the dark purple in the box at all.

Things I have learned so far:

  • Painting a nonwoven is a good thing.  But if that nonwoven is Pellon 65 heavyweight interfacing, it is somewhat like using construction paper.  Will do the non woven thing again, but will look for something softer yet still dense (so no shadow through).
  • Mistyfuse is by far my fusible of choice.  But it behaves differently on the interfacing than it does on cloth.  If I fuse this particular interfacing again, I will use TWO layers of Mistyfuse–it is plenty fine and easy to stitch, and it will help this painted interfacing stick better–see photo.

Because of the difference (in porosity maybe?) between fabric and interfacing, my fusible isn’t sticking quite as well as usual. So I have re-fused various spots, and in a couple of cases tucked snippets of Mistyfuse under the stubborn lifting petals. I found, luckily, that if I am careful I can still quilt those lifting petals because the interfacing doesn’t wobble around like fabric.

And to my astonishment, I quilted almost five of the six purple lupines today.  I have a couple of the tops where I will use pale lilac or cream unstitched as of this evening, but I am definitely farther along than I thought I would be.

Quilting in progress…done on the right, not done on the left. Using just one purple thread to stitch down the petals/quilt down the petals is working out OK despite the value changes from petal to petal.

That means the “after Eli goes back to college” period may be less frantic than I had feared. YIPPEE!  Barring catastrophe, I will be one and able to take photos and submit then ON TIME.  Stay tuned!


SaveSave

SaveSaveSaveSave

Registration is open–Teaching at IQF Houston 2018

Monday, July 16th, 2018

Interested in trying your hand at art quilts? Not sure where to start? This class has proved a perennial favorite at IQF Houston (and elsewhere)–sign up soon!  

Yes, registration is OPEN for classes for International Quilt Festival Houston 2018, including my four classes.  Over the next week, I’ll recap my four classes (well, three full day classes and the Machine Quilting Forum).  I hope to see some of you  in those classes!

On Tuesday, the day between Quilt Market (open to the trade only) and Quilt Festival (open to anyone who pays admission), I’ll be teaching Birch Pond Seasons.  The wonderful thing about this workshop is that you can bring a photo of your own favorite pond or hills and morph my pattern into your special place!   The class is always full or almost full–I’m hoping that with it scheduled on Tuesday I’ll be able to entice some Market-goers to stay over for a workshop.

Here’s the summer version:

Summer version

And autumn:

Autumn at Birch Pond

You’ll learn basics of fusing, working from a pattern without having to cut a bazillion pattern pieces, working a bit more free-form and improvisationally, how to “strip fuse,” fusing easy-melt fabrics like synthetic sheers, fabric selection, and time-permitting in the afternoon we’ll talk about quilting.  The class includes a kit fee that covers handouts, pattern sheet, a full package of white Mistyfuse, and a few tidbits.  You bring a range of fabrics but not a ton of any one fabric (maybe a fat quarter for sky and half that for the pond)…a range of fabrics is more important than a lot of any one thing.

Here is a blogpost about students taking this class some years ago.  This post will give you a feel for the class.

If you click here to get to my classes page, scroll down to Birch Pond Seasons class and you can click on the link for the PDF Class supply list, too.

Sign up before it fills!  If you have questions, just leave a comment or contact me via the Contact page (link up top).  Here’s the link to IQF enrollment   again.  See you there!