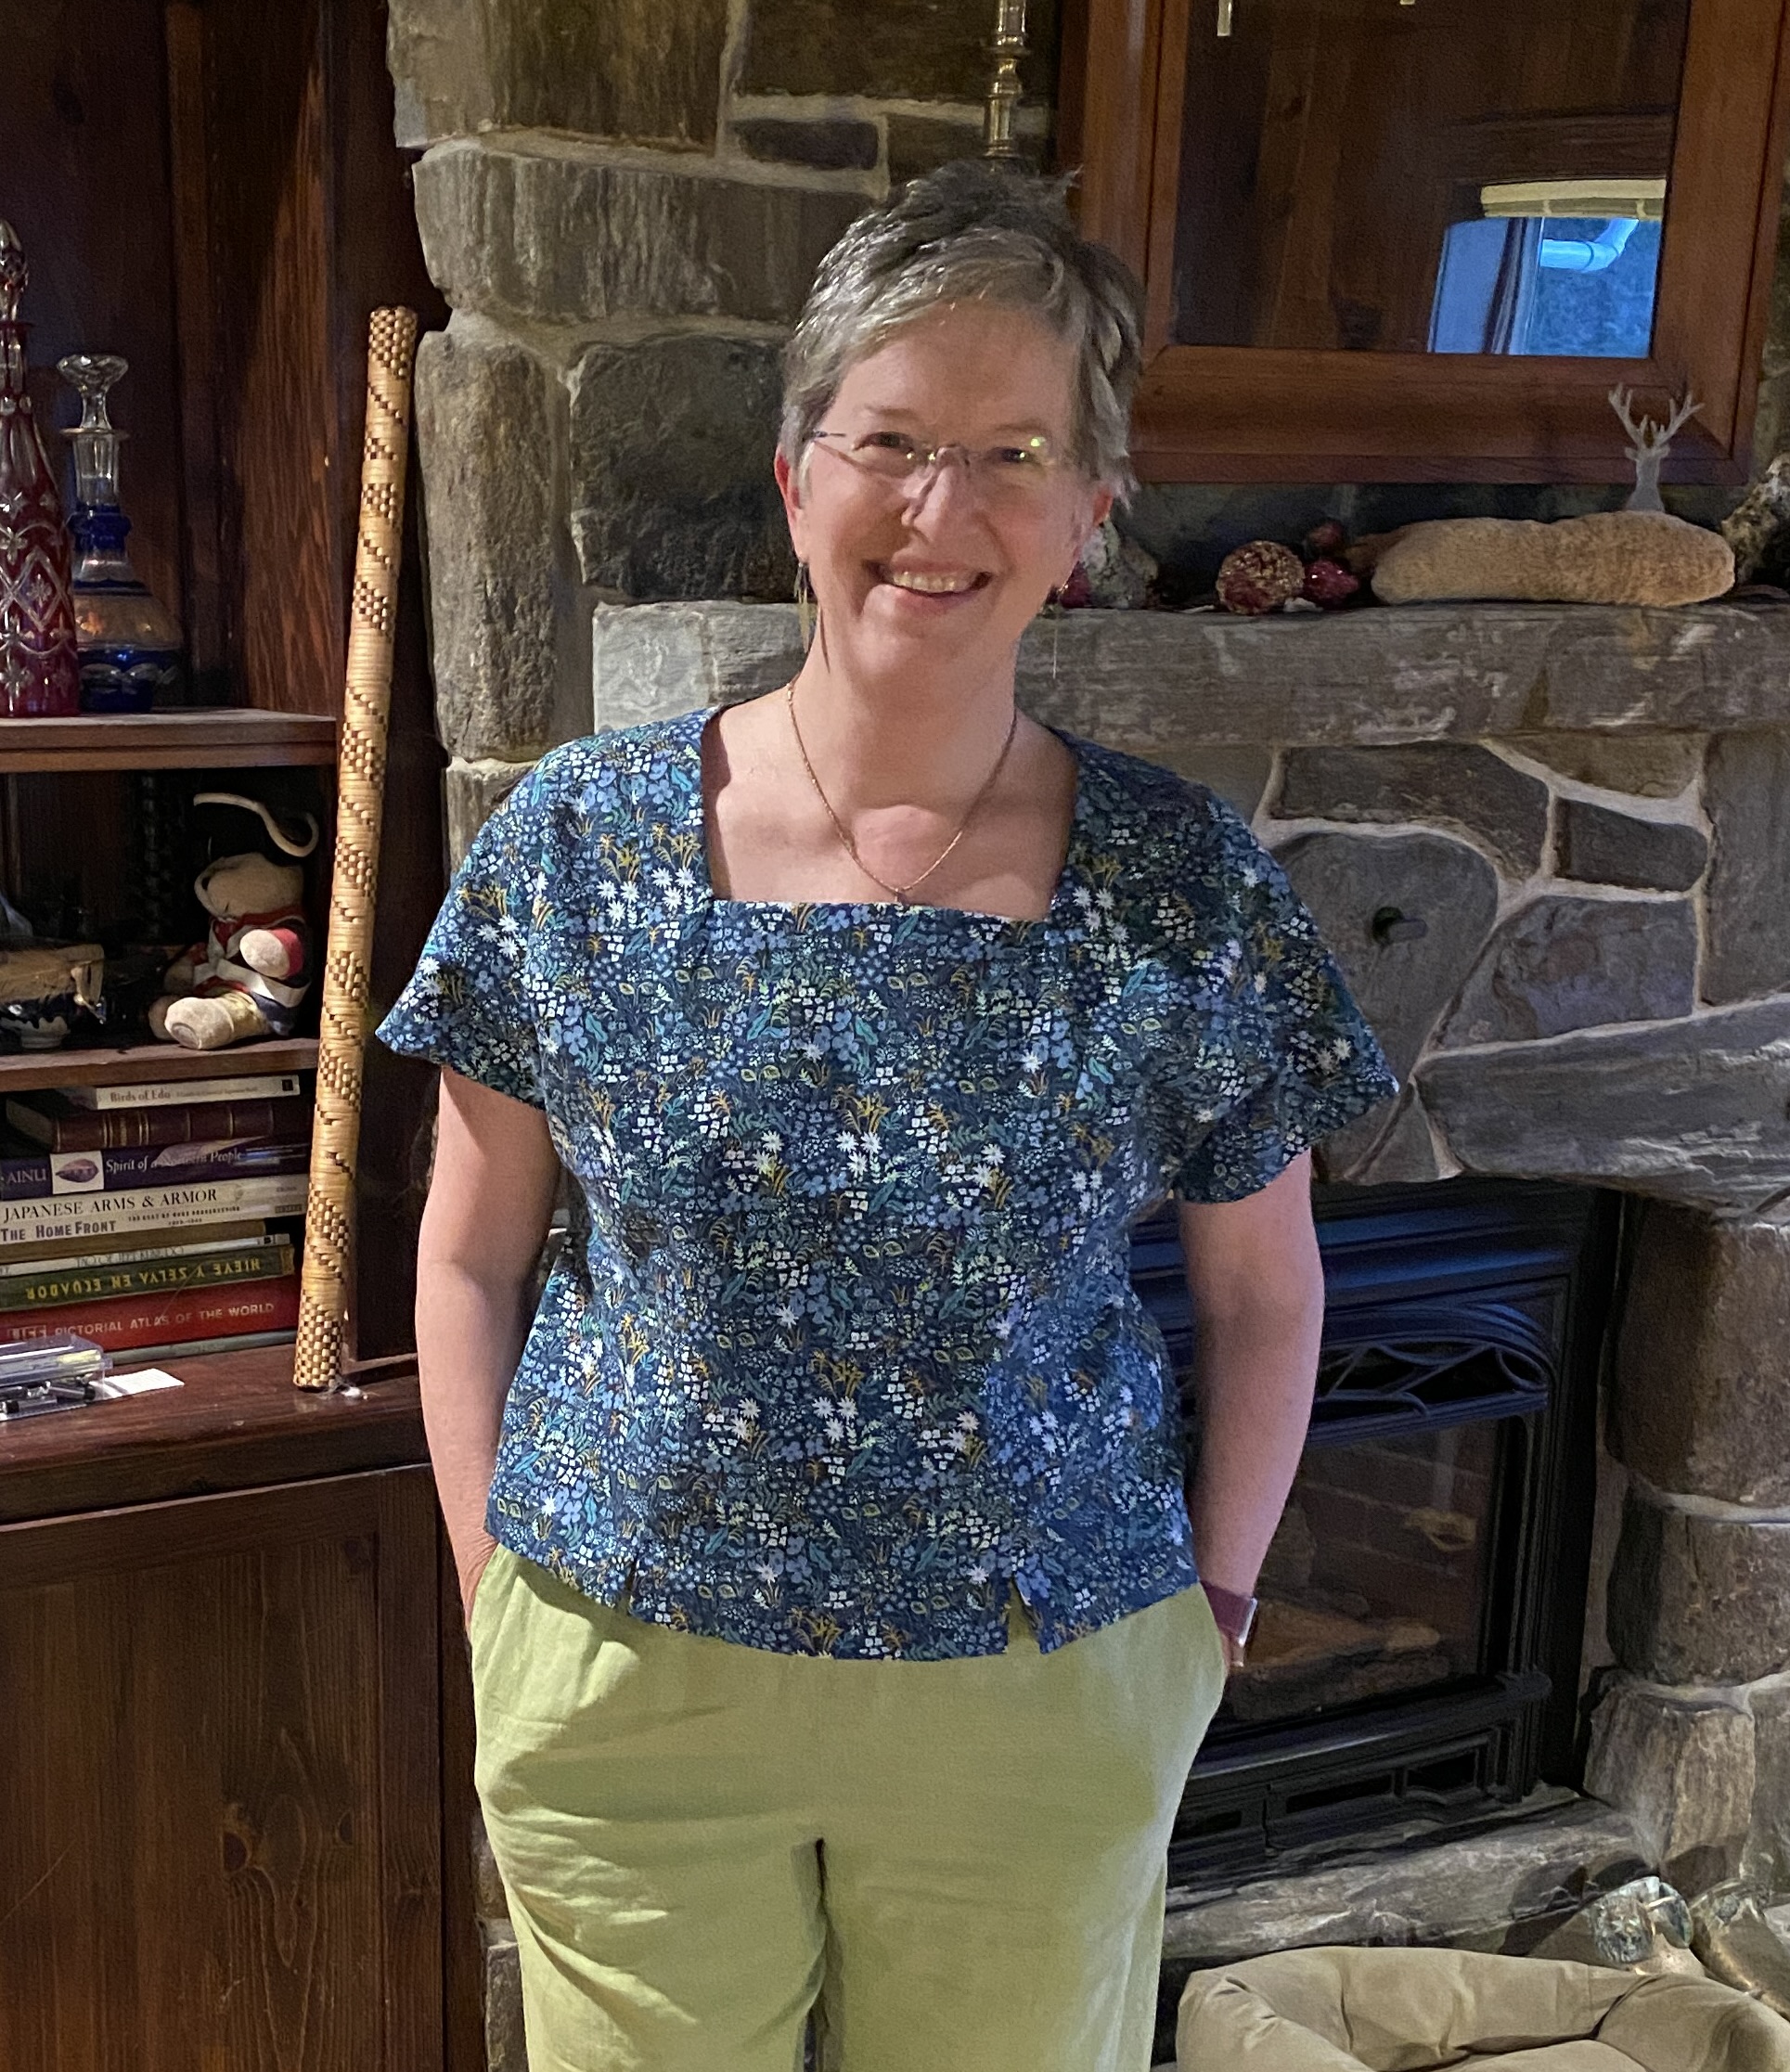
Plaid Top Tutorial: Lesson 9-hems, a bonus scarf and wrap-up
March 17th, 2023Hard to believe the ninth and final lesson is here already! Thank you for following along. Links to all nine of the posts in this series are now listed at the bottom of each lesson and on my Resources page! If you remember this down the line, the fastest way to find it is put “Plaid” in the search box at right on the blog OR look for a link to the Plaid Top Tutorials on my Resources page, here.
To recap, we have:
- Lesson 1: Choosing a Pattern and Starting Tips
- Lesson 2: Making a Muslin, Fitting and Sleeves
- Lesson 3: Matching Plaids, Cutting out Your Garment Pieces
- Lesson 4: Overcast Seams, just like Serged Seams
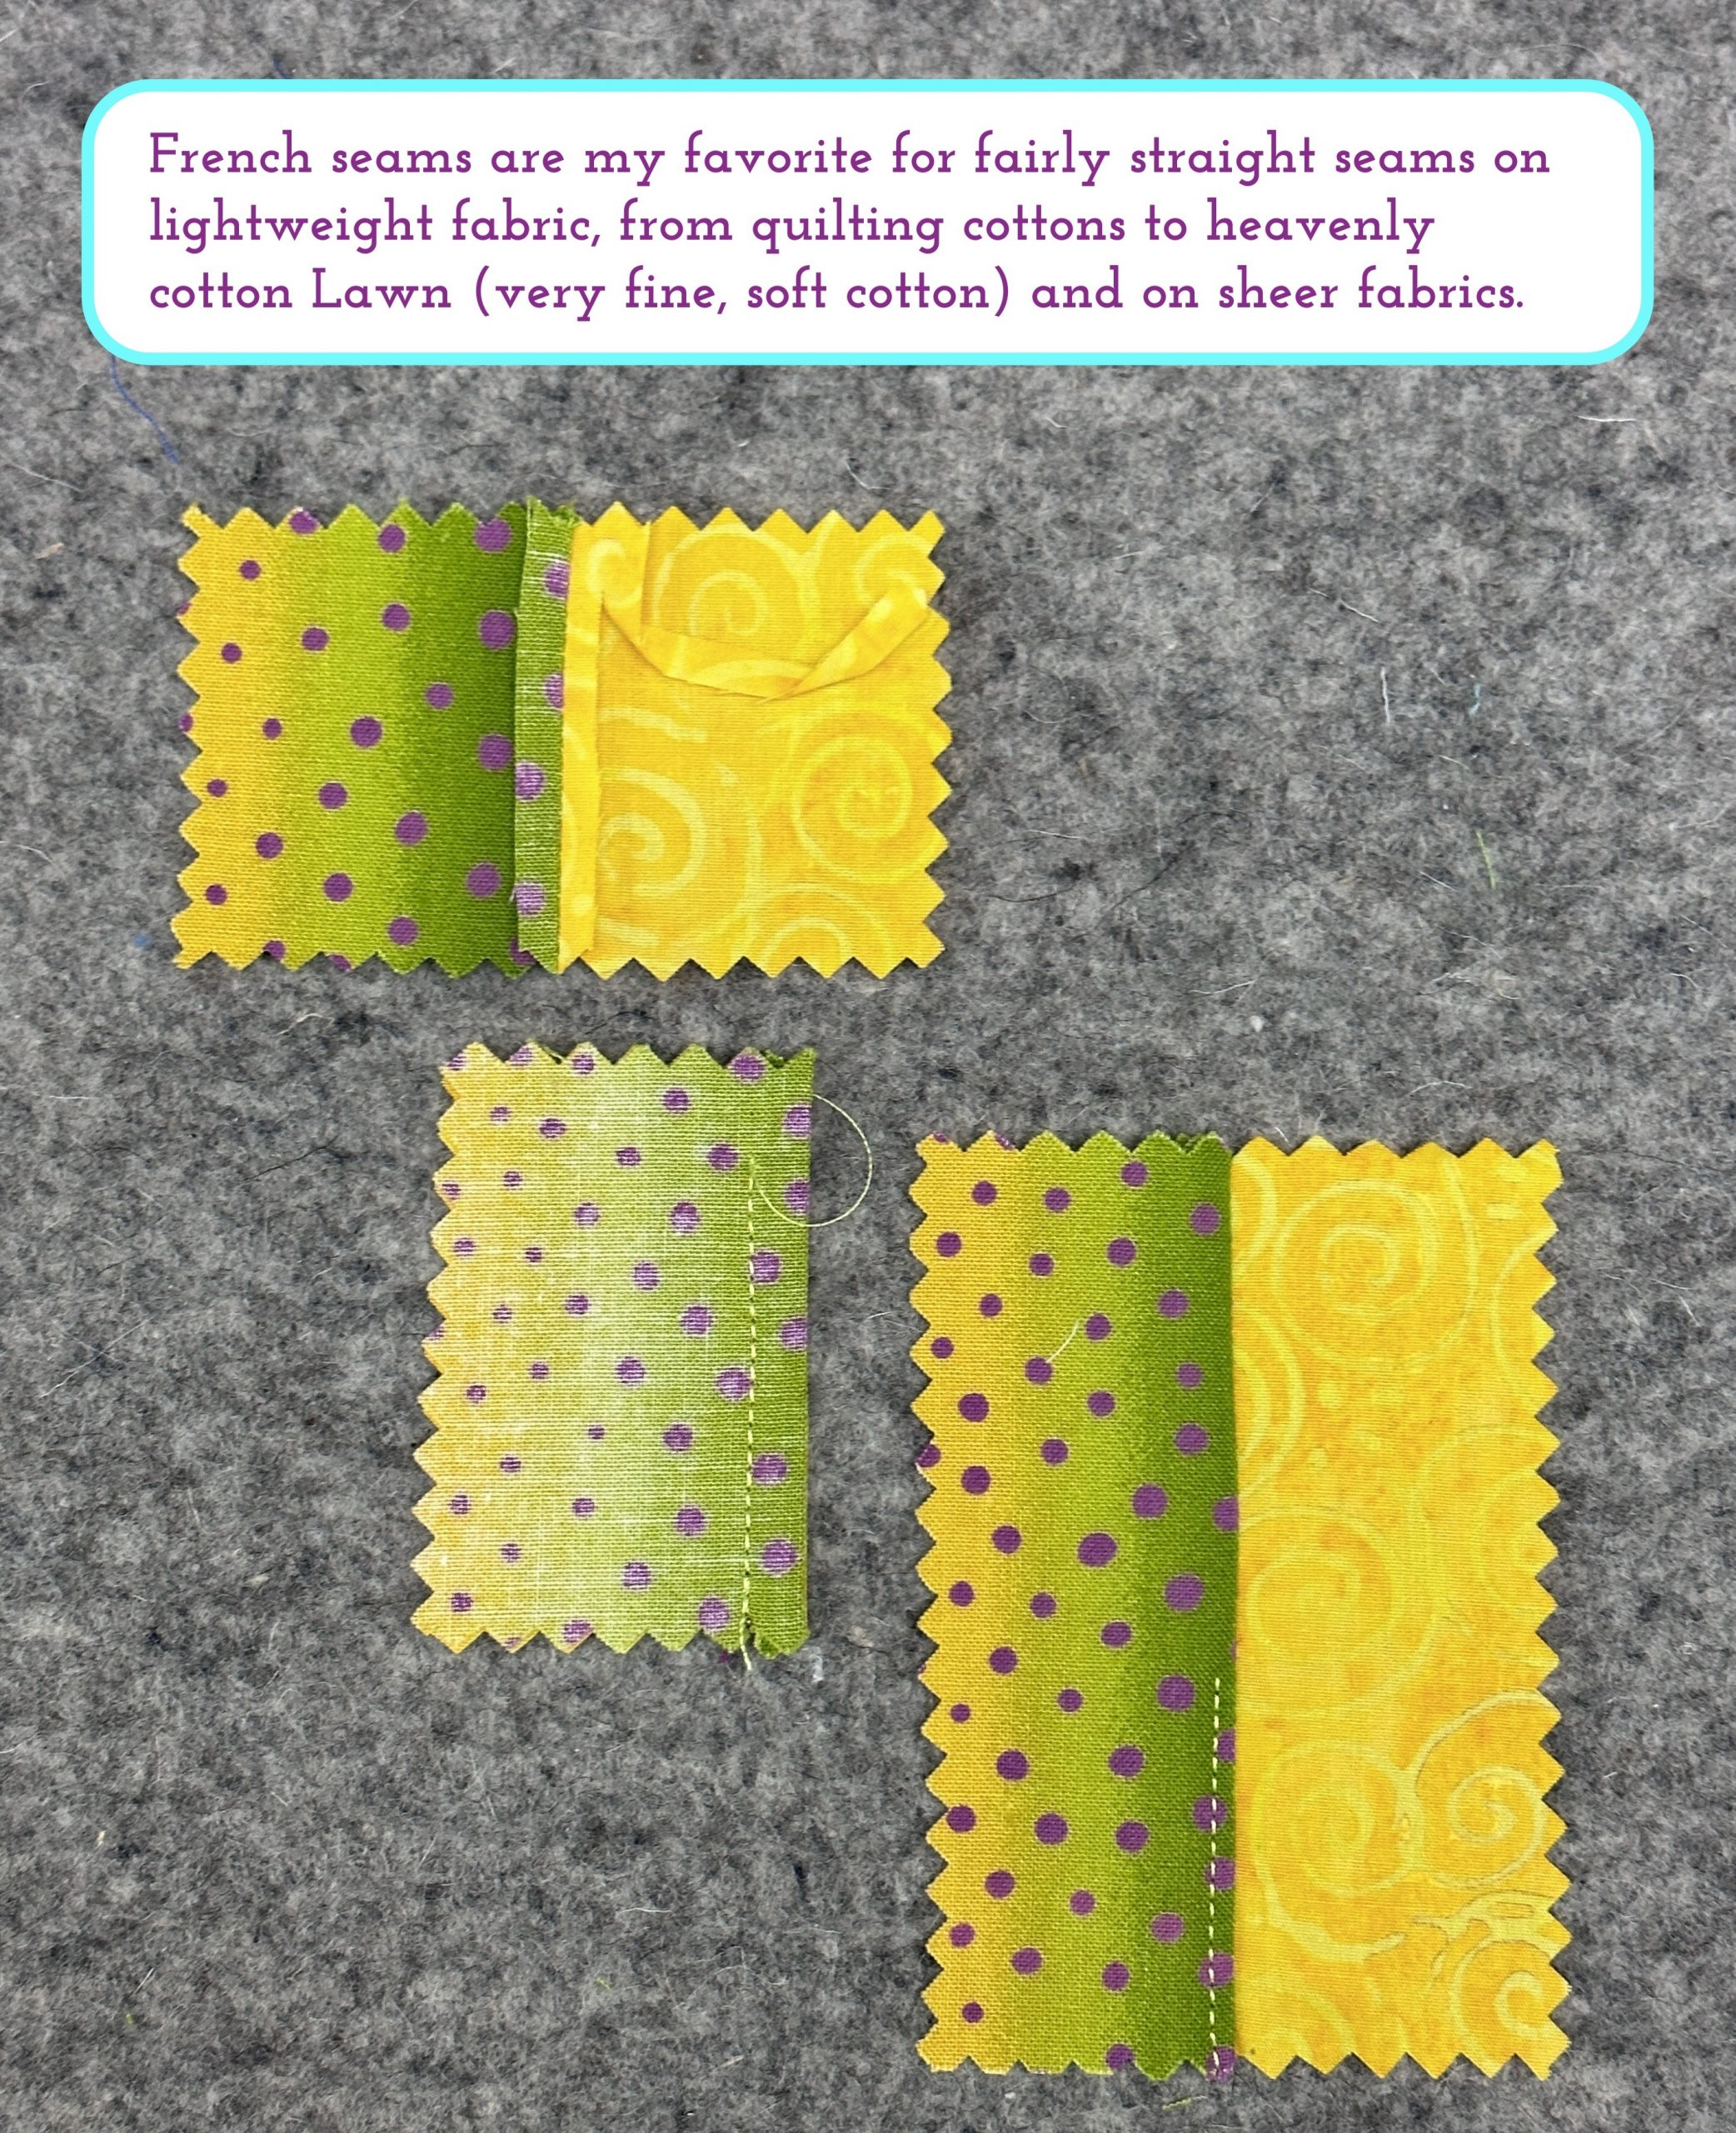
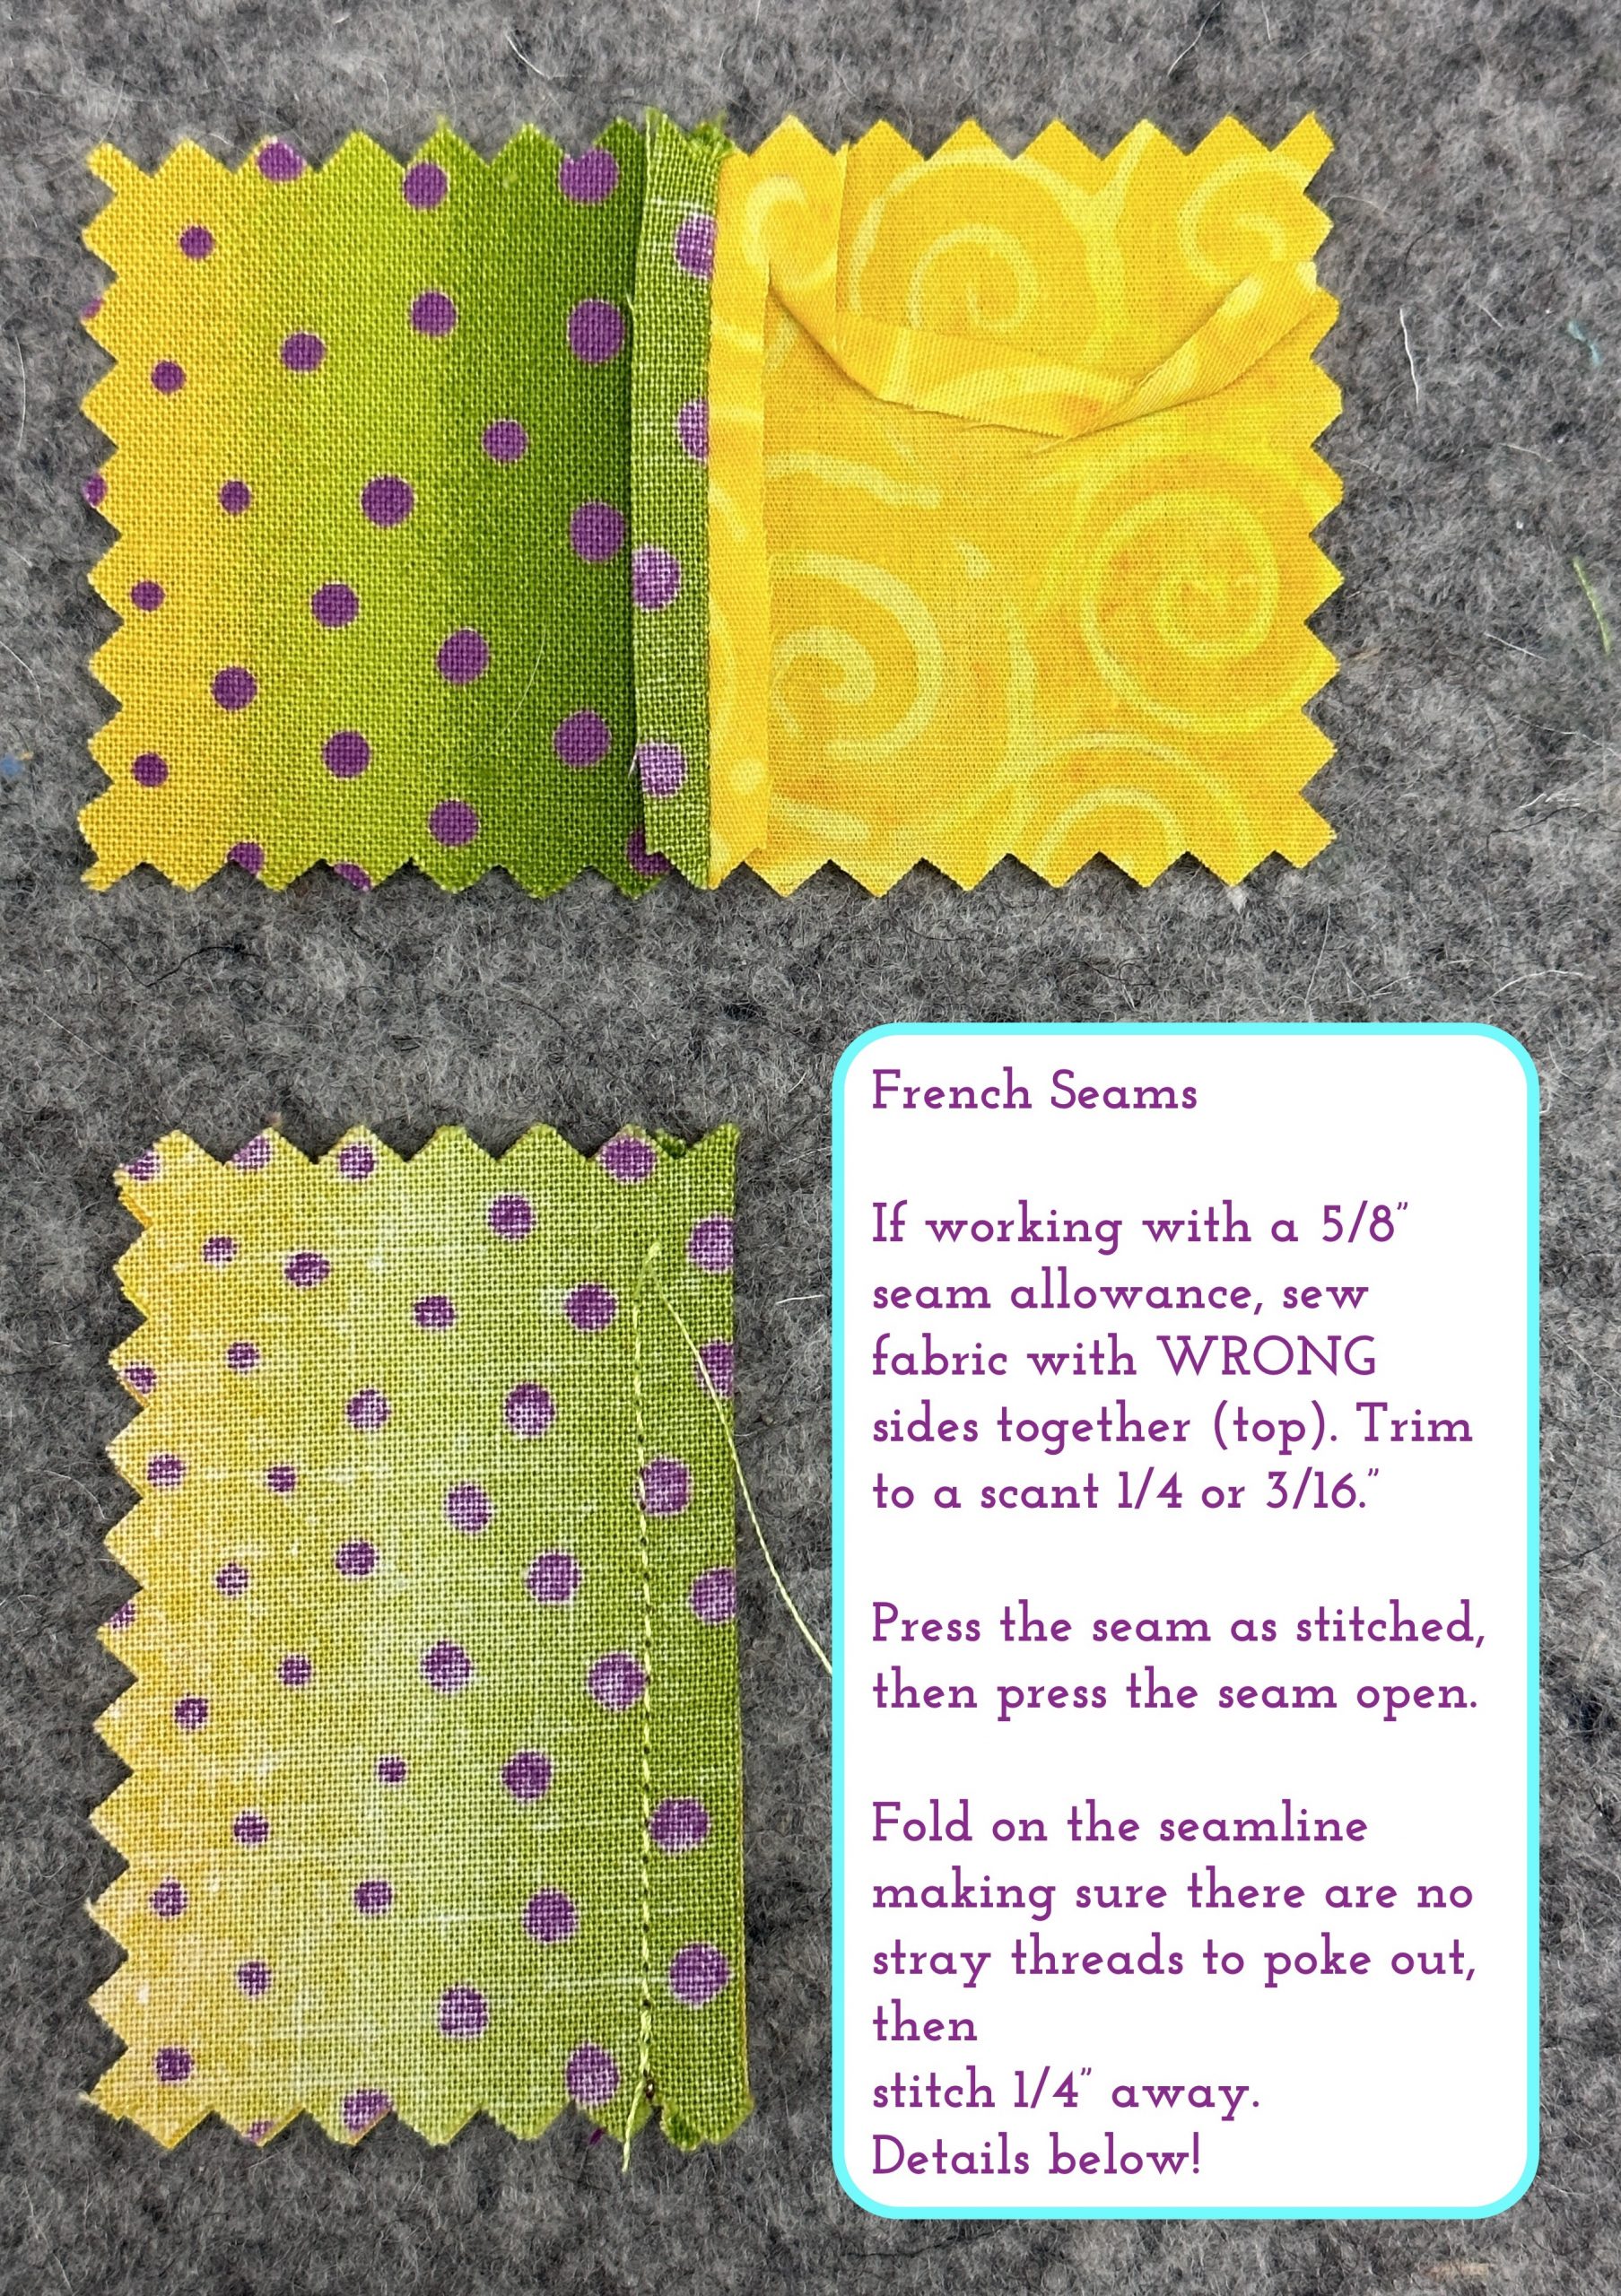
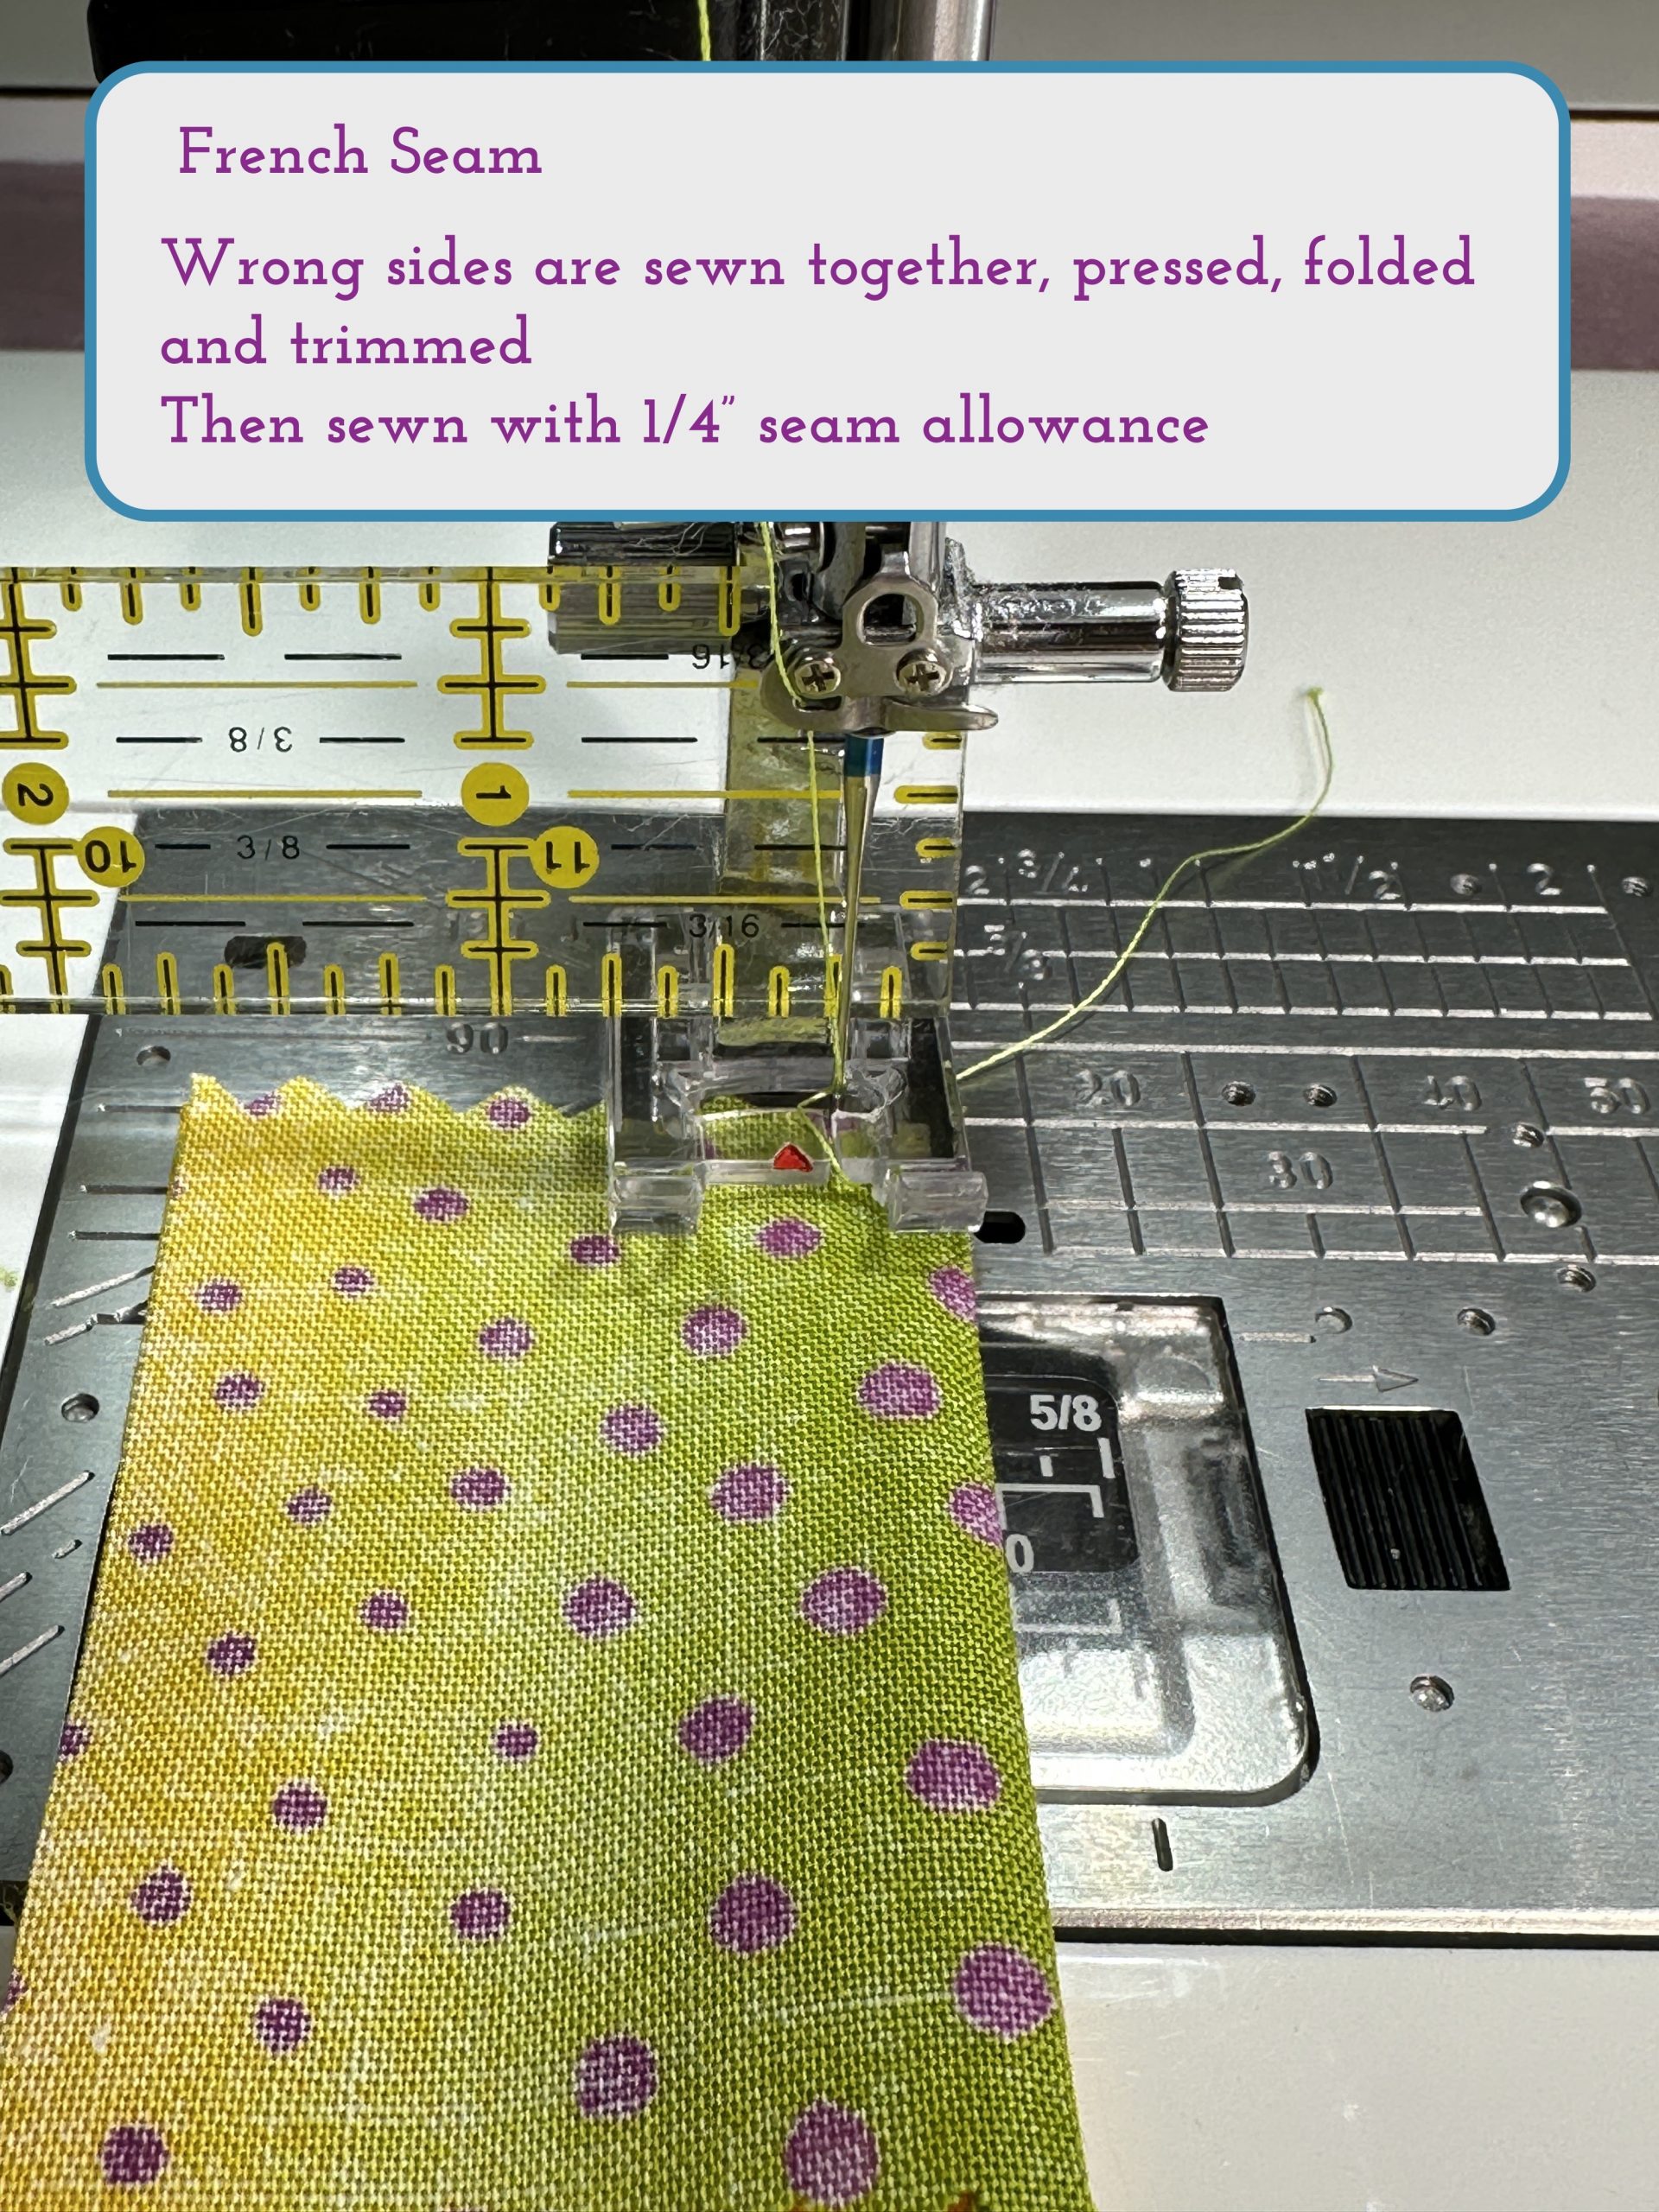
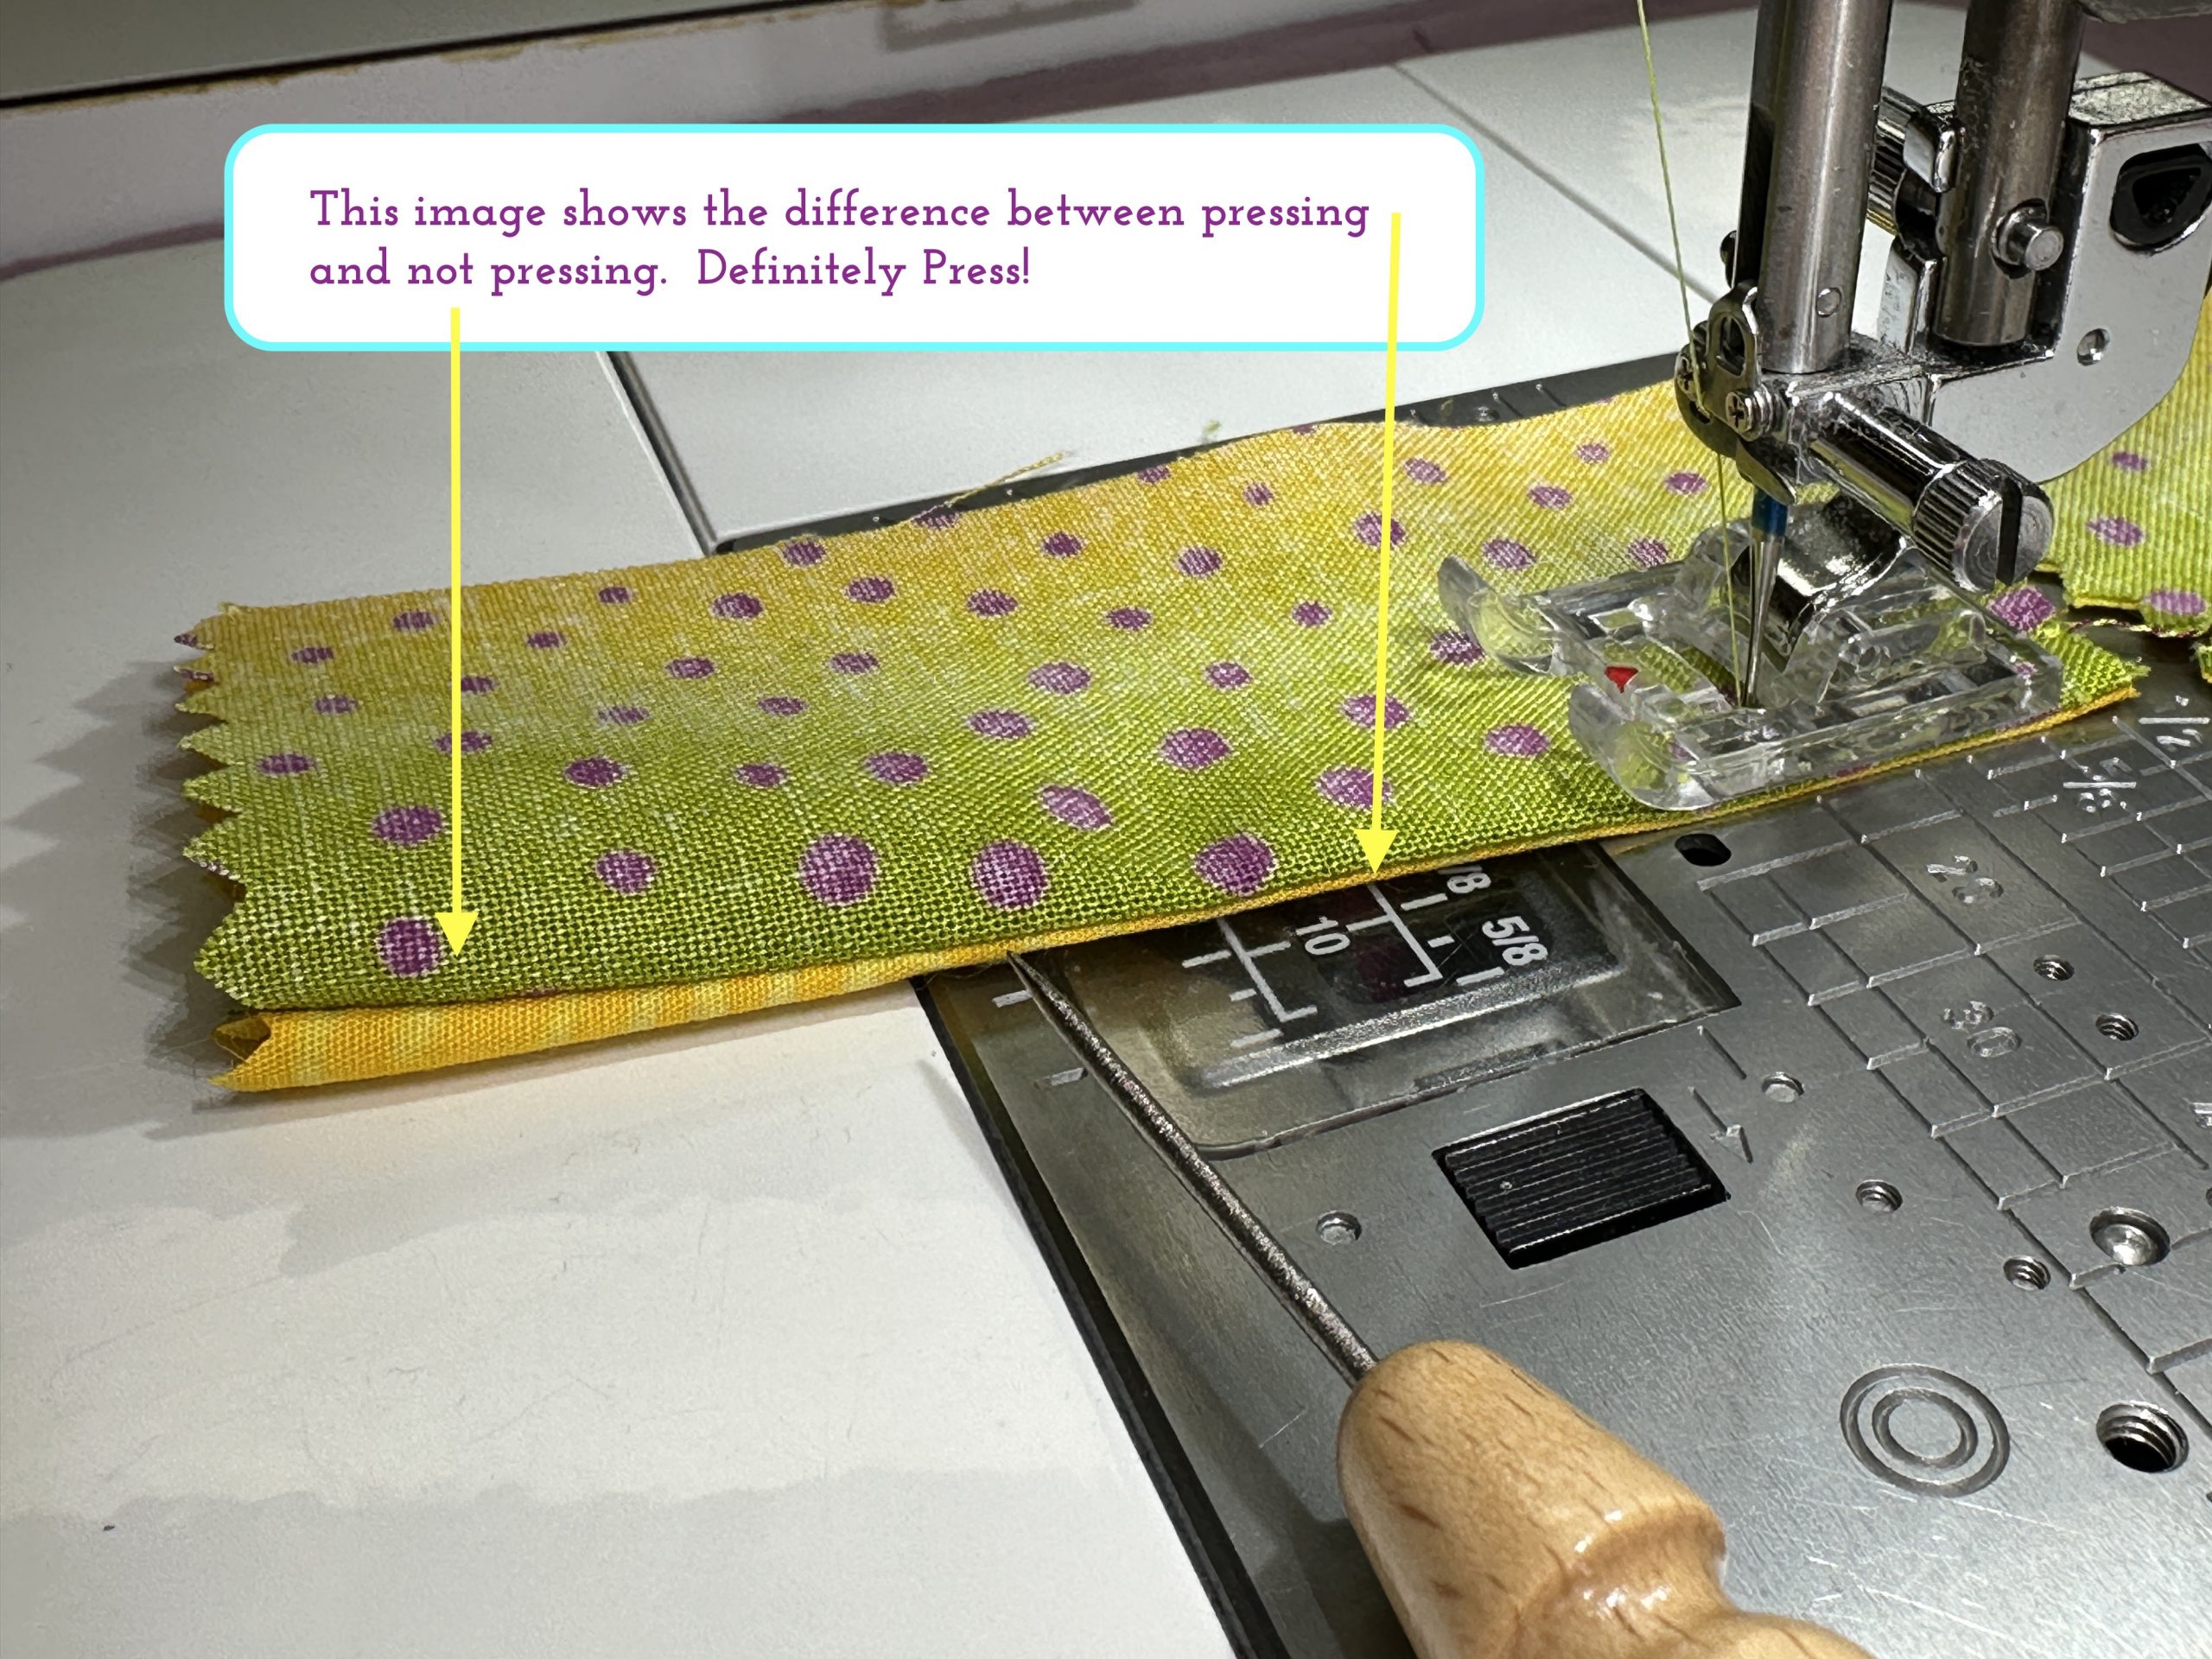
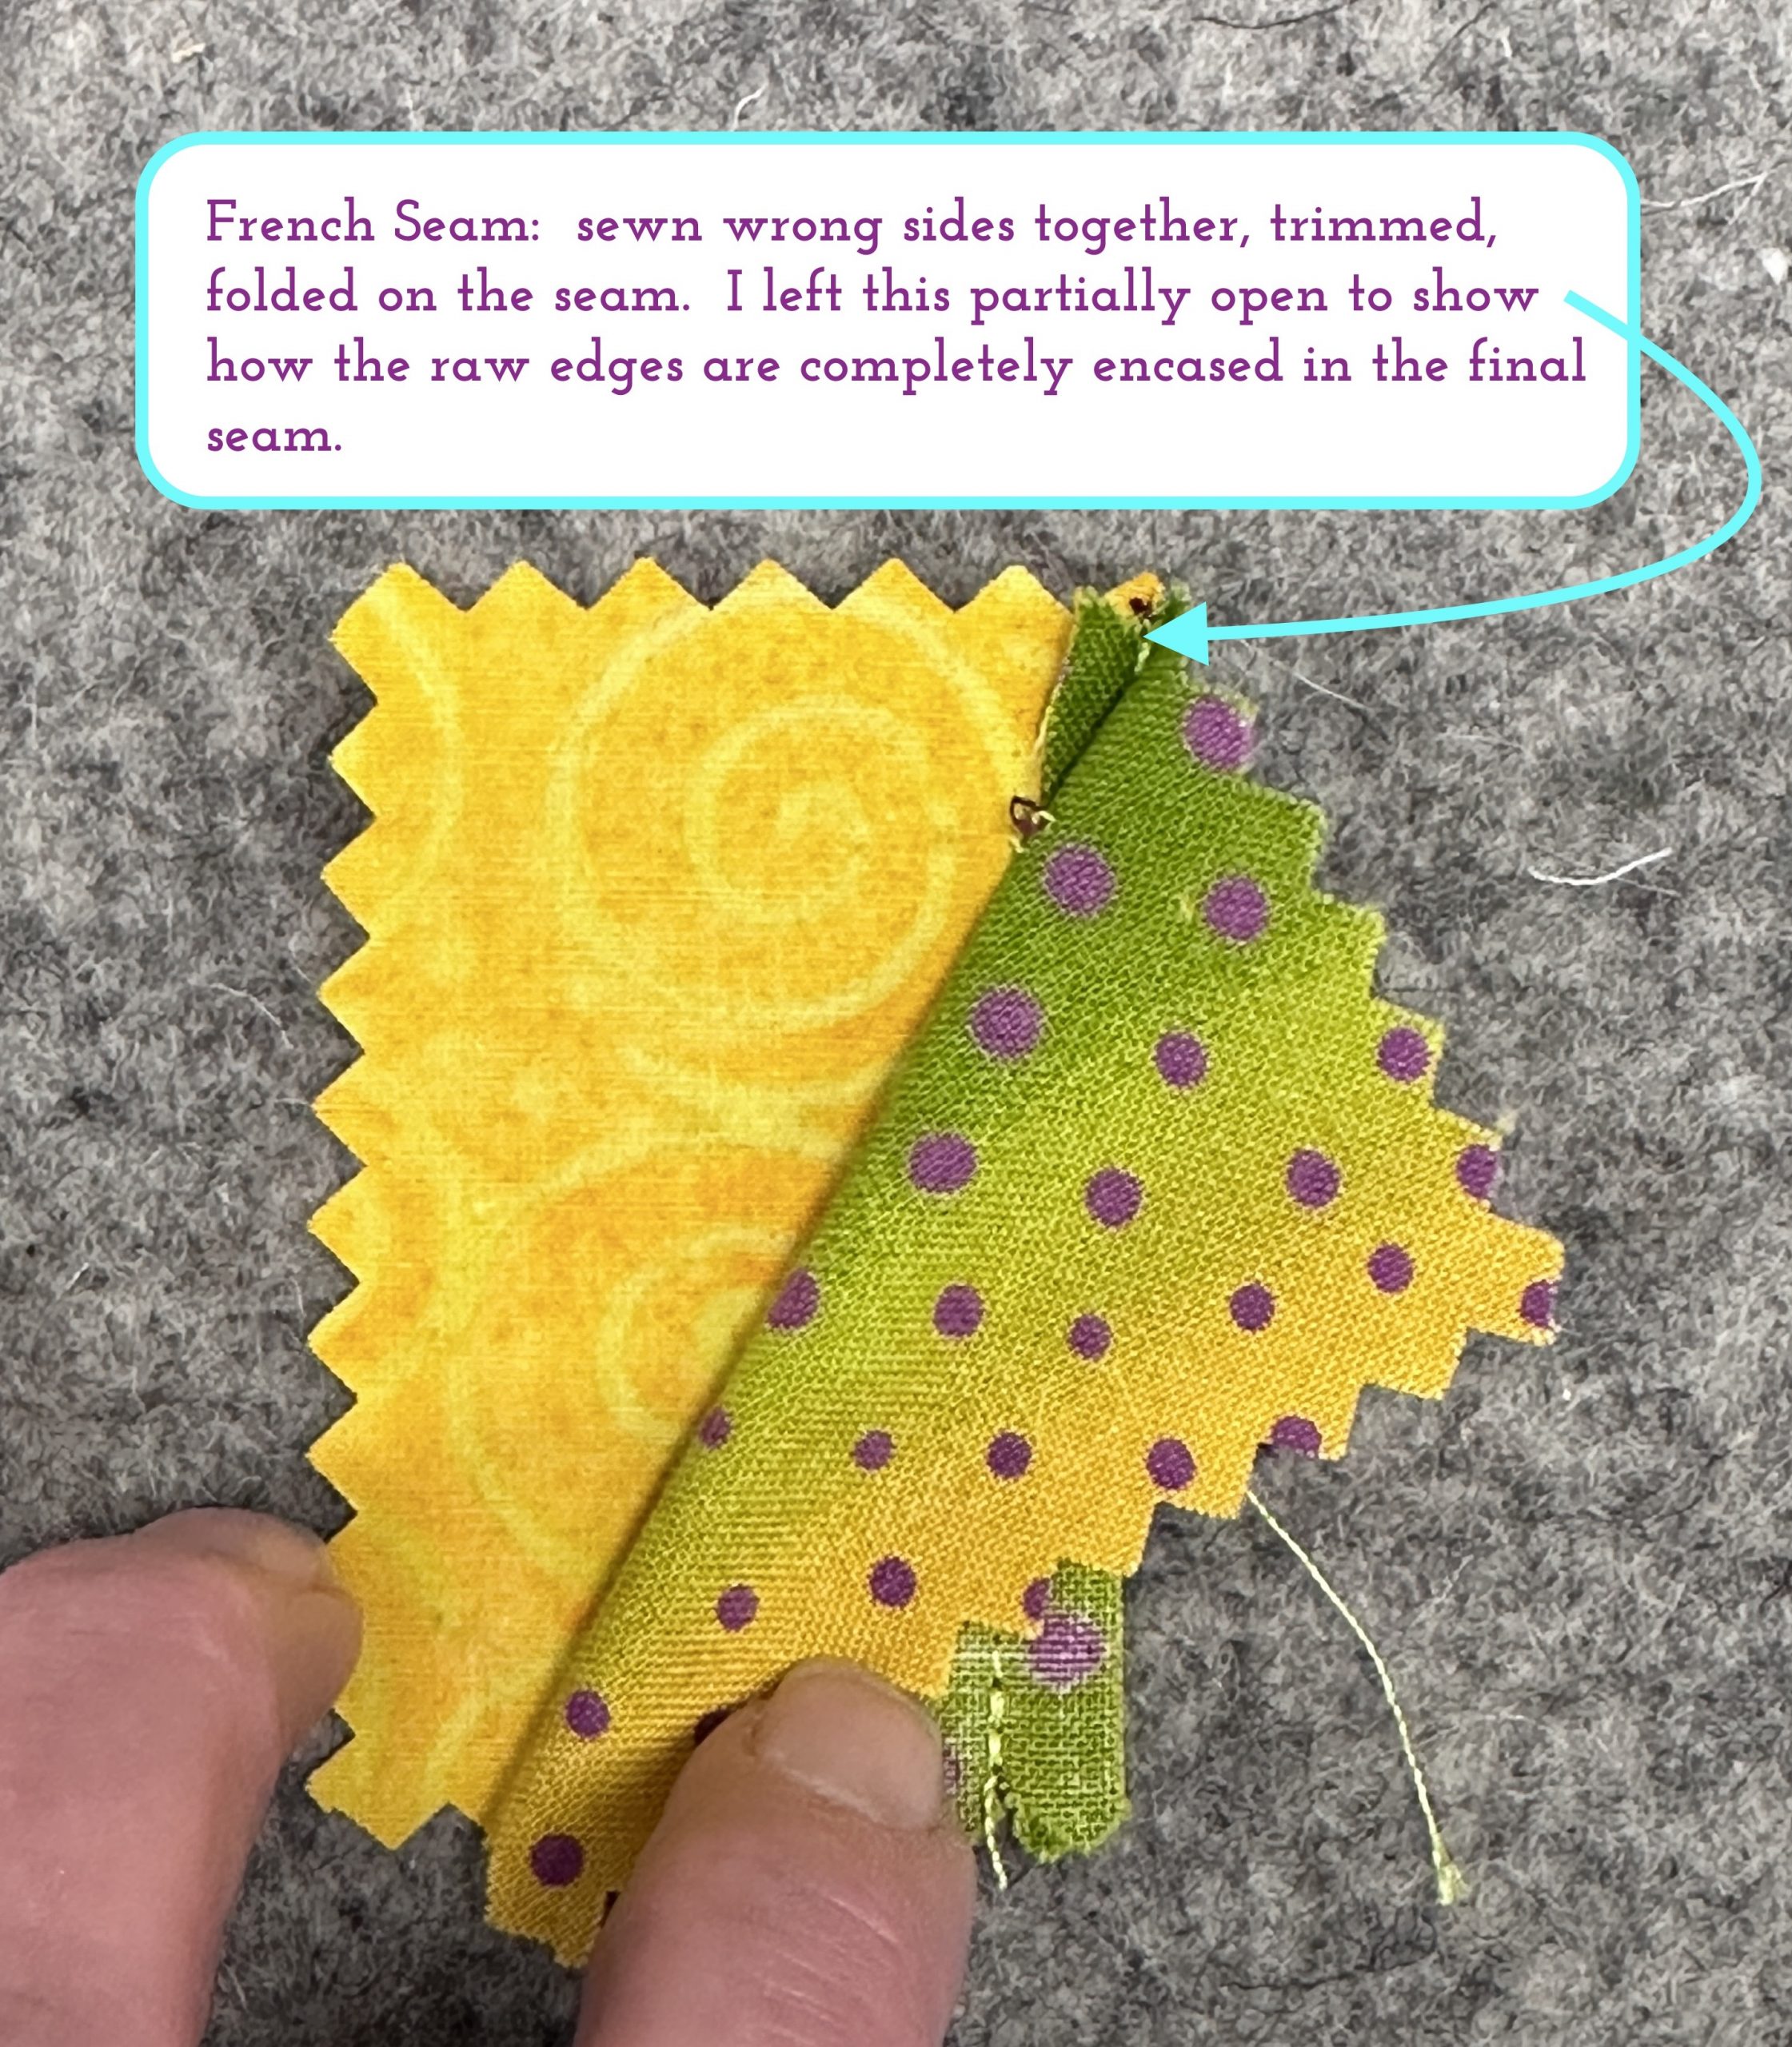
- Lesson 5: French Seams
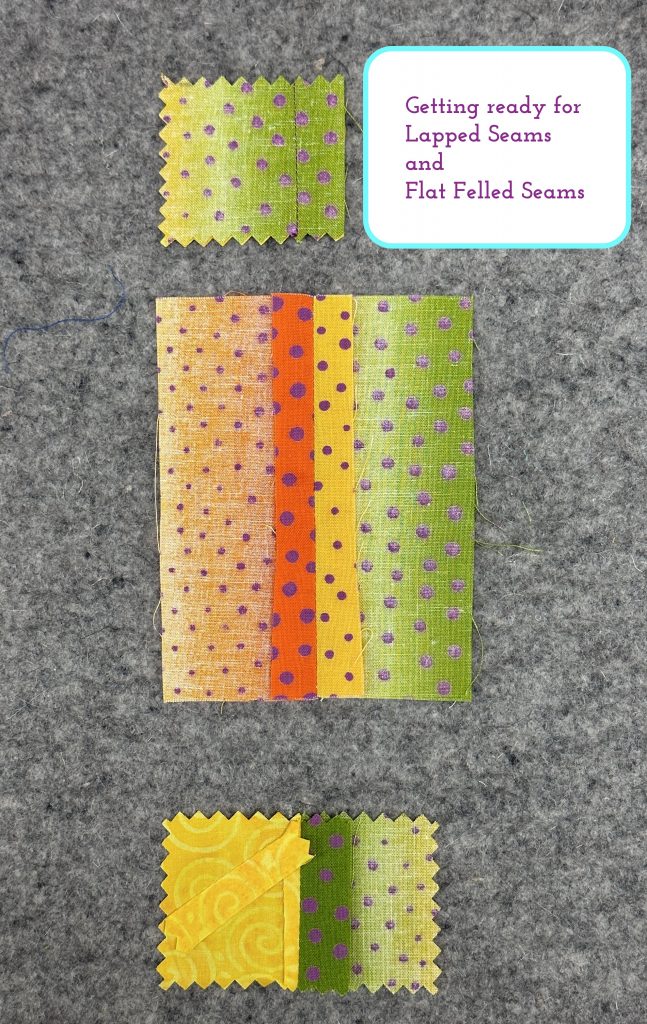
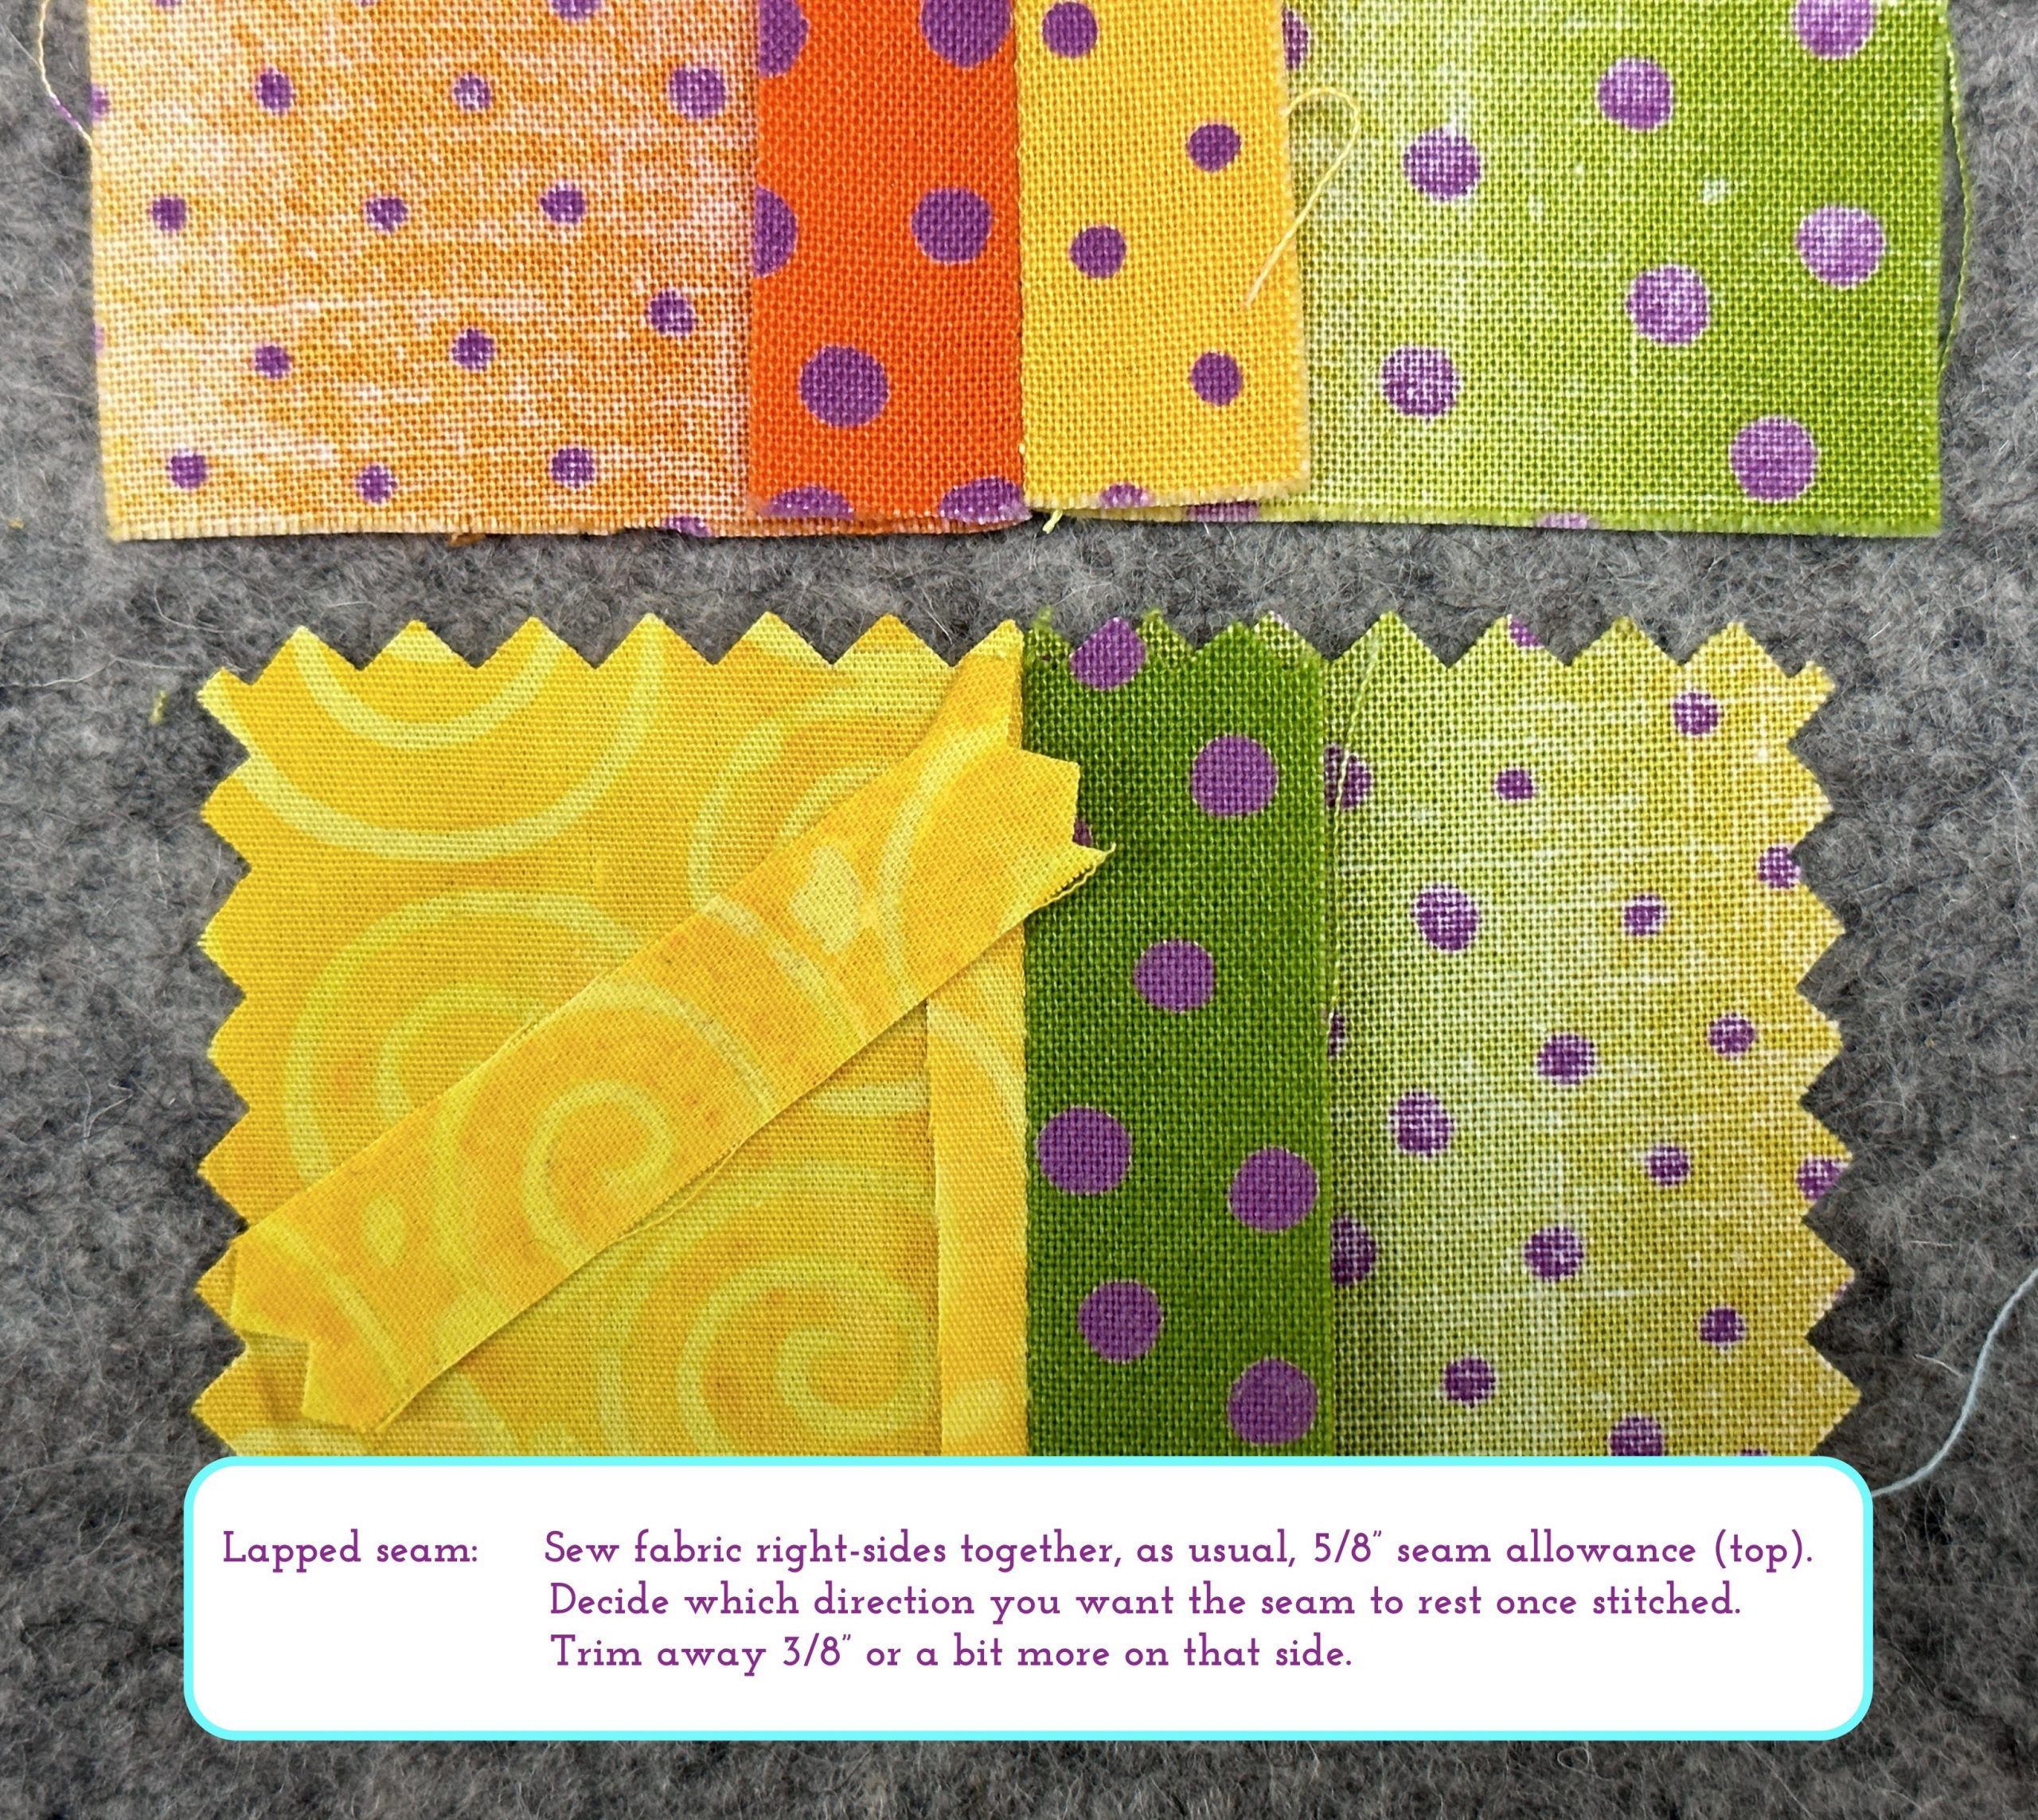
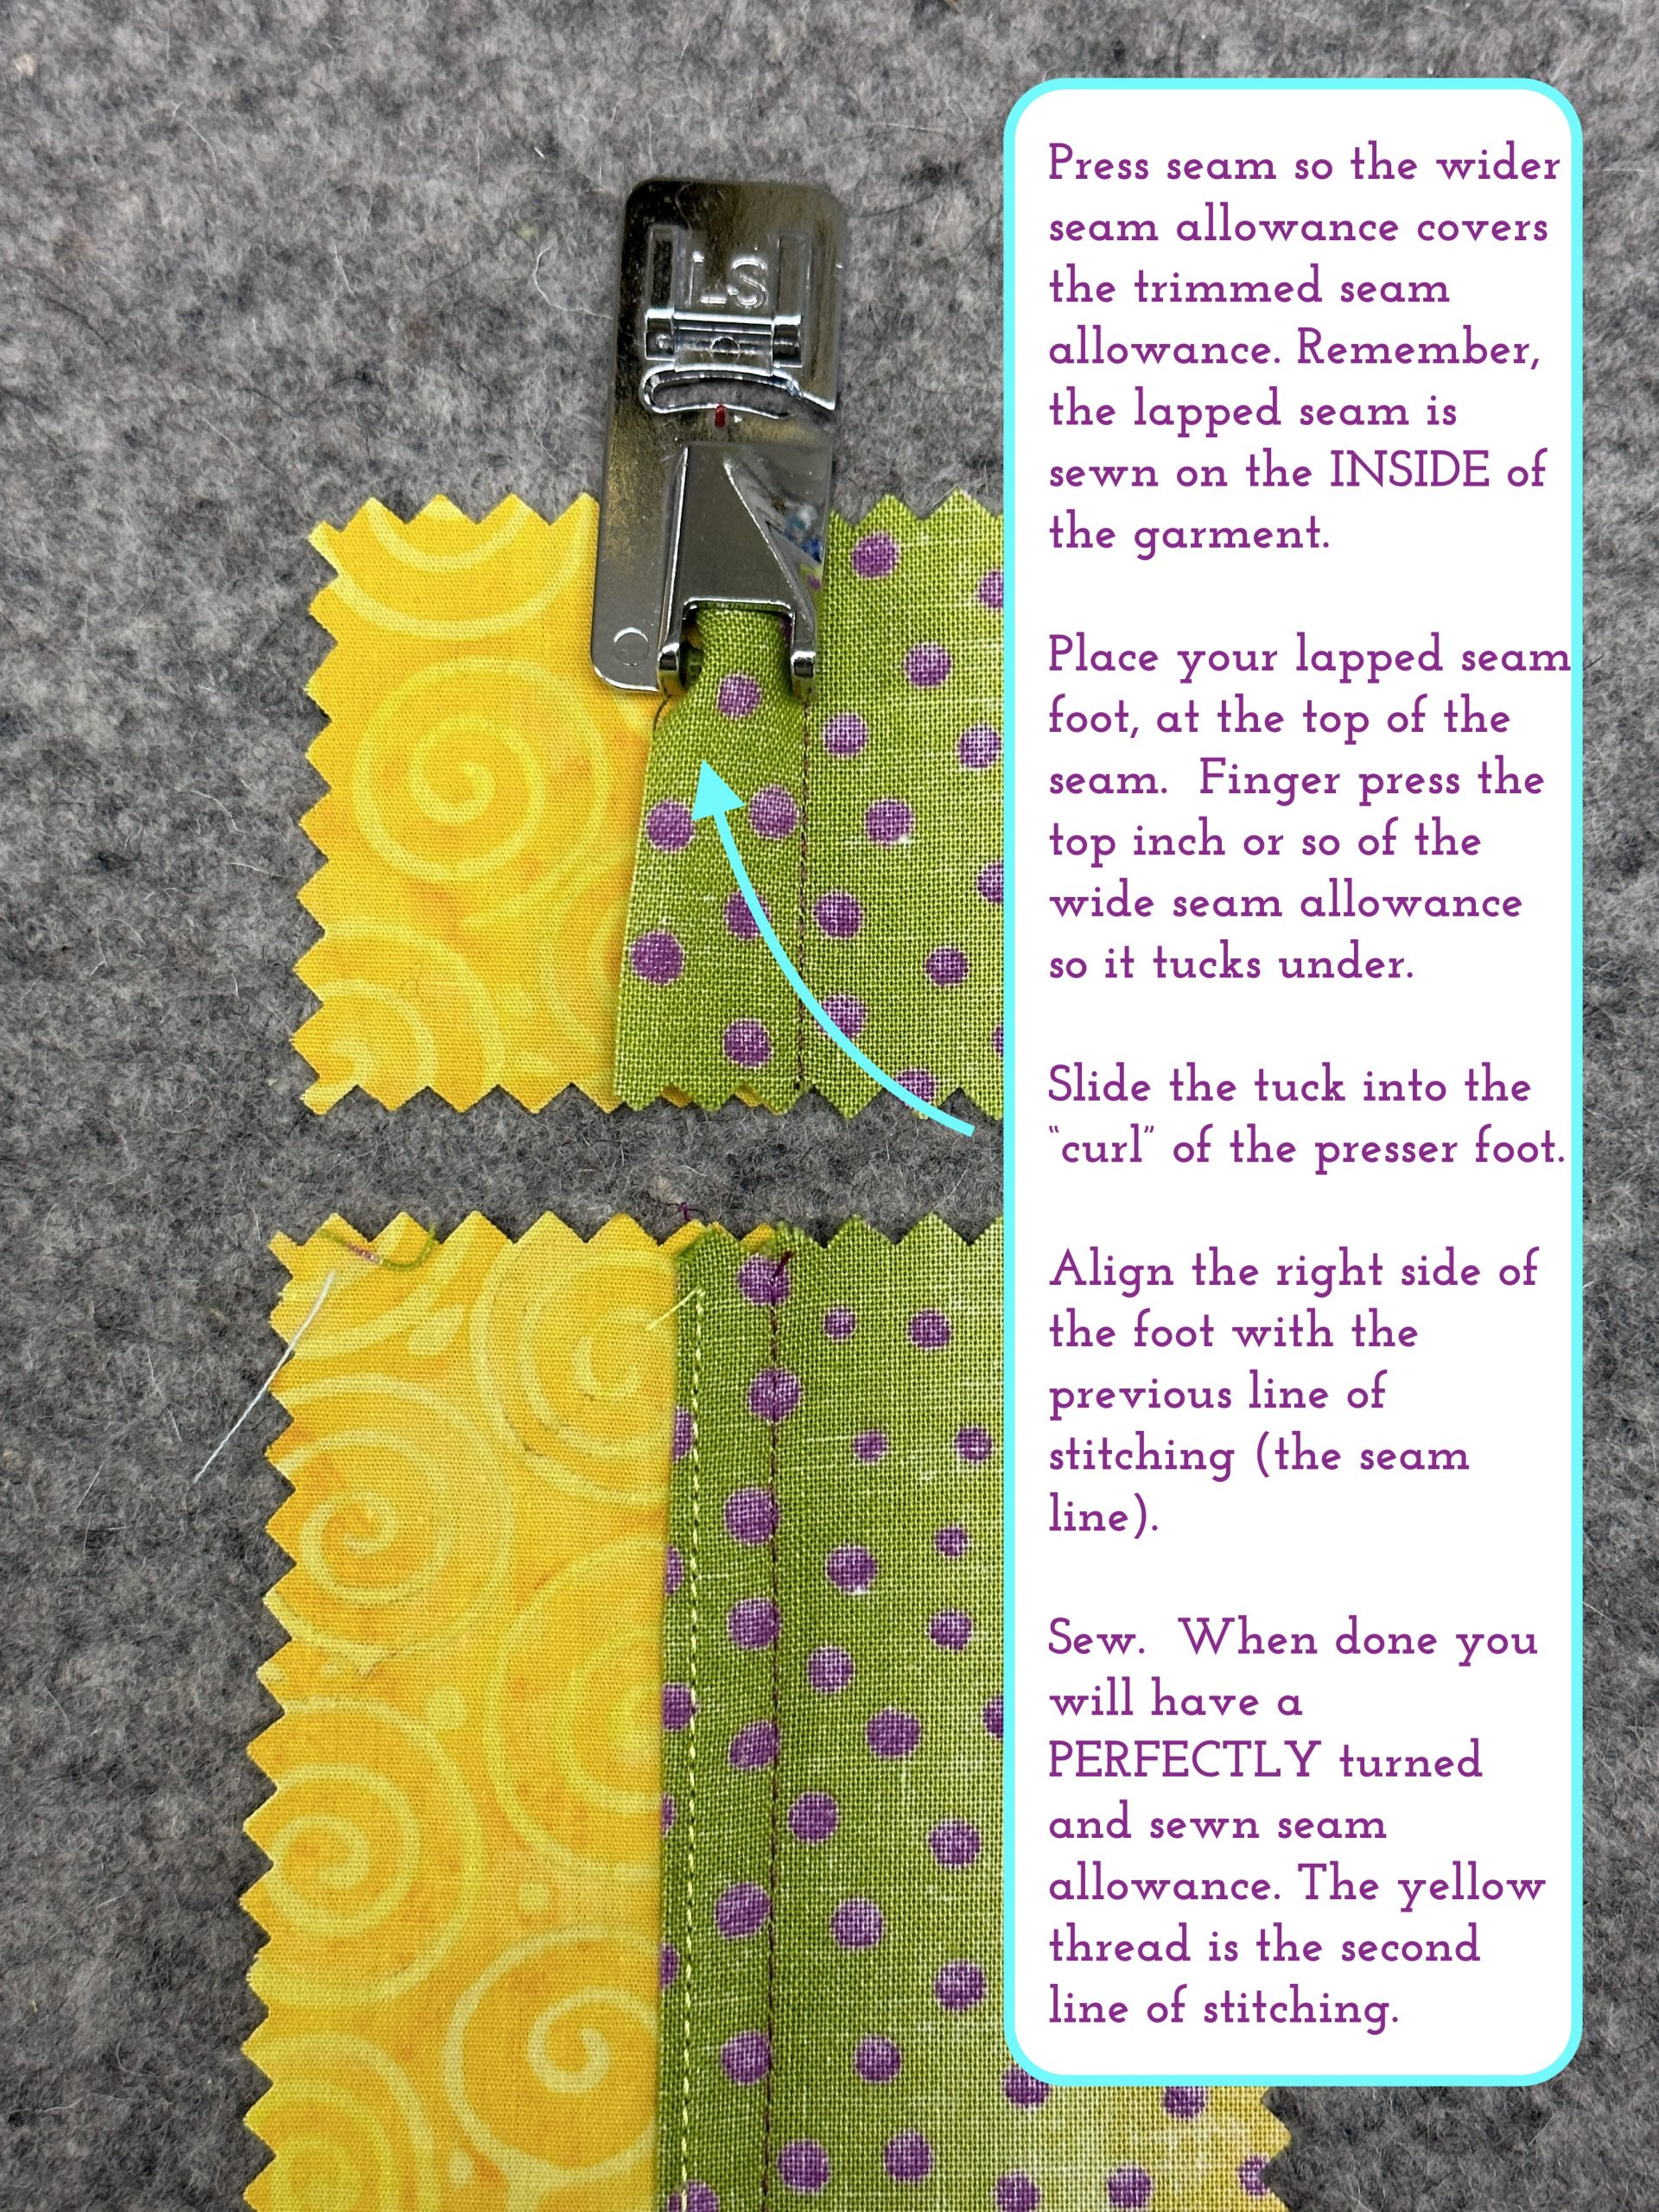
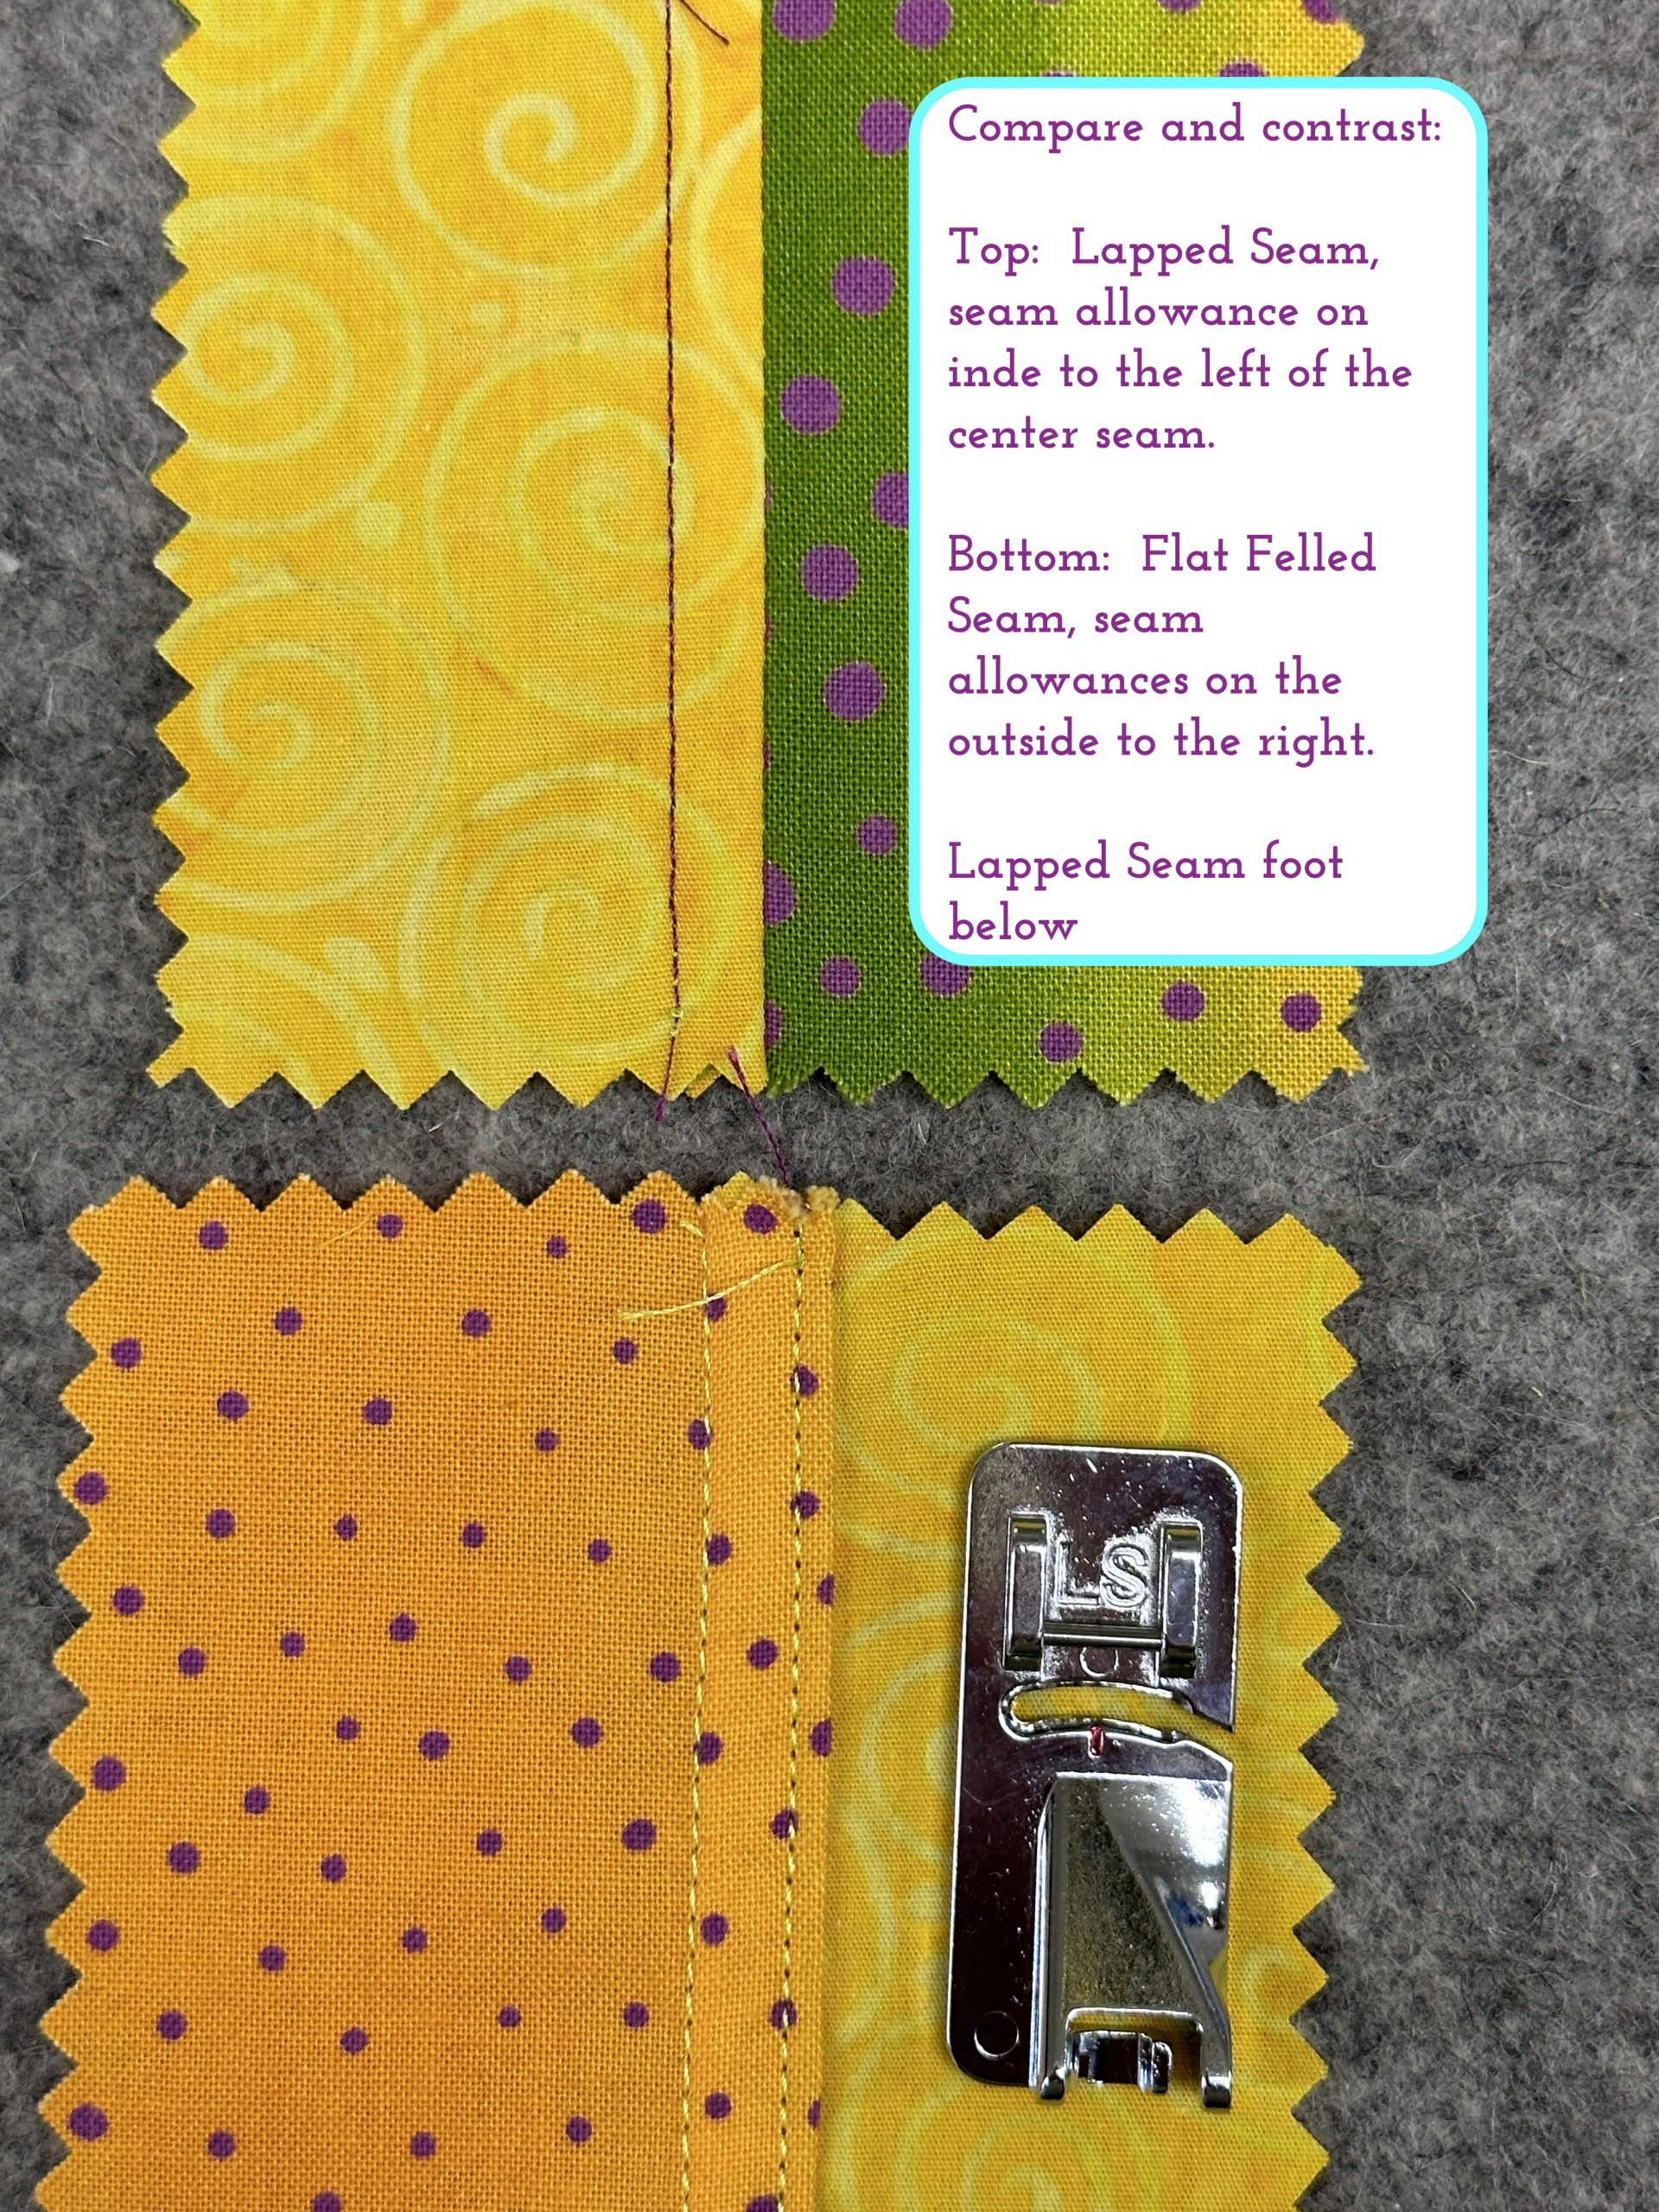
- Lesson 6: Lapped and Flat-felled Seams
- Lesson 7: Hong Kong Finish for Seams
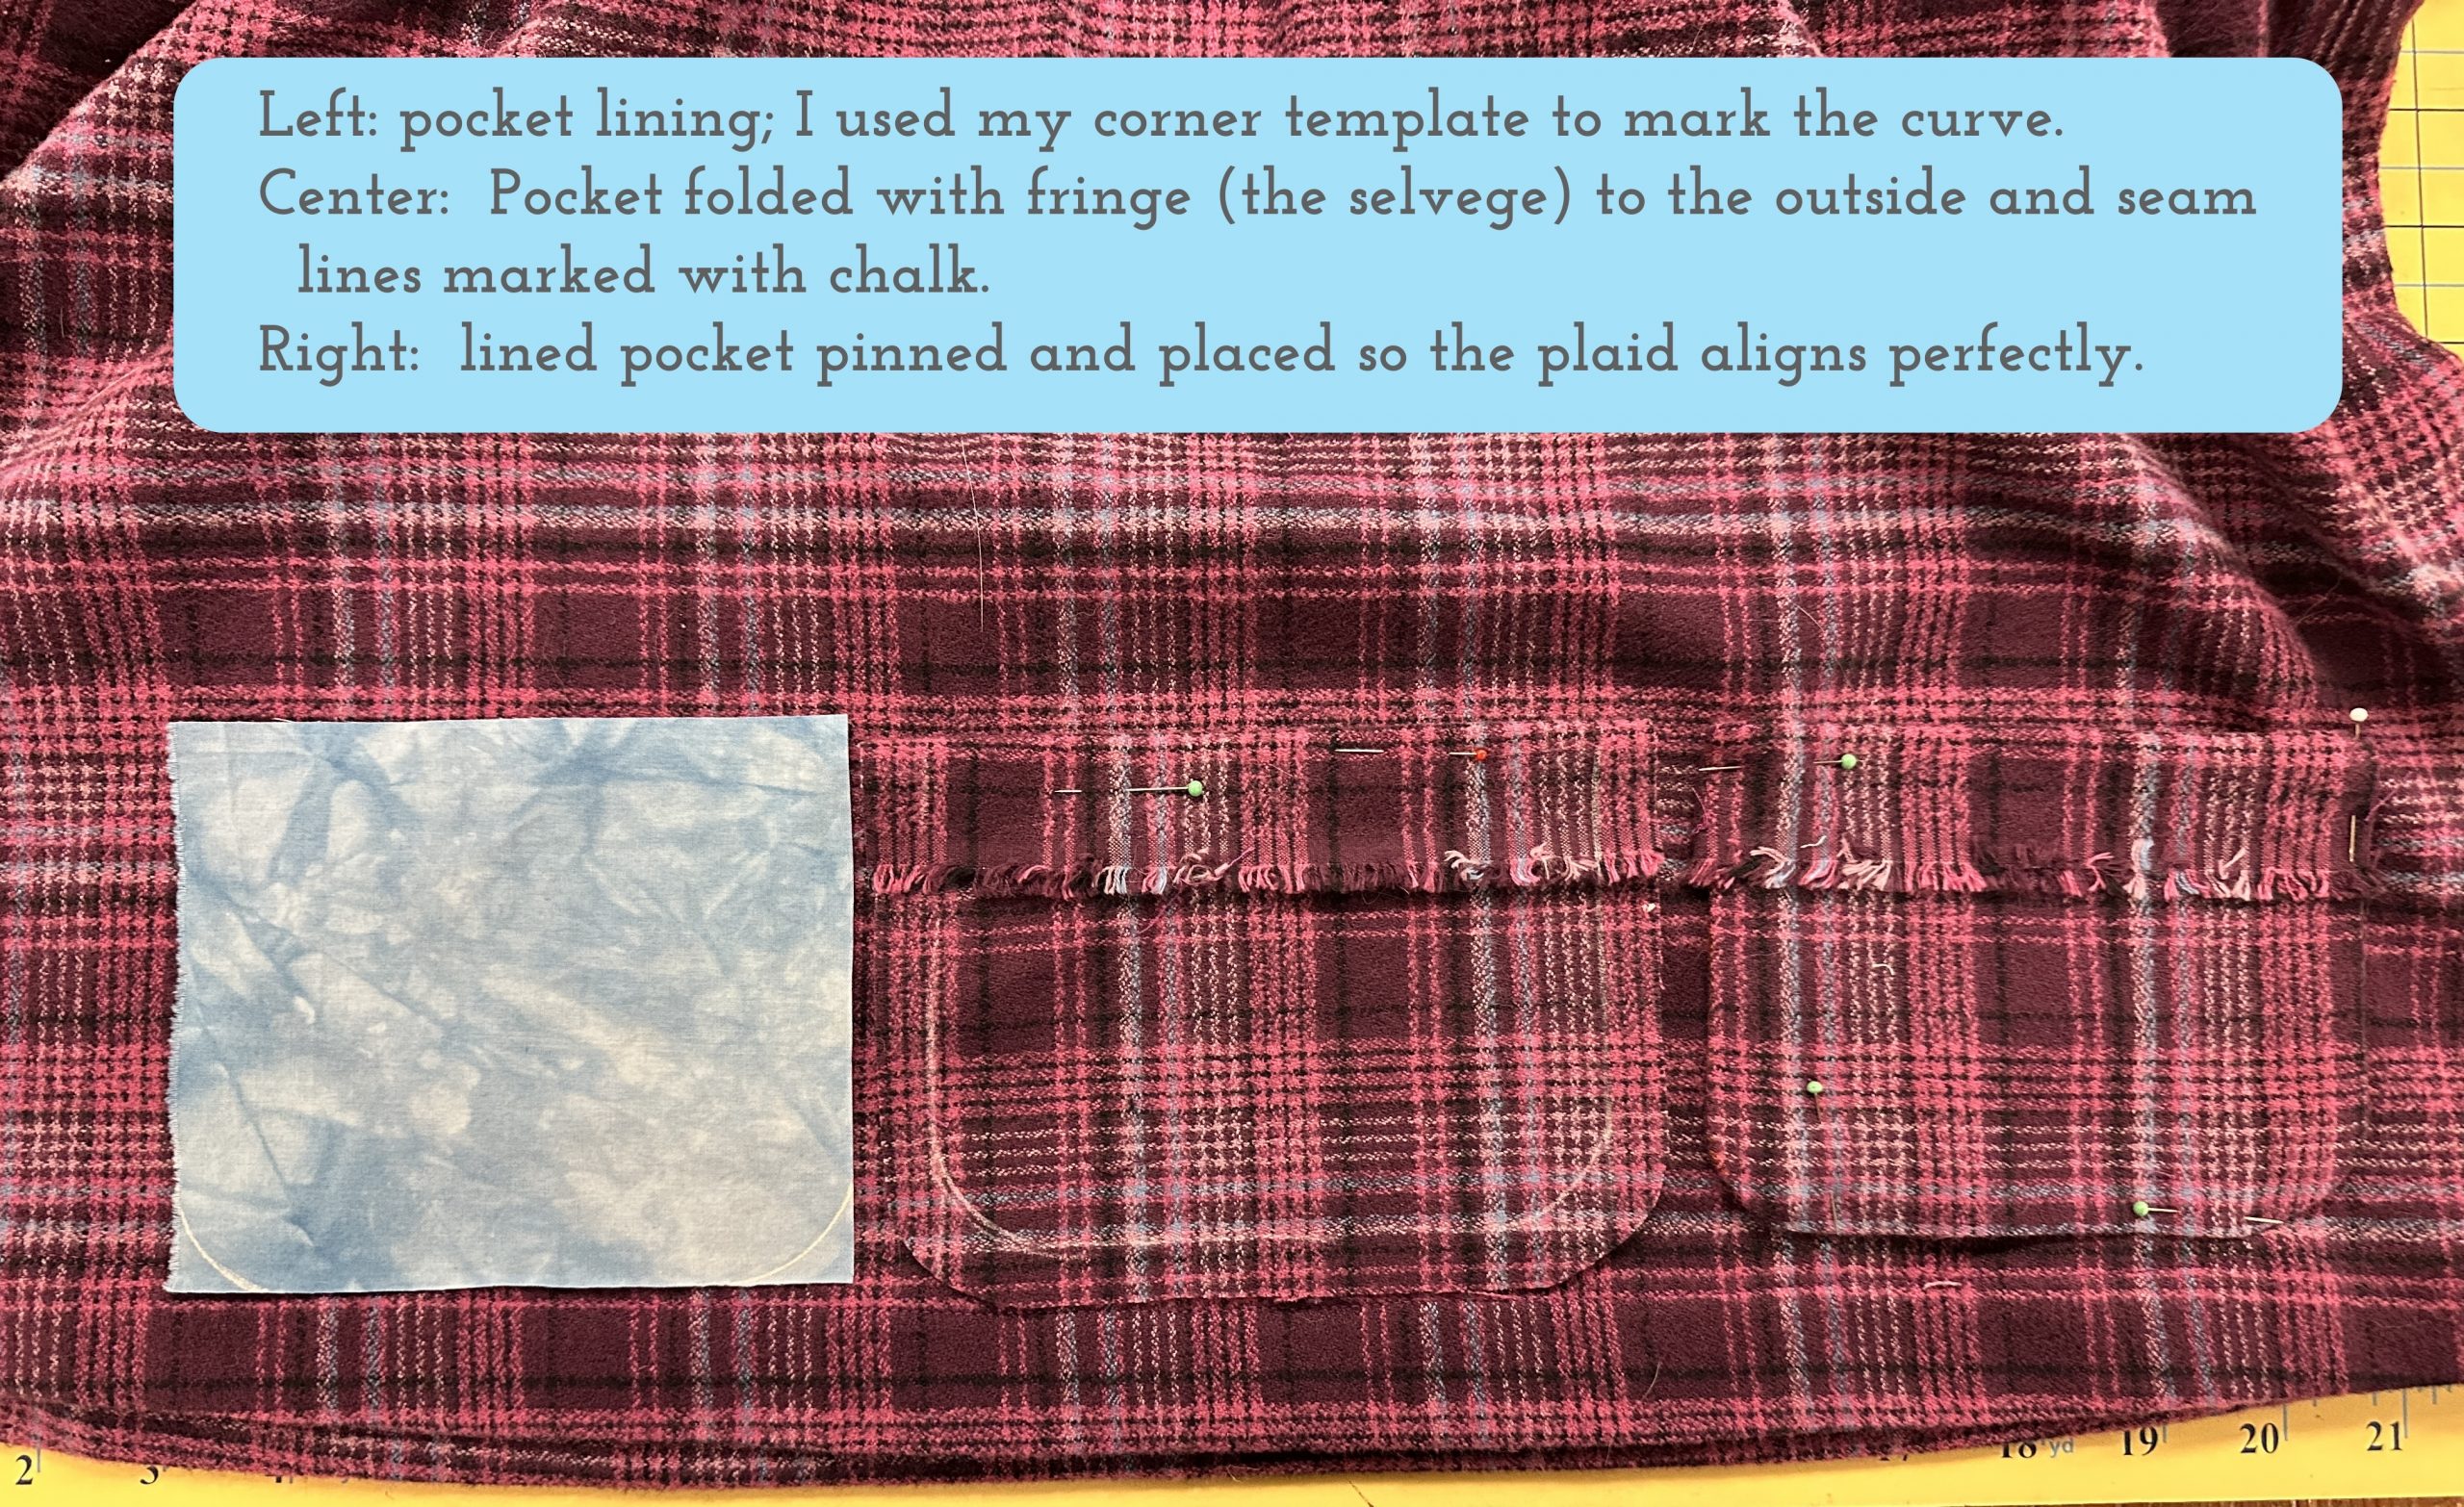
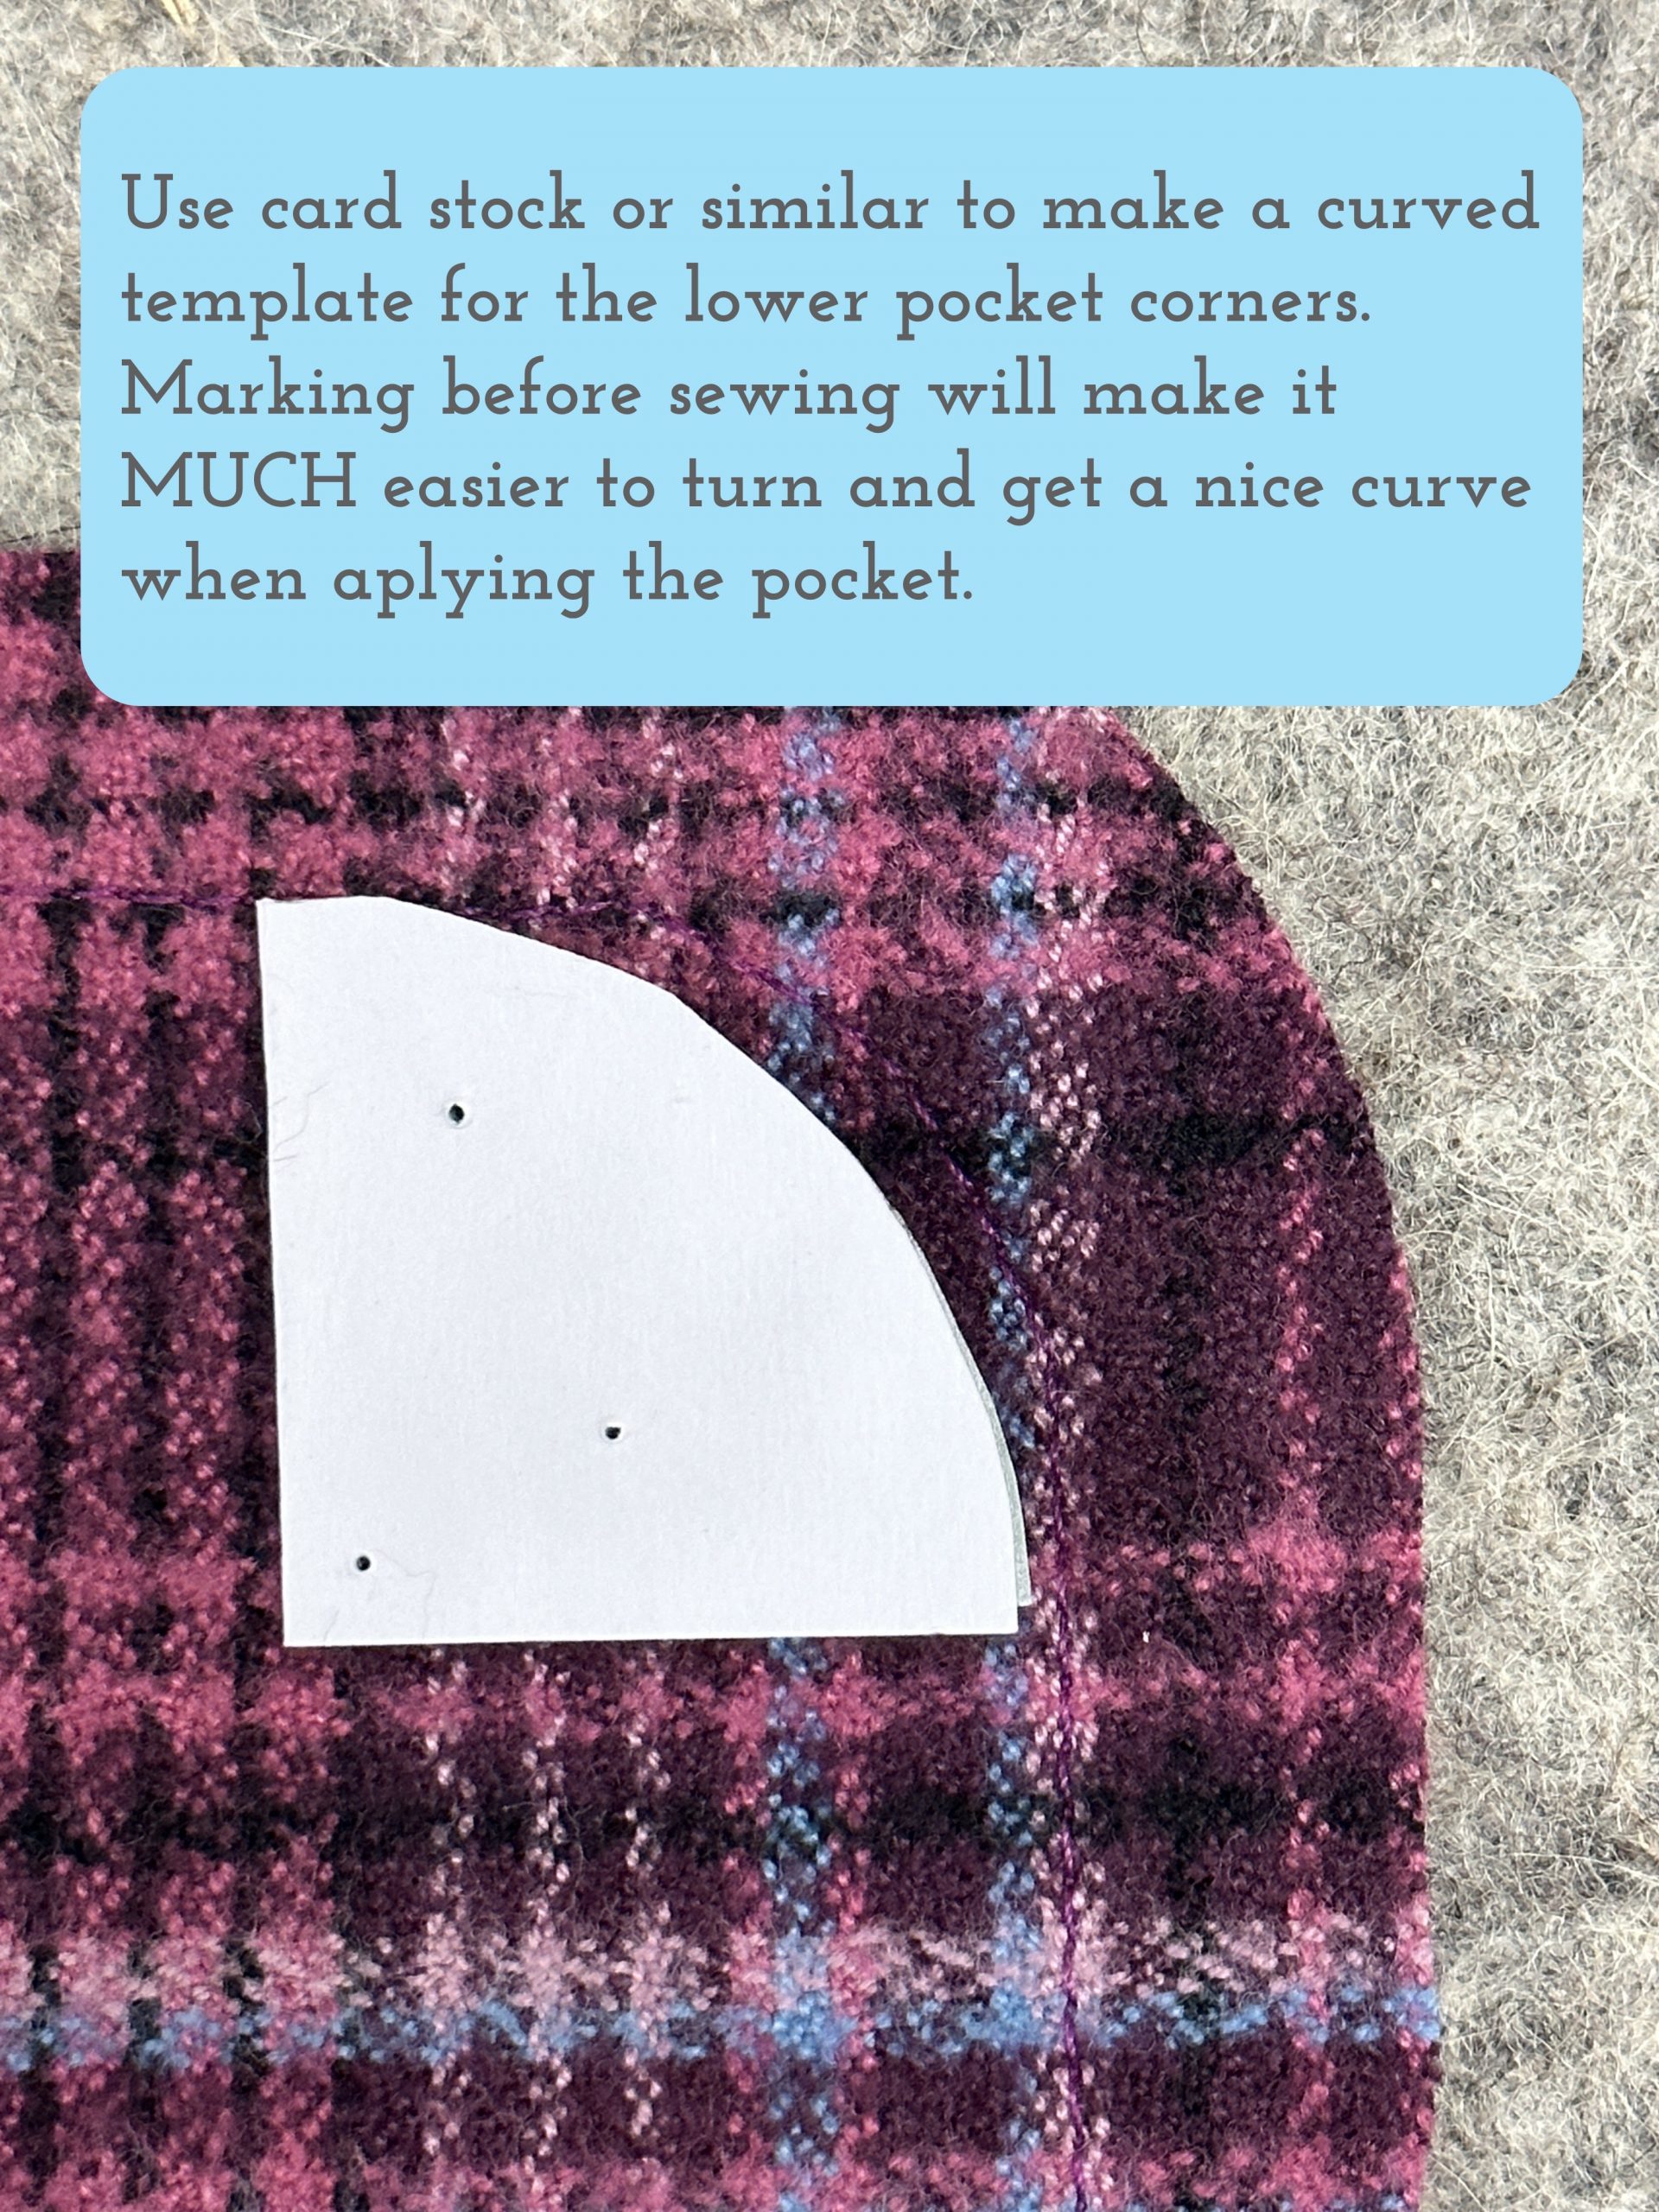
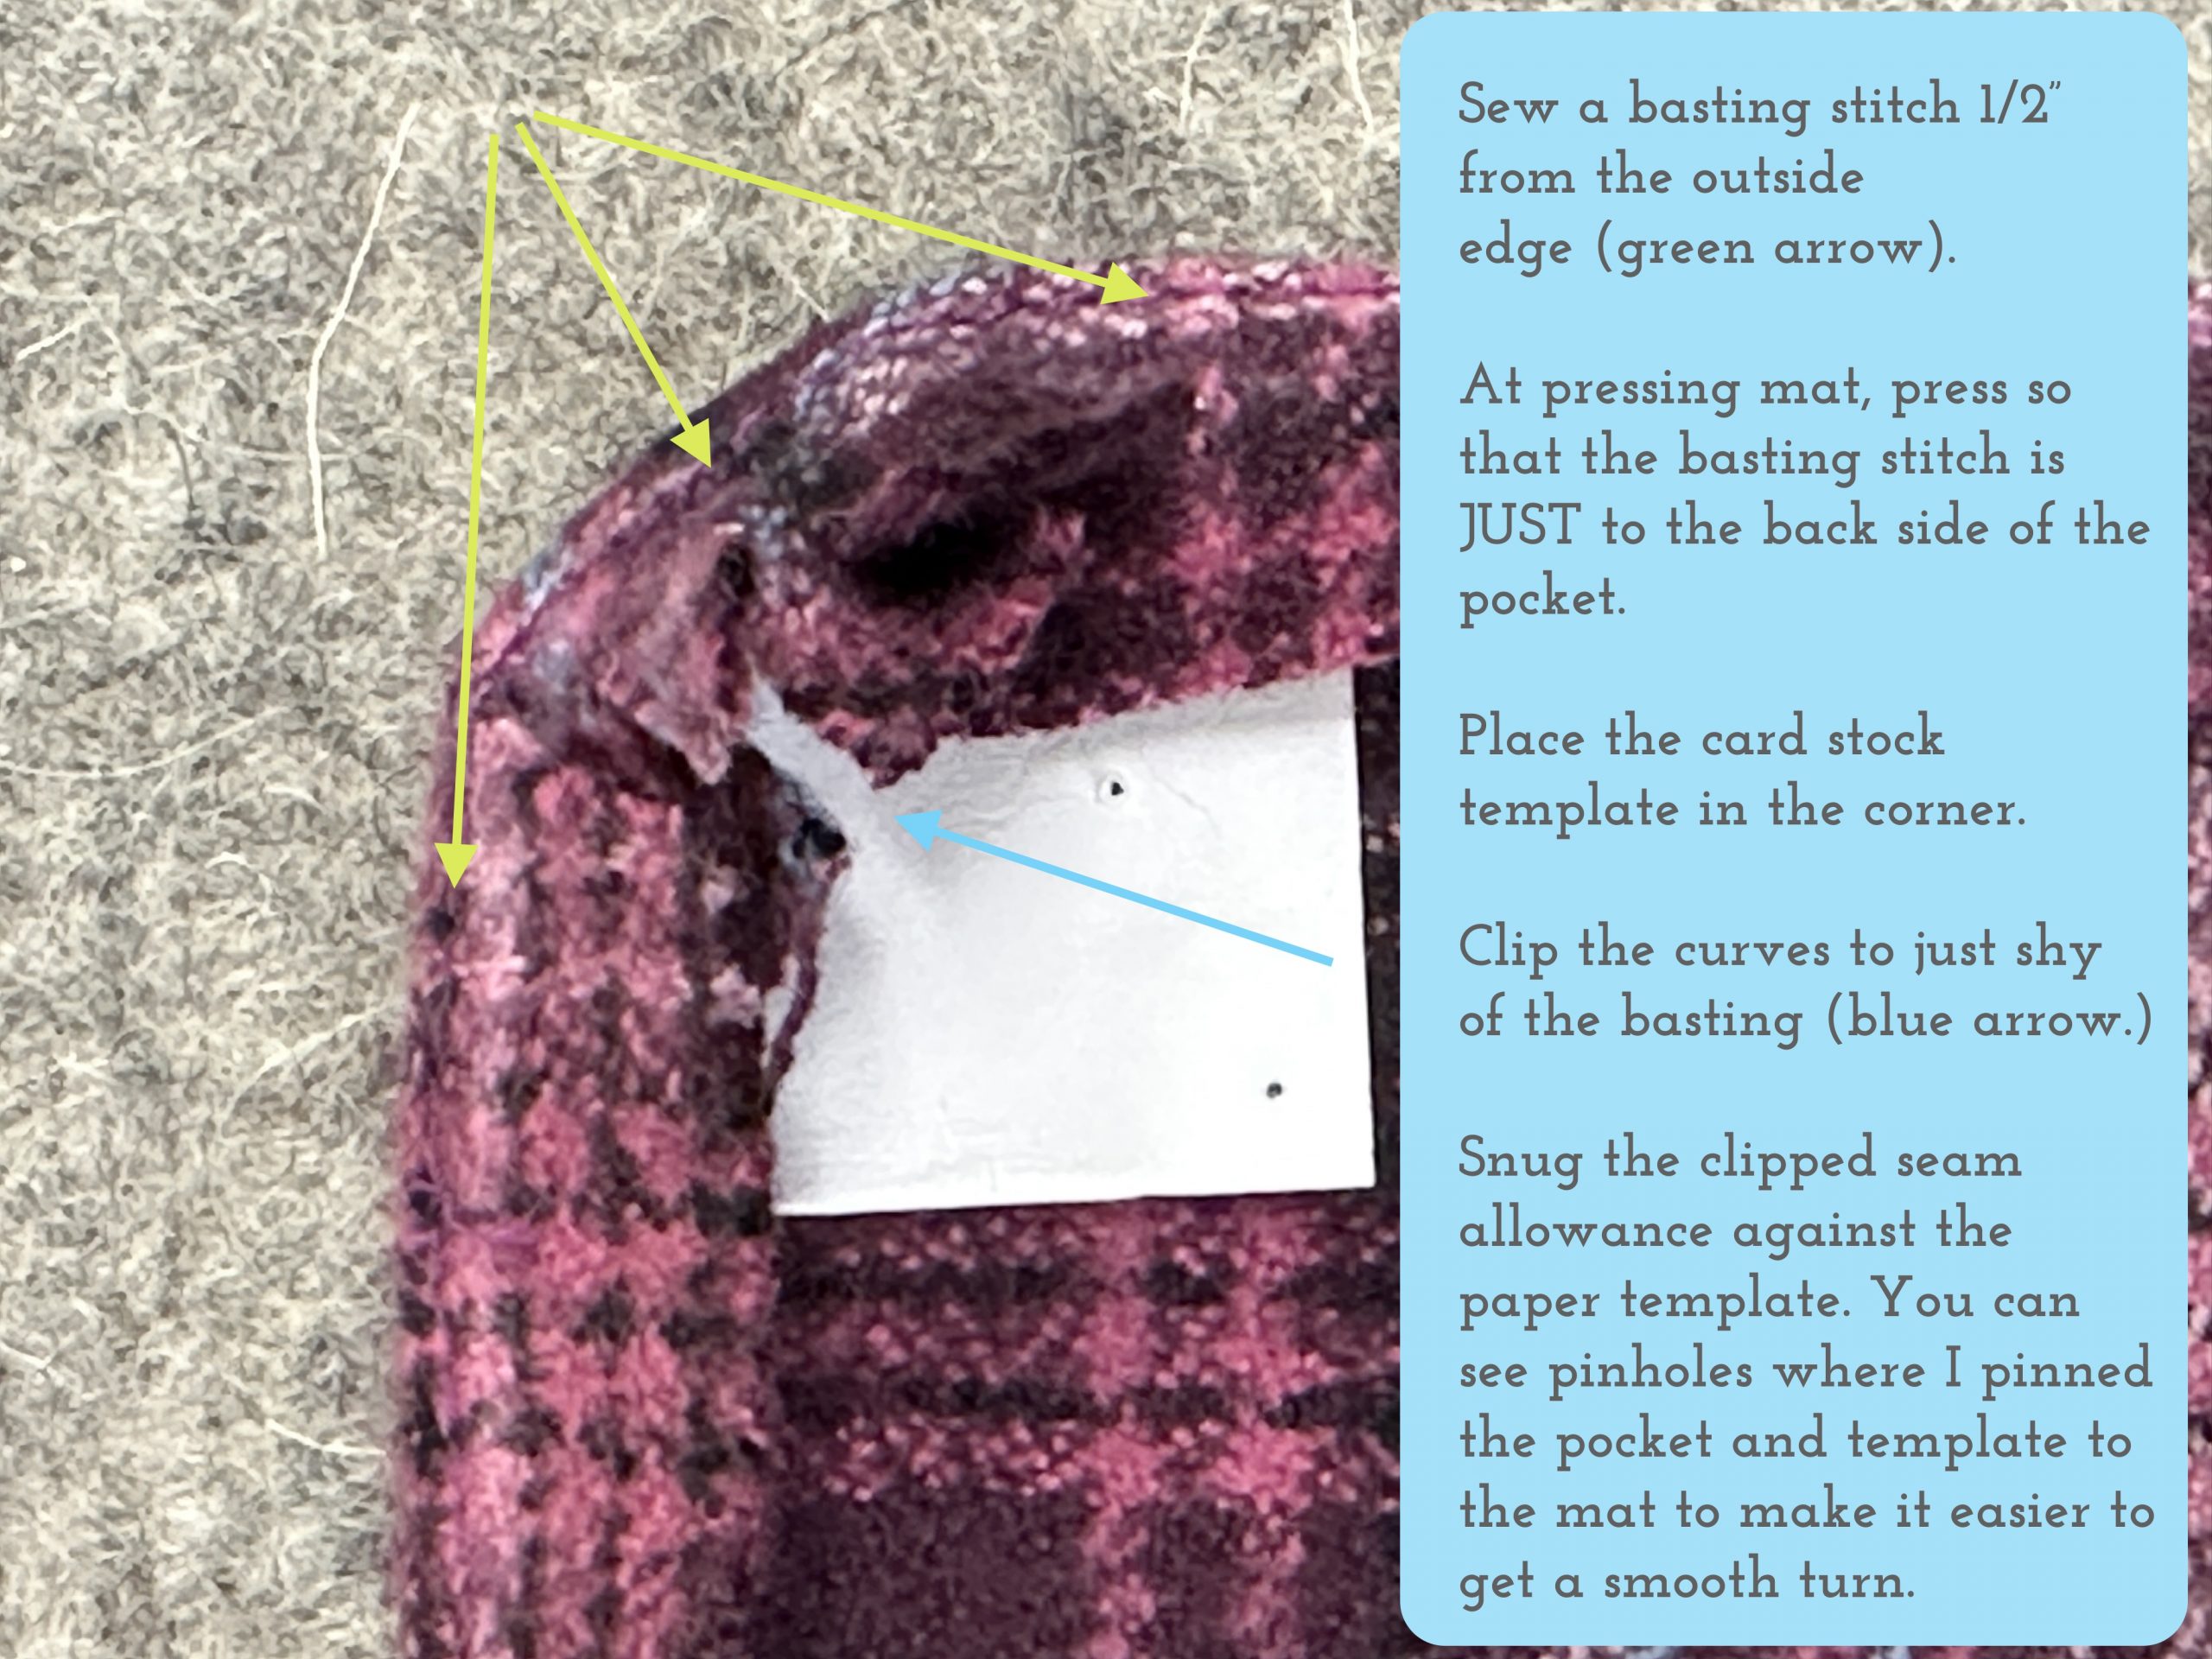
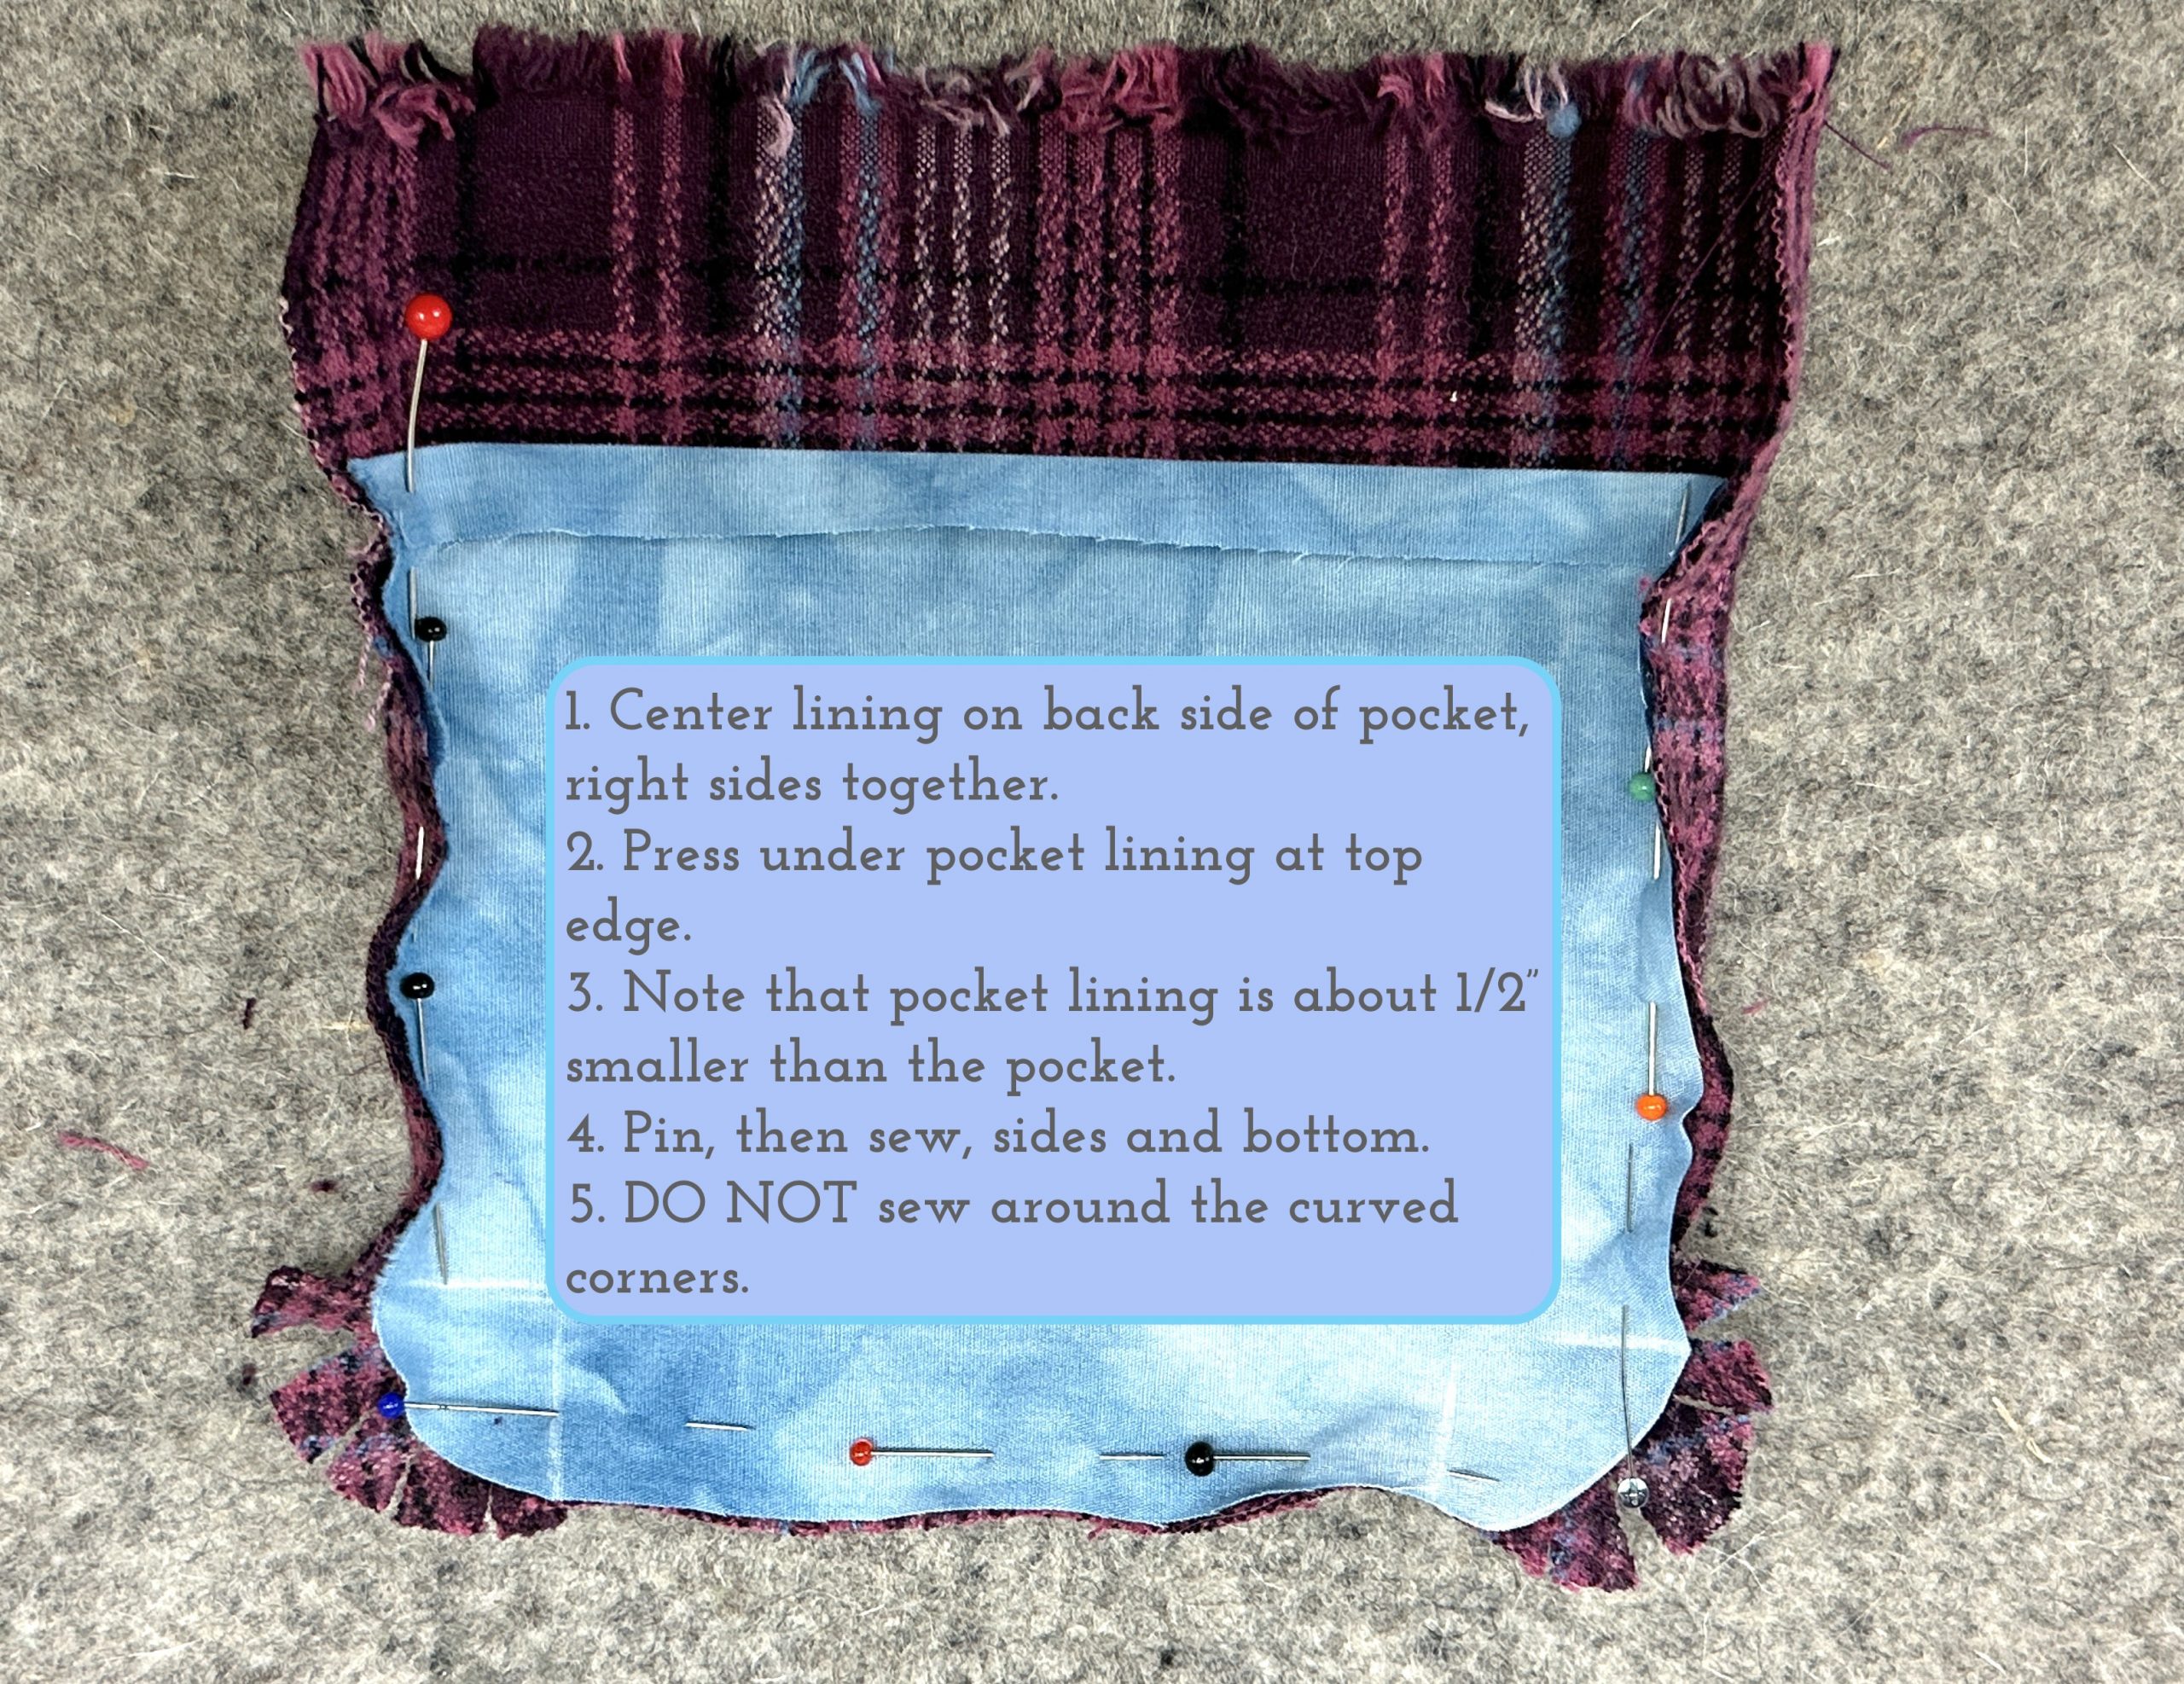
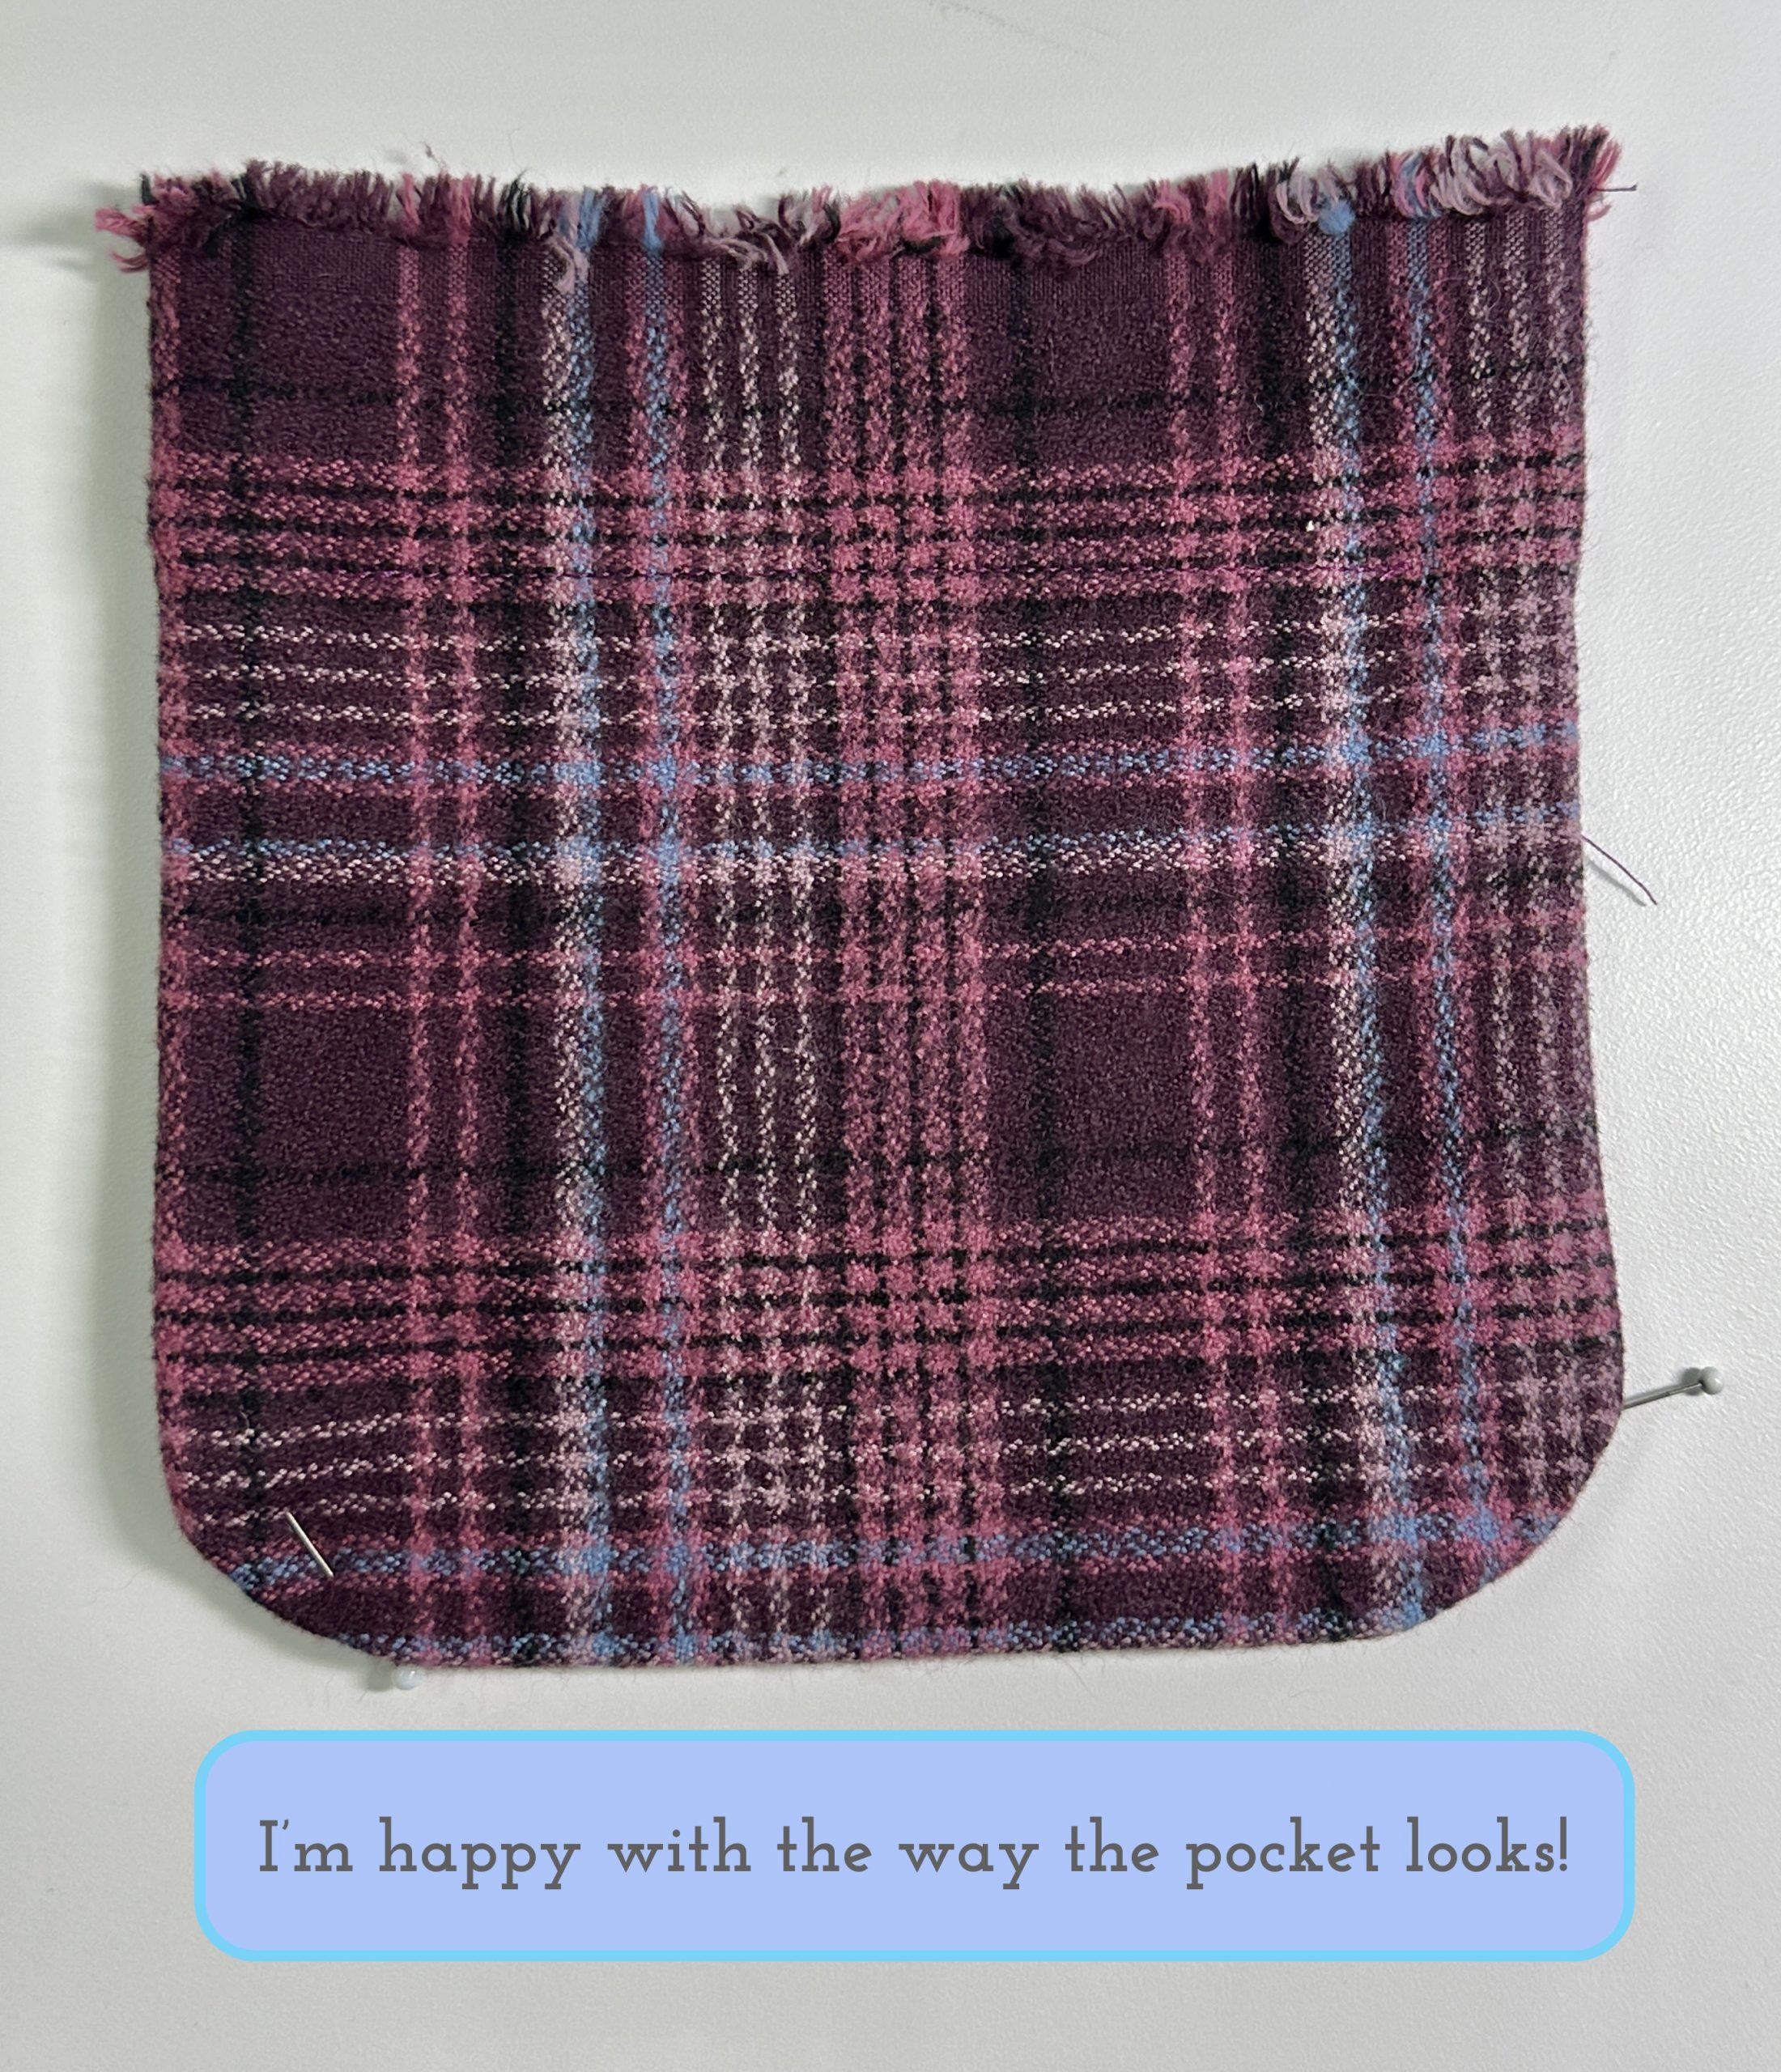
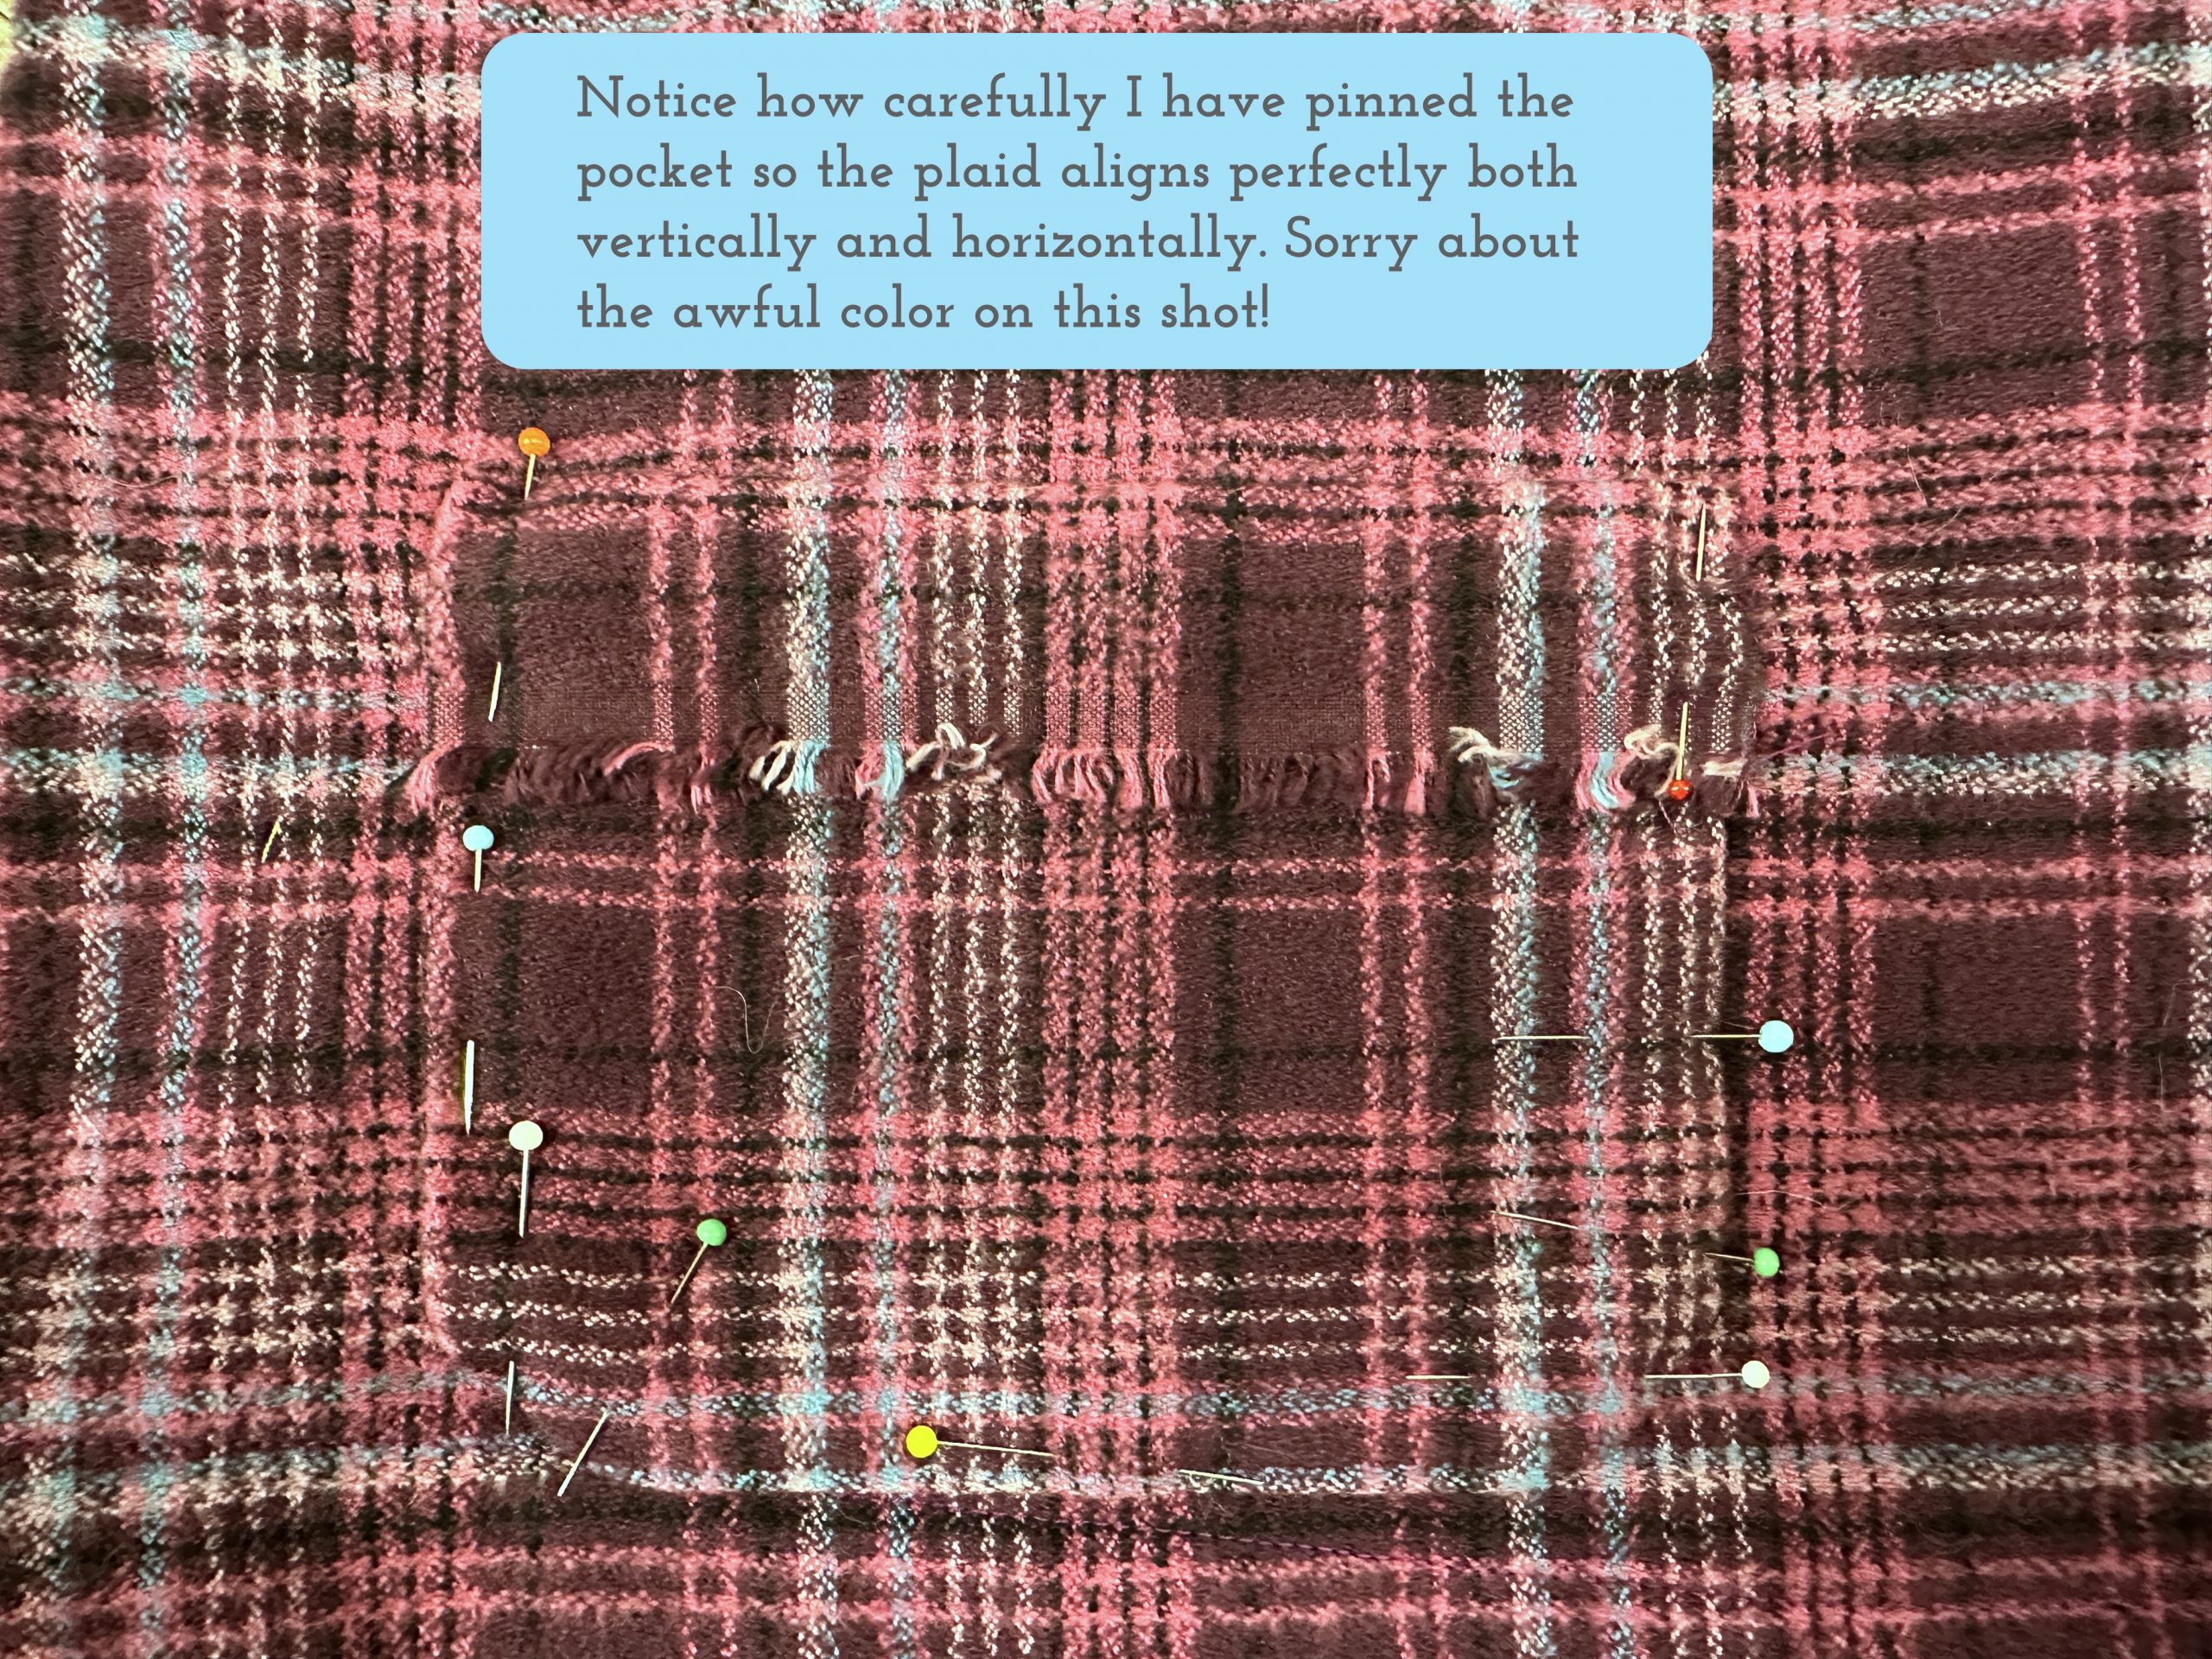
- Lesson 8: Lined Patch Pocket Tutorial
- and today’s Lesson 9: Hems and Scarf
Please note: I am affiliated with Janome as a Janome Artisan and am compensated. However, my reviews are honest and I would say what I say whether affiliated or not. I’ve also chosen to be affiliated with Janome since 2003 (!!!) because their machines are so good and they are so responsive to the interests and needs of their customers.
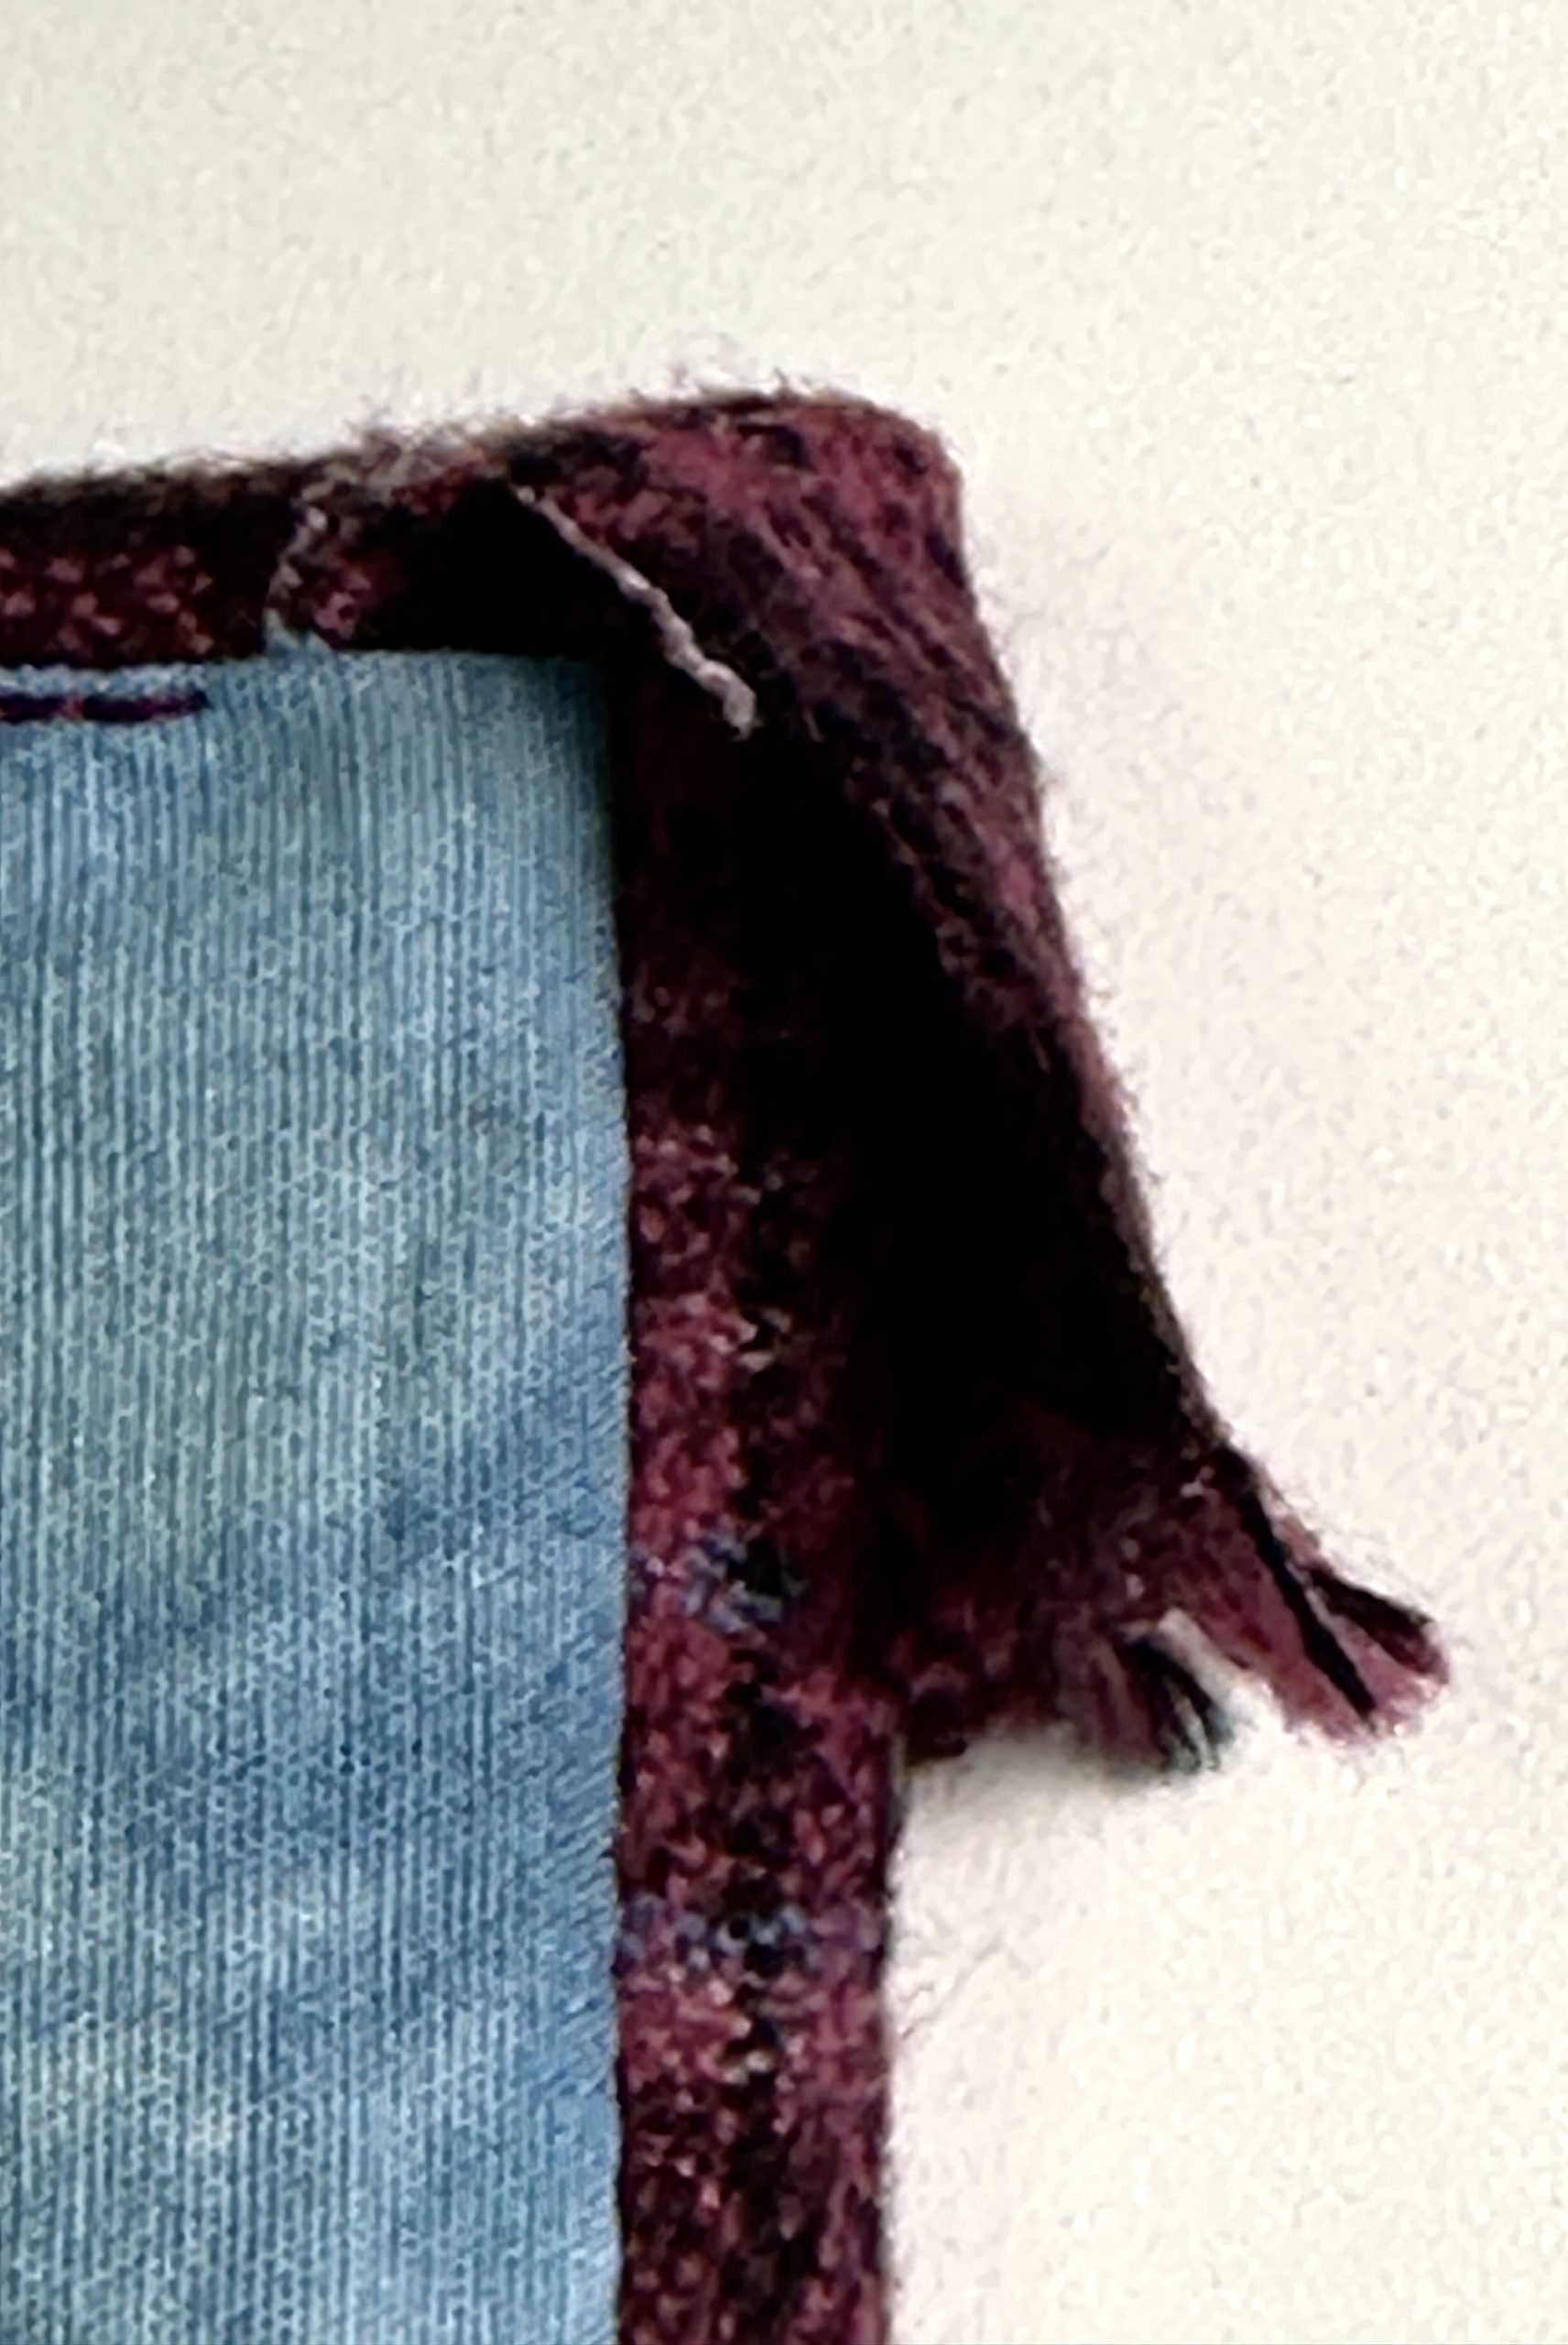
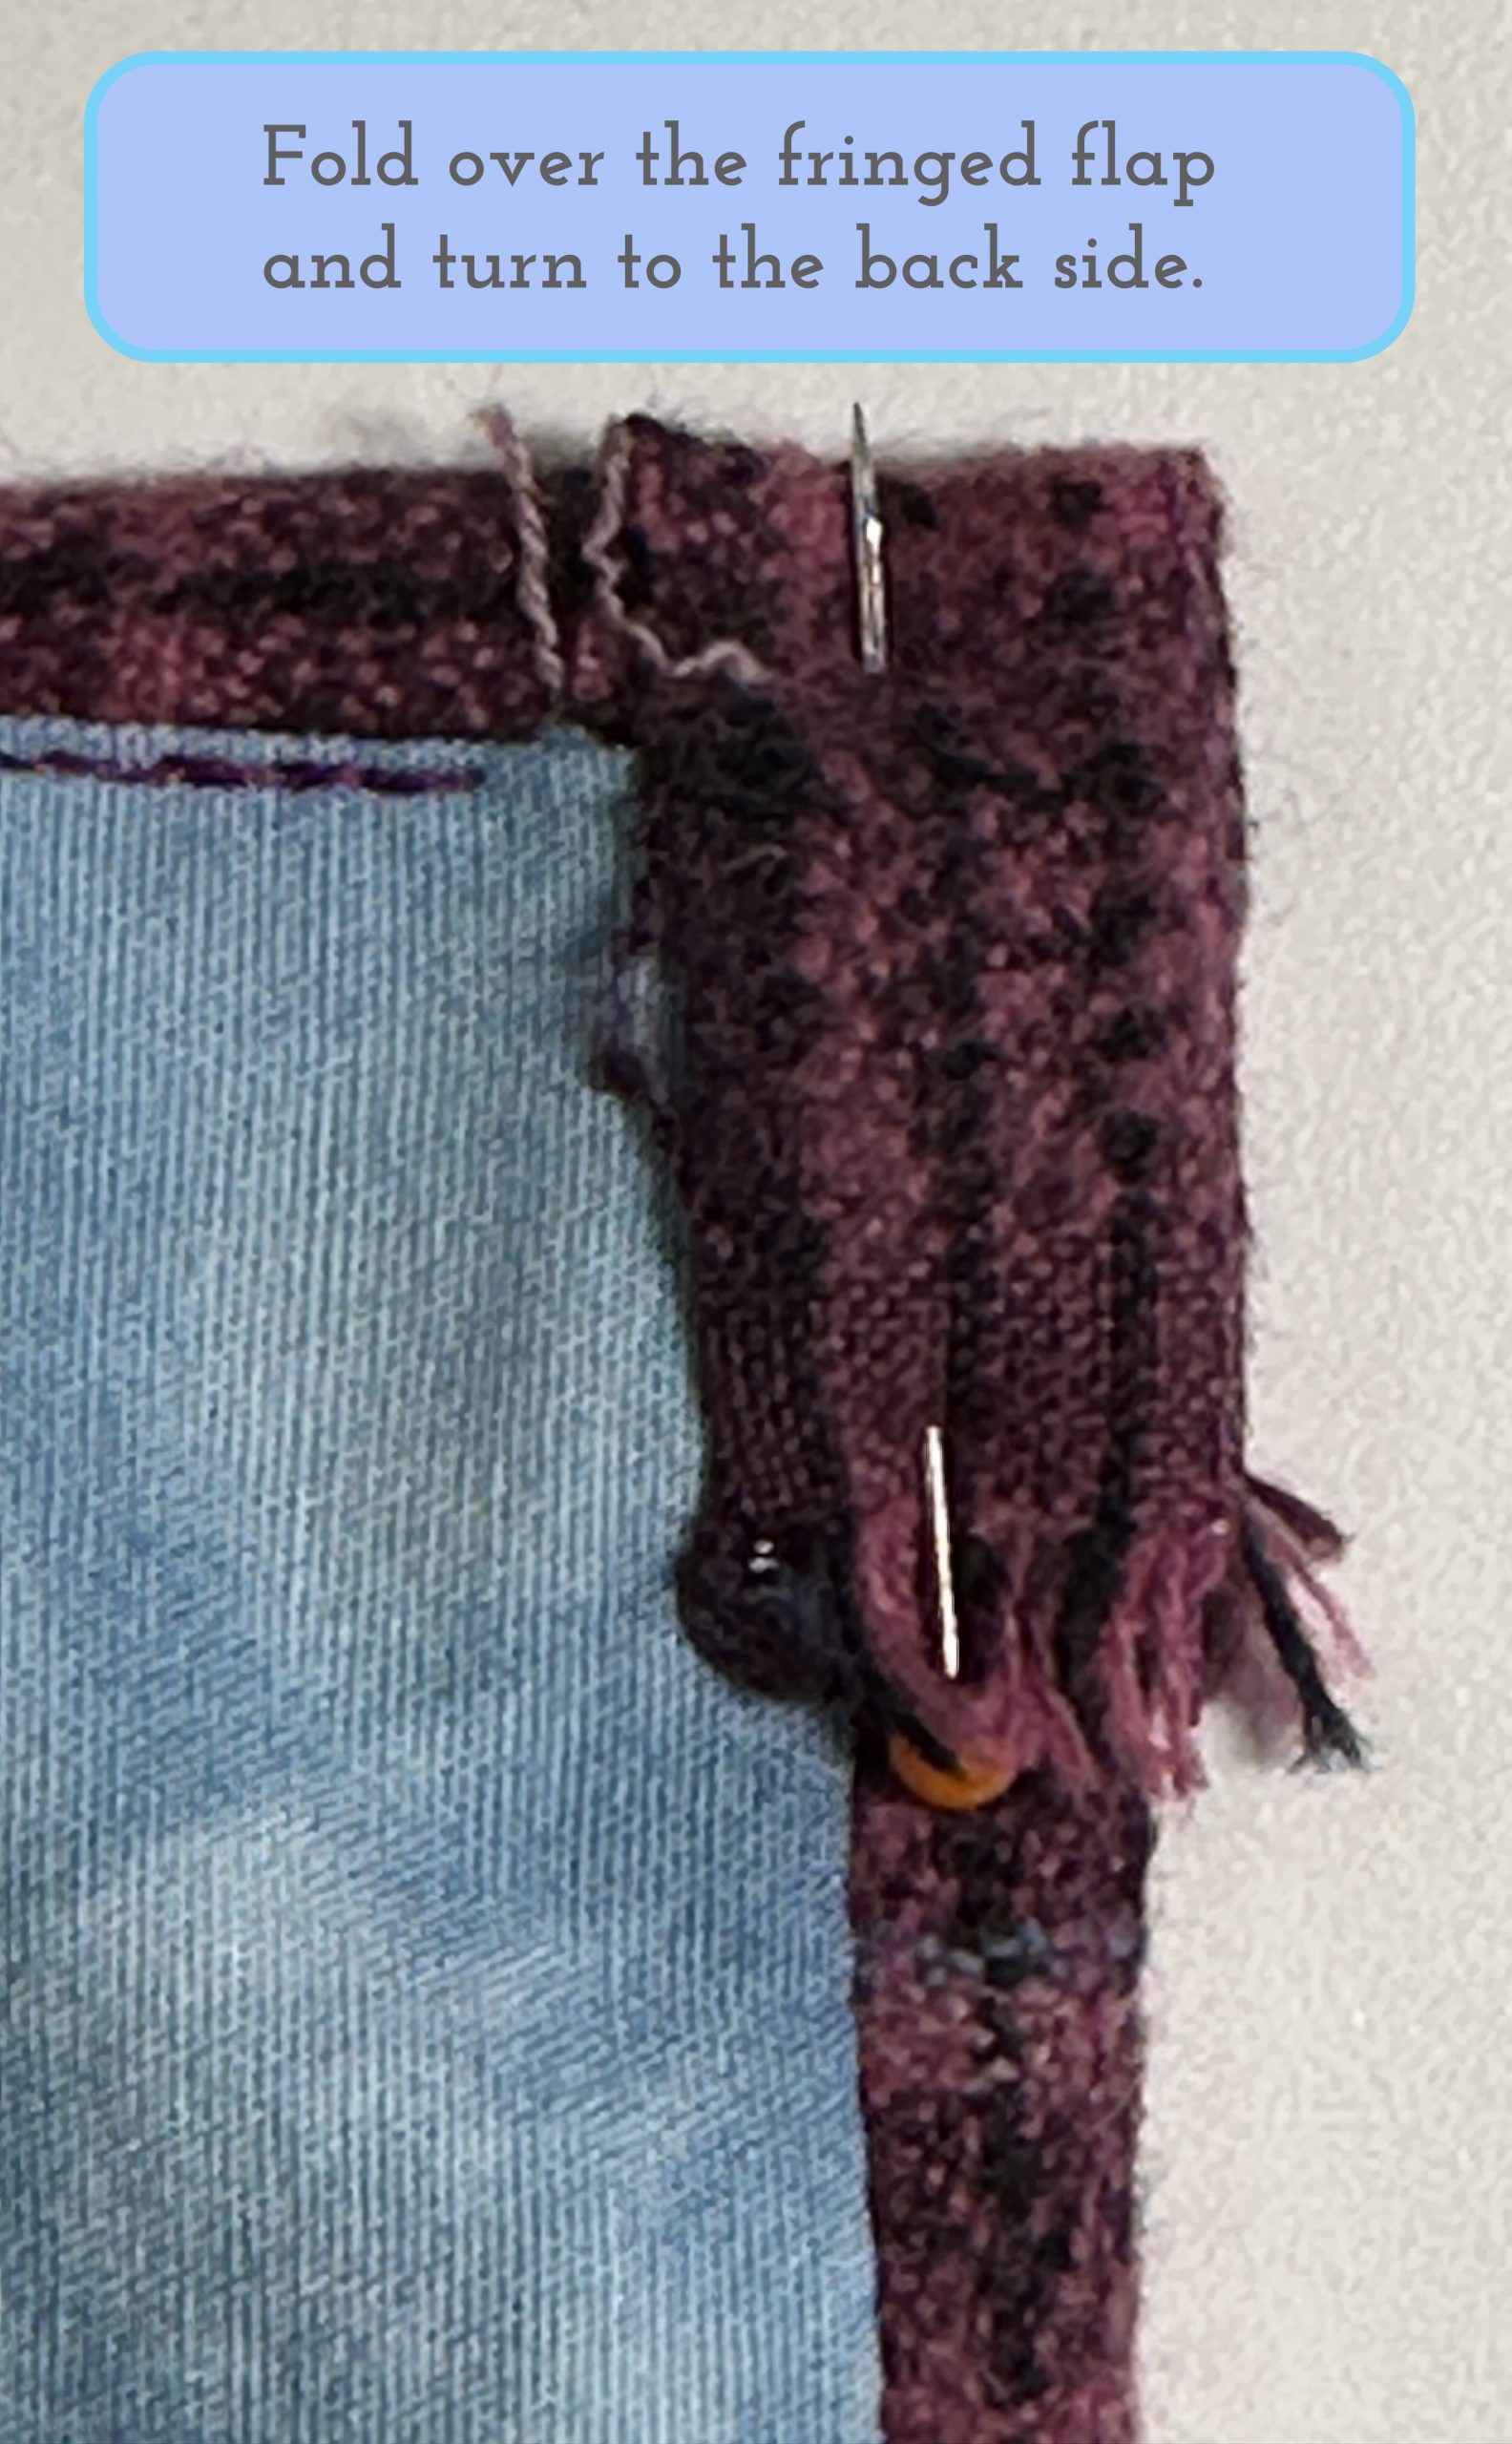
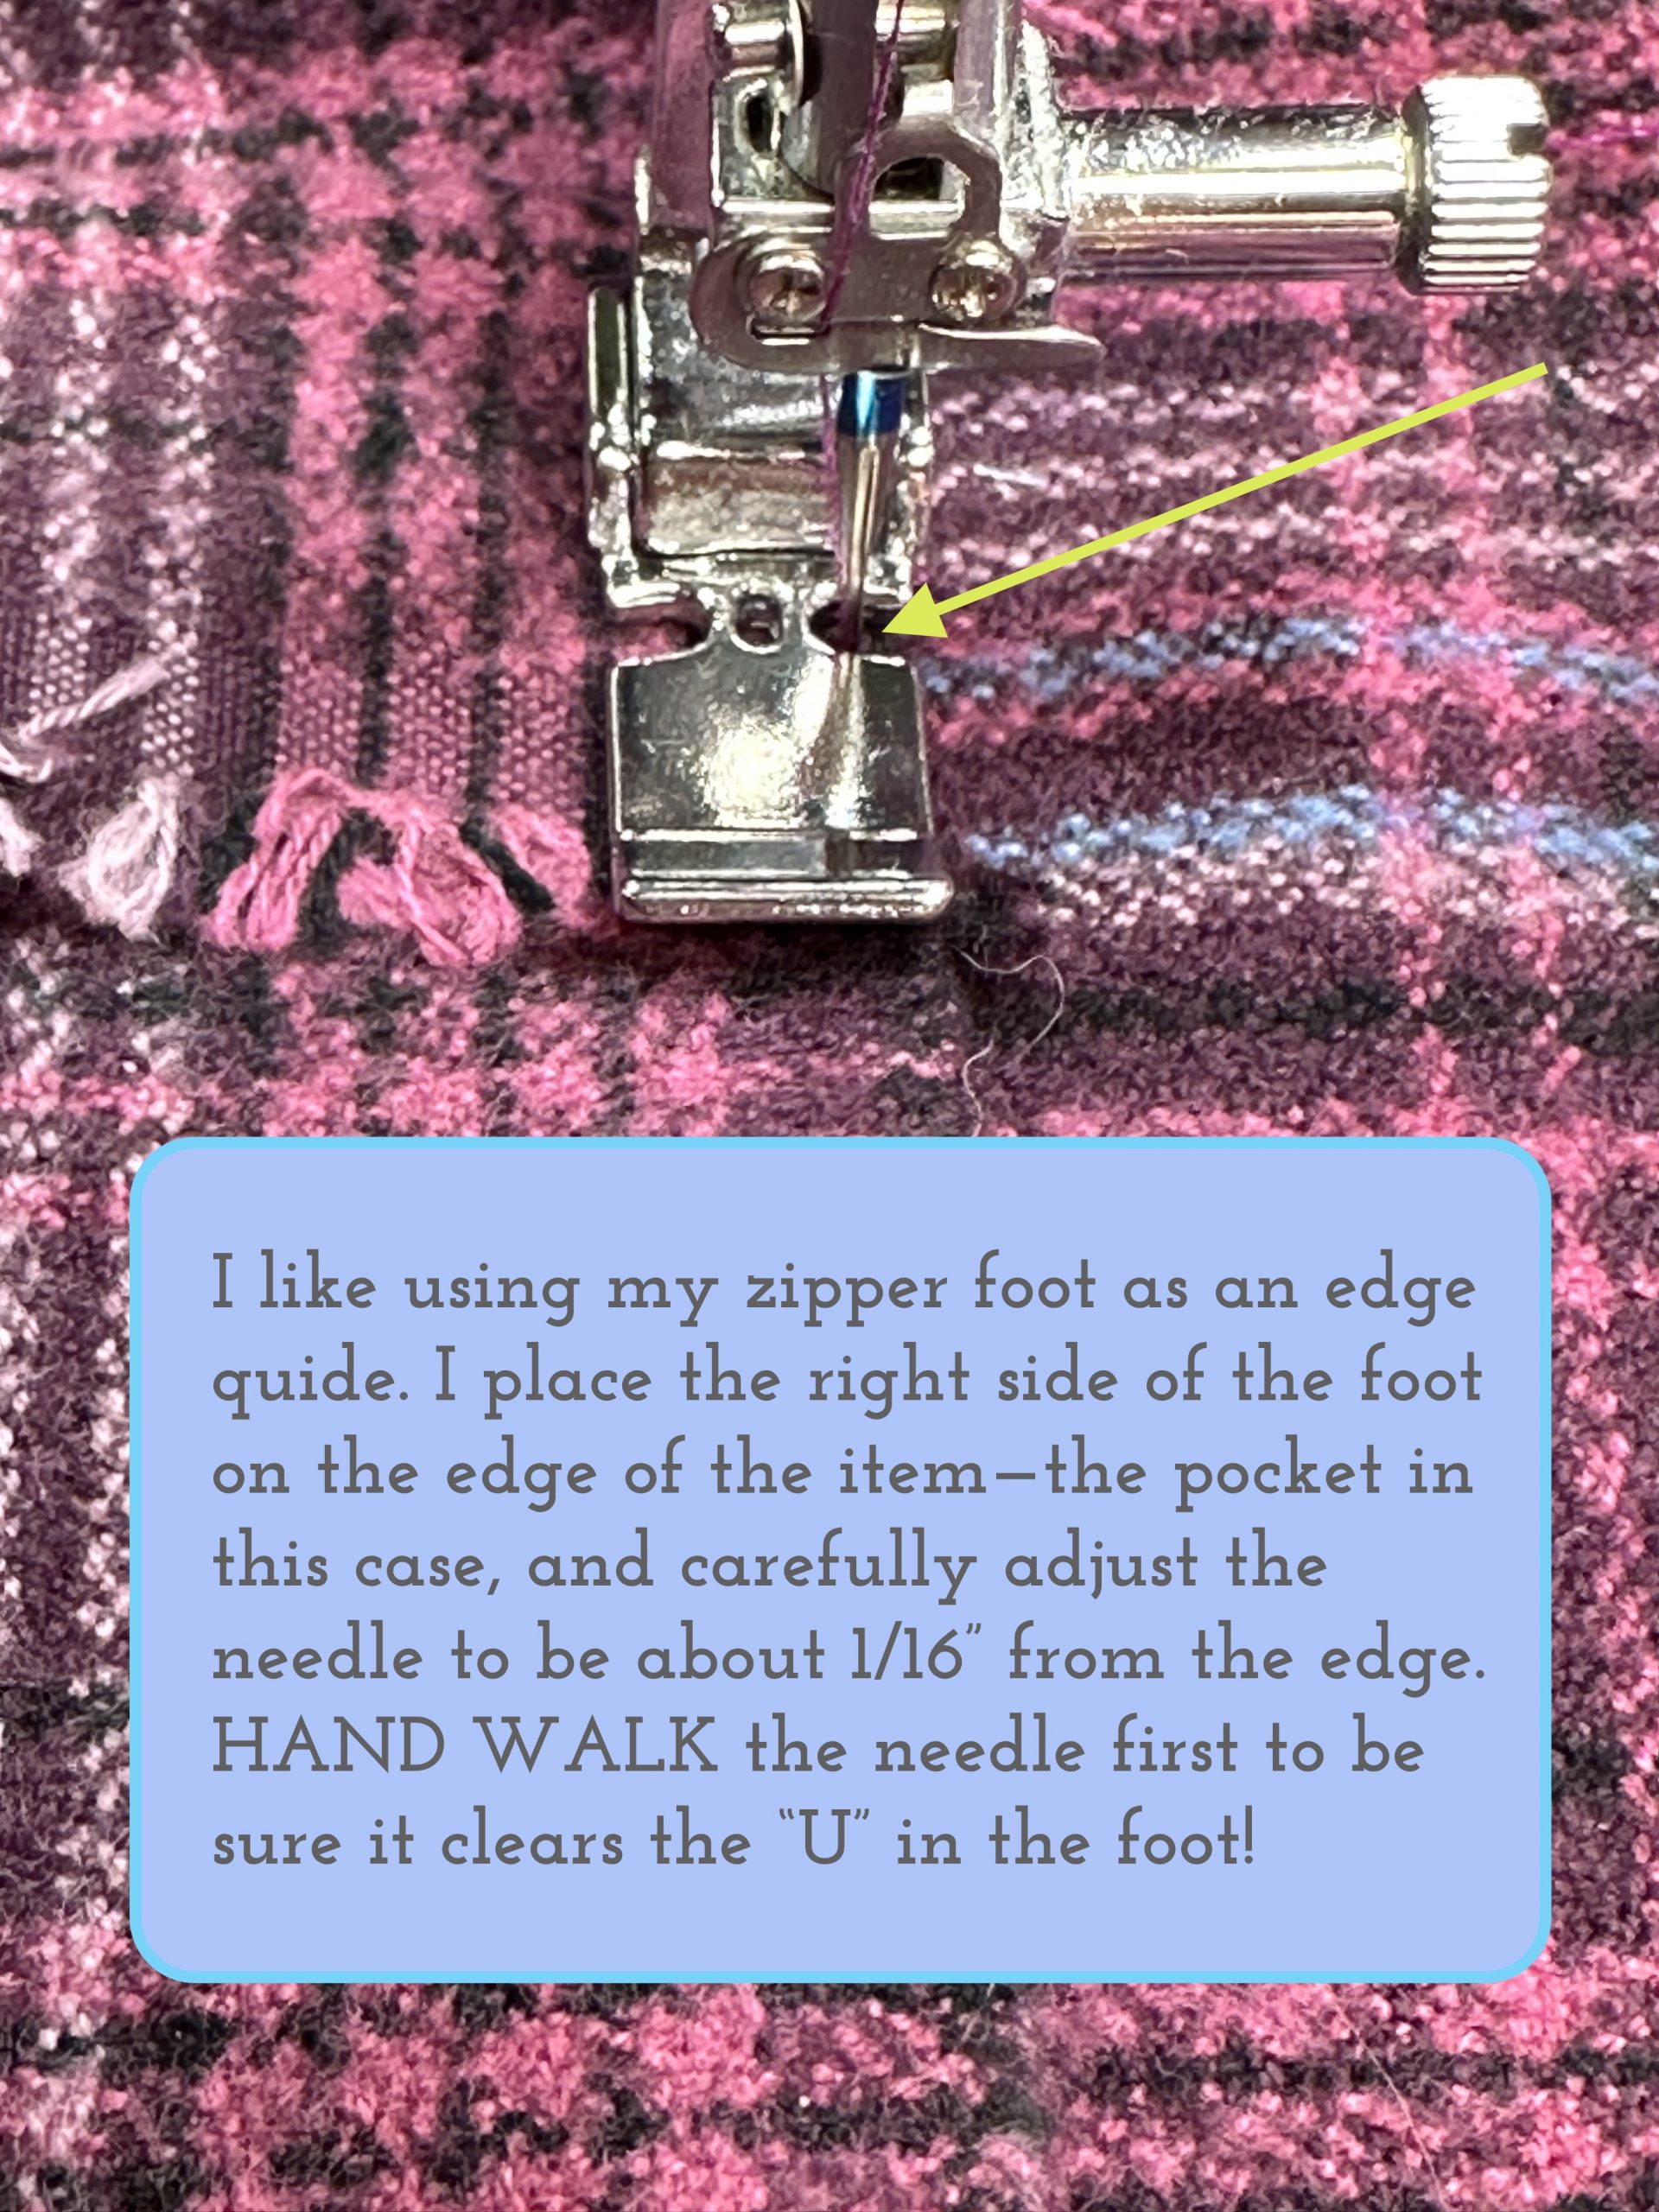
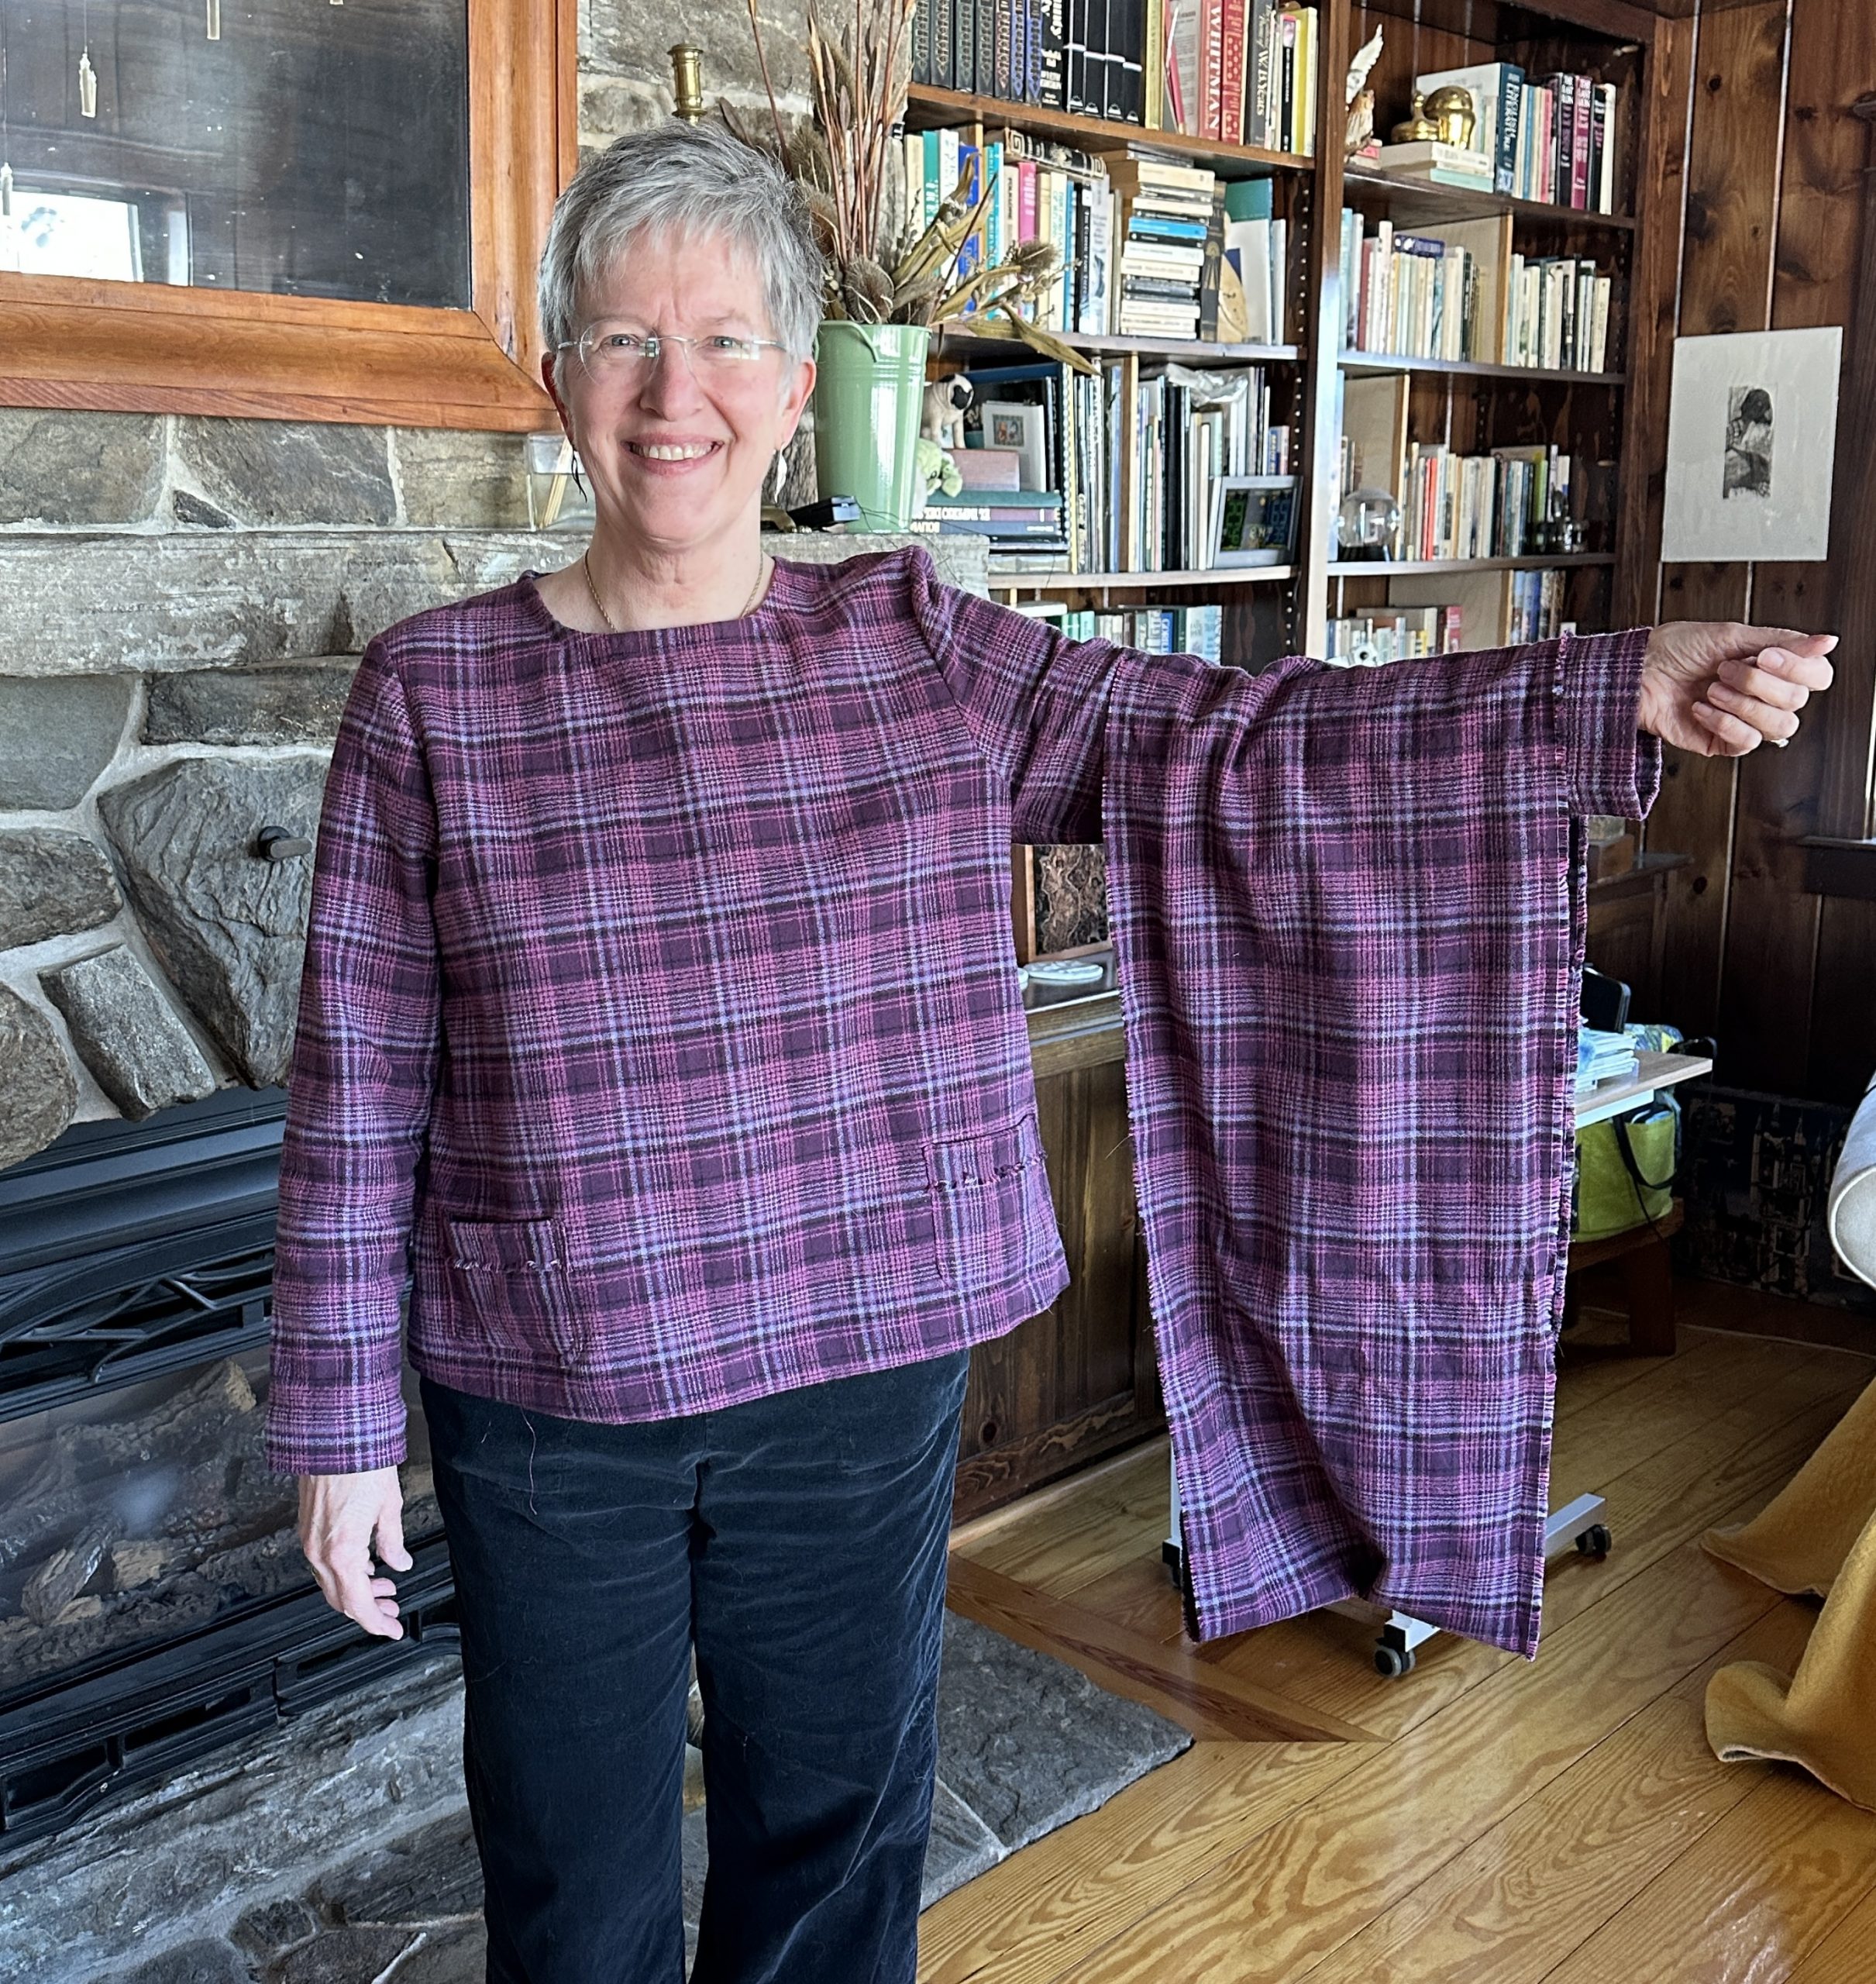
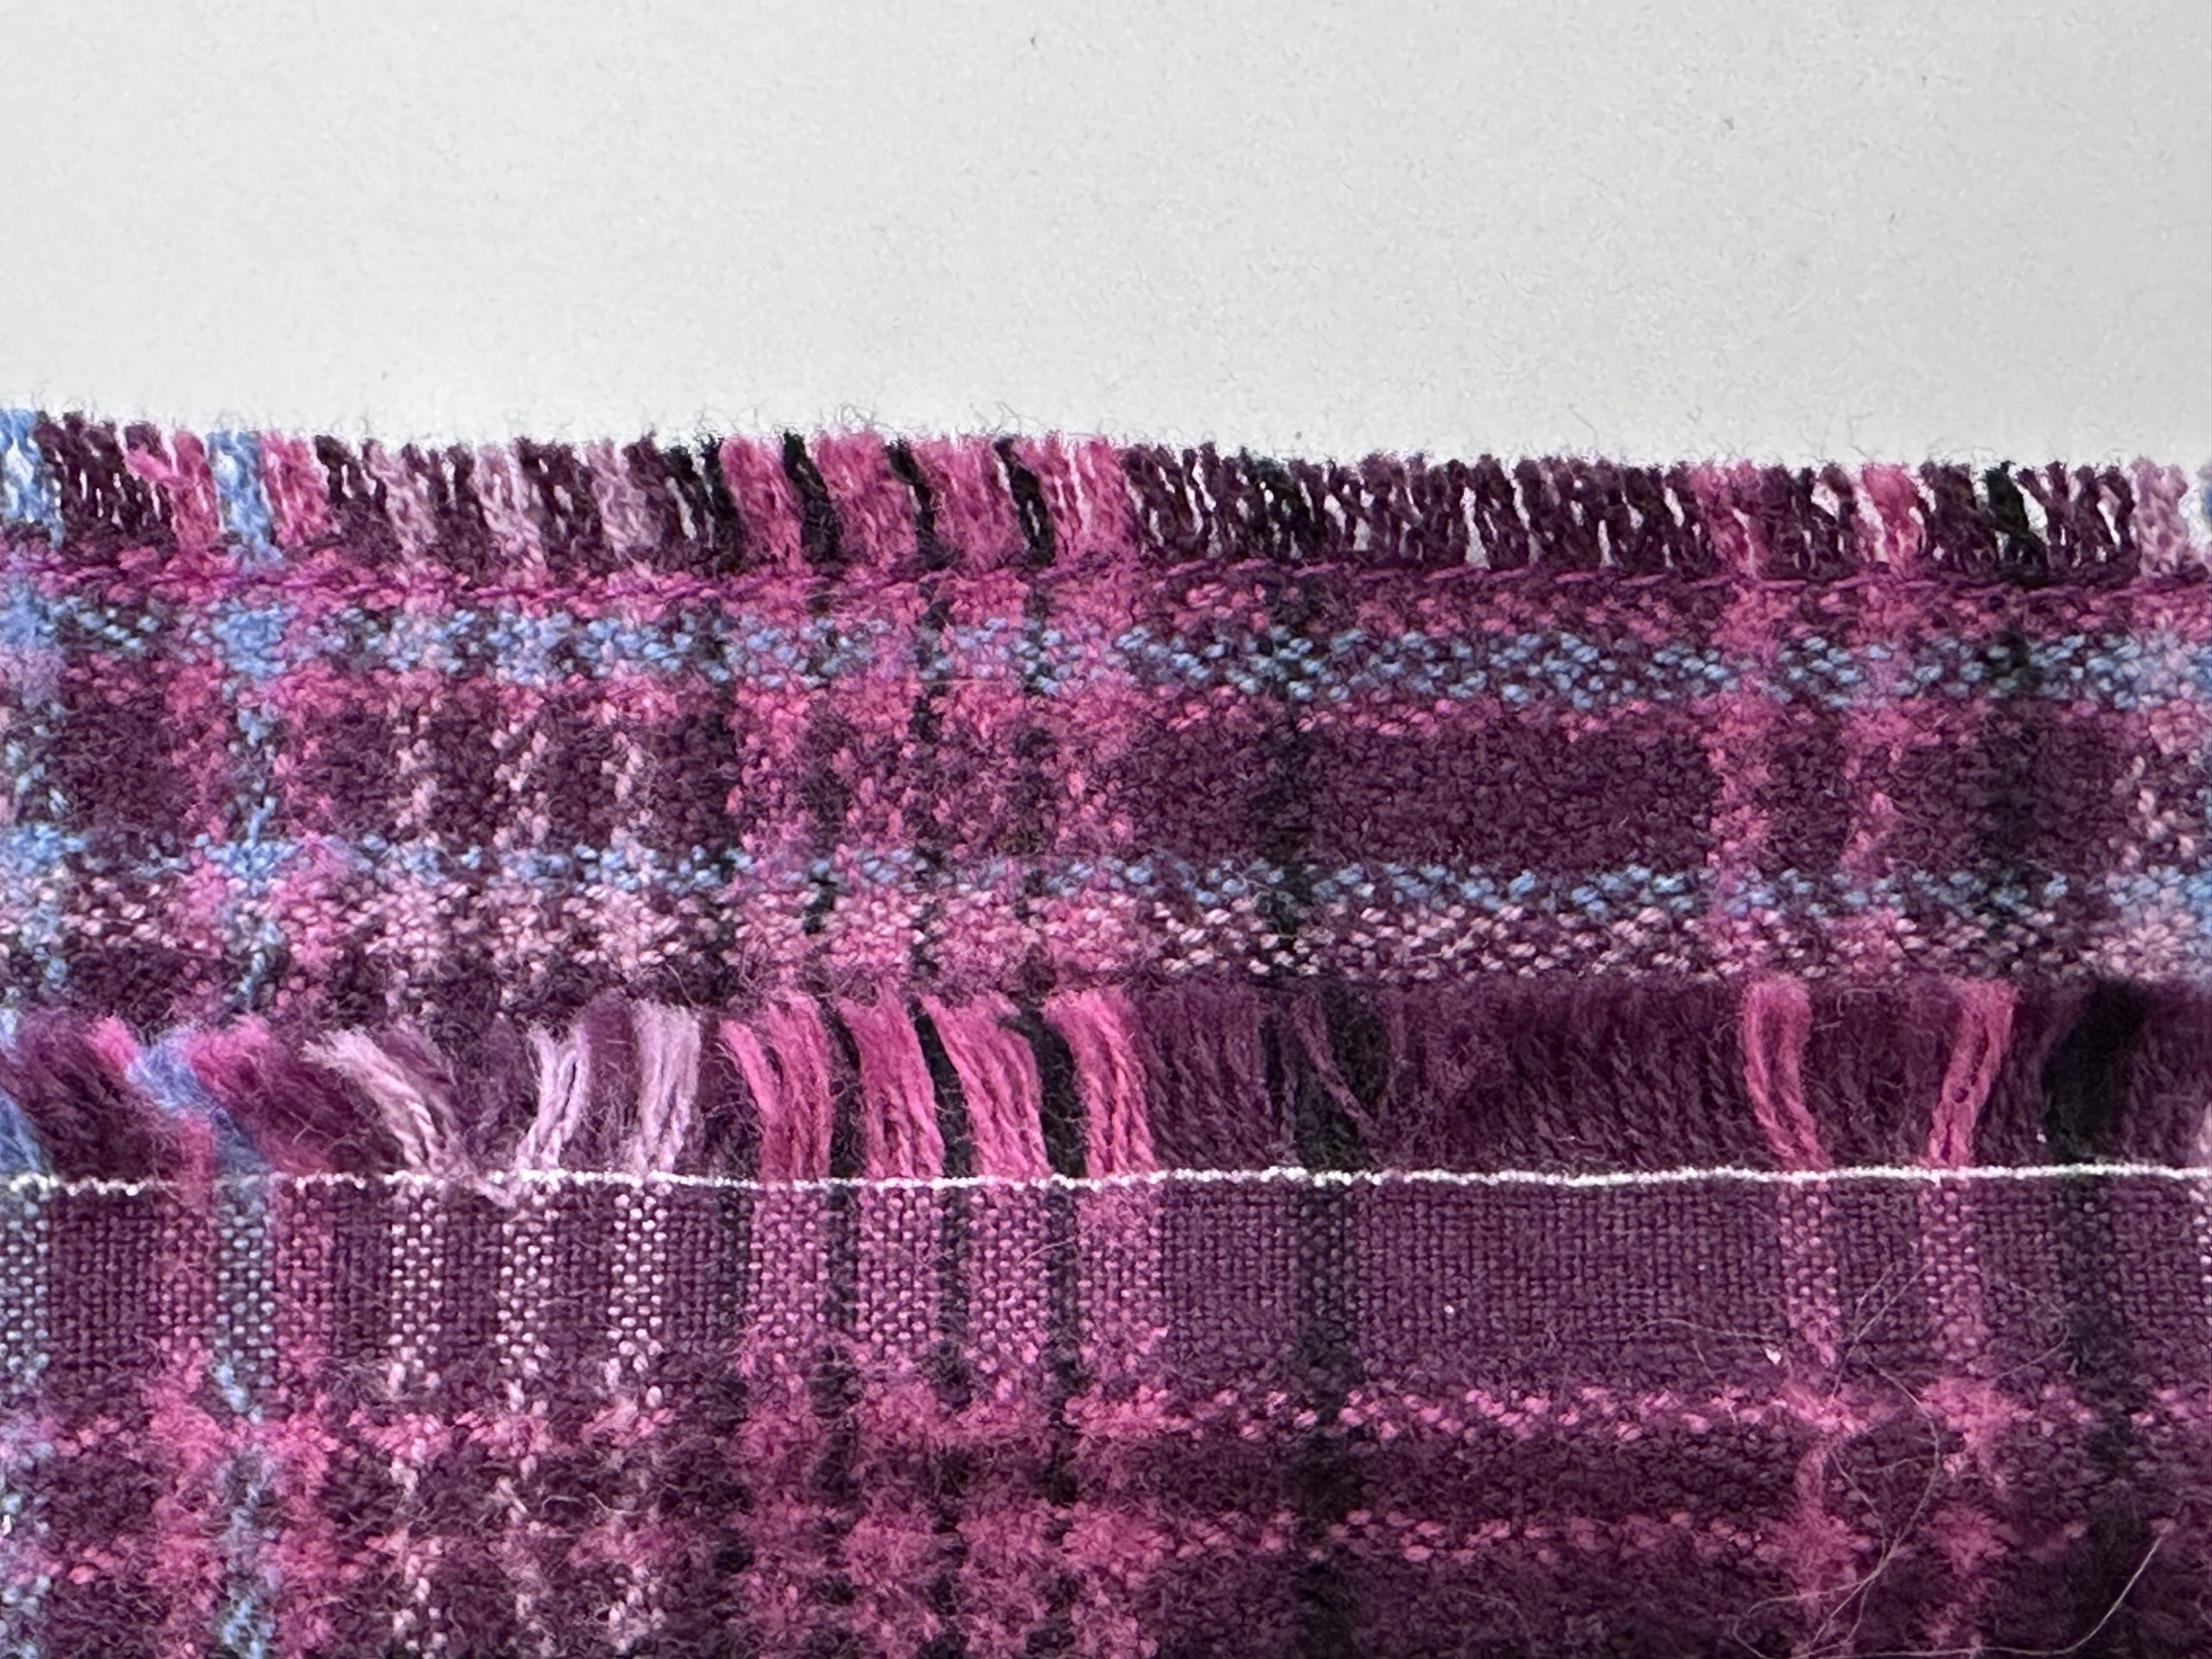
Hems! We are nearing the finish! For the side seams, I opted to use a flat felled seam on the body, but on the arms instead I sewed the seam, press toward the back and use the overcast edge from Lesson 4. That means that when you fold the hem up, turn under the raw edge, you would have 3 thicknesses (outside plus two seams) times THREE all stacked up in a big wad. Ick! So you can, carefully, clip the seam allowance where the hem folds up and press the seam allowance on the turned-up hem portion the other way to distribute the bulk.
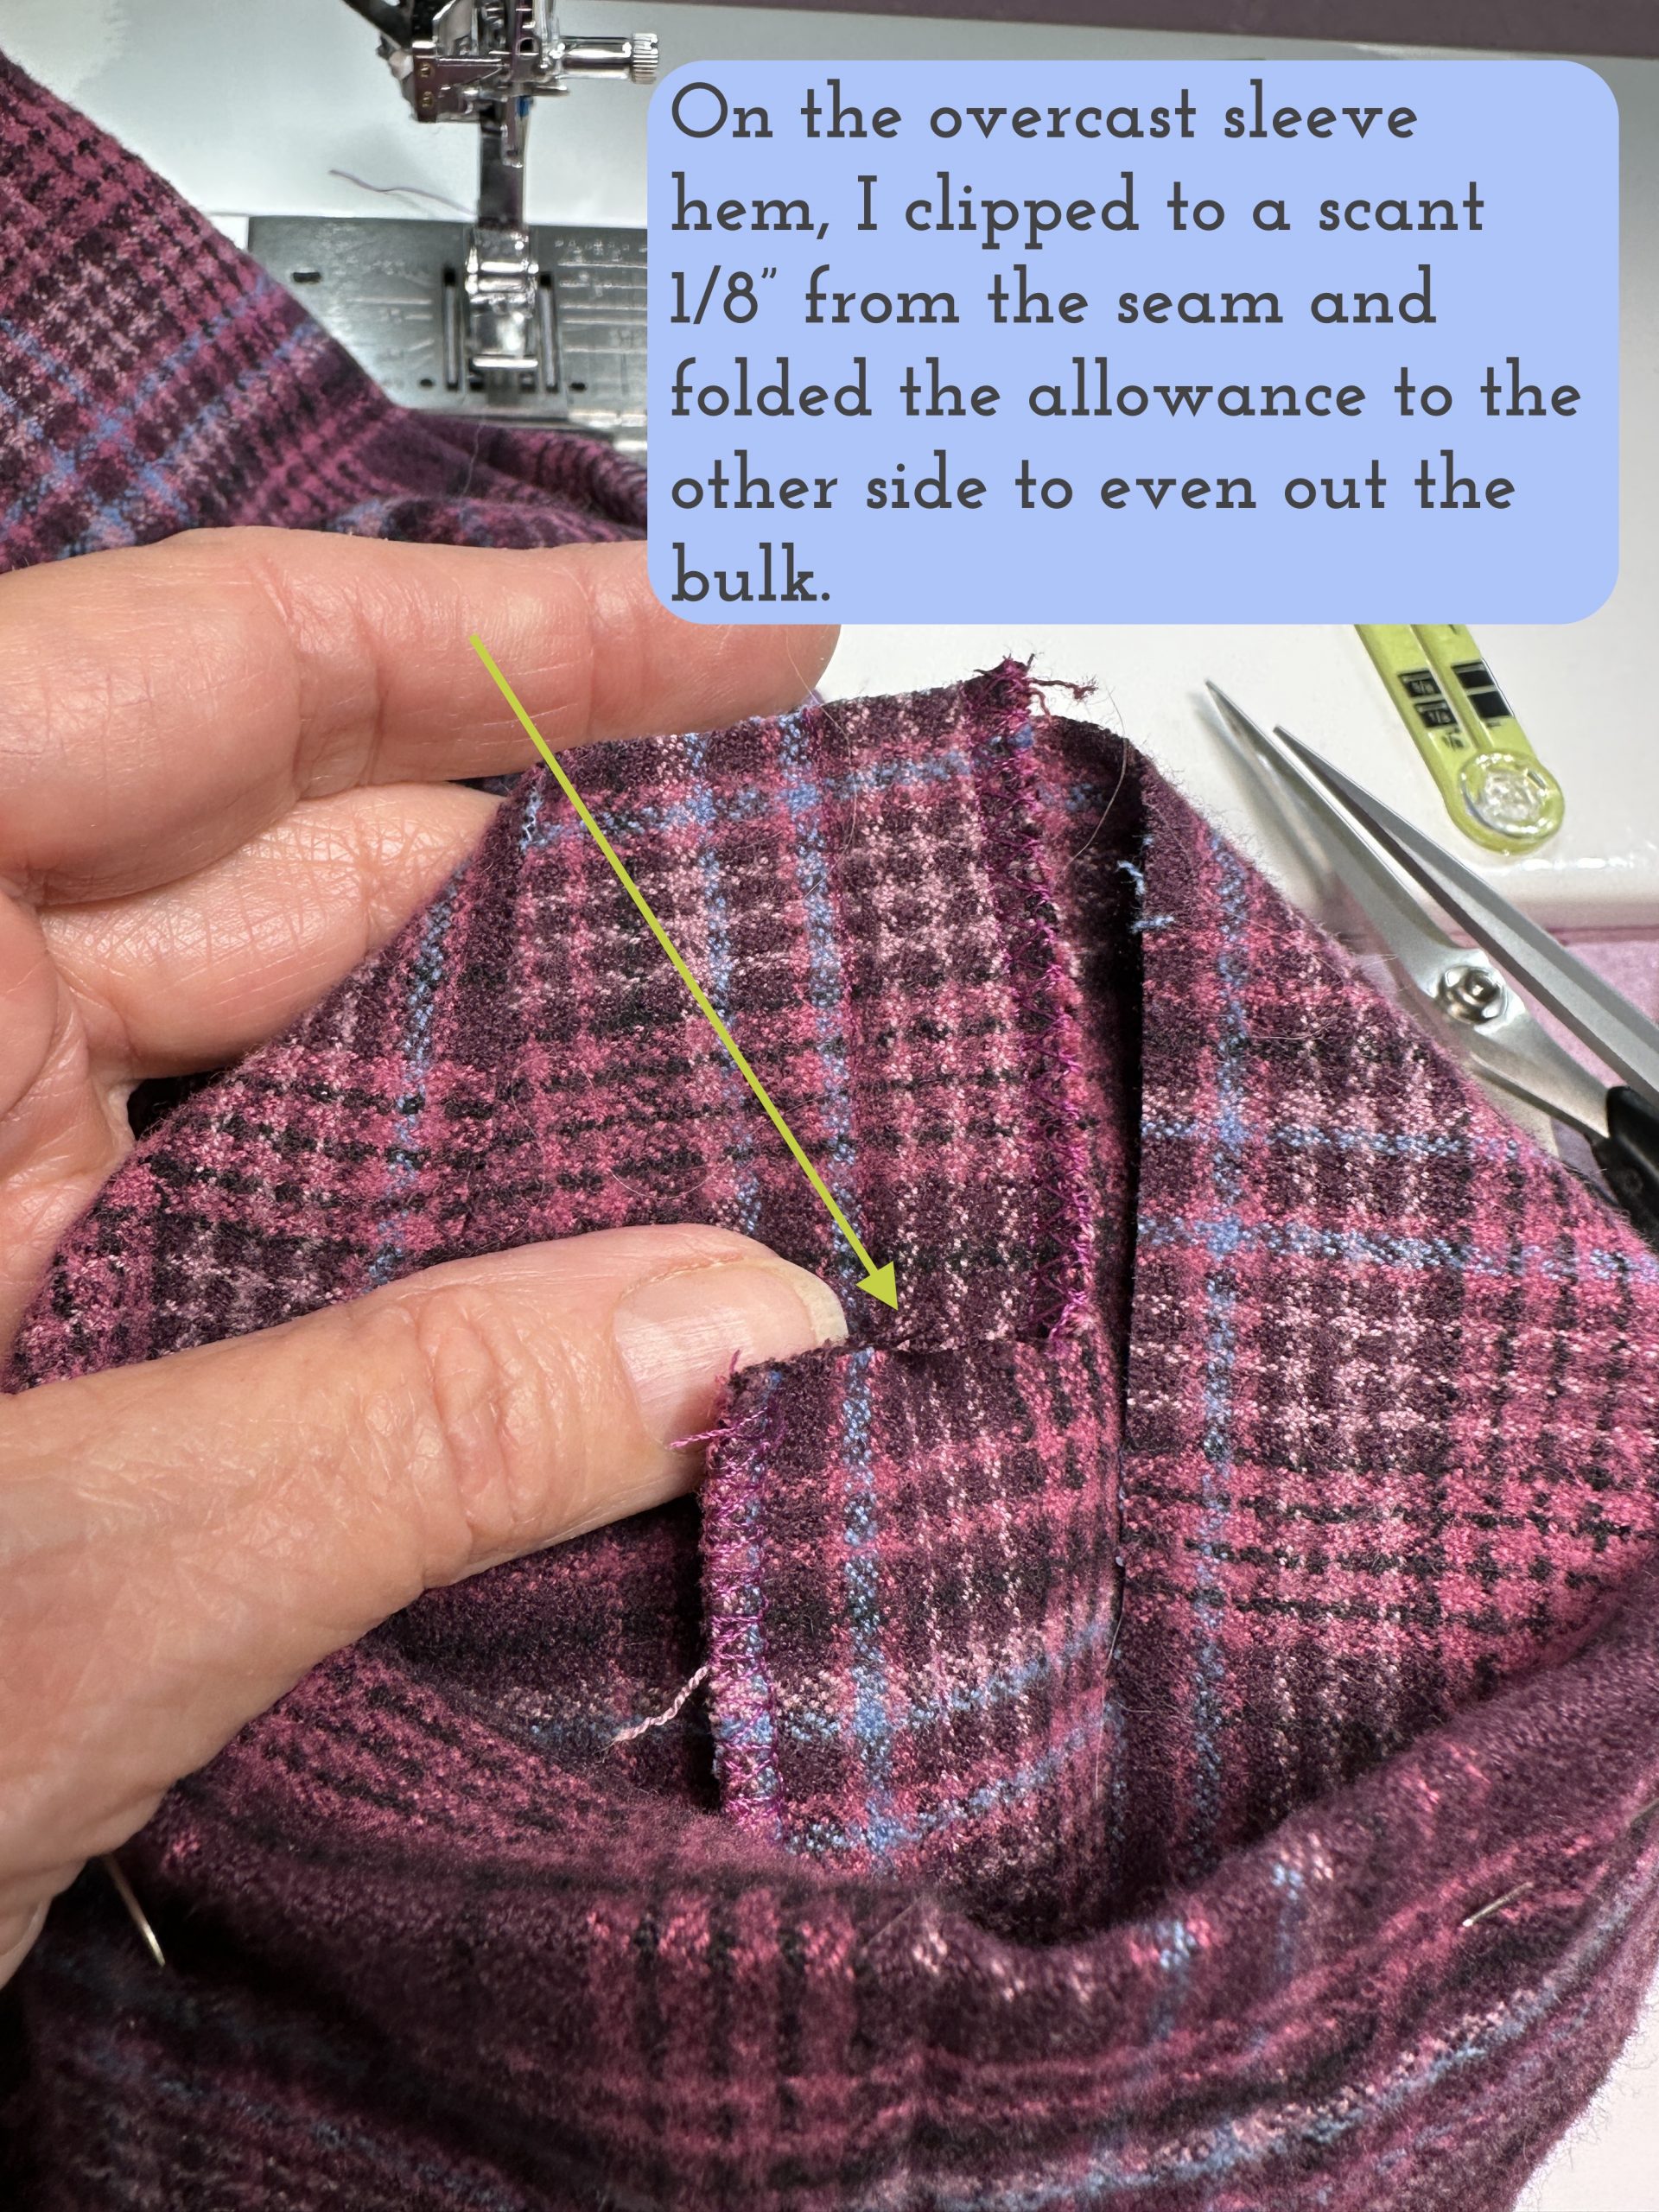
My thread matches so well it is challenging to see, but on the bottom the seam allowance is to the left of the seam and above the bottom edge/fold, the seam allowance is to the right of the seam. The arrow shows where I clipped the seam. You will also need to finish the raw edge in some way–overcast, Hong Kong finish, hem tape, of just press under 1/4″ (for the quilters, think “like an appliqué”) as I did here.
If you have a free-arm sewing machine, you can choose to remove the extension table and run the sleeve or pants leg around the free-arm. With a narrow sleeve or a child’s garment, though, that is tricky if not impossible. The old-school way is just as easy and works on everything: you sew “inside the circle.” That means just what it says. You can turn the sleeve inside out and sew on the outside of the garment (if using a twin needle to get parallel stitching lines you’d do this) or, as I have done here, sew the hem on the inside. I chose that option so I could keep my stitching on the hem (!) and at a consistent distance from the folded hem edge.
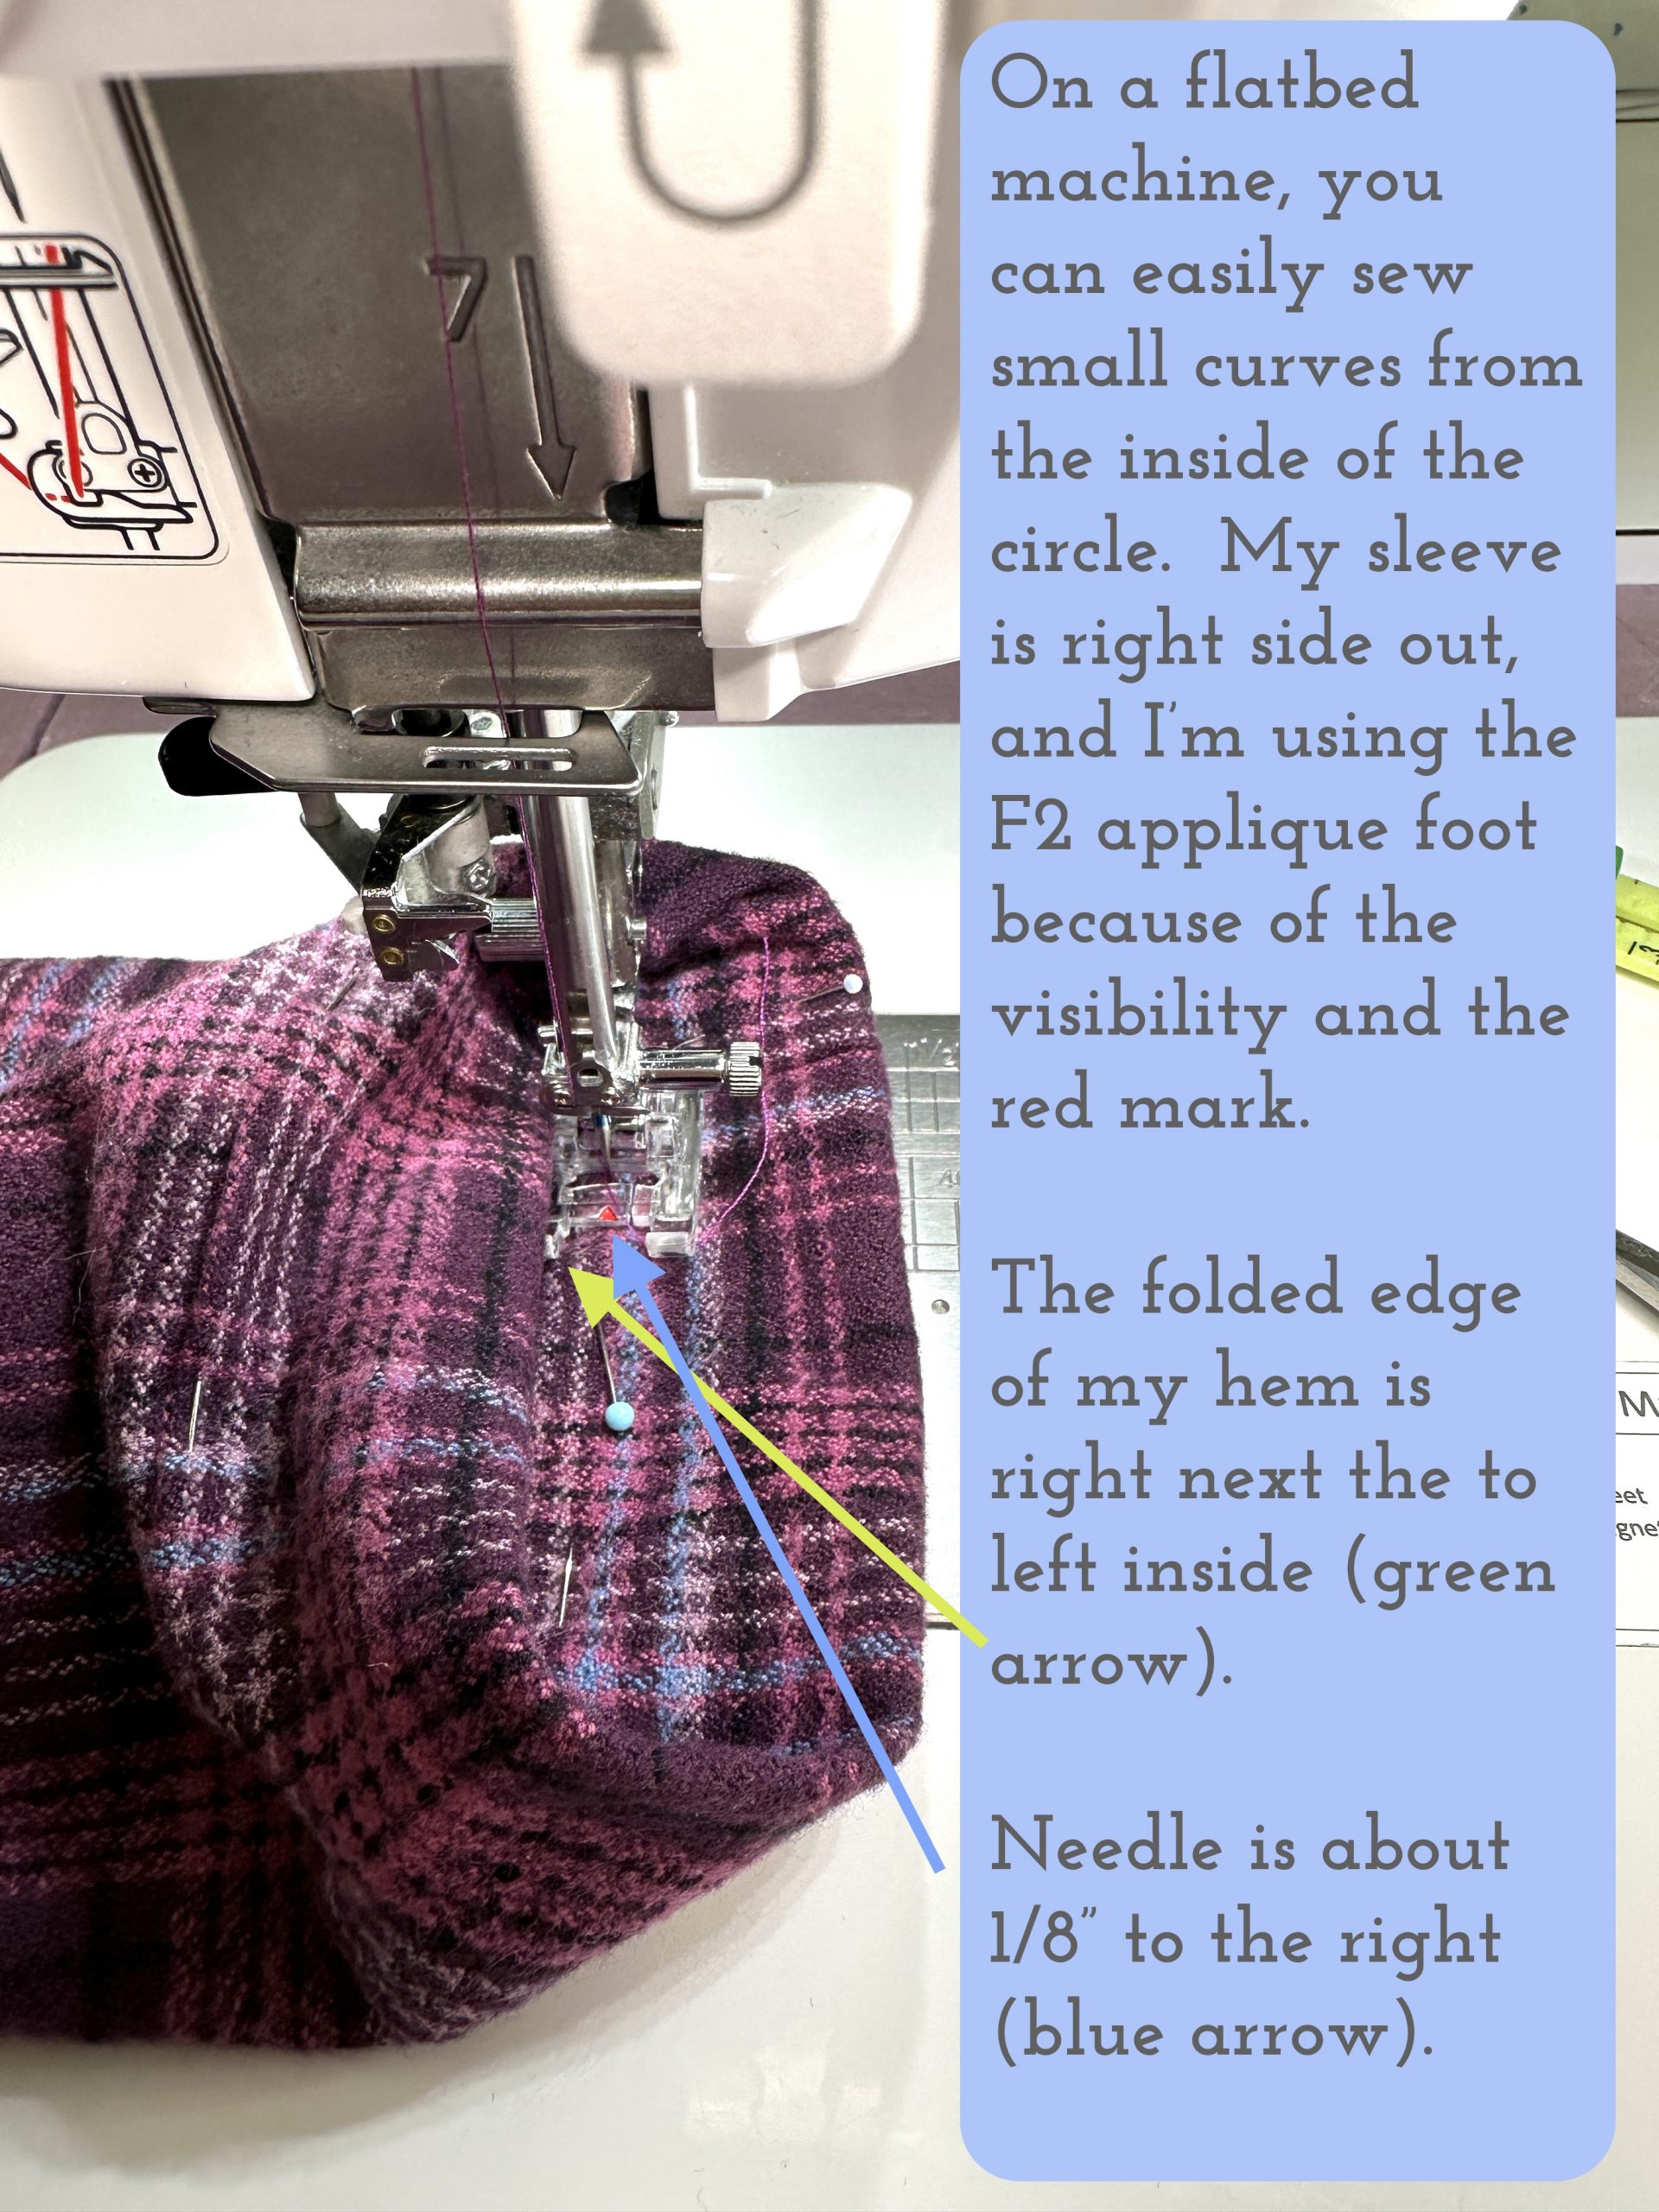
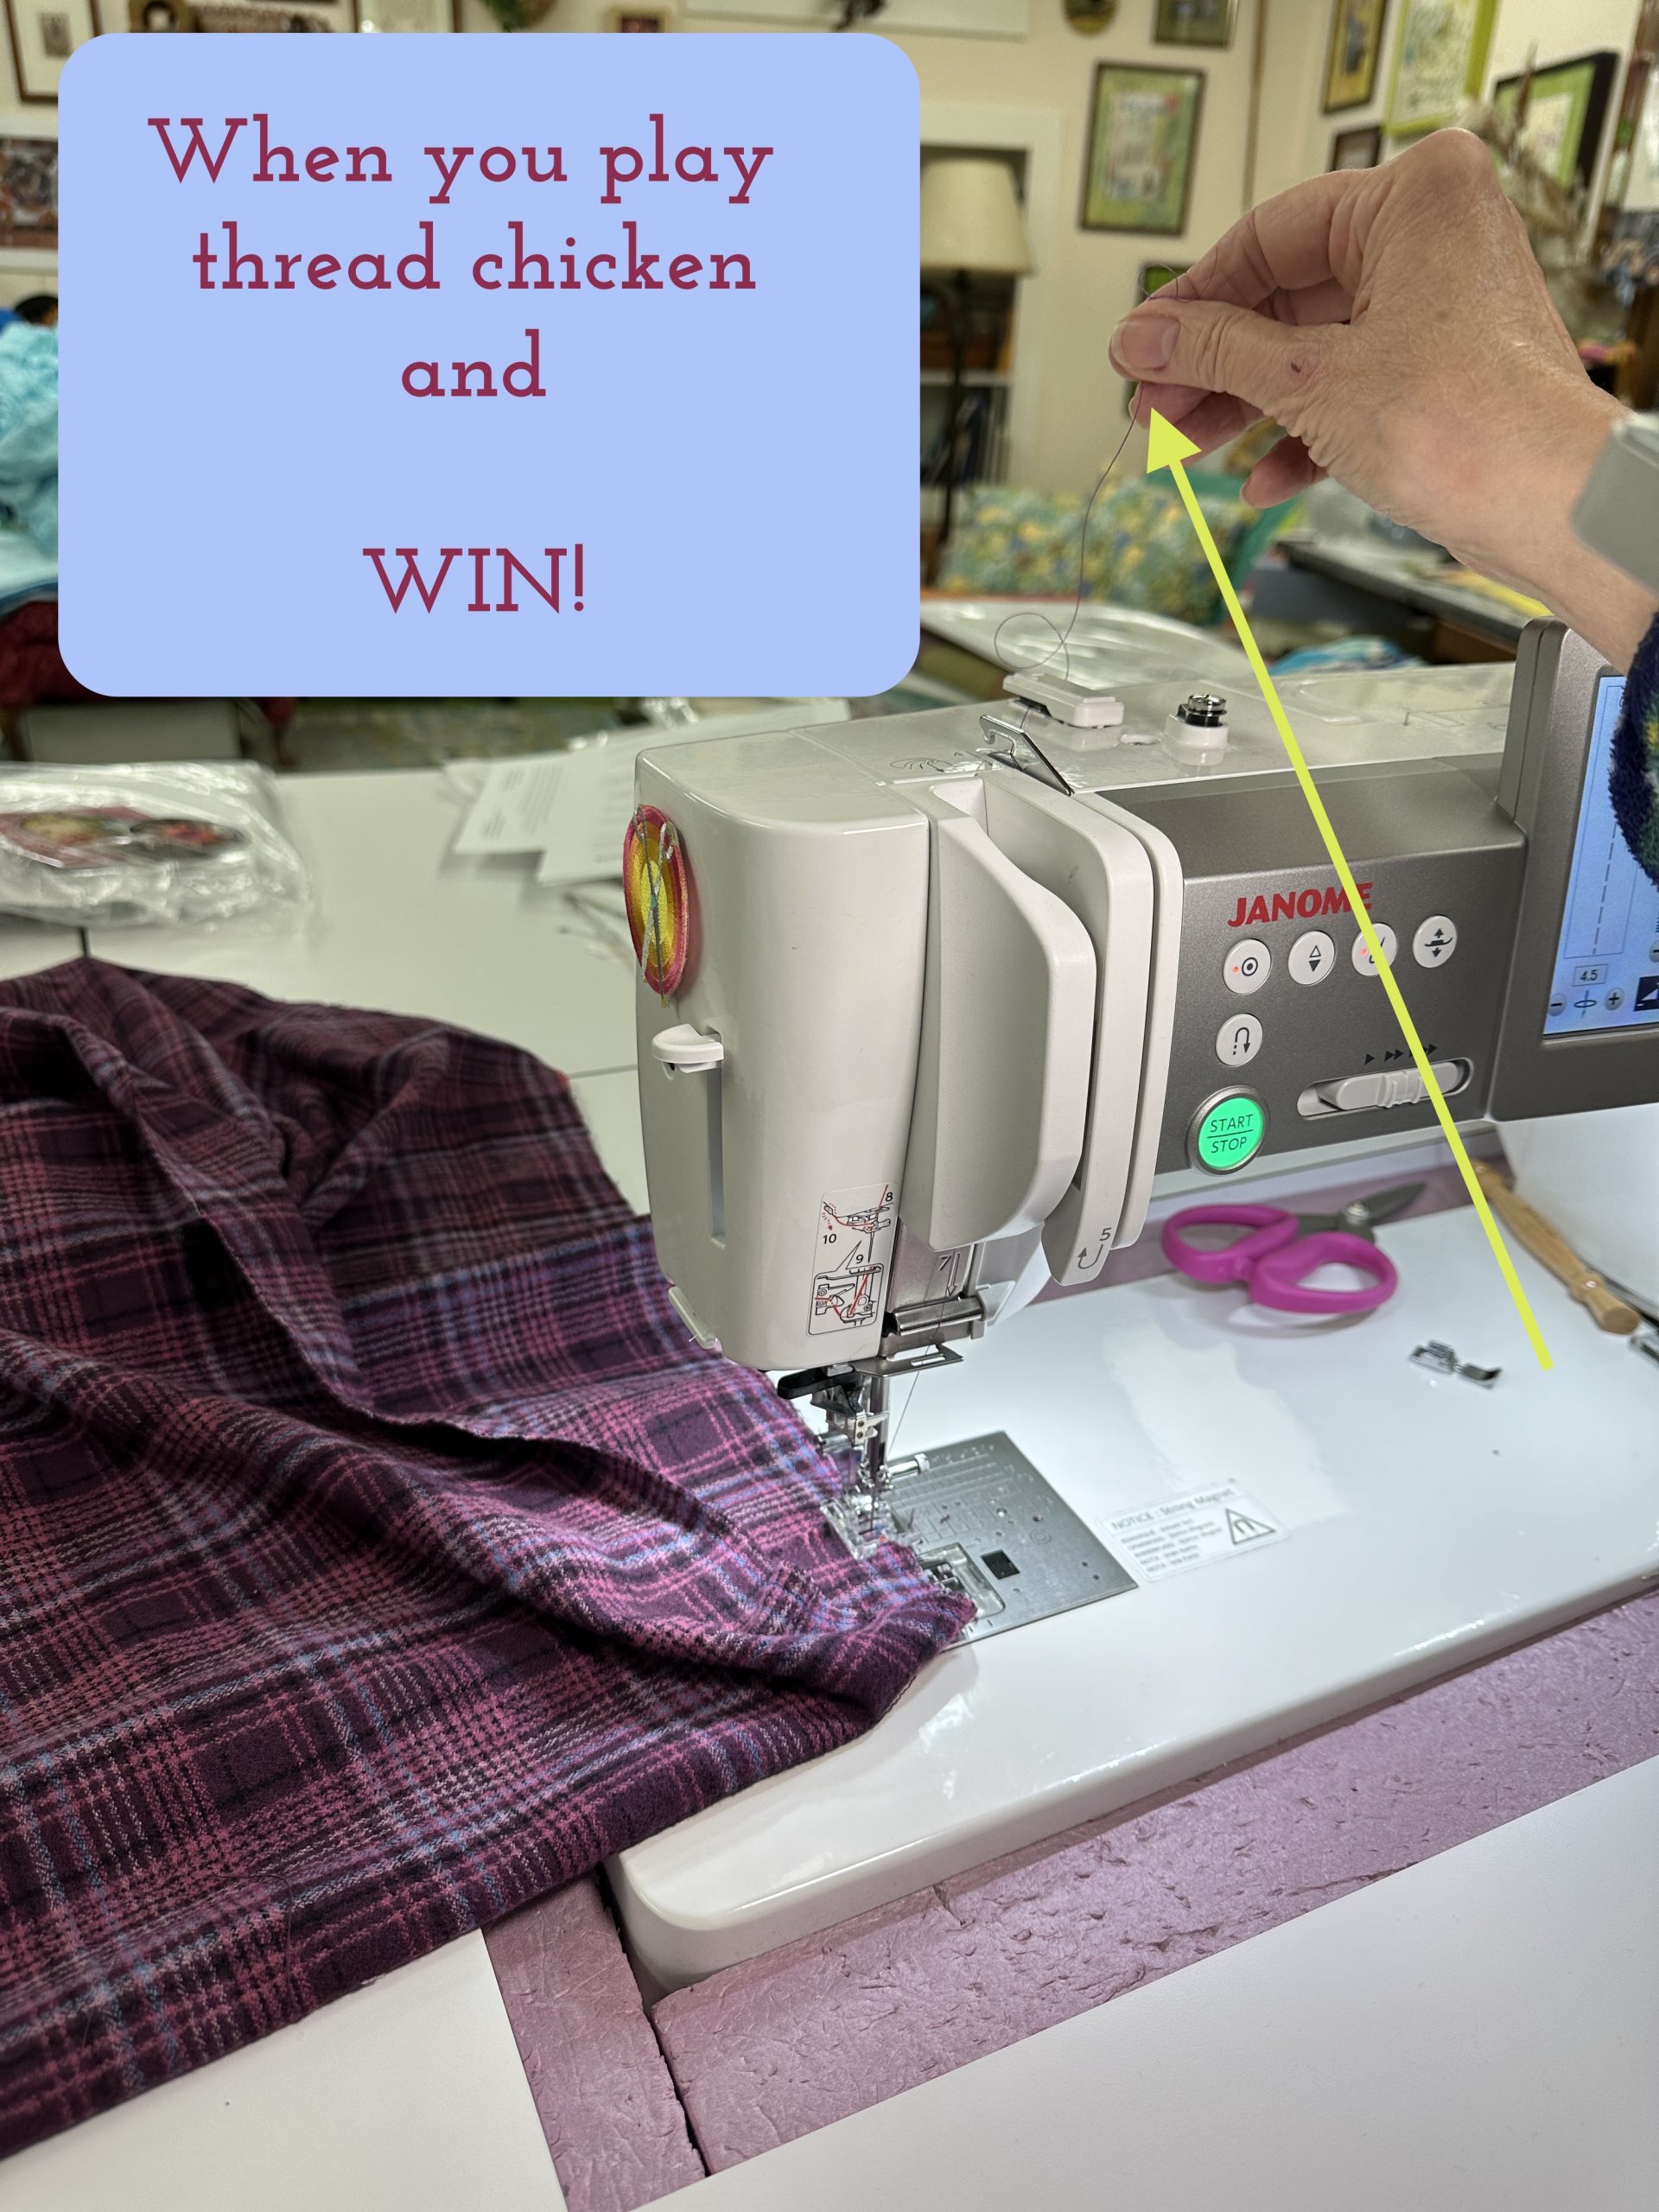
I use my various presser feet in many different ways. The F2 is designed for appliqué and satin stitch, but with the bazillion needle positions and good visibility I use it for many other things. I like to place the folded edge of the hem just to the right of the left arm of the foot, which then acts as a seam guide. I’ll position the needle so it drops into the hem about 1/8″ to the right. Then just sew all the way around, overlapping by about 4 stitches. You can knot and bury the threads or just trim the tails and live dangerously LOL!
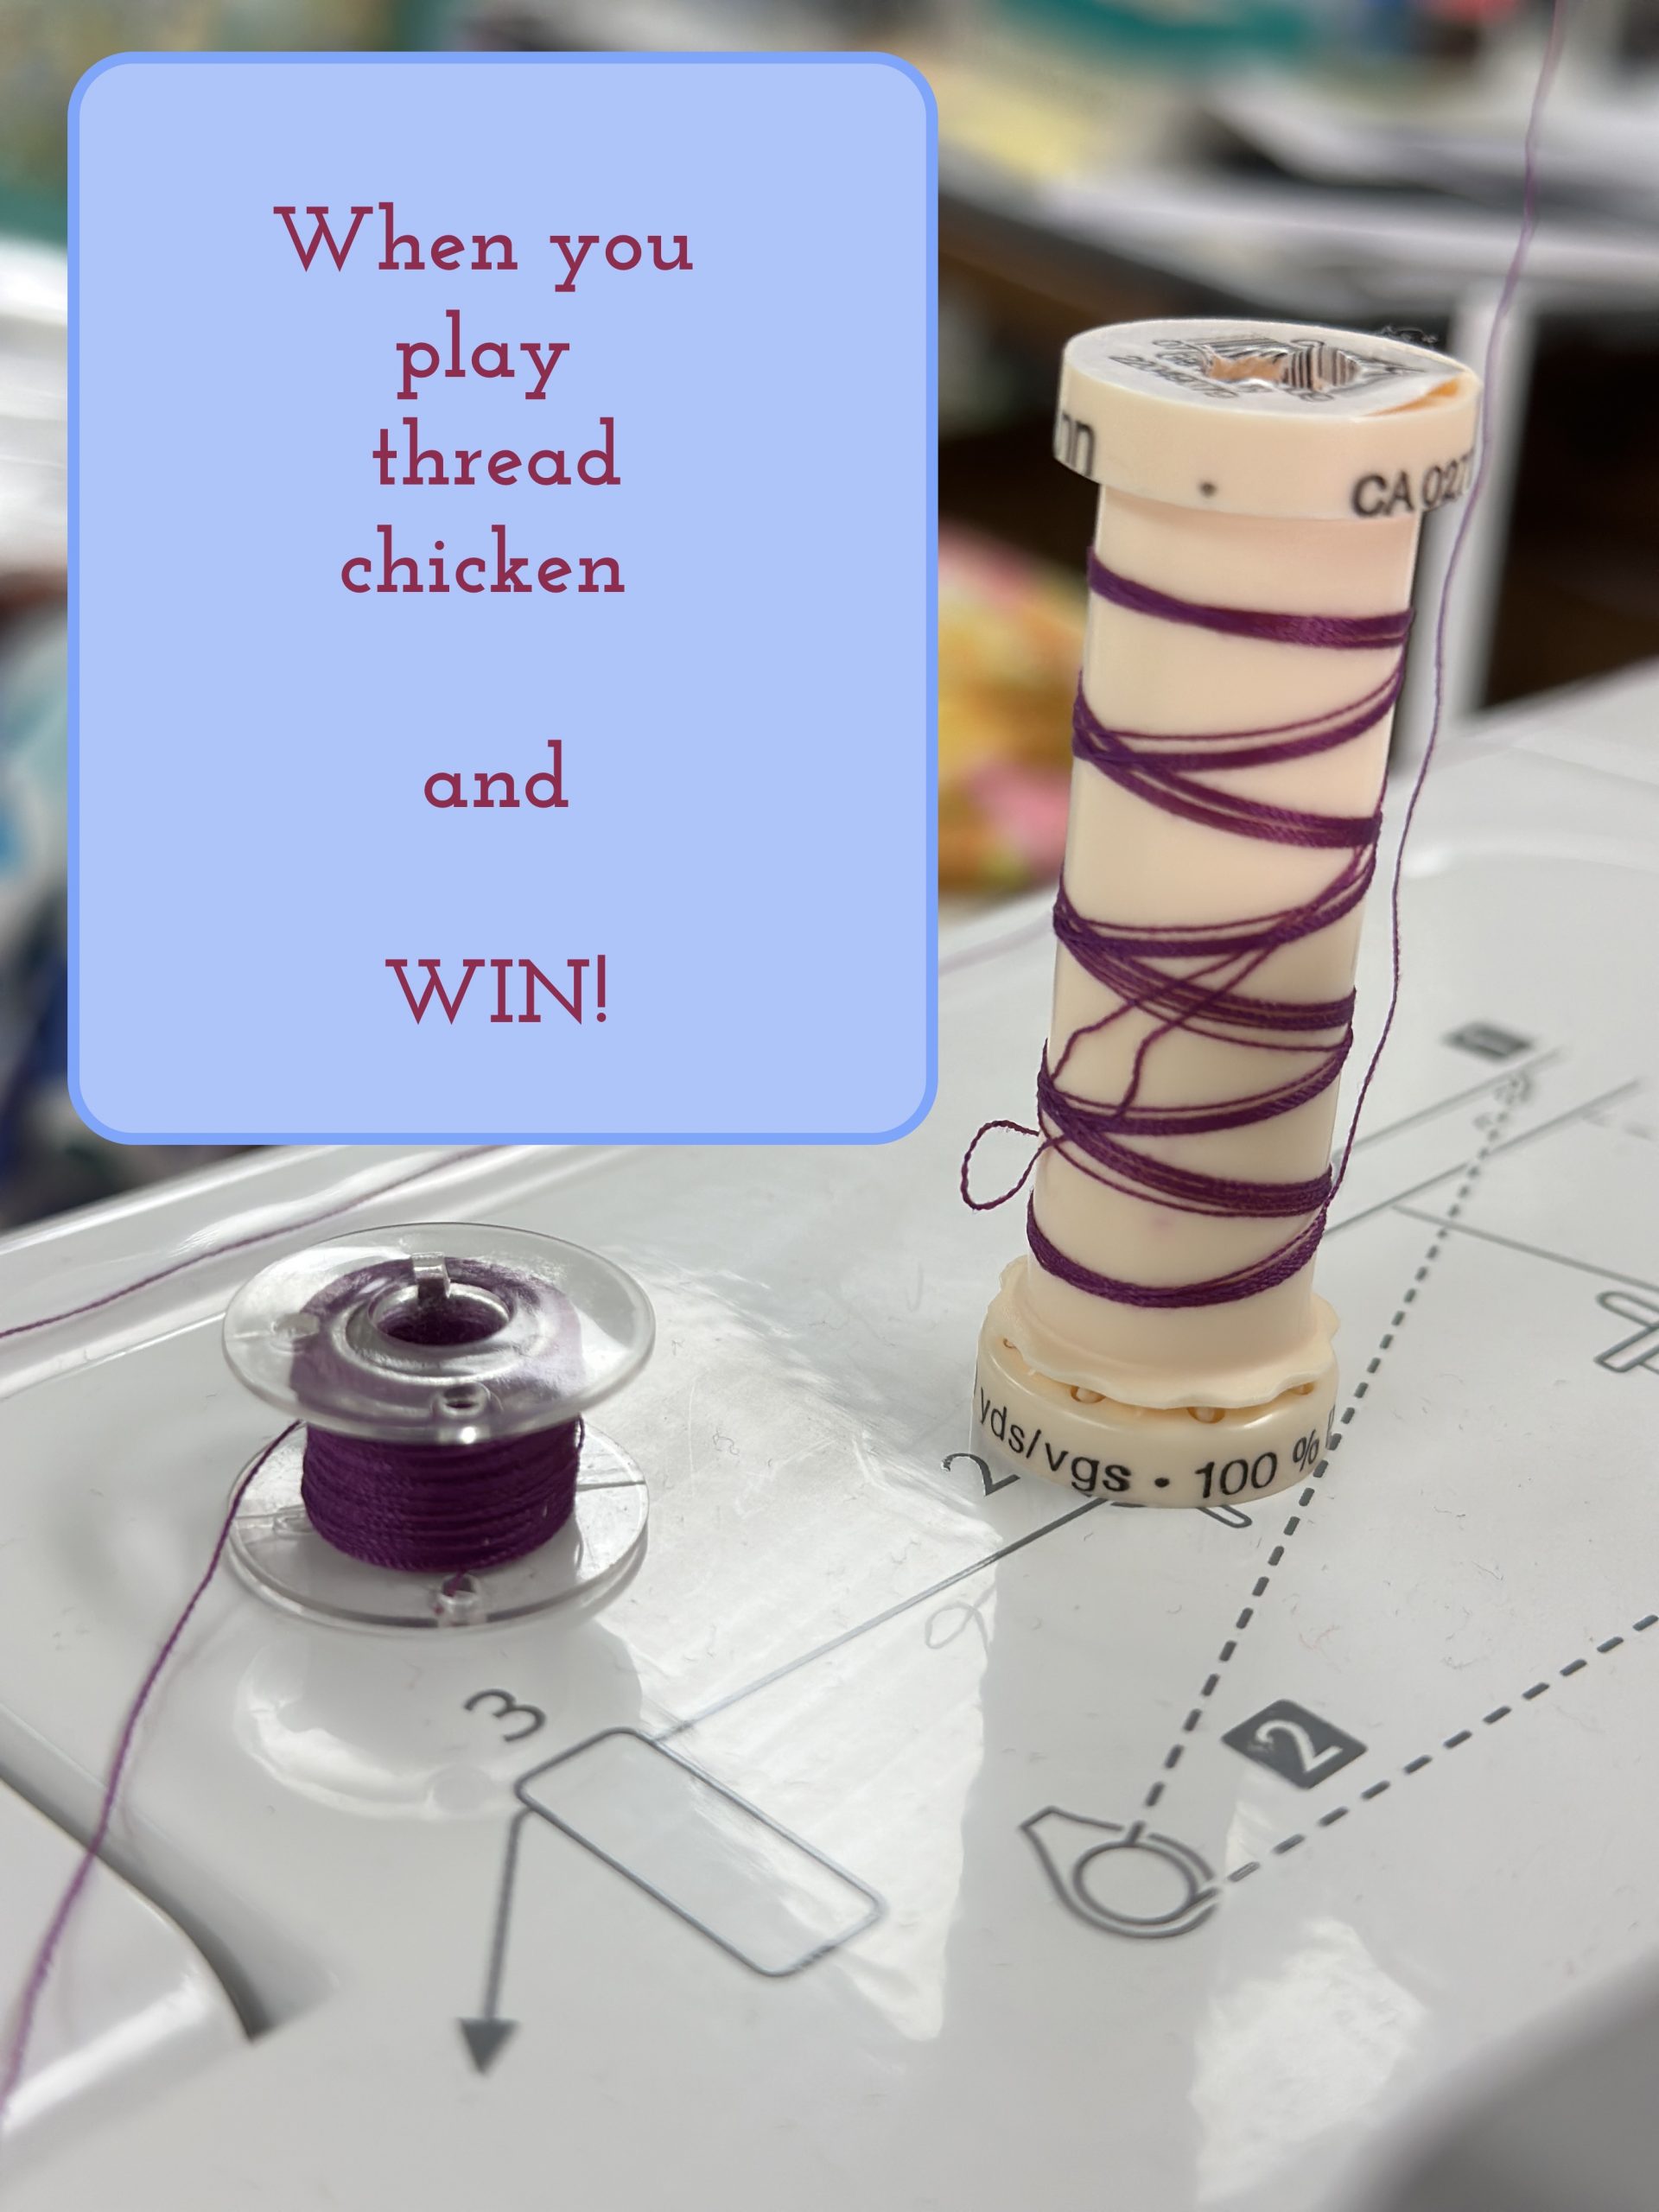
Maybe I shoulda bought a lottery ticket that day…
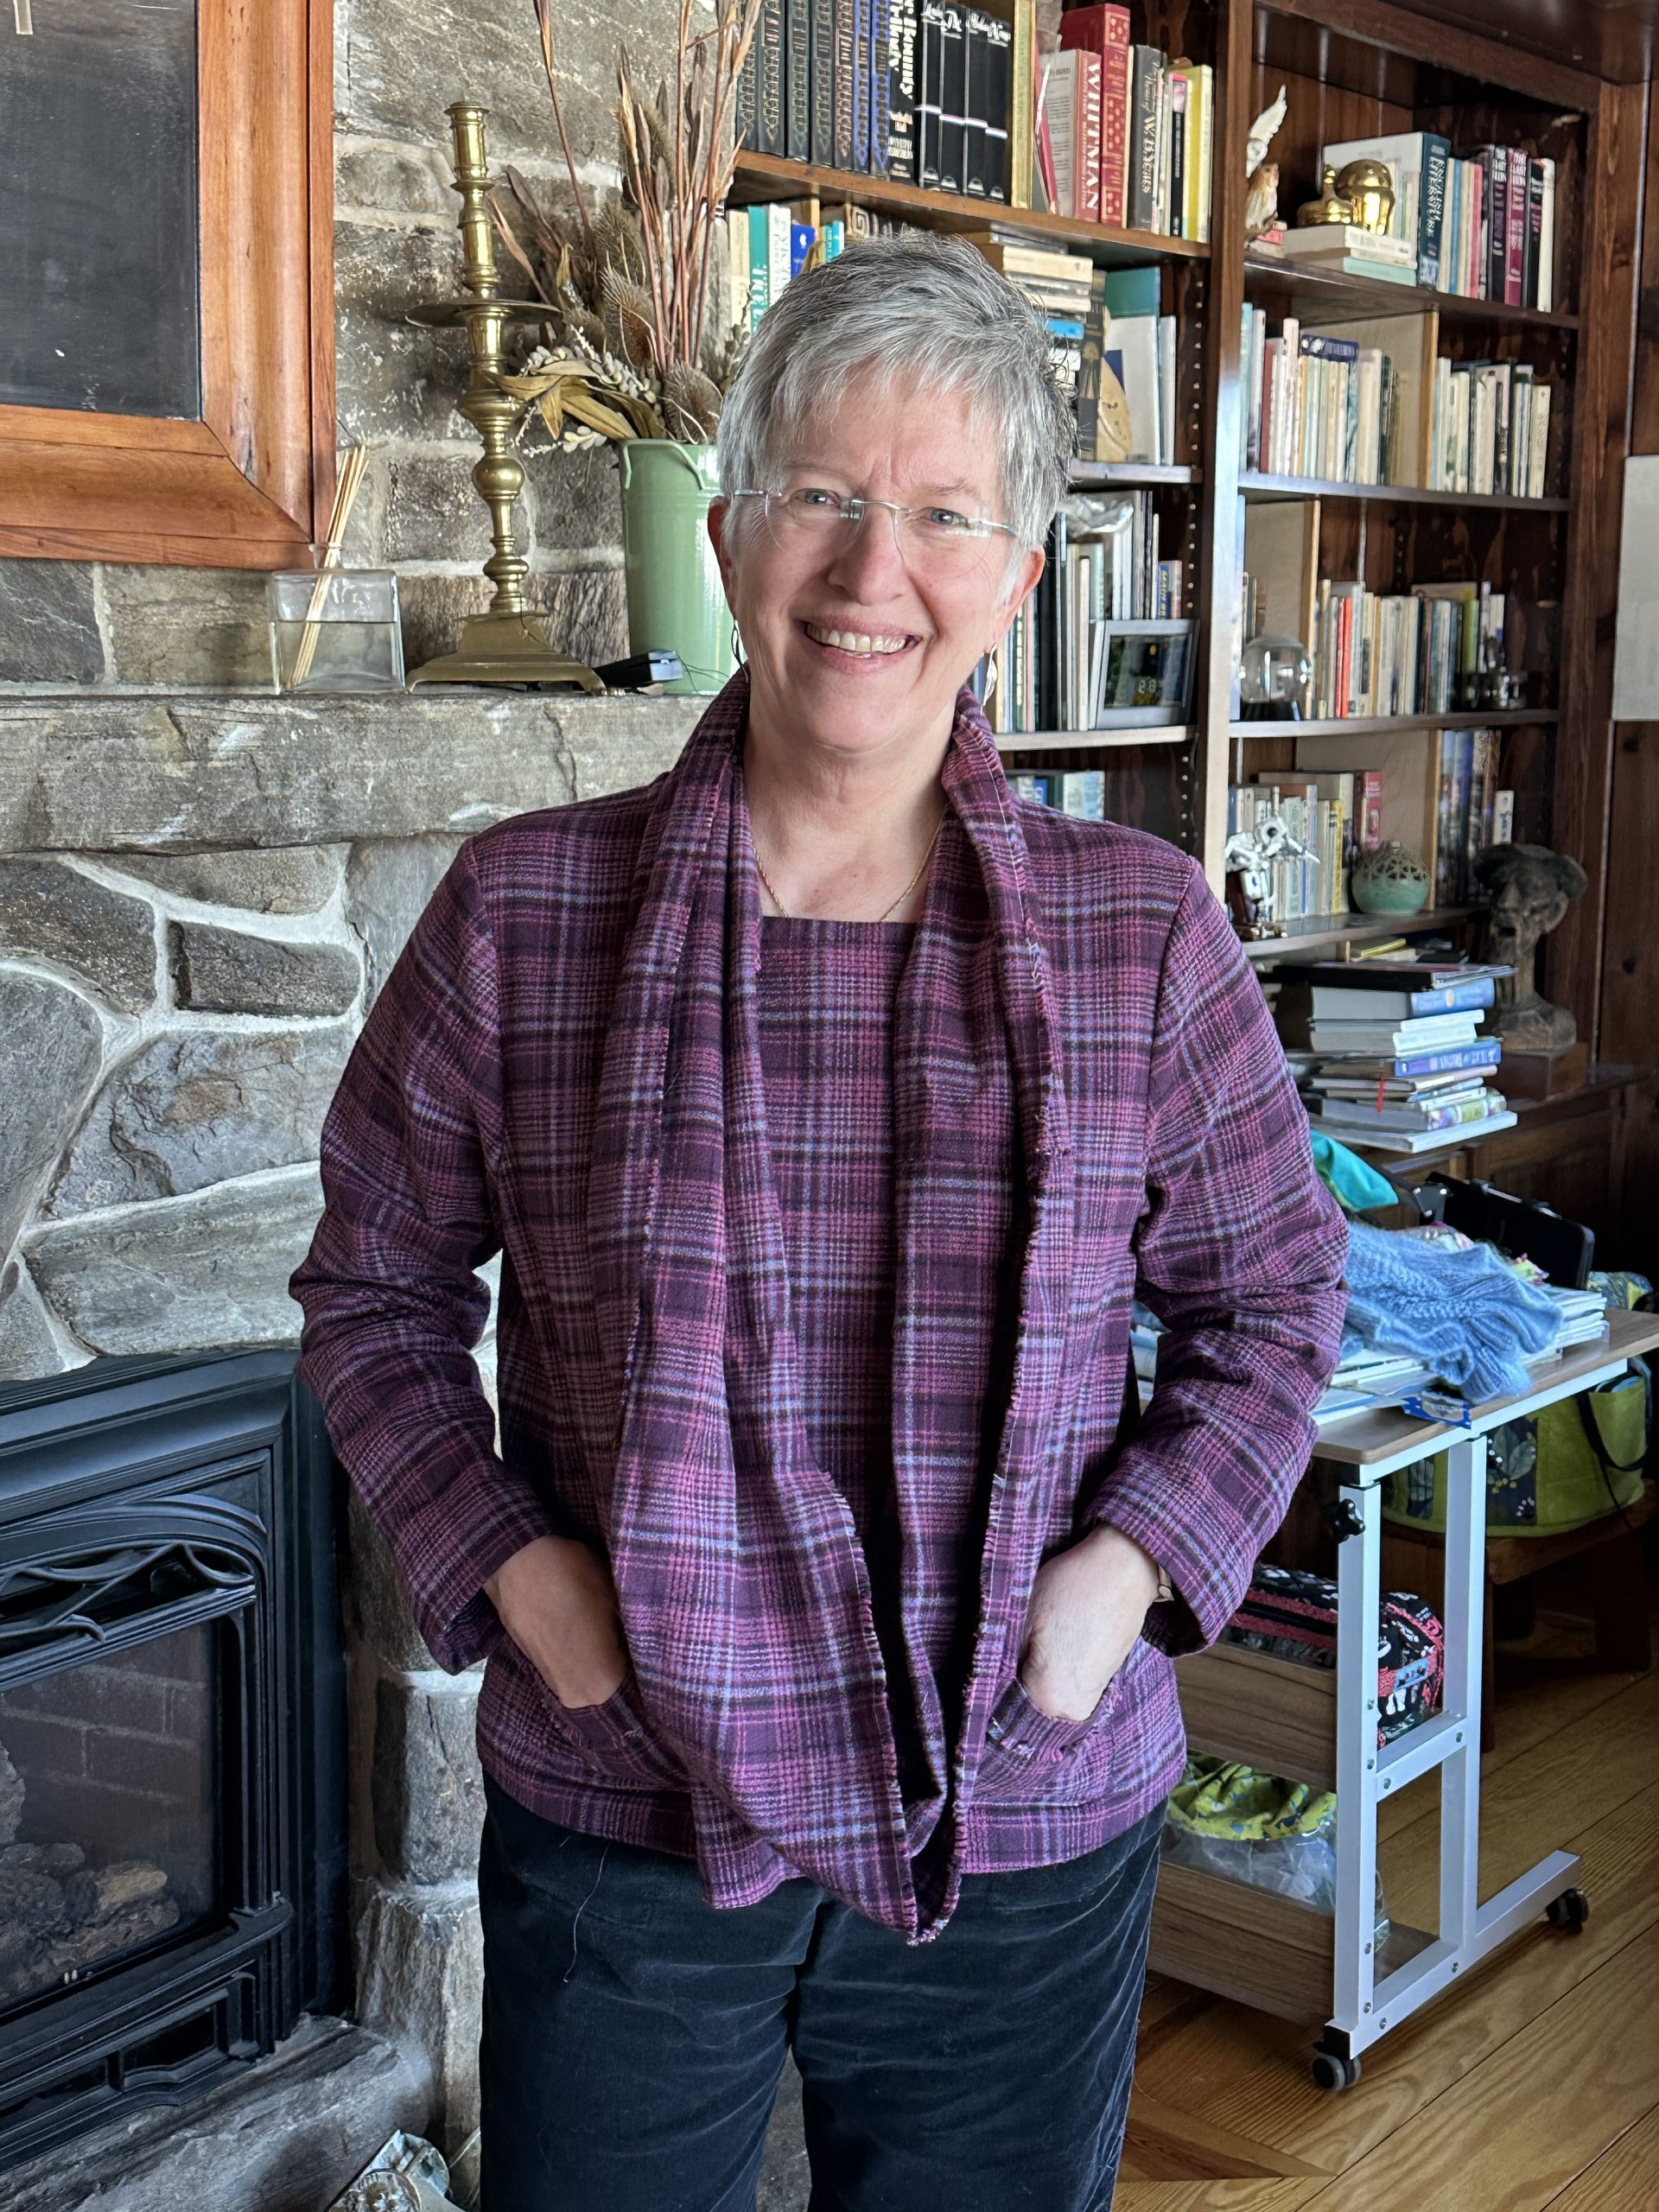
SCARF:
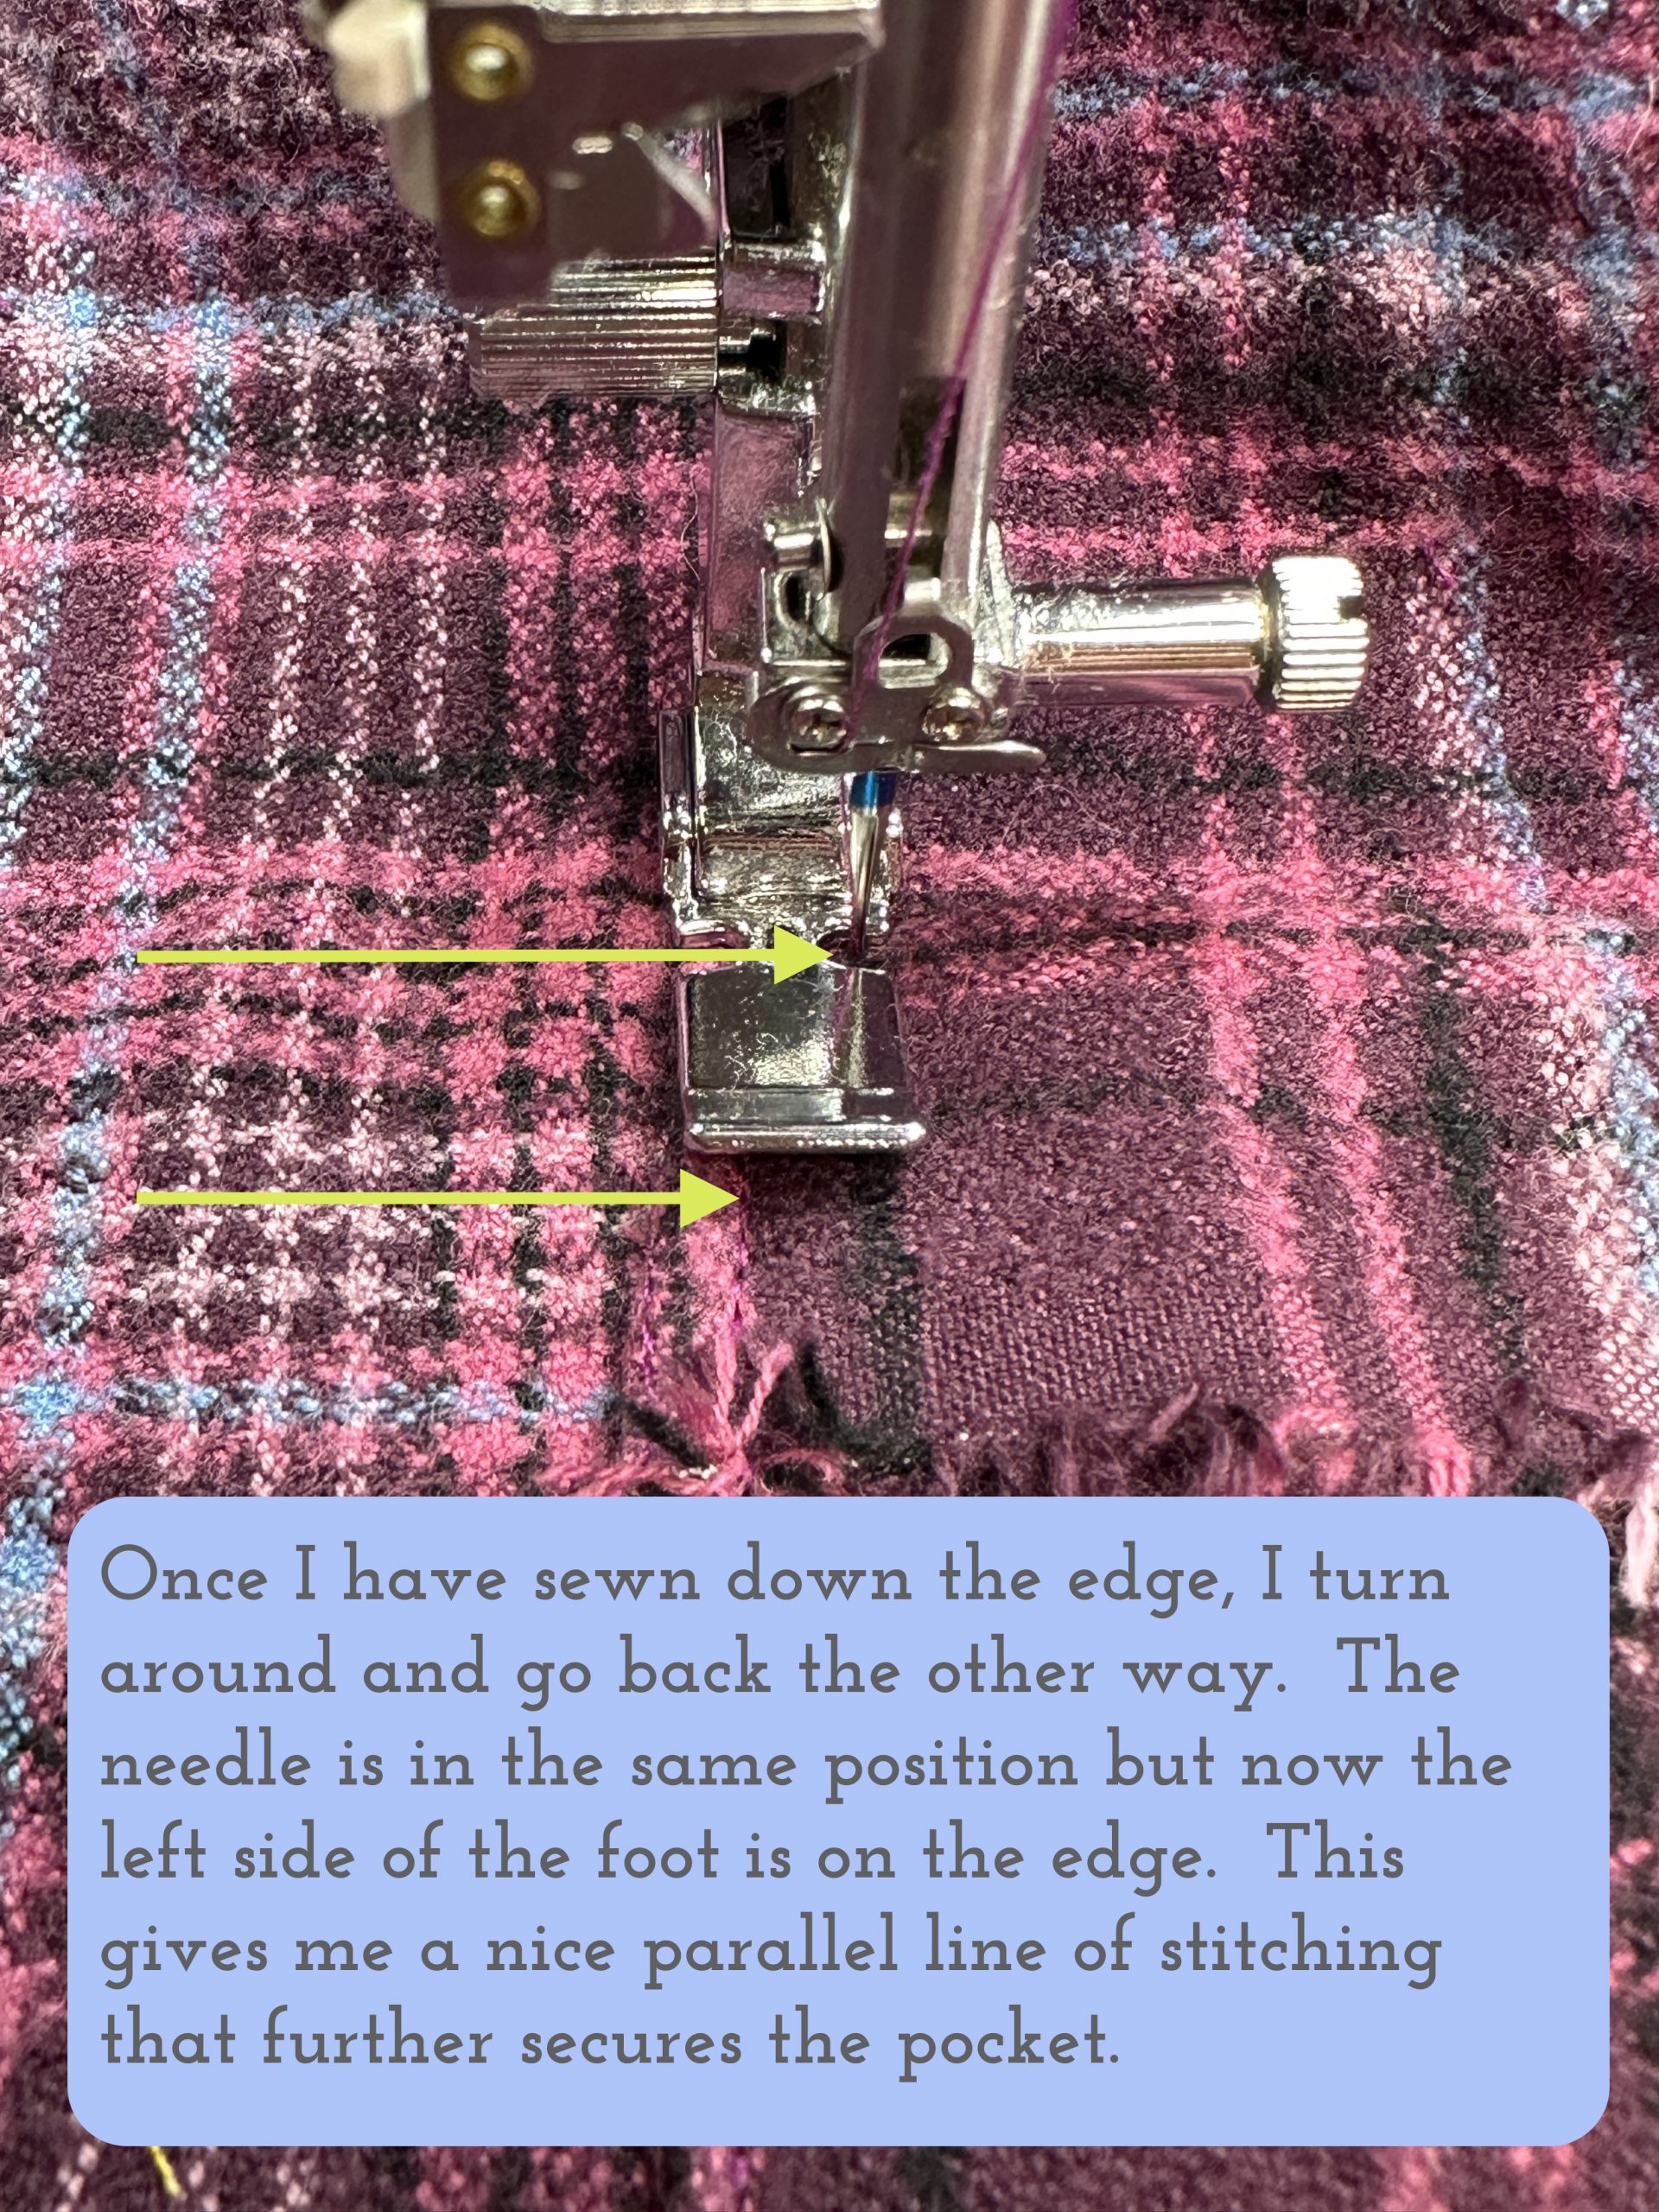
As luck would have it, I was able to lay out the pattern in a way that left me with a long strip about 12 inches wide. Because I like the fringed selvage (the edge with the white line), I left that side as it was. On the other side I straight-stitched a line 1/4″ from the long cut edge using a short stitch length. Then I unraveled the lengthwise threads up to the straight stitch (which prevents it from unravelling further). I use a pin to tease the threads out and remove.
Then I overlapped the ends and ran two lines of stitching from edge to edge. Sometimes an infinity scarf looks lovely if you put one twist in it lengthwise, but with the thickness of the flannel, I just kept mine flat. Then I fringed the edges of the seam, also.
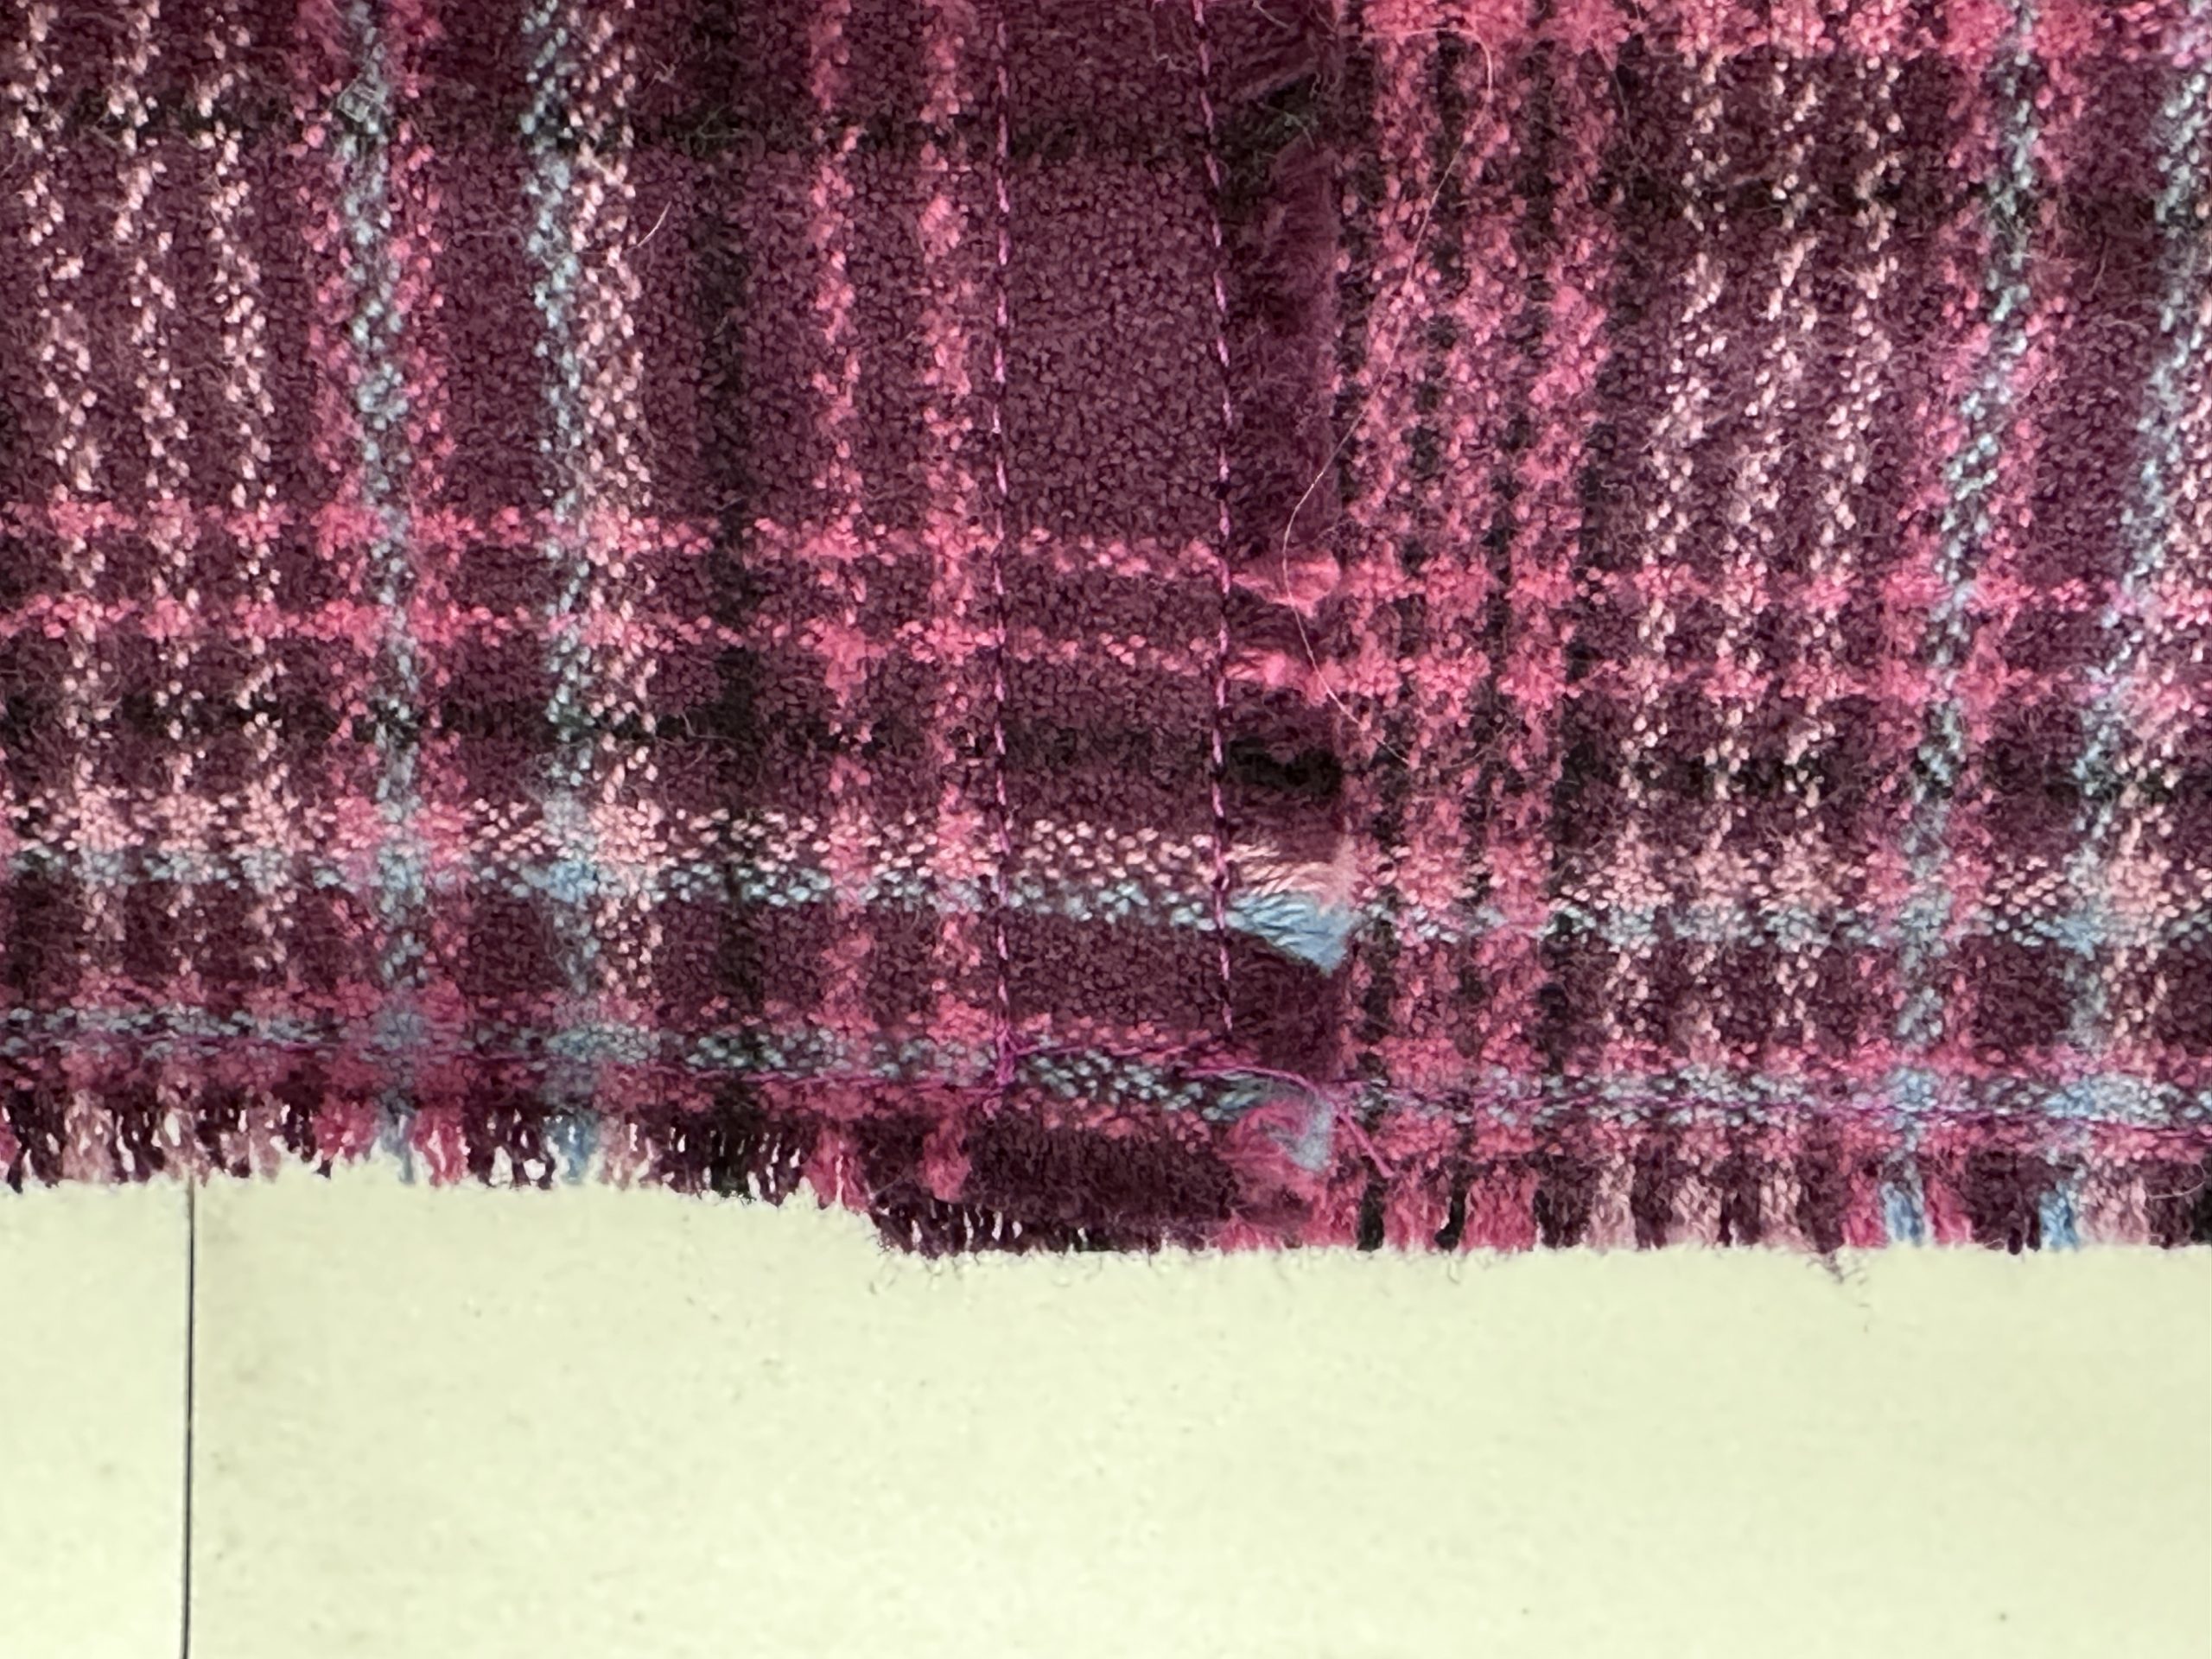
Above you can see the overlapped seam and the side of the scarf with the nearly invisible “stop it from fraying more” line stitching. After washing, this frayed bit is likely to curl bit, but I’m fine with that.
And there you have it! I hope you’ve enjoyed this series of lessons that can be applied to virtually any garment and many home dec projects. Let me know what you’d like to learn and see here on the blog. Cheers and thanks, Sarah
Lesson 1: Choosing a Pattern and Starting Tips
Lesson 2: Making a Muslin, Fitting and Sleeves
Lesson 3: Matching Plaids, Cutting out Your Garment Pieces
Lesson 4: Overcast Seams, just like Serged Seams
Lesson 6: Lapped and Flat-felled Seams
Lesson 7: Hong Kong Finish for Seams
Lesson 8: Lined Patch Pocket Tutorial