Rockin’ Retro Apron in Kitschy Cocktails, free pattern!
Wednesday, February 19th, 2020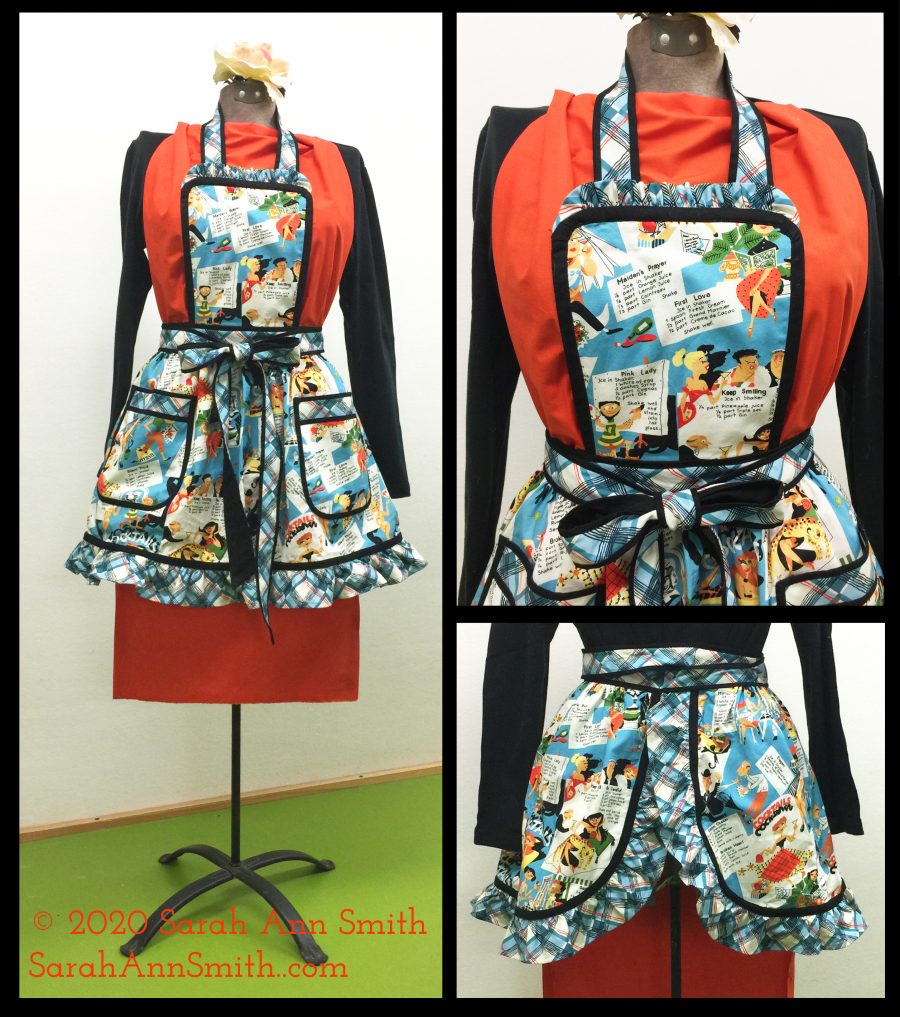
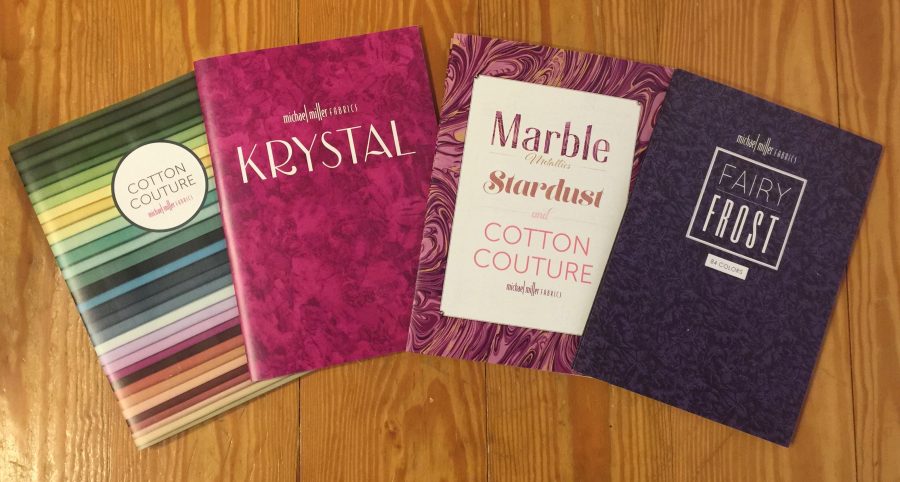
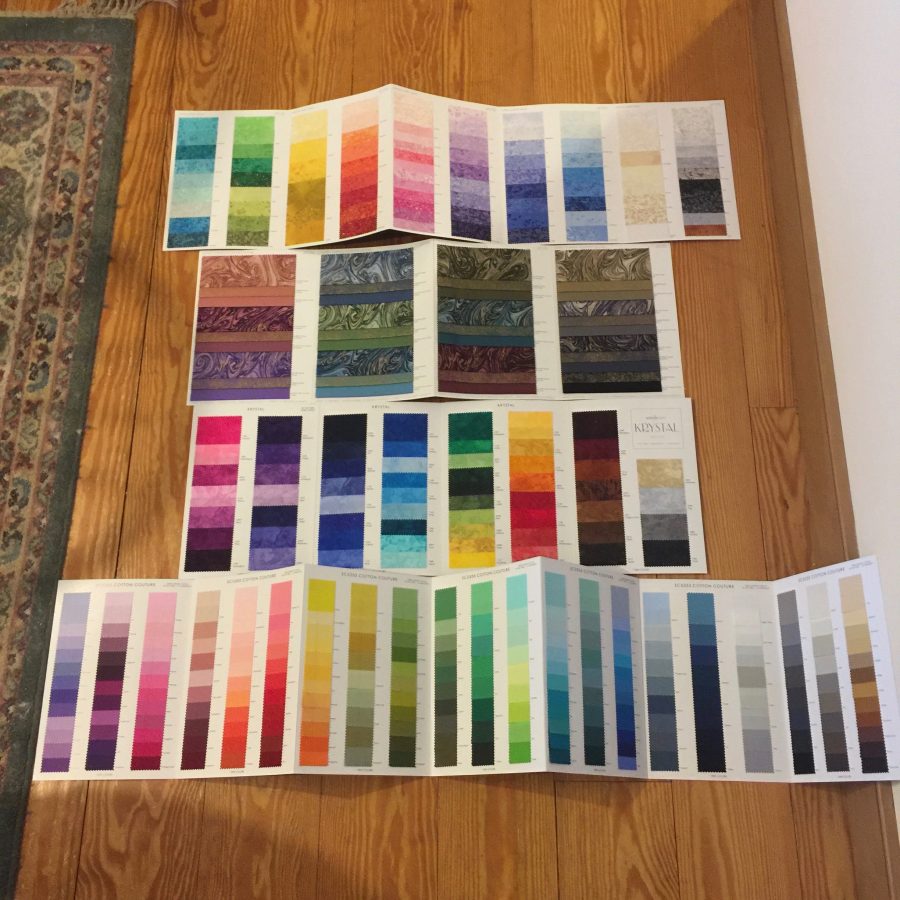
Welcome to my first Brand Ambassador project for Michael Miller Fabrics, a fun and funky Retro Apron featuring Kitschy Cocktails and Mad About Plaid in blue (available starting February 2020). For all of 2020 this will be a FREE pattern available using this link and in a link on my Resources page titled Retro Apron. The plaid fabric just grabbed my attention and demanded I use it, on the bias…total fun! In this and a subsequent blogpost or two I will share the entire pattern and the included images. But you can download and print the illustrated pattern at home.
I’ve tried to teach fine finishing details throughout. I love nice clean, finished edges, so there isn’t a raw edge in this apron…everything is tucked behind trim or finished to hide the raw edges. These techniques can be applied to all your sewing, so read on and learn! Using good fabric and my brilliant Janome M7 Continental machine made it easy to produce such a well-made garment.
Today, I’ll start with the fabric and supplies needed, cutting instructions and the first steps in the construction process. Subsequent steps will be posted over the next week, but the ENTIRE pattern is available in the Rockin’ Retro Apron PDF. Apologies for any formatting inconsistencies in the blog…it’s not wanting to play nicely with me today.
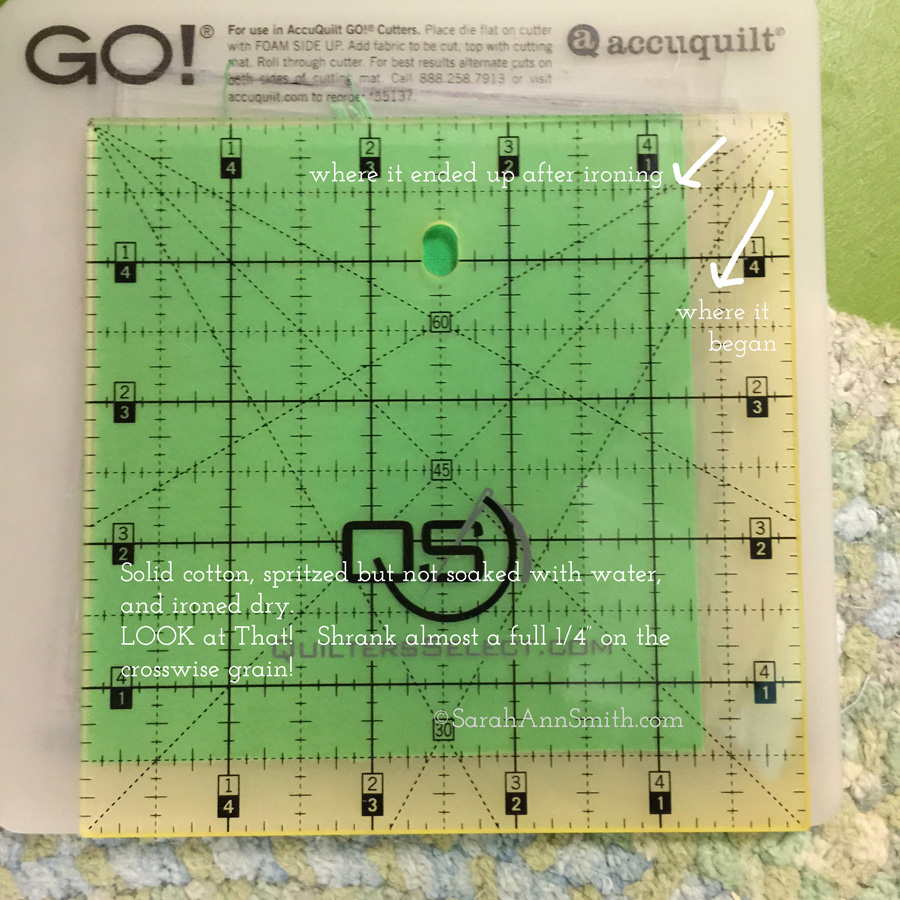
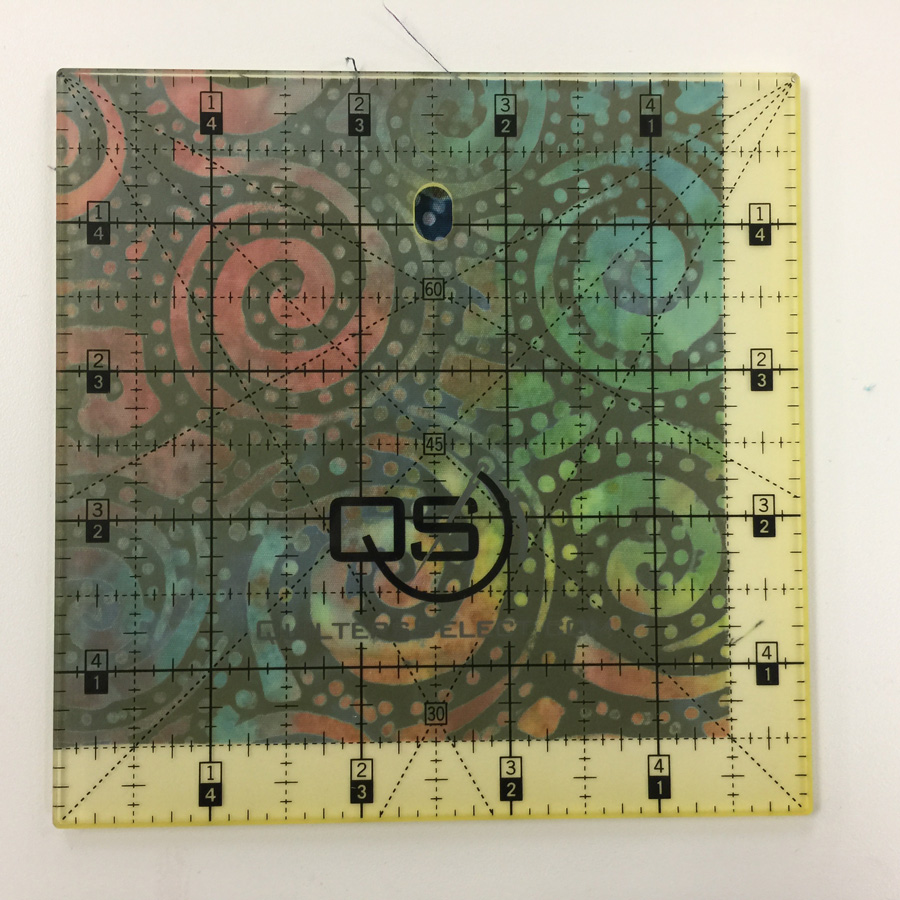
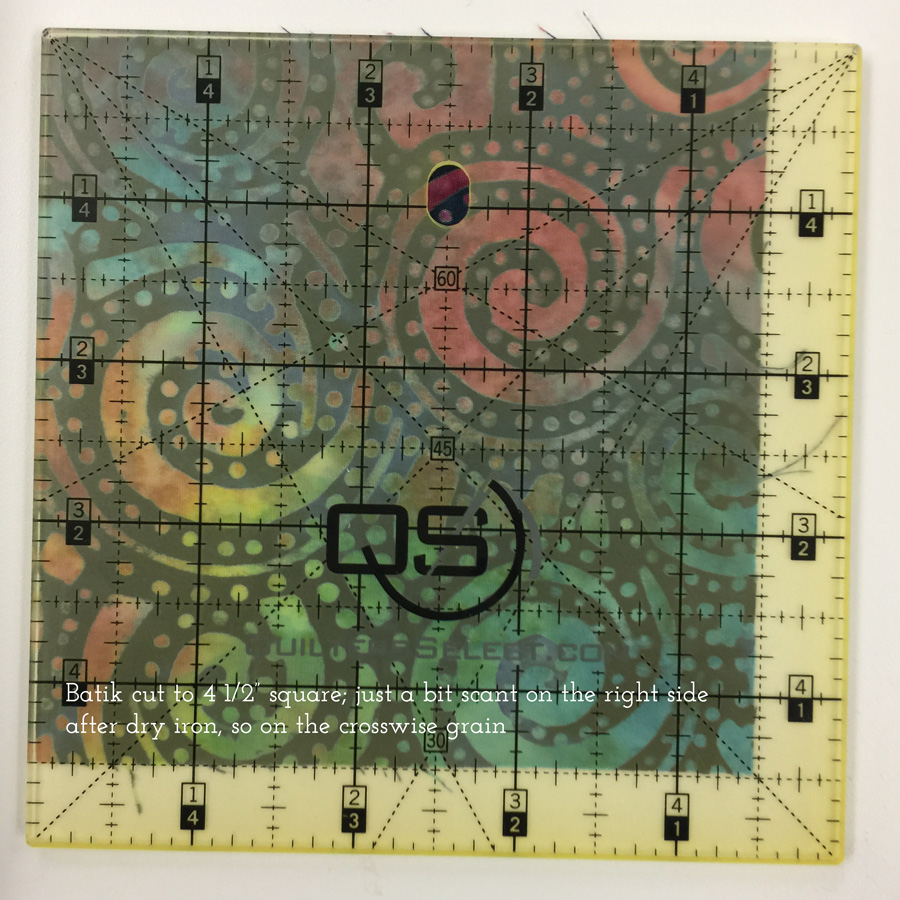
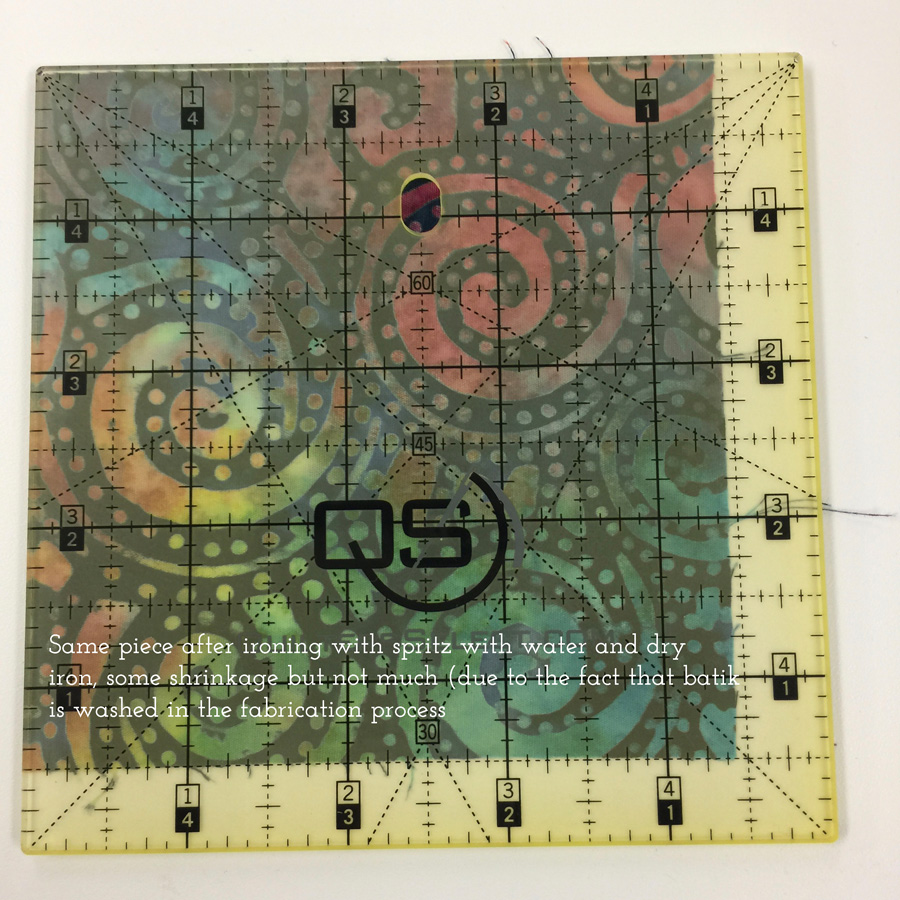
FABRIC AND MATERIALS--Preshrink all fabrics!

Ask your local shop to order!
FITTING NOTE: Please read through ALL the instructions for FITTING NOTES before cutting, since you may wish to adjust the cut sizes to better suit your build. If you are larger or smaller than my average height and Medium-Large frame, you may wish to add a bit more yardage.
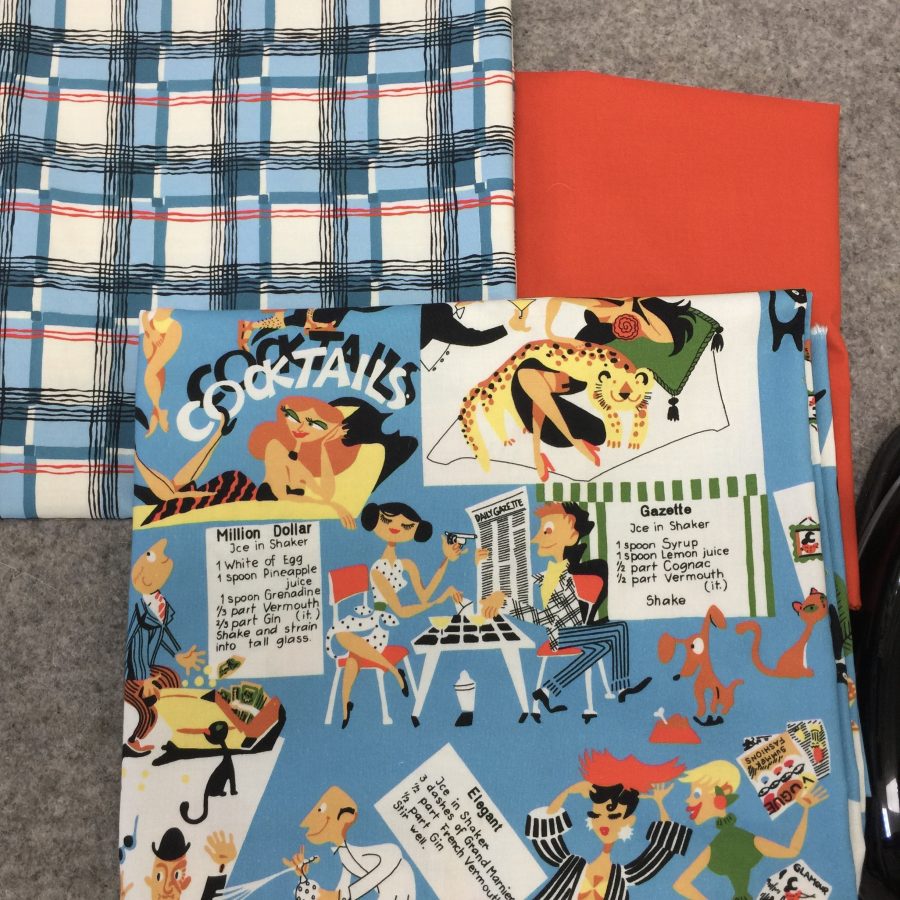
- Focus Fabric 1: Kitschy Cocktails, blue 1 1/4 yard
- Focus Fabric 2: Mad About Plaid, blue 1 yard
- Accent: Cotton Couture Jet Black 1 yard
- Matching thread (I used off-white and black)
- Glue stick—washable! A school/craft glue stick is fine.
- Spray starch
FABRIC LAYOUT & Cutting
TIP: Use sticky notes, removable file folder labels or painter’s tape to label pieces. Check each box (on printed pattern only) as you have cut the pieces.
Focus Fabric 1 / Kitschy Cocktails: Be sure to cut pieces with the design facing the correct direction.
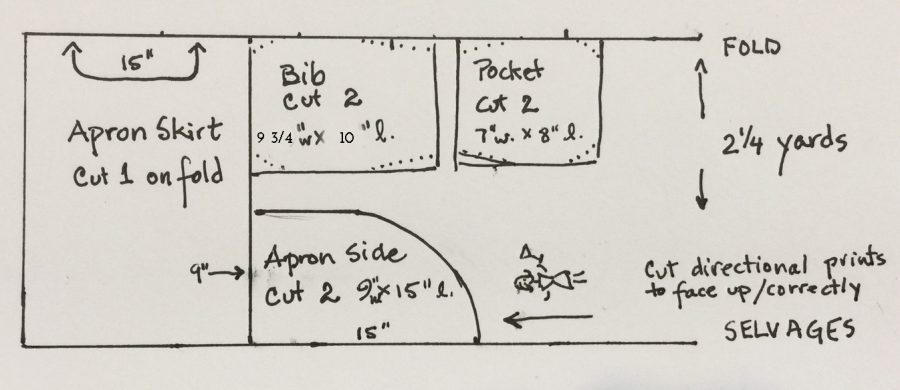
- Apron skirt front: Cut ONE on fold, 15” by 40-44” (width of fabric)
- Apron skirt sides: Cut TWO 9” wide by 15” tall
- Apron bib: Cut TWO 9” wide by 12 tall”, see FITTING NOTES and instructions for shaping
- Apron pockets: Cut TWO 7” wide by 8” tall
Focus Fabric 2 / Plaid:
Cut on the bias:
- Hem ruffle: Cut THREE — 4 ½” across the full width of fabric, about 45”
- Bib ruffle: Cut ONE — 2 ½” by 24” long
- Pocket trim: Cut TWO — 1 5/8” by 9” (will be trimmed later)
- Waistband: Cut ONE — 1 5/8” by 30” (see FITTING NOTES above and below)
- Long ties: Cut TWO — 1 5/8” across the full width of fabric, about 45”
- Neck band: Cut ONE — 1 5/8” by 24” long (will be trimmed later)
Accent / Michael Miller Jet Black:
Cut on the straight grain before cutting bias strips:
- Long ties: Cut TWO — 3” by 40-45” (can be pieced if necessary; make shorter/longer ties as desired)
Next, cut on the bias:
- 1 1/8” strips for edging the skirt/ruffle edge, bib and outside pocket edges. You will need a total of about 180.” Sew strips together as you would for a quilt binding. I used the 1 1/8” width strips to make turning the ¼” under easier and still have enough left to cover the bulk of the gathers and finish at about 3/8 – ½” on the apron-to-ruffle seam and the front of the bib.
Finally, cut on the straight grain:
- End of long ties: Cut TWO — 1” x 5”
- Waistband: Cut ONE — 2 ½” by 30” (adjust length to match desired size, see FITTING NOTES)
- Cut ONE — 1” by 30” (ditto) for top edge of waistband
- Cut ONE — 1 ¼” by 30” (ditto) for bottom edge of waistband
- Pockets: Cut ONE — 1 5/8” by 9” for top edge of pocket trim
- Cut ONE — ¾” by 9” for lower edge of pocket trim
NOTE: If you are using a print instead of a plaid or stripe, you can cut these on the cross-wise grain. You will need a bit less yardage overall.
NOTE: I had enough black in my stash to cut on the lengthwise grain which is more stable. You can just as easily cut the straight-grain pieces on the cross grain so you don’t need to buy as much fabric.
NOTE: Seam allowances are either ¼” or 3/8.” Please follow instructions for each section.
NOTE: Ties were designed to be long enough to wrap around to the front. Depending on your measurements you may need to shorten/lengthen these ties, or you can cut them shorter and tie the bow in back. Figure out your waist, how much you need to wrap the ties to the front and, if needed, cut additional strips of black and of plaid.
CONSTRUCTION:
I’ll admit it…there are a lot of steps to this apron. Lay in a supply of nibbles and remember to take breaks to re-focus your eyes and move your body!
Due to the blog formatting, numbers for each step are omitted on the blog. In the PDF Rockin’ Retro Apron pattern, use the numbers and check off each step/number as you work along so you can find your place after a break.
Make the Apron Skirt
FITTING NOTE: This apron was designed to be about 28-30 inches along the waistband/top edge, which wraps most of the way around my body. Decide how long you want the top gathered edge to be and adjust accordingly (this comes into play when attaching the waistband in a later step). For those smaller than I am, just gather your skirt more or make the center panel narrower. For those who are larger, gather less; or you may (or may not) wish to make your side panels wider.
Length: With a ruffle that finishes at 3”, this apron skirt is about 17” long. You may wish to adjust for your height and preferred length.
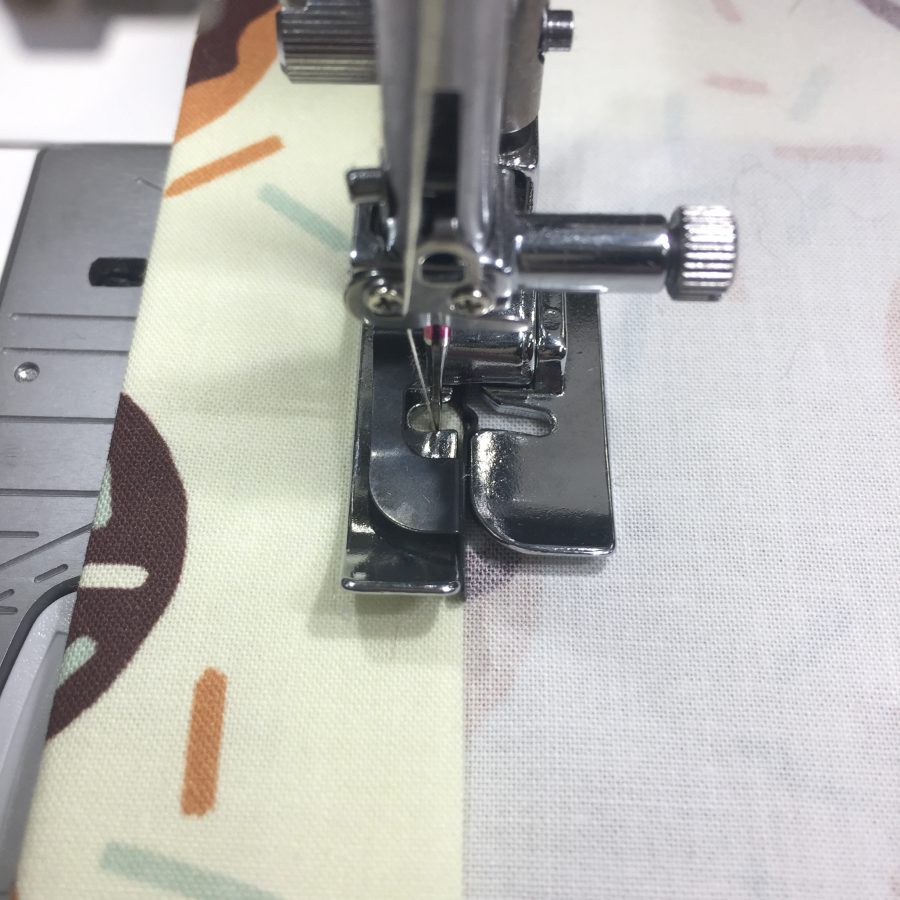
- Sew apron skirt side panels to center panel. I created a mock flat-felled seam: sew wrong sides together with a ¼” seam.
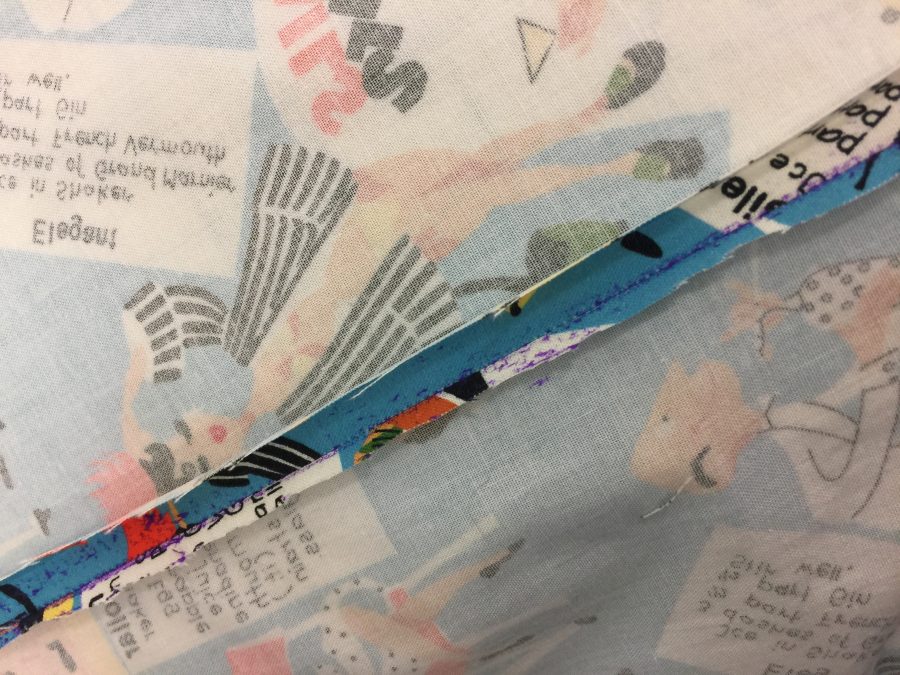
First photo: Trim underneath seam allowance. Press second seam allowance toward center. Use glue stick to “pin” second side of the seam allowance in place.
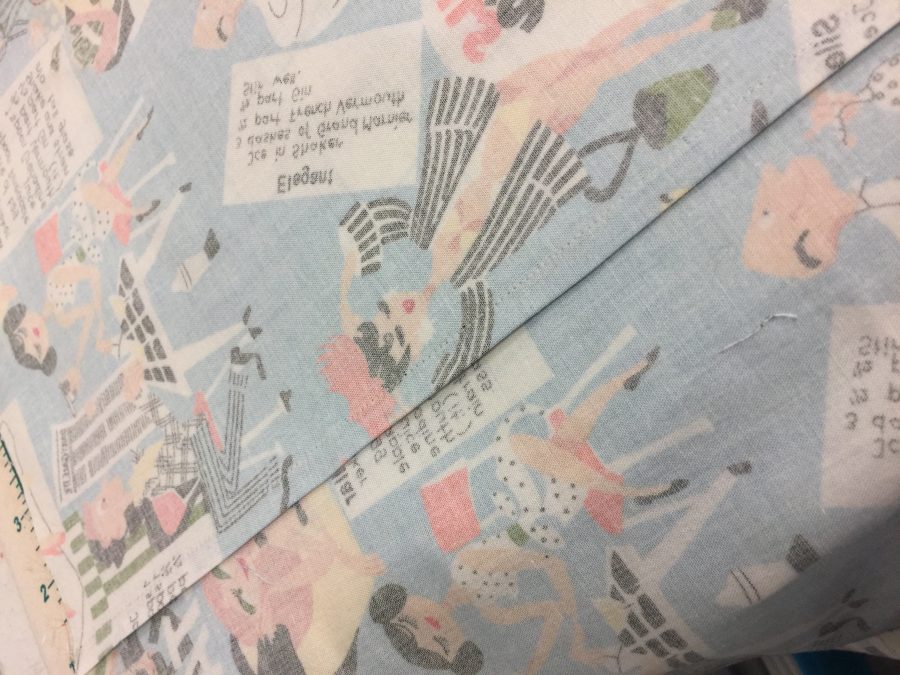
Second photo: glued seam allowance. Now stitch in place.
- Press as stitched, then press open.
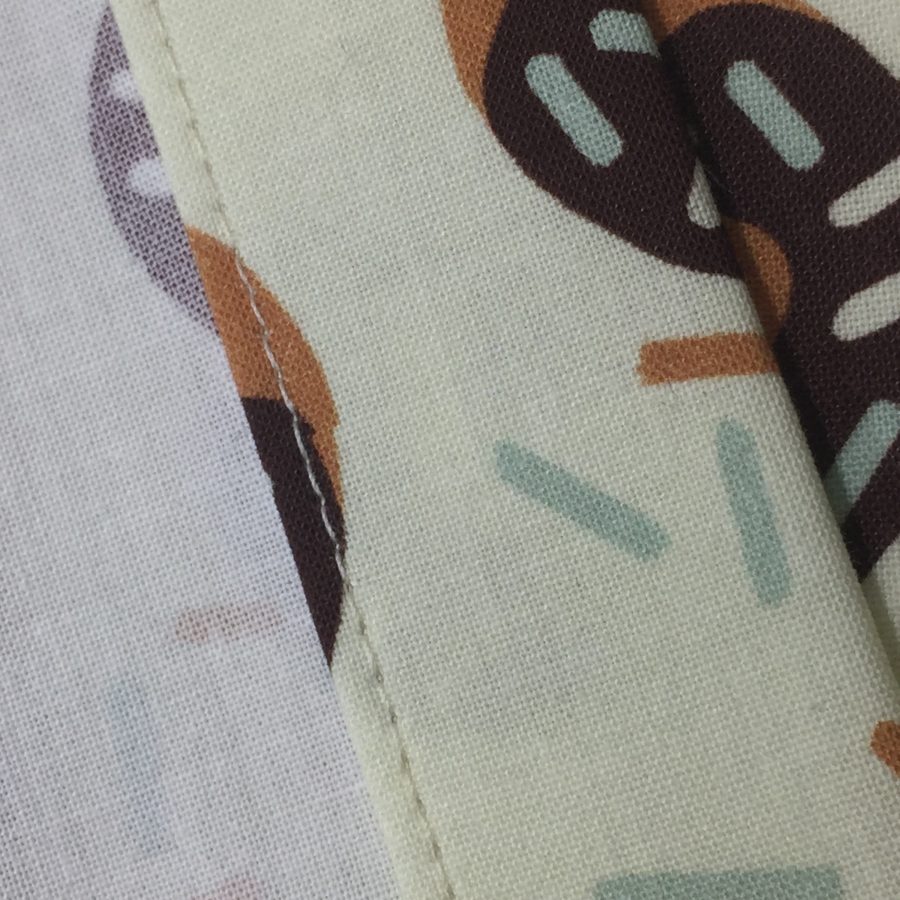
- Trim seam allowance on side panels to 1/8” (first photo above).
- Fold other seam allowance in half so the raw edge nearly touches the seam. Apply glue stick to the 1/8” side. Press down; heat from iron will set and dry the glue—way easier than pins! Second photo above.
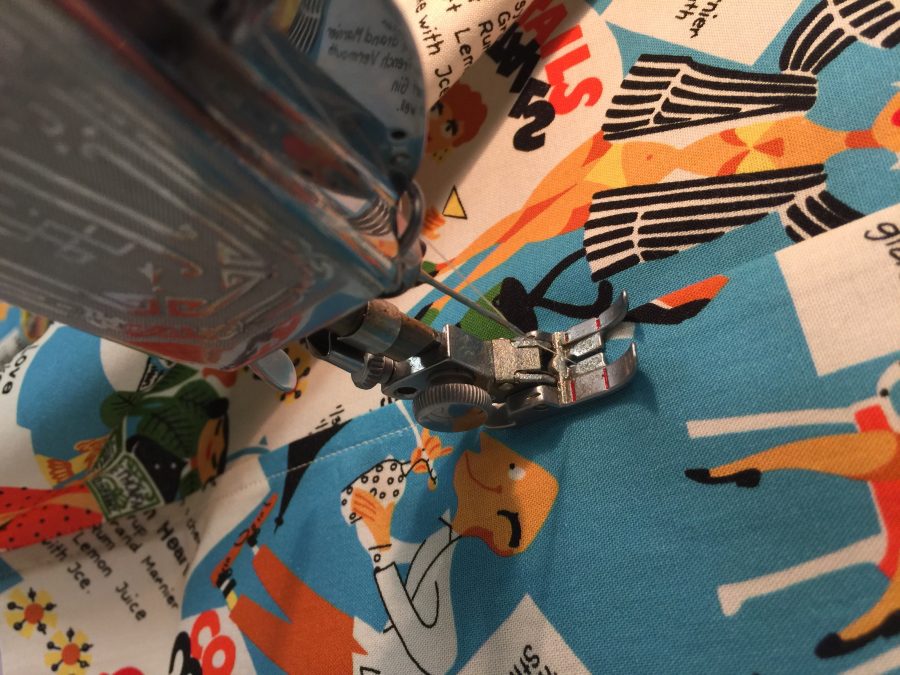
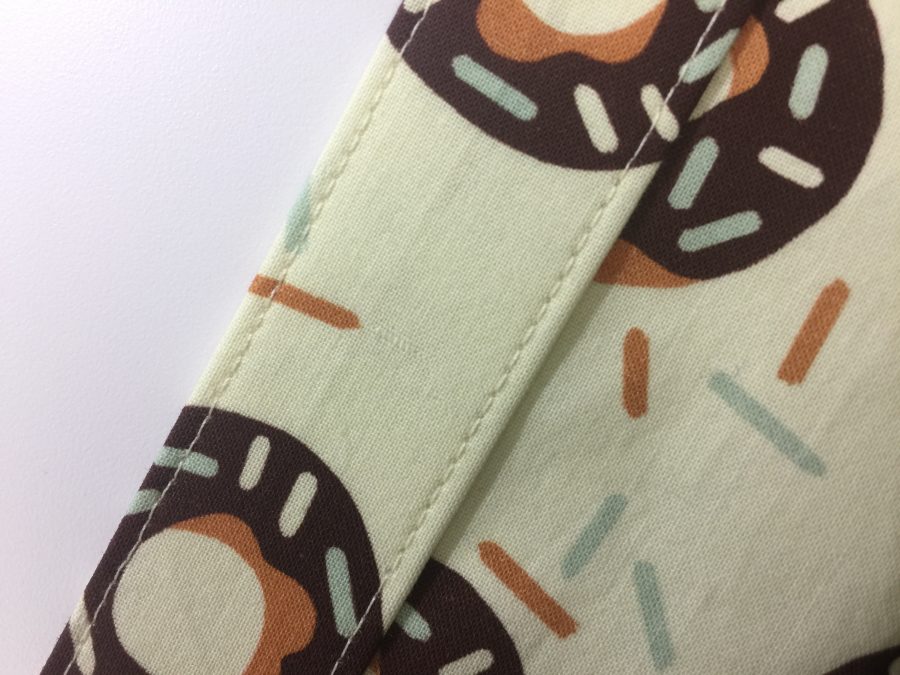
- From the right side, stitch seam allowances in place, above left. I prefer to use an edge stitch or quarter-inch-piecing foot with the blade in the ditch/lower side. Move your needle to the left so that it is towards the left side of the seam allowance. Stitch. See first photo above.
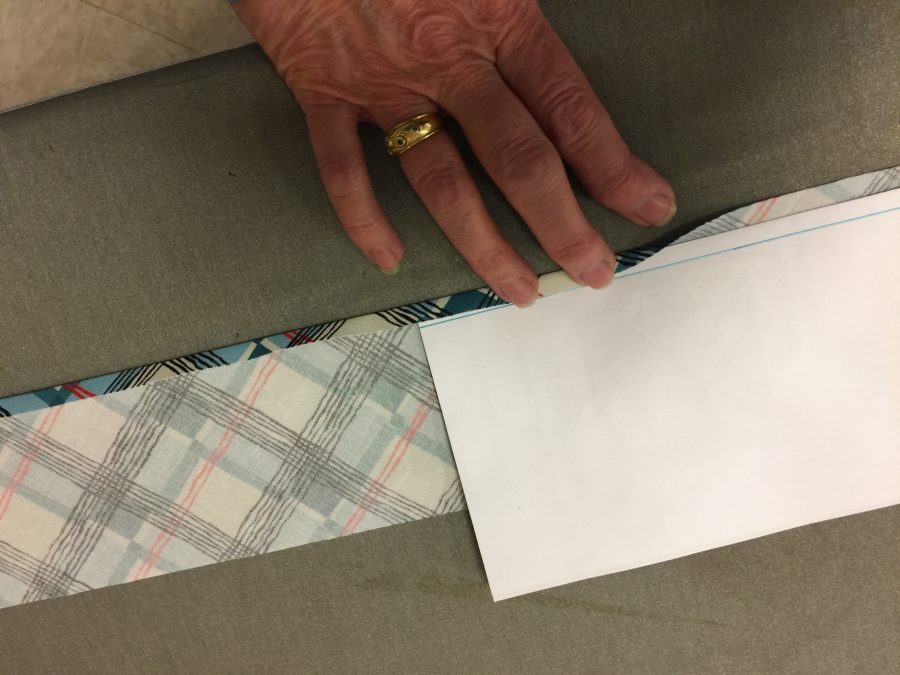
- Hem lower edge of skirt ruffle.
- Fold a piece of copy paper in half lengthwise, or use a file folder or piece of poster board. Mark a line ¼” from the long edge. Use this as a press guide to get a perfect ¼” turn. Second photo above.
- Repeat so that raw edge is inside the hem. I call this a “turn-turn” hem.
- Stitch, again using an edge stitch foot and moving the needle to keep the sewing line a perfect distance from the edge.
- For the ends, I retained the 45-degree angle and hemmed it the same way. You could also choose to round off the corner. Make sure the angles will curve / bend up to the gathered edge of the ruffle.
- Gather hem ruffle:
- Mark center of ruffle on the with a pin!!!! Do not sew over the pin! You can put the pin on the hemmed side.
Hem the ruffle **before** gathering. Sew basting/gathering stitches at 1/4 and 1/2″ distances from the raw edge.
- Run two lines of basting stitches ¼” and ½” from raw edge of ruffle with bobbin thread on the wrong side of the ruffle. If desired, loosen tension a bit to make the bobbin thread easier to pull.
- Holding both ends of the bobbin threads, pull to gather. The gathers will be fairly dense, so you’ll need to stop and move the gathers towards the center periodically. I worked the gathers from both ends.
- Place the ruffle along the lower edge of the apron skirt and adjust gathering so that it fits.
- Place a pin at either end and wind the bobbin thread tails around the pin in a figure 8 to secure them while you work.
- Sew ruffle to skirt WRONG sides together with a 3/8” seam, photo at right. Photos below.
- Black bias trim: Sew cut strips together as you would for a quilt binding, using a ¼” seam allowance. Press seams as stitched, then press seams open.
- Cut a length of black trim the length of the lower apron edge plus a couple inches just in case. Press under ¼” on one edge.
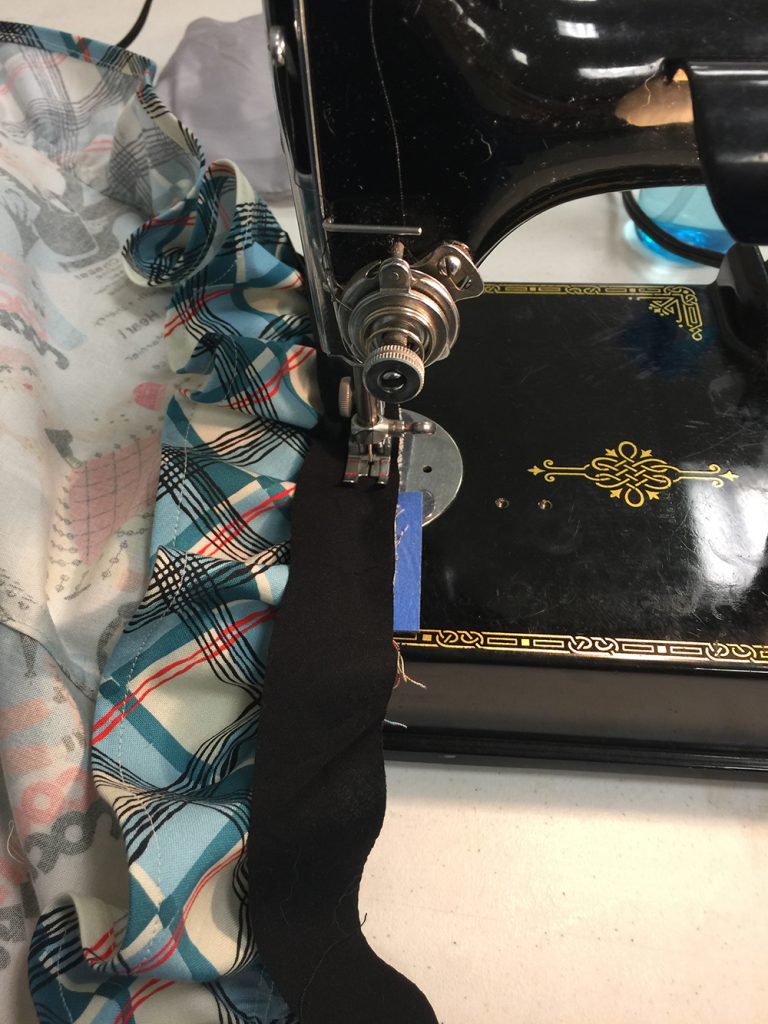
First photo: sew the black bias to the same seam line that joined the ruffle to the skirt.
Second photo: press black to the skirt, tucking under the seam allowance. Sew.
- Sew the black trim to the seam that joined the ruffle to the skirt with a 3/8” seam allowance. Photo at near right. The folded edge is on the left; when you turn the bias strip toward the skirt in the next step, the fold will be on the inside of the seam. See first photo above.
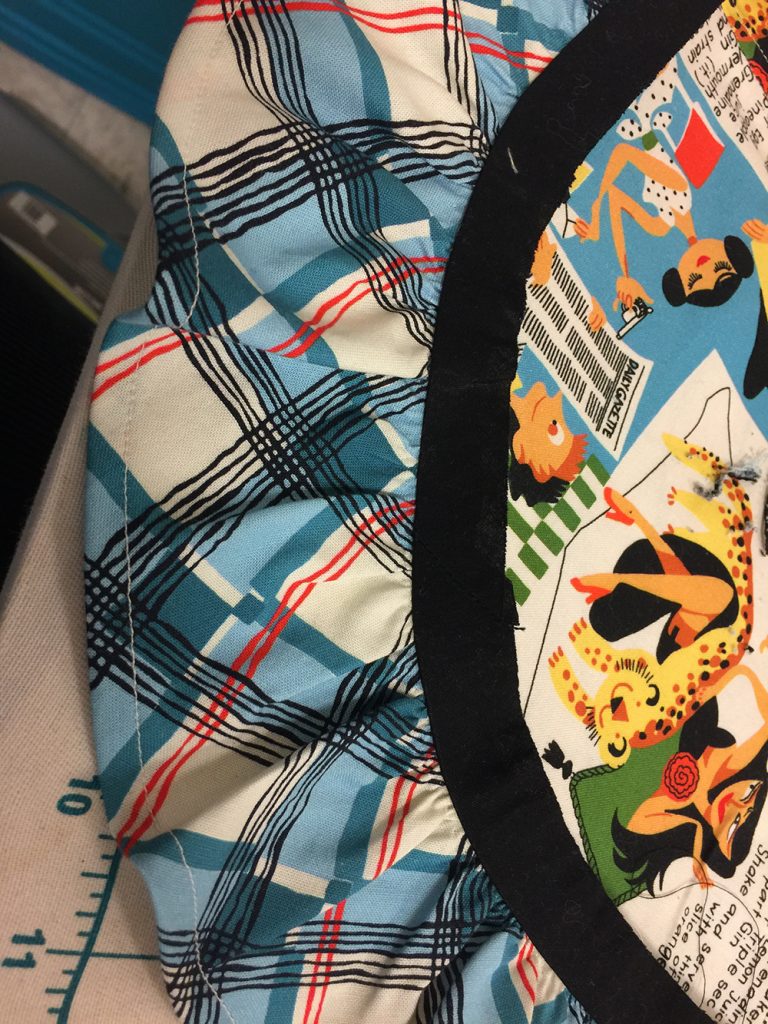
- Press the seam as stitched. With the right side up, press the seam allowance and black bias strip toward the apron skirt.
- Use your glue stick and iron to “pin” the black strip in place, covering the raw edges of the skirt/ruffle. Press The ¼” seam allowance turns to the inside. See second photo above.
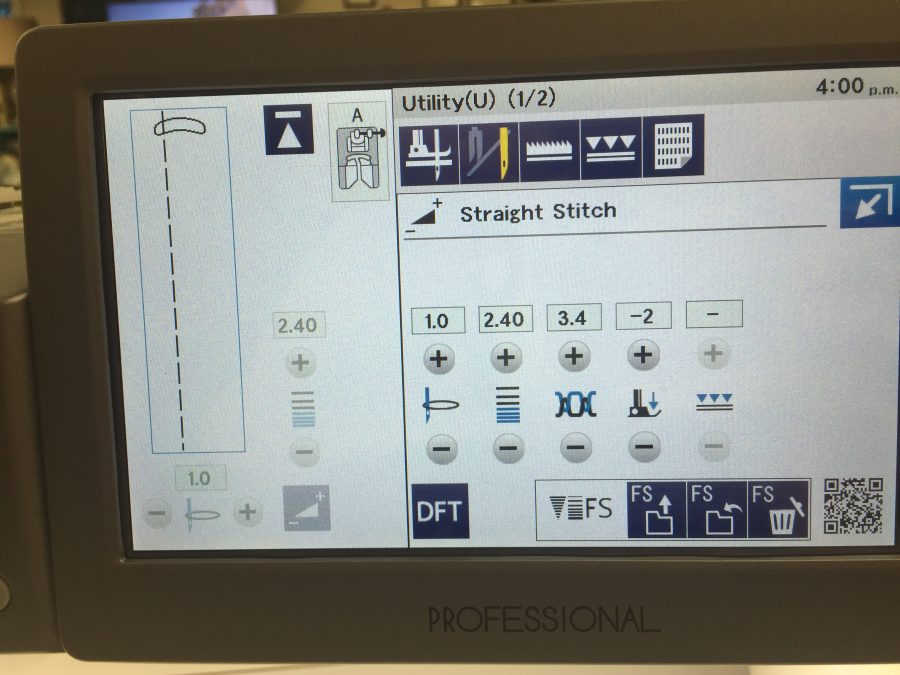
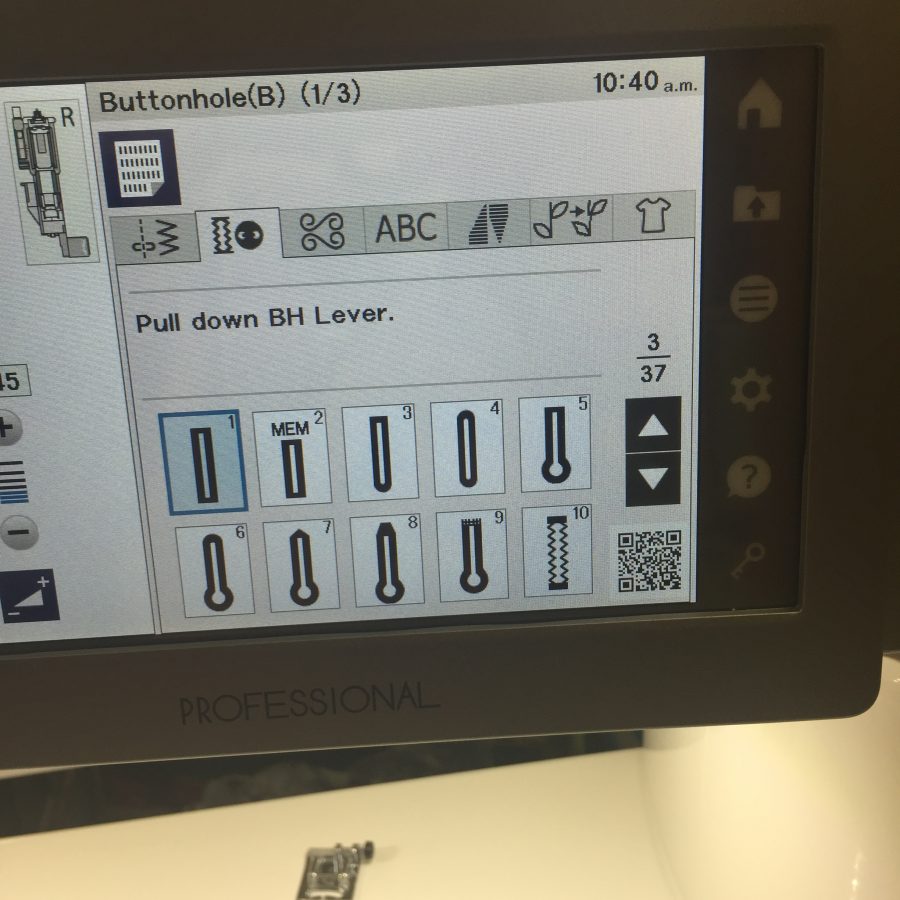
- Sew the black strip. I began using a narrow buttonhole stitch for my applique, but switched to a straight stitch which I think looks better. Again, the edge-stitch foot or quarter-inch foot is perfect for getting precise seams and stitching lines. Remove any visible basting/gathering thread. Refer to second photo.
YEEEHAW! You’re made it about halfway! In the next post we will work on the ties and bib, then finish things up in a third post. Once they are all live, I’ll add the links following this paragraph.
And once again, here’s the PDF for Sarah’s Rockin’ Retro Apron, free to download in 2020. Thank you to Michael Miller Fabrics for selecting me as a Brand Ambassador for 2020 and to Janome America for having me as a Janome Artisan since 2003! Good fabric and brilliant machines make it so much easier to do a brilliant sewing project!