Plaid Top Tutorial: Lesson 1-Choosing a pattern and starting tips
Friday, February 17th, 2023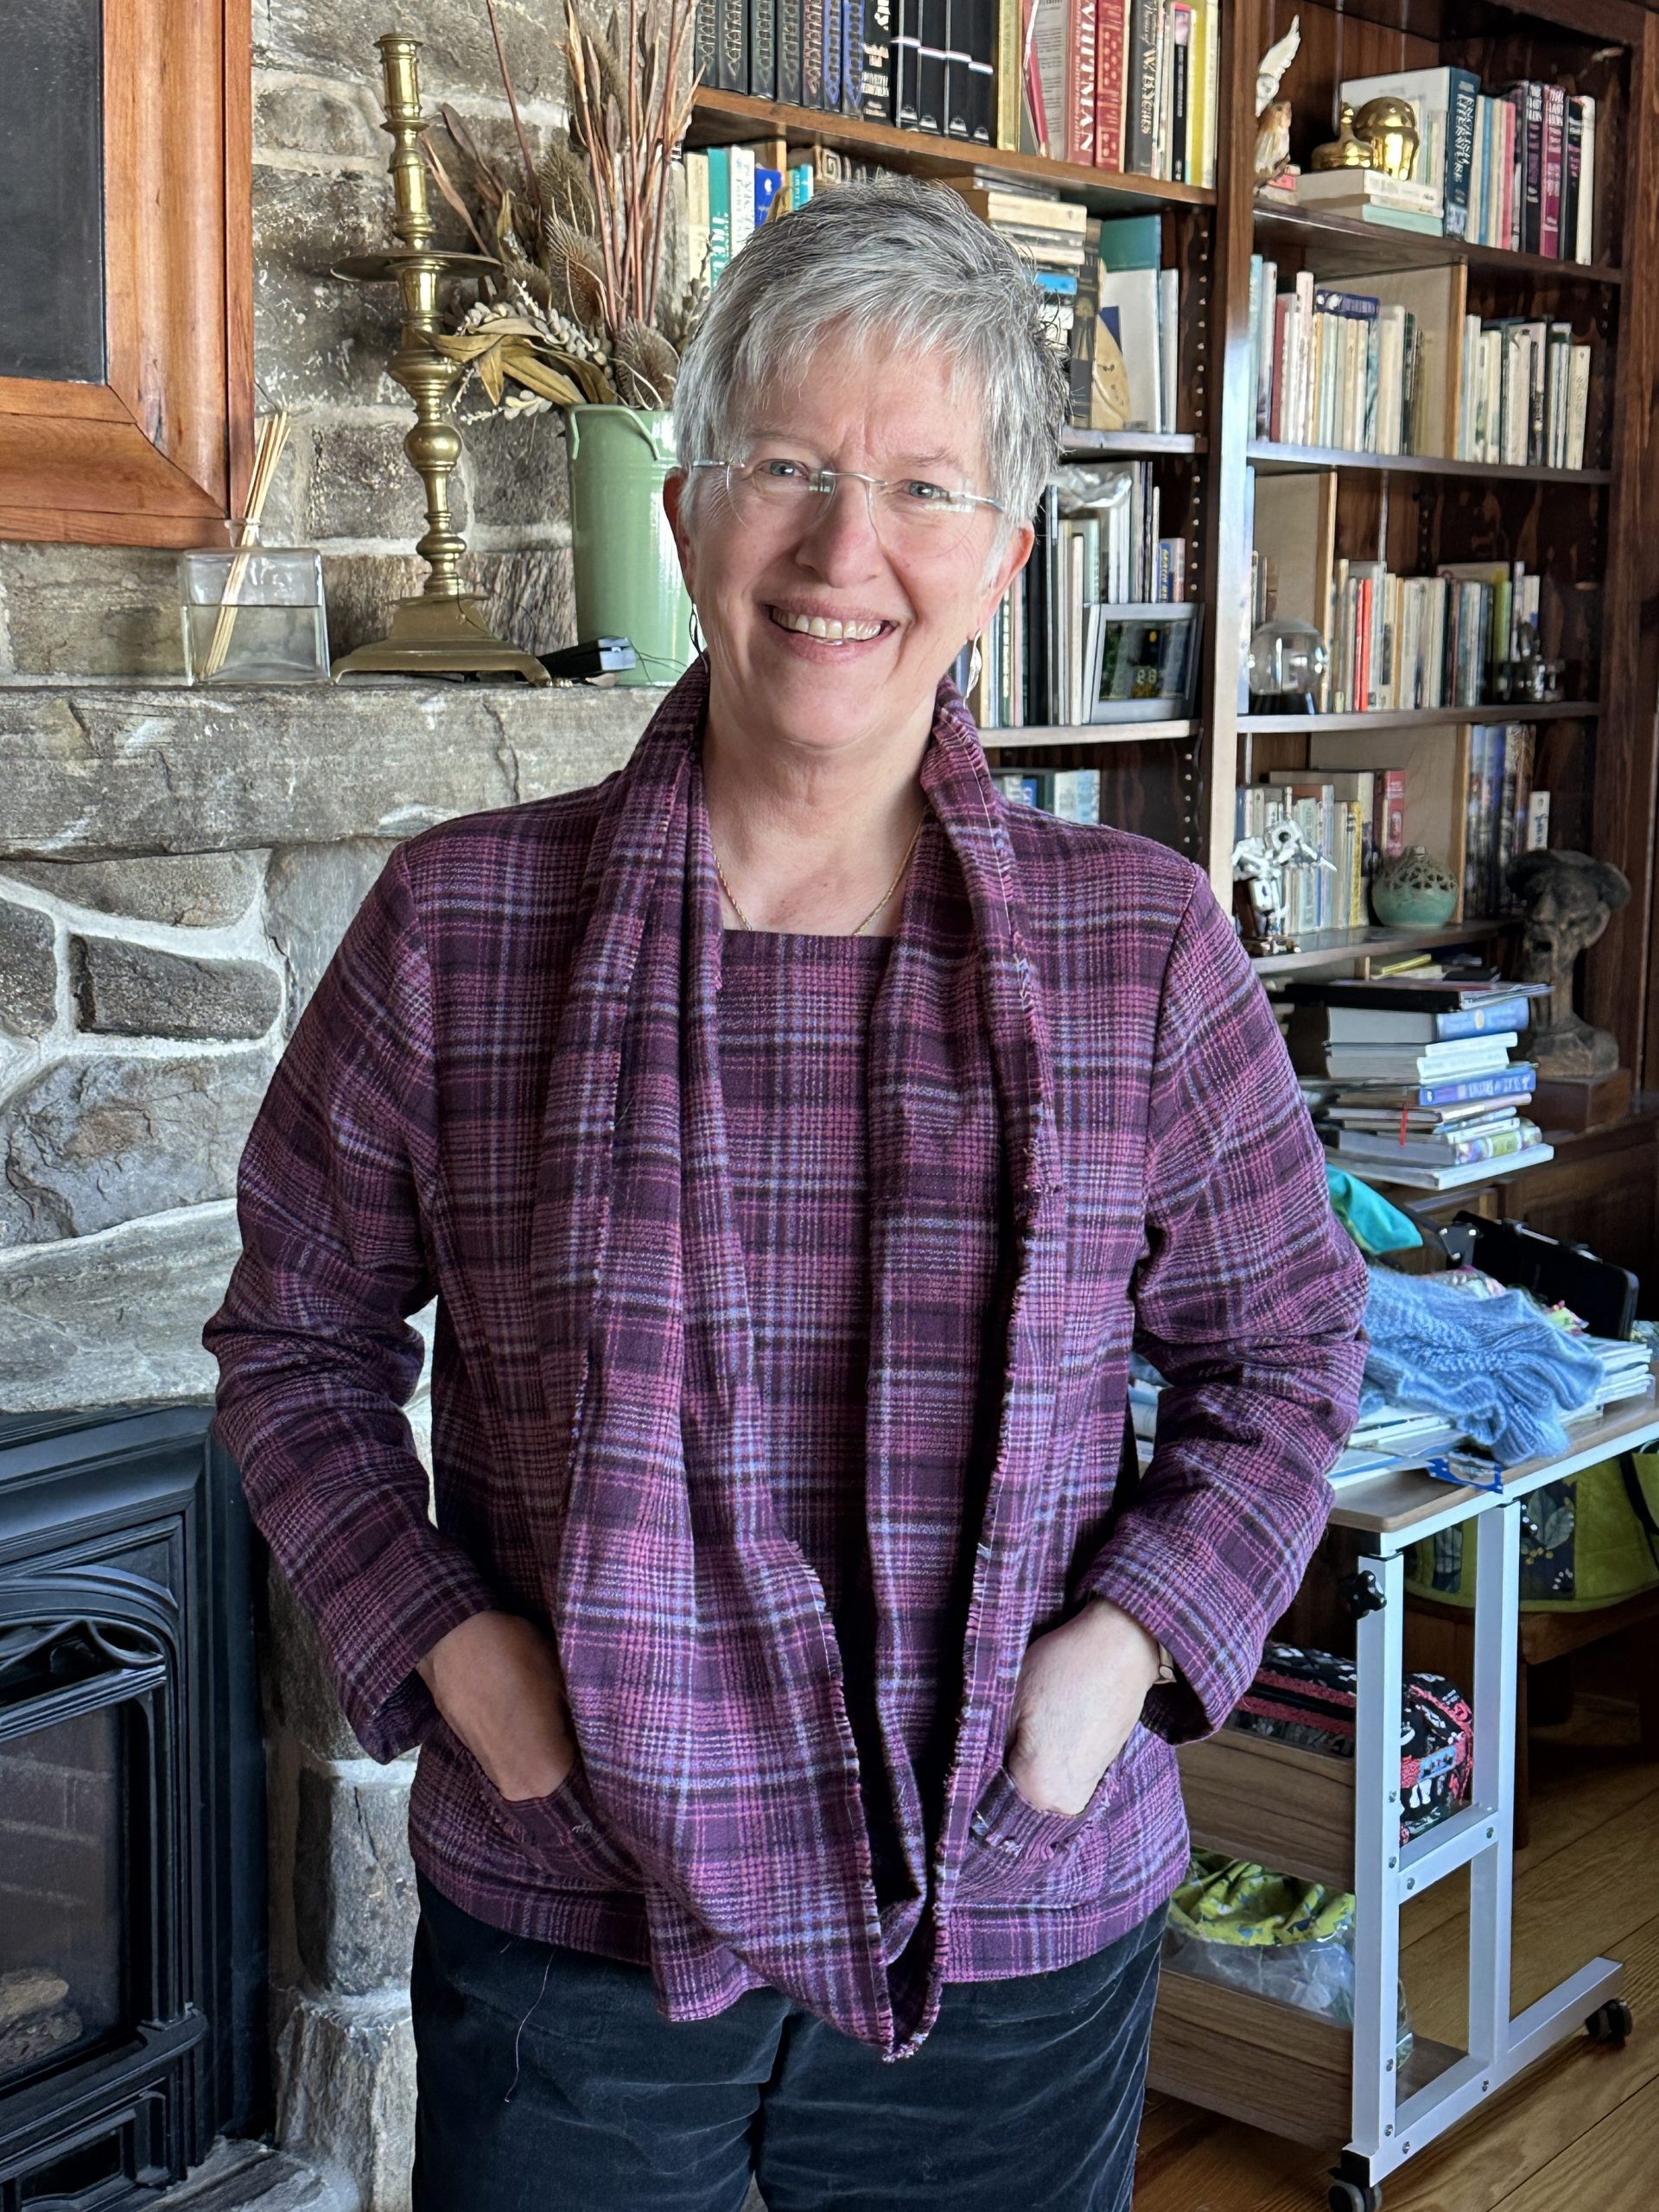
I thought it would be fun to teach some basic garment sewing techniques using a simple “T” top in woven fabric as the platform, tossing in a few special lessons along the way. This isn’t a class in how to make a blouse–rather it is a way to teach several techniques that are useful in garment making and home dec across the board. There will be 9 posts total that will publish on Tuesday and Friday through March 21. As they go live, I will update a list at the bottom of each post that has links to all the other lessons. Today, I’ll cover:
1. What to look for in a pattern
2. Figuring out what fits you by looking in your closet
3. Wearing Ease
4. Pre-shrinking!
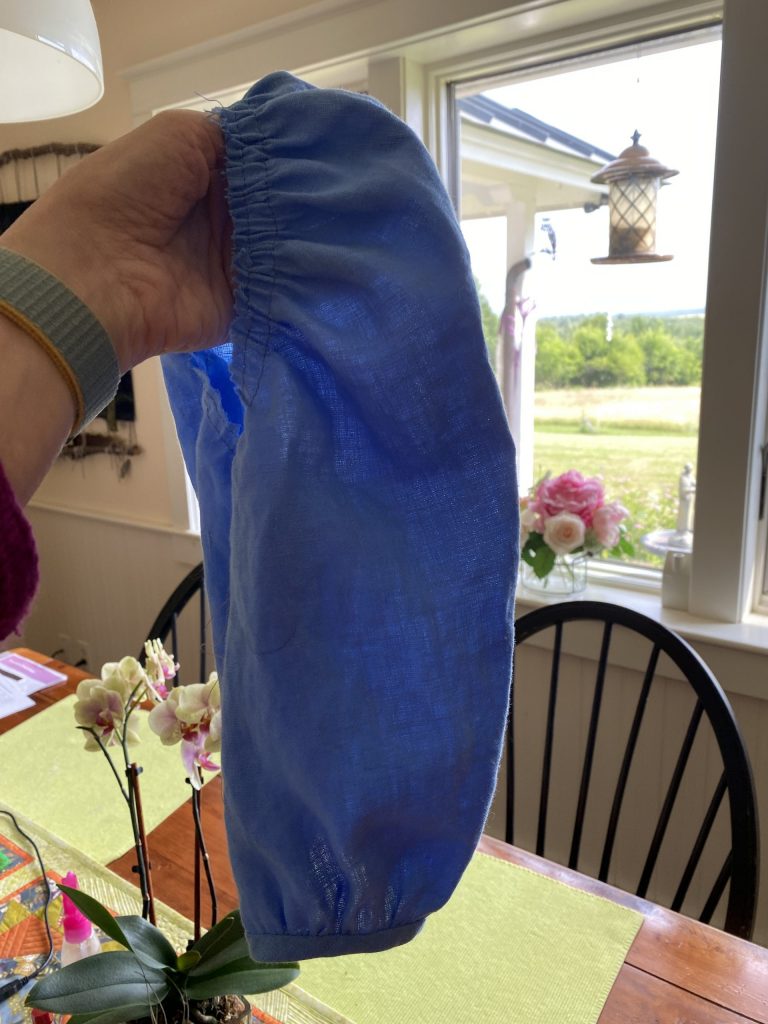
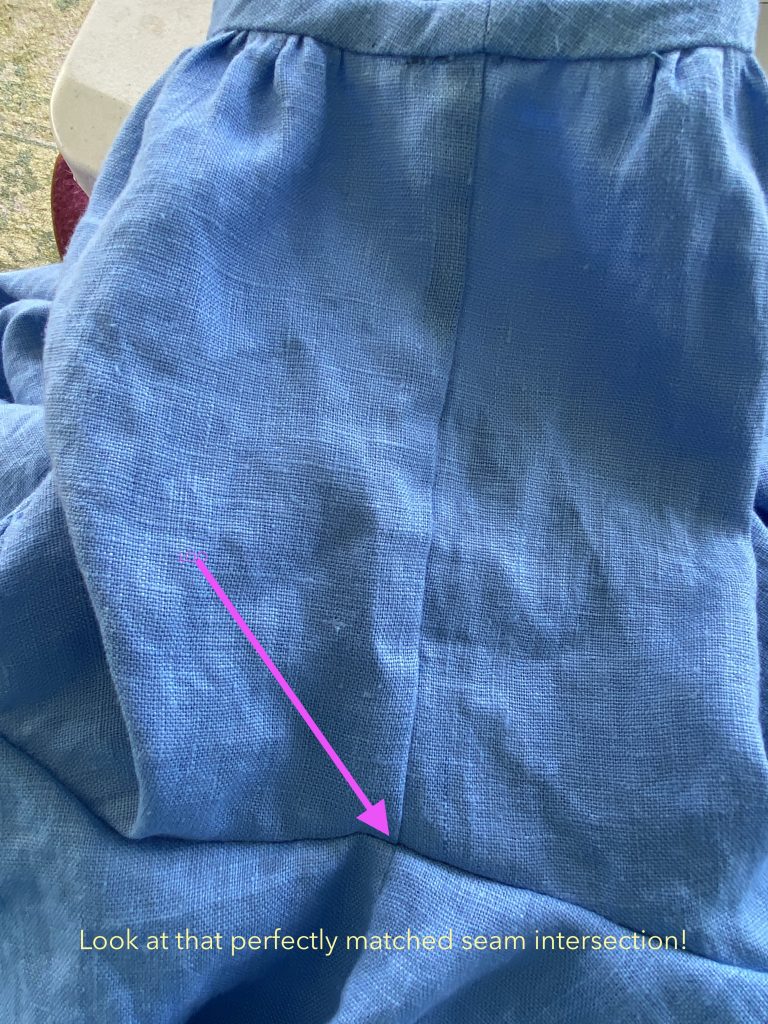
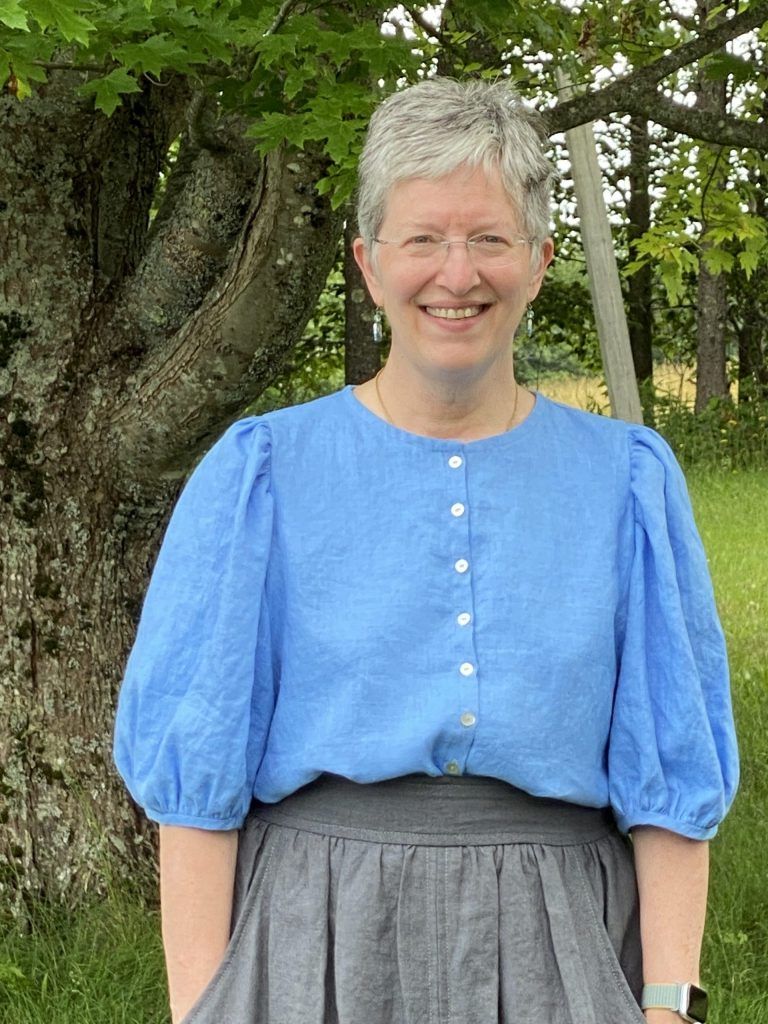
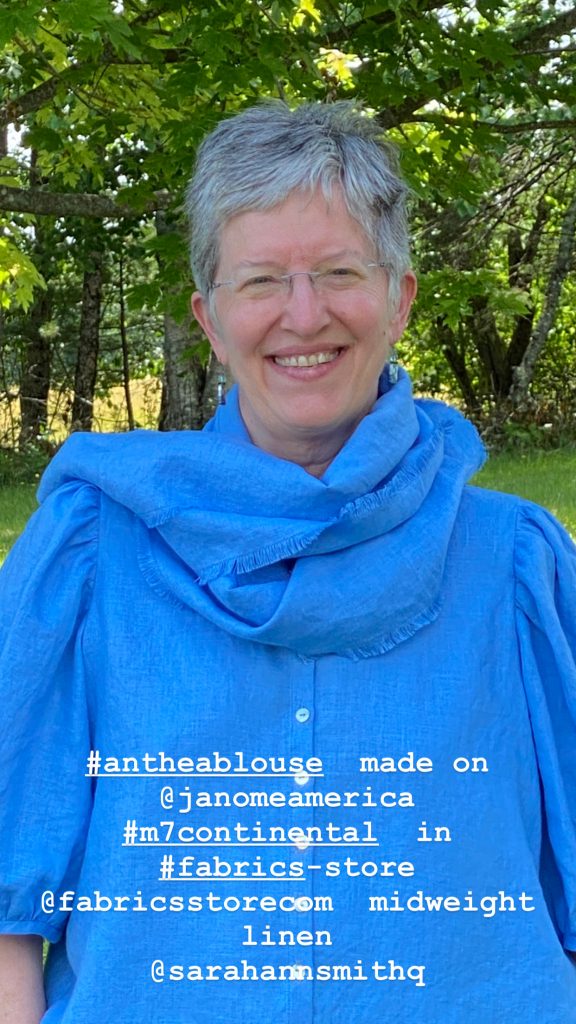
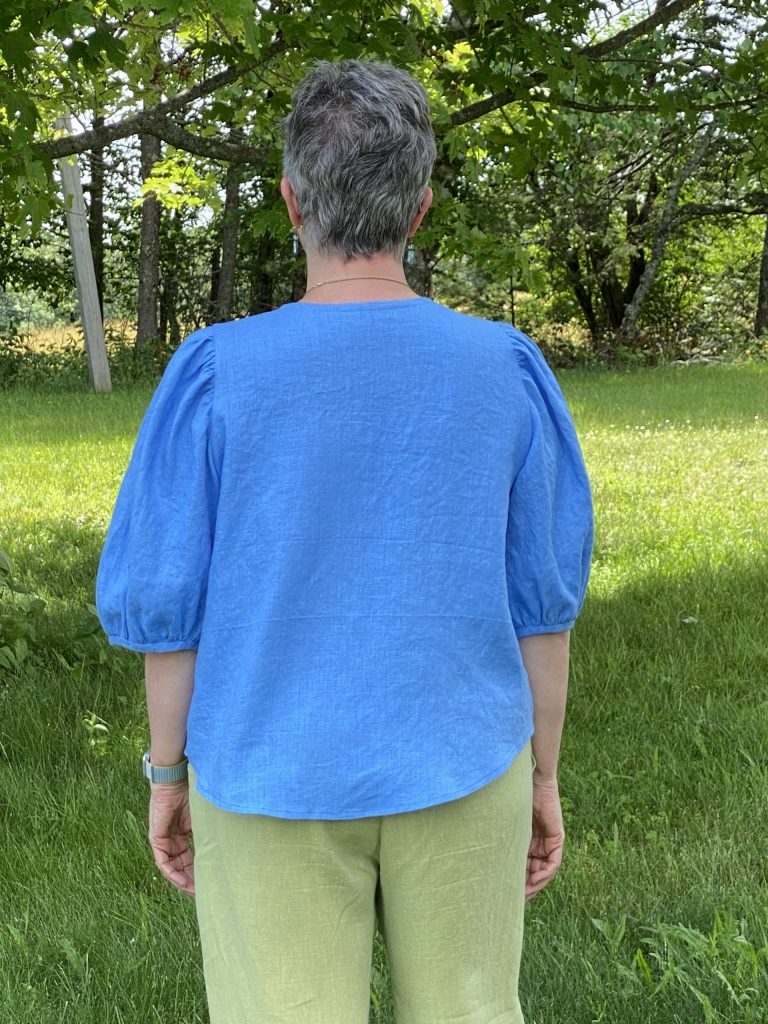
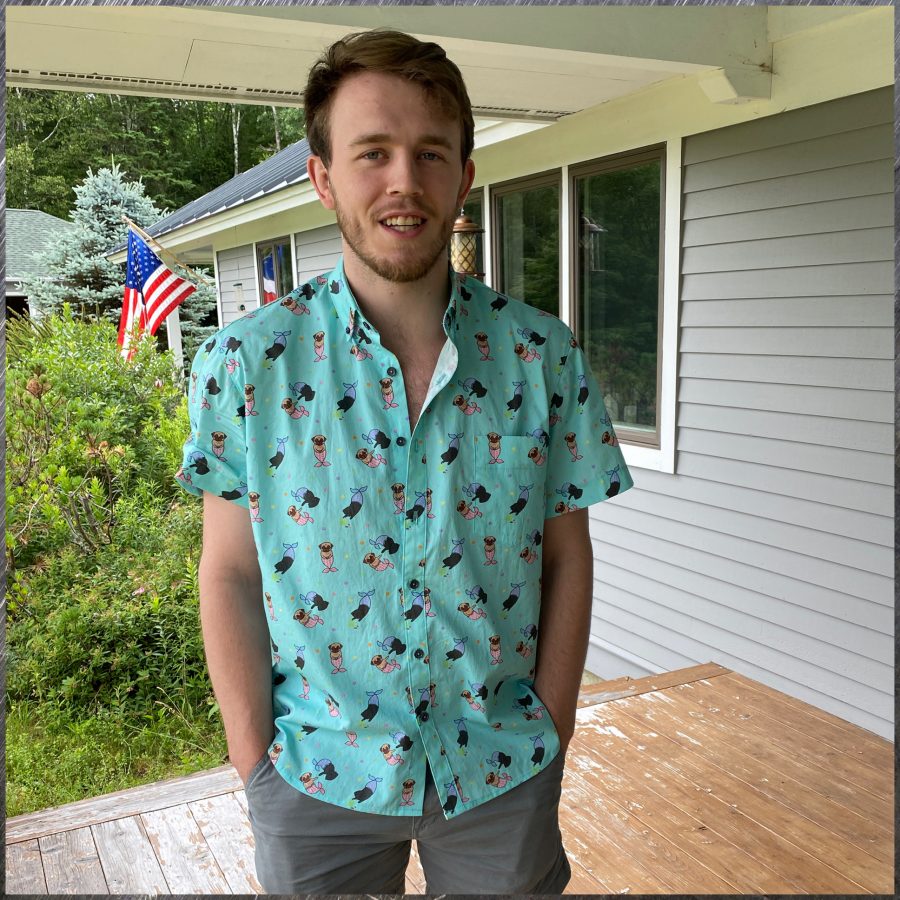
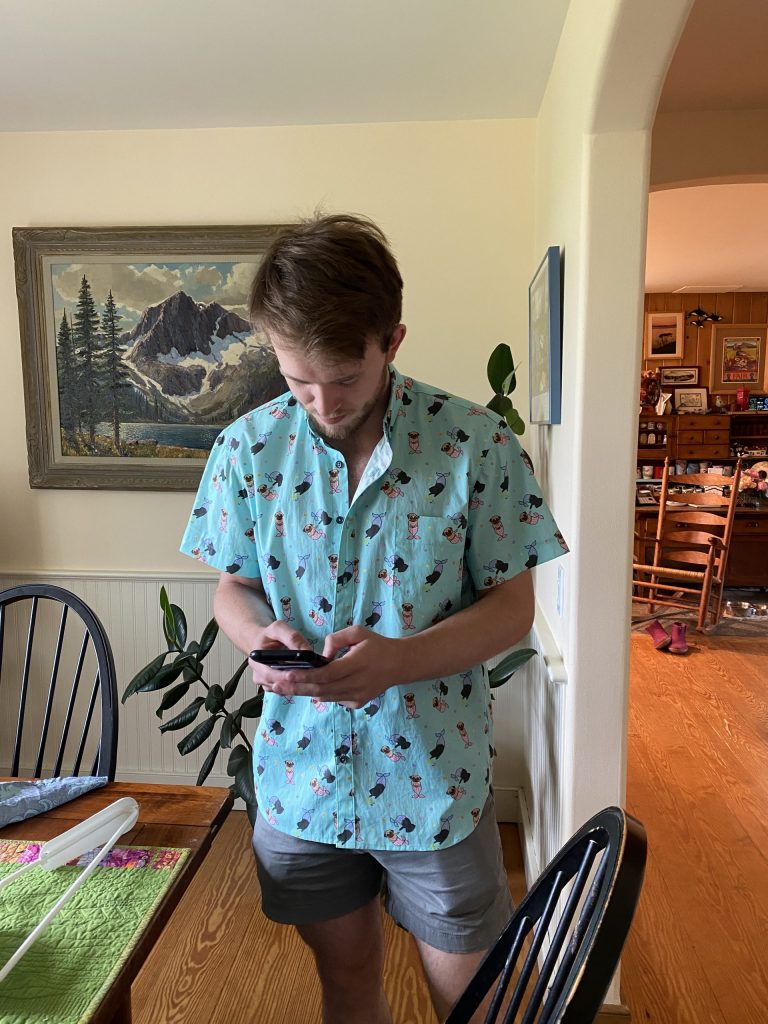
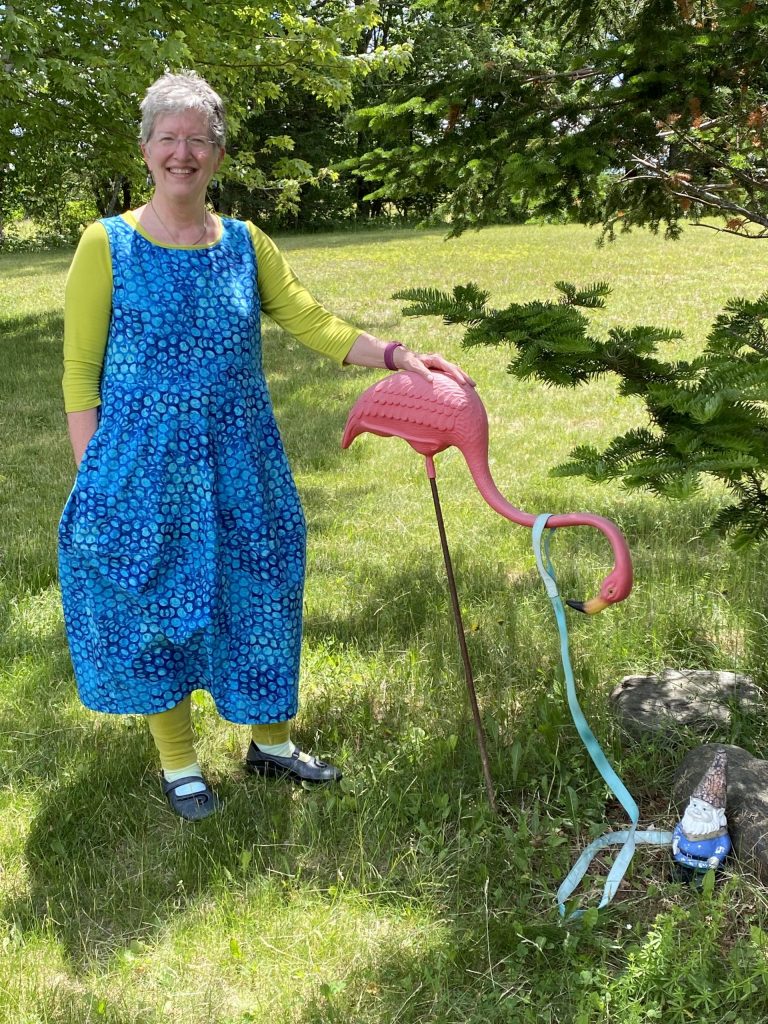
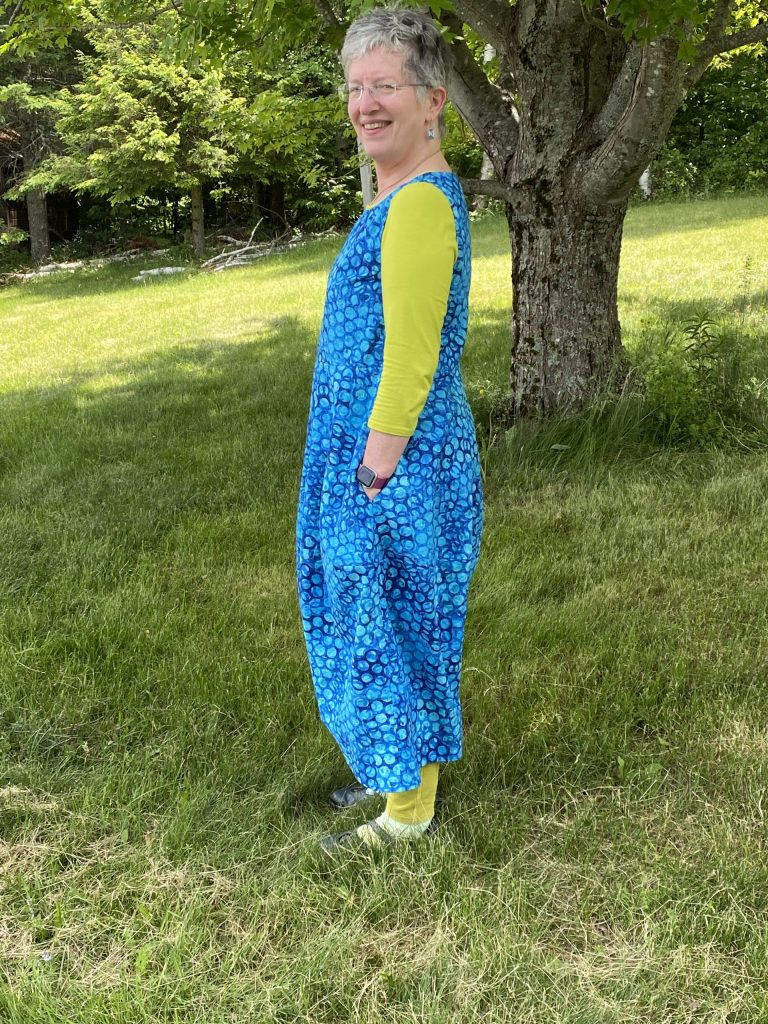
and a tease….be sure to look at the photos at the very end!
Future posts will touch on
–alterations including length, shoulders and bust adjustments (full and small)
–Matching plaids when cutting
–fine seam finishes including
*Overcast
*French seams
*Flat-felled and lapped
*Hong Kong finish–not used on the top but good to know
and a bit on when to use each
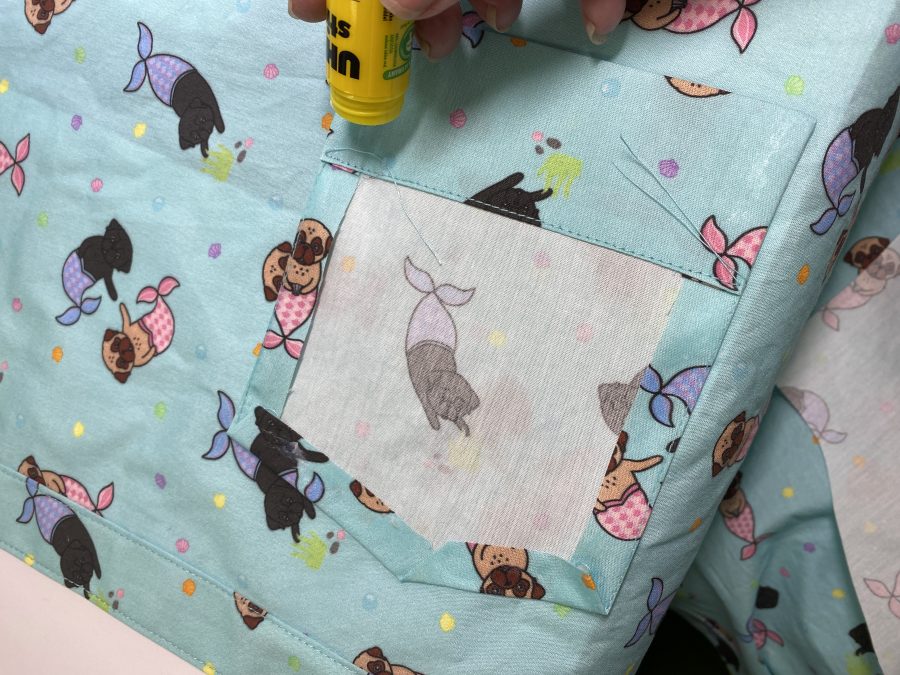
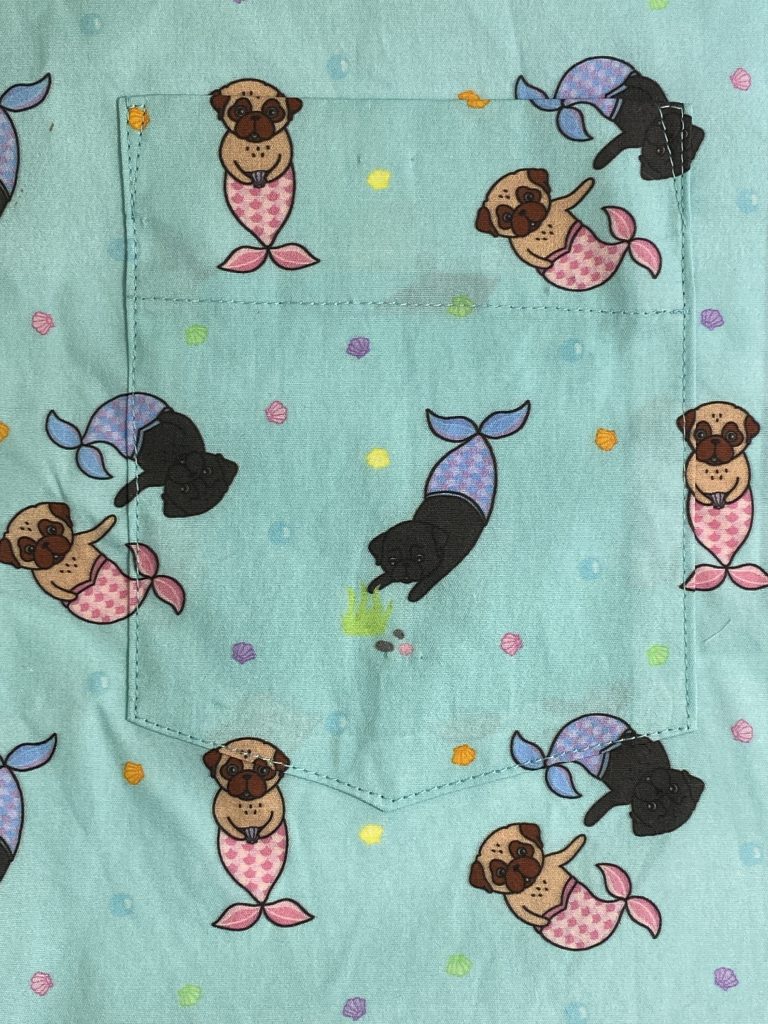
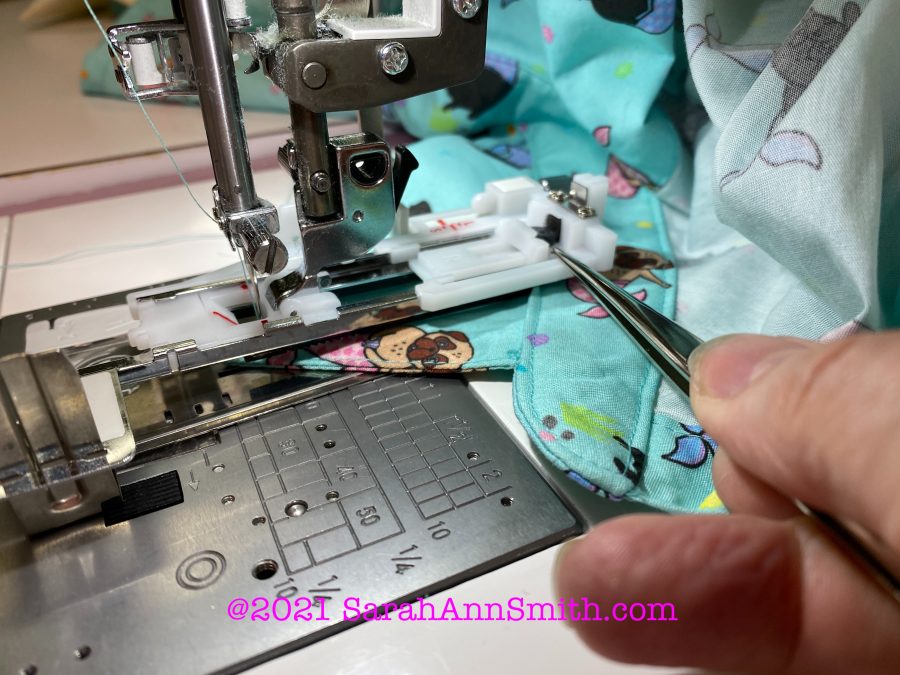
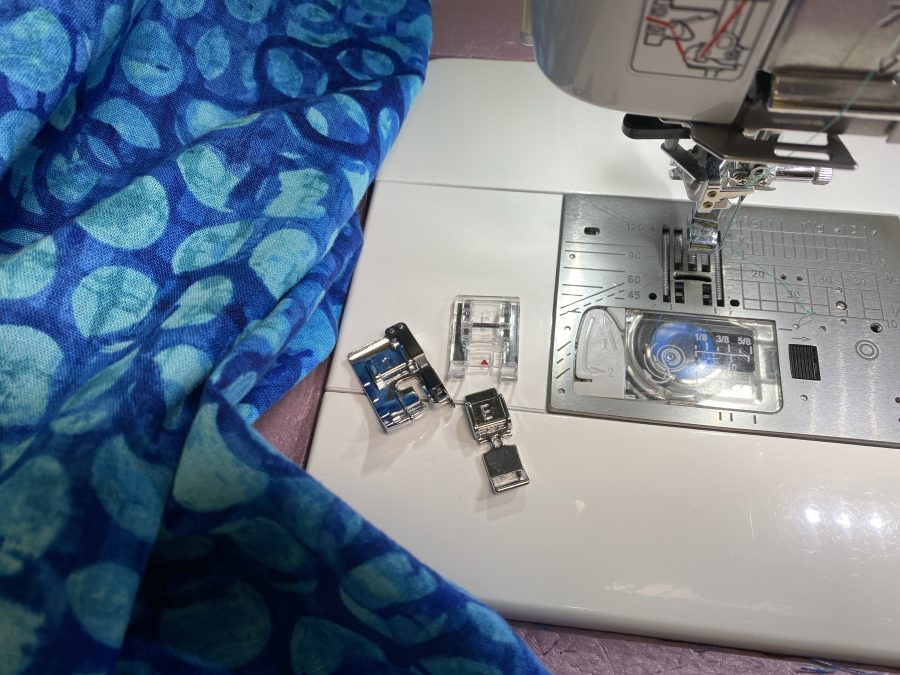
–Lined Patch Pockets, getting a smooth curve, presser foot tricks
–a bonus Infinity Scarf and wrap up
Please note: I am affiliated with Janome as a Janome Artisan and am compensated. However, my reviews are honest and I would say what I say whether affiliated or not. I’ve also chosen to be affiliated with Janome since 2003 (!!!) because their machines are so good and they are so responsive to the interests and needs of their customers.
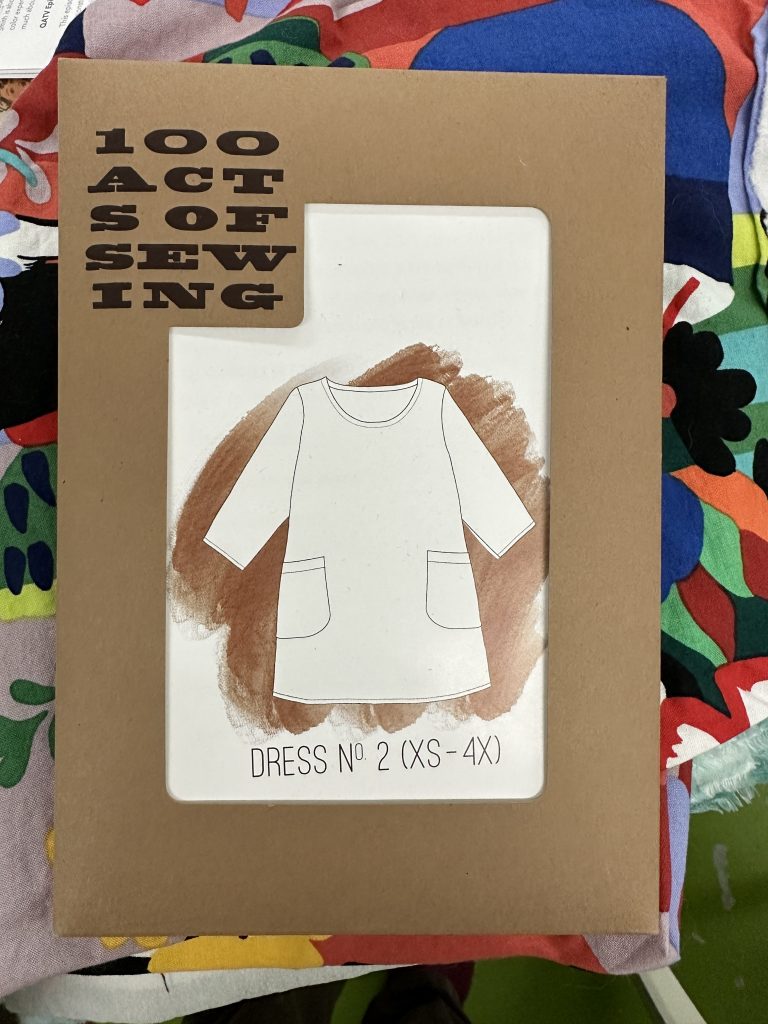
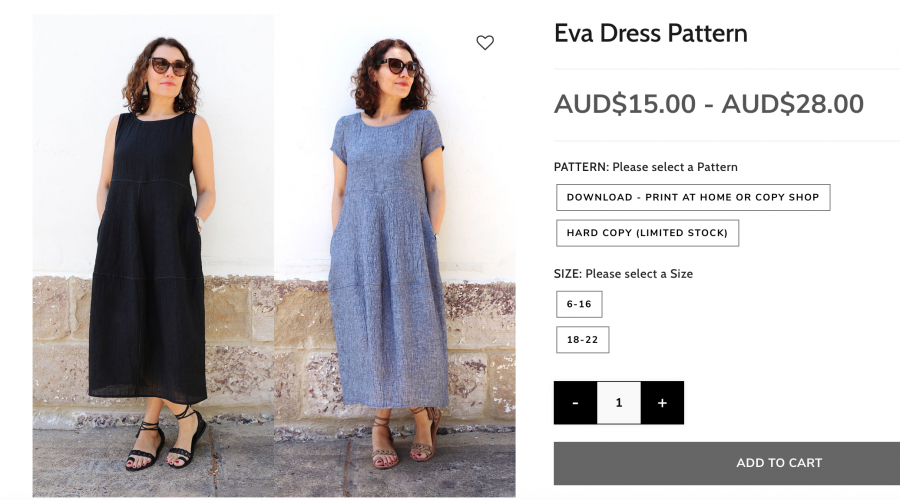
A dear friend loves this very popular pattern and has made it many times. It is a simple “T” shape and is supposed to be geared to beginners with simple shaping and few pieces. By making it shorter, you can have a top or a dress from one pattern, and the size range is good for almost all bodies. Or so it would appear. All I can say is that I am so sorry I cannot recommend it. At ALL. I’ll show you why.
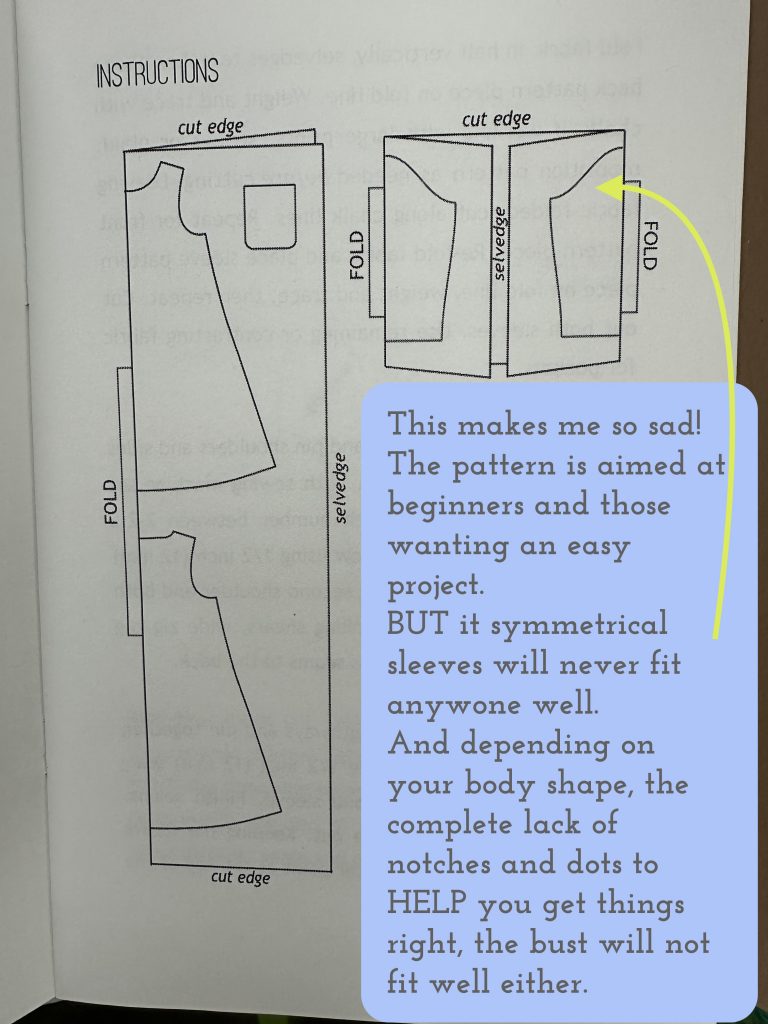
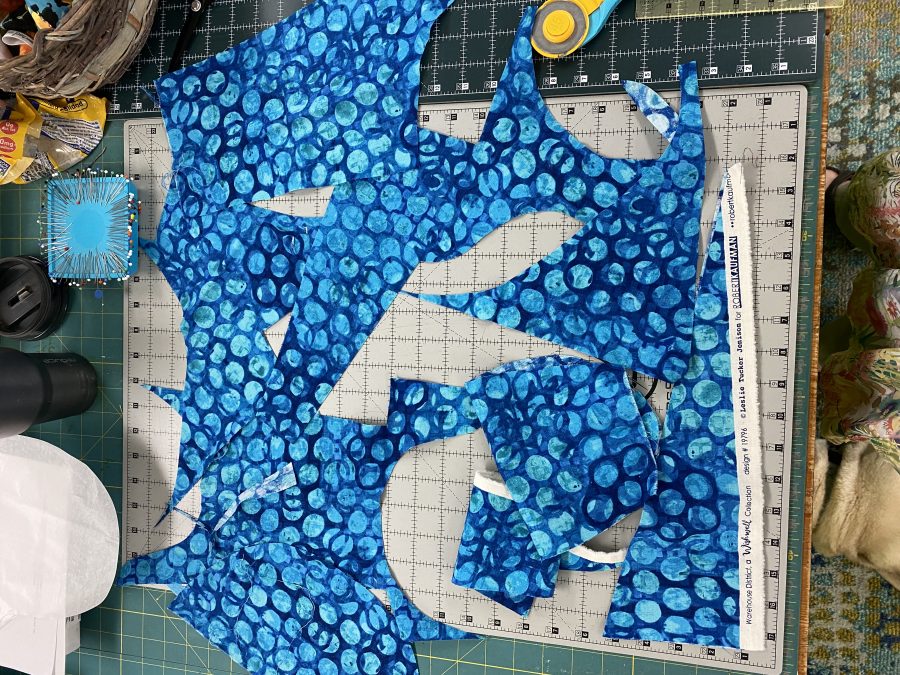
As you can see from the cutting diagram on the left, it has a simple flared silhouette with a front, a back, a pocket and two sleeves. Easy peasy, right? WRONG. Here’s why: Registration marks are found on most patterns–I had thought they were on all but I was mistaken because there are none on this one. You see, notches make it EASIER for you to match what goes where and properly align your pieces. Registration dots do the same thing–there is usually a dot somewhere at the top of the sleeve cap which you align with the shoulder seam to position the sleeve so it will fit the body. Lengthen/shorten lines tell you where to do just that, because after all we aren’t all the same: some folks have long torsos, others are short-waisted, and arms–our arms are all sorts of different proportions. AND, there are NO DARTS. Can you imagine an A-cup and a DD-cup trying to fit into the same tent shape? Yeah. As someone I once heard say, one-size-fits-all means looks good on no one.
I am guessing the reason the designer had for omitting these essential marks was to not intimidate the beginner. Unfortunately, all that will happen is the newbie will make something that doesn’t fit any which way and will think they are the problem, when in fact the pattern is doing them a disservice. Like I said, I really wanted to love this pattern and use it as one that you could buy. Don’t. Please keep reading!
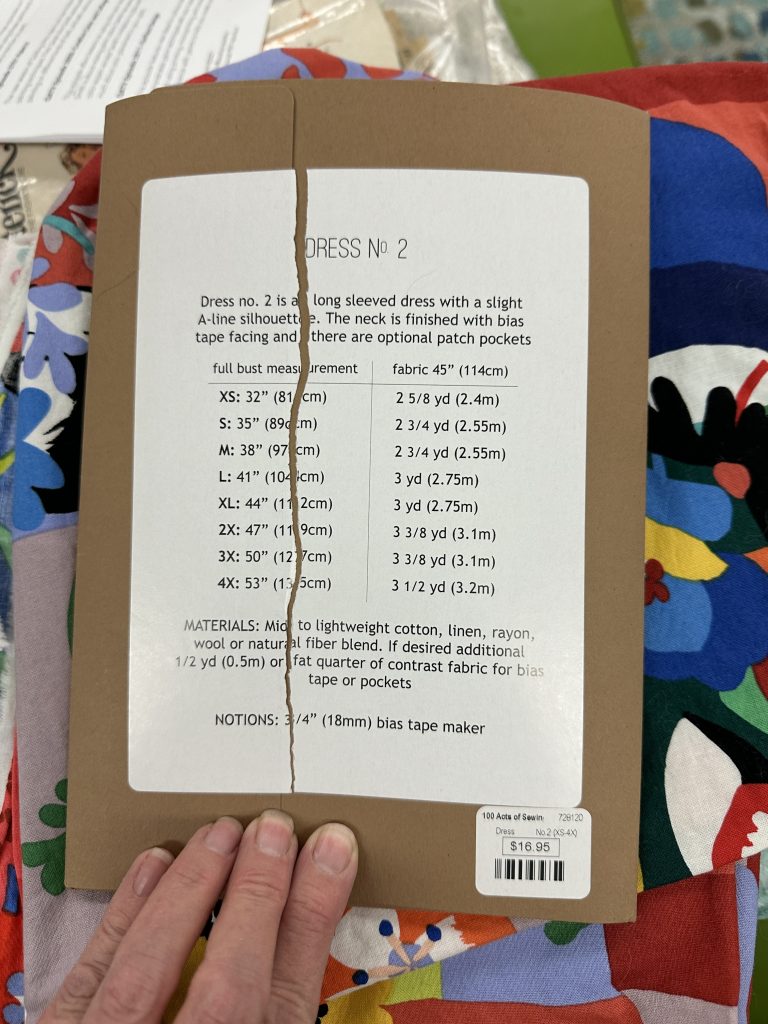
You’ll want to measure your full bust, around the widest point of your bust line; wear a snug camisole so that you are measuring your body not bulky clothes as well . Then you want to measure the high bust, which is around the torso above the bust, kind of up under the armpits. If you have a large cup size, you will want to choose a pattern that will fit your shoulders, then do a full bust adjustment. Luckily, many of the independent designers now design for full bust–I have to skip those lines or down-scale the fronts so they don’t look concave and sag on me. The major companies tend to design for a B-cup, but some have started offering patterns for various cup sizes–smart!
Make a drawing! + photo of measuring a blouse
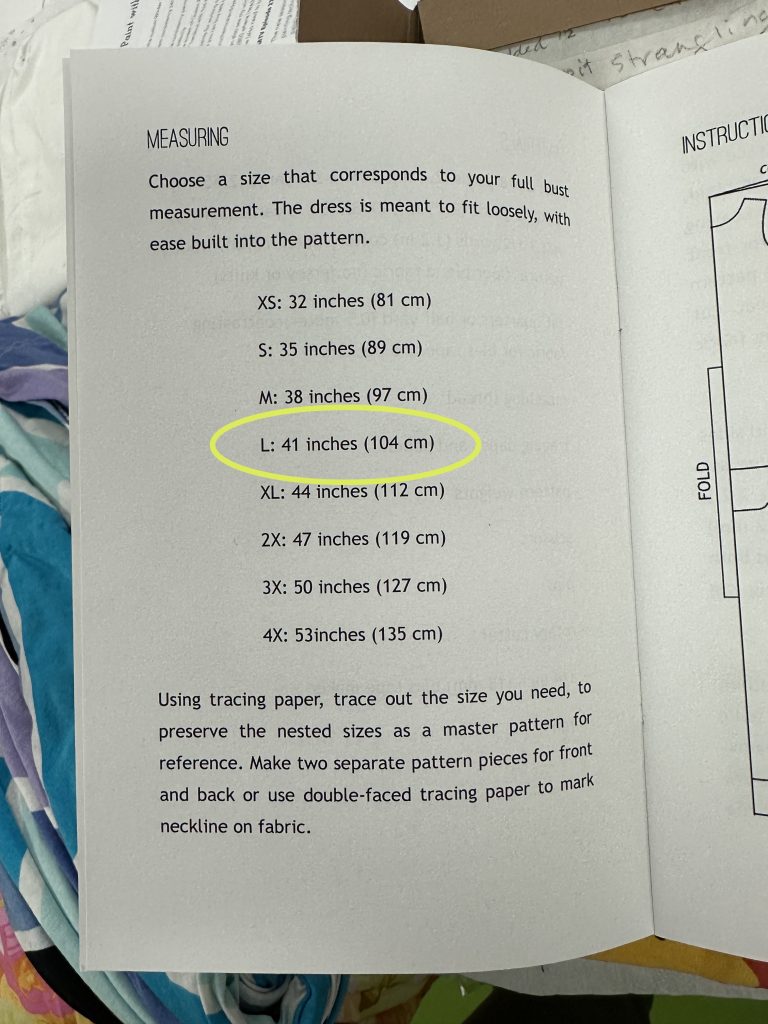
Then there are sizes. In this pattern, I opted for size Large since my bust measures 39″ and I have broad shoulders. The Medium would have been too small. a Many patterns from the traditional Big-4 companies, Simplicity, McCall’s, Butterick and Vogue, are based on sizes that DO NOT correspond to off the shelf. I am usually two sizes larger in one of these patterns than in ready to wear. Not to mention that my ready to wear, depending on the company, ranges in size from Small to Extra Large. I’m not exaggerating…we all know sizes are all over the place.
The key is to measure yourself AND measure a garment you have that fits you comfortably and looks good. Then compare those measurements to the information on the pattern. You can usually find two measurements: the size of the body and the size of the finished garment. The difference is wearing ease (see below).
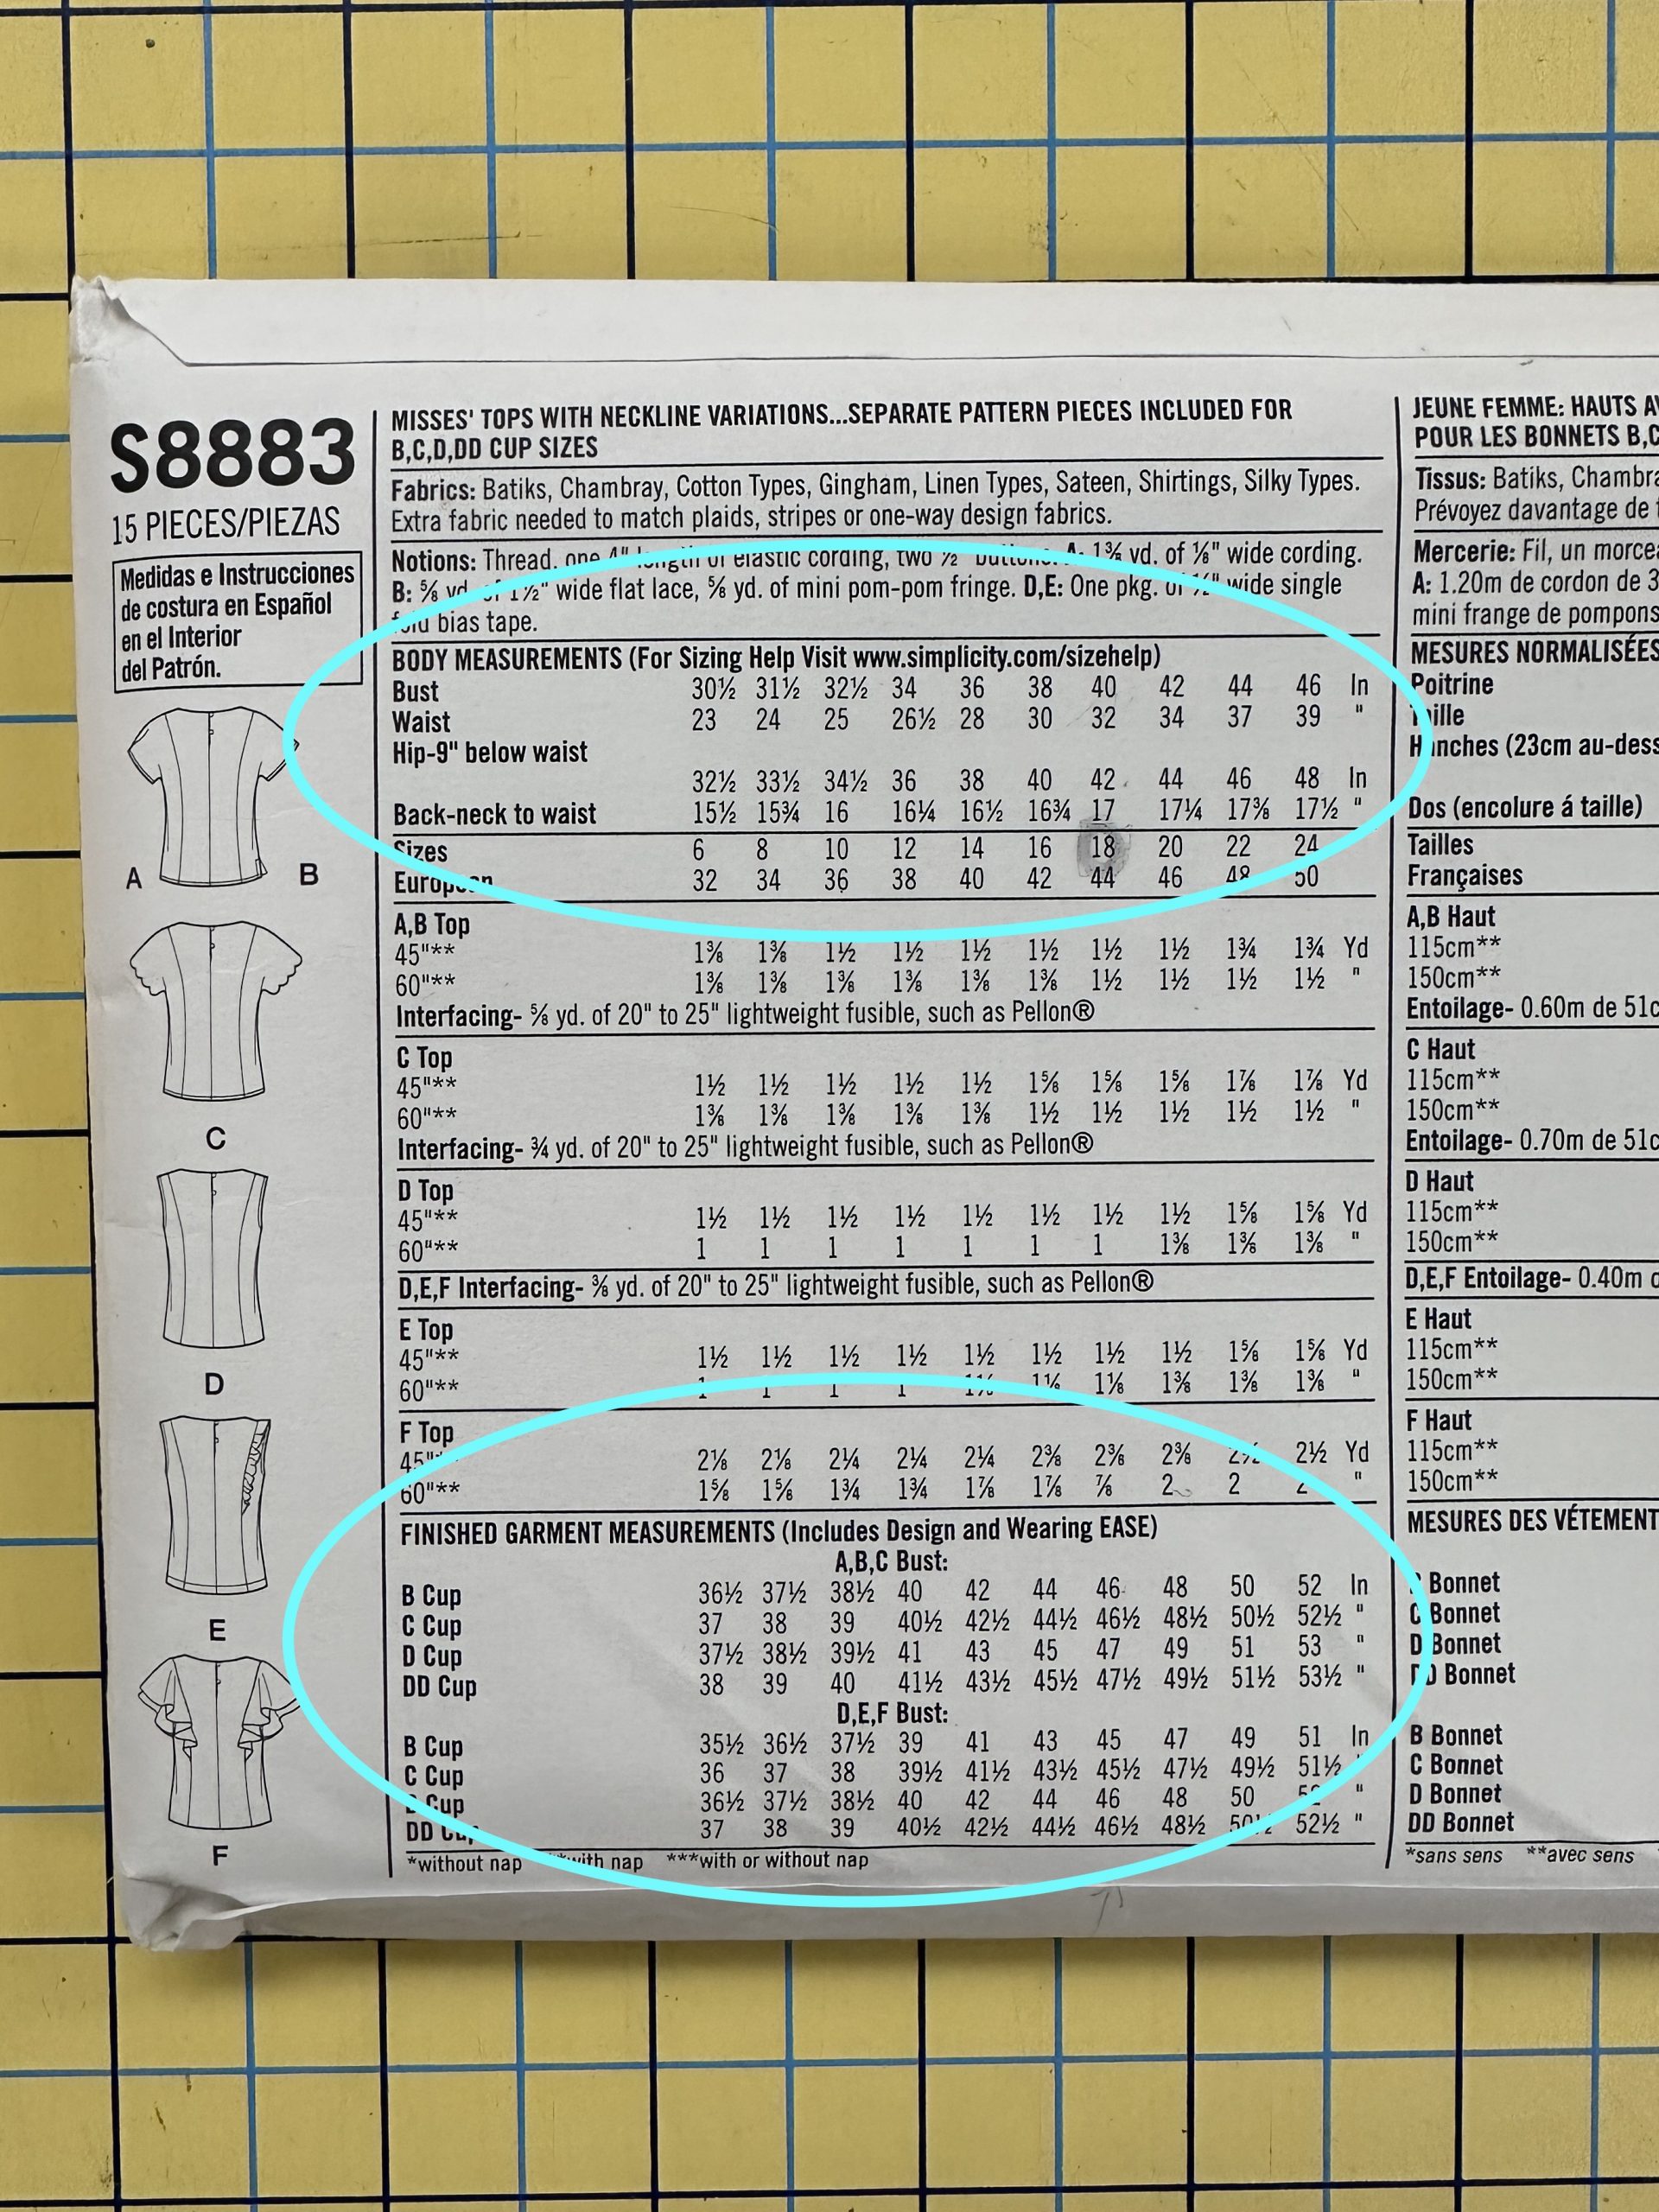
This is the back of Simplicity S8883. I was elated to discover it had cutting lines for various cup sizes. I still had to decrease to an A cup, but with the various cutting lines it was easy to see what I needed to alter. It shows, for a 40″ bust, a B Cup top would measure 46″, which is fairly roomy.
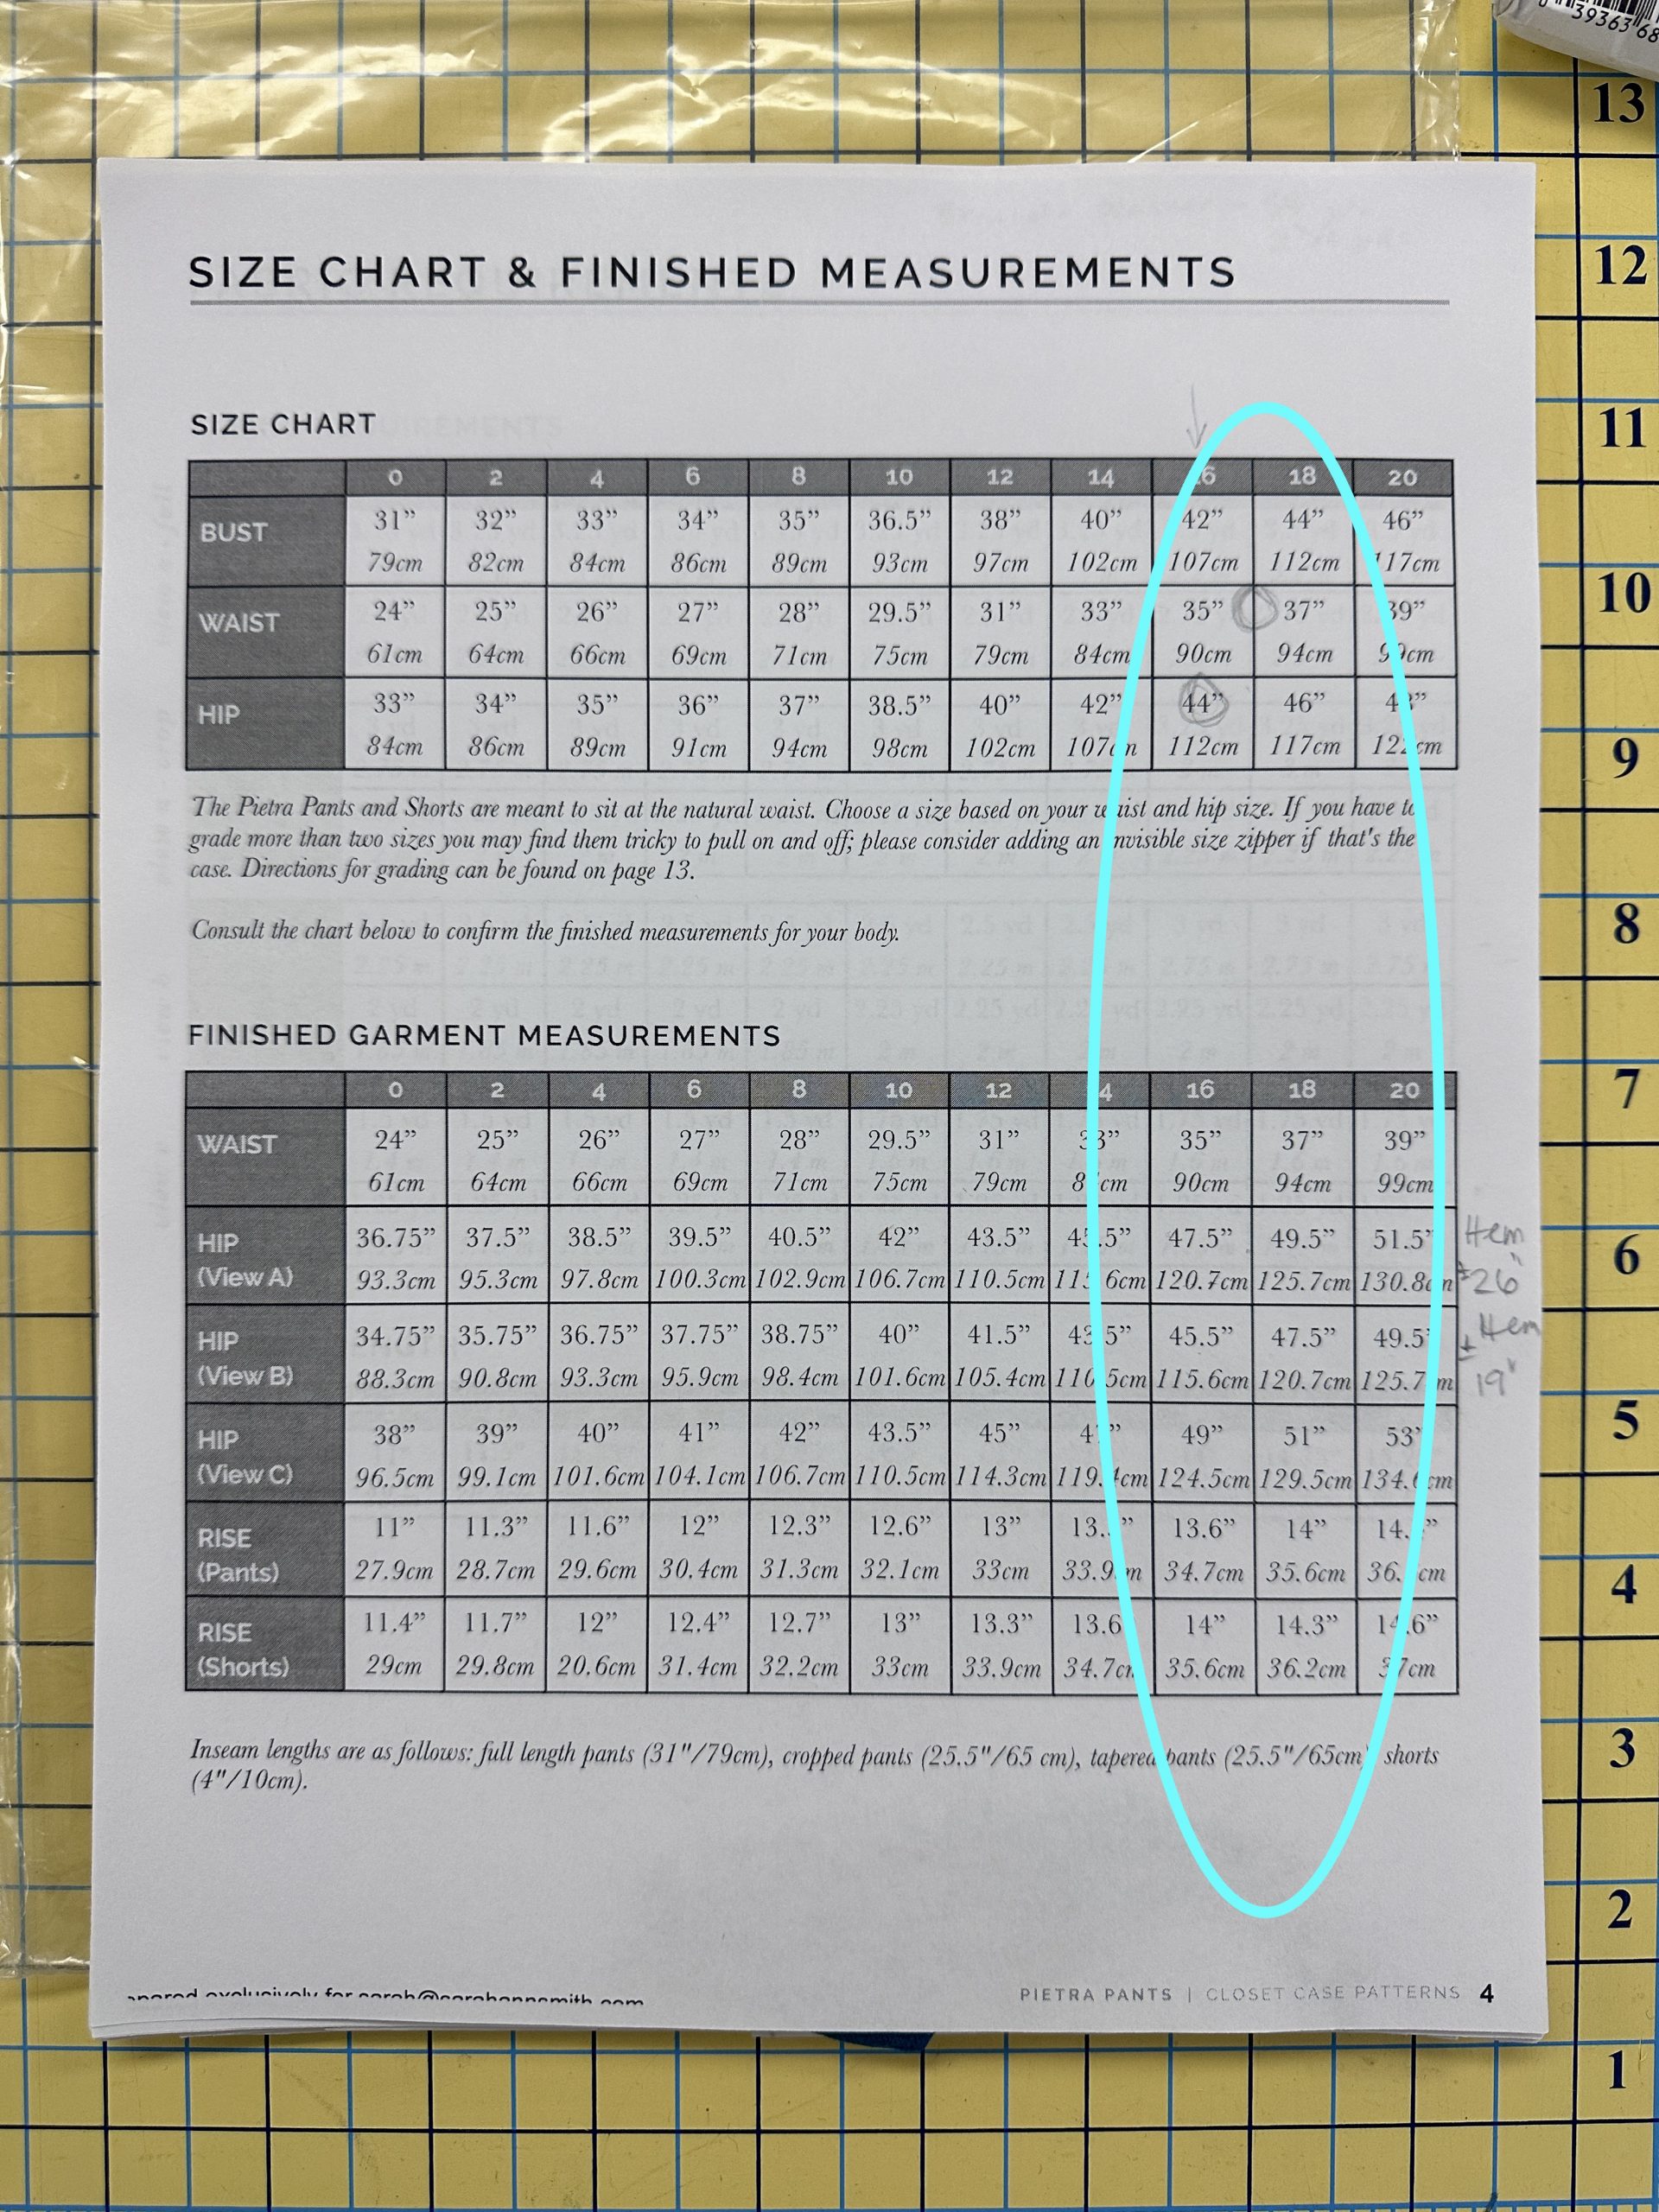
The Pietra Pants pattern is an Indy pattern design, and as with many of them, comes with lots of detailed information. I am between a size 16 and 18. All that ice cream has made my waist a bit bigger. It is also WONDERFUL that it includes the rise–the measurement of the crotch seam from front to back. No more camel toe (those pants that pull and and cut into you in a very unattractive way)! It also reveals the difference in wearing ease in the 3 views of the pants/shorts. This helps you compare to something you have that fits (or doesn’t), so you can adjust accordingly.
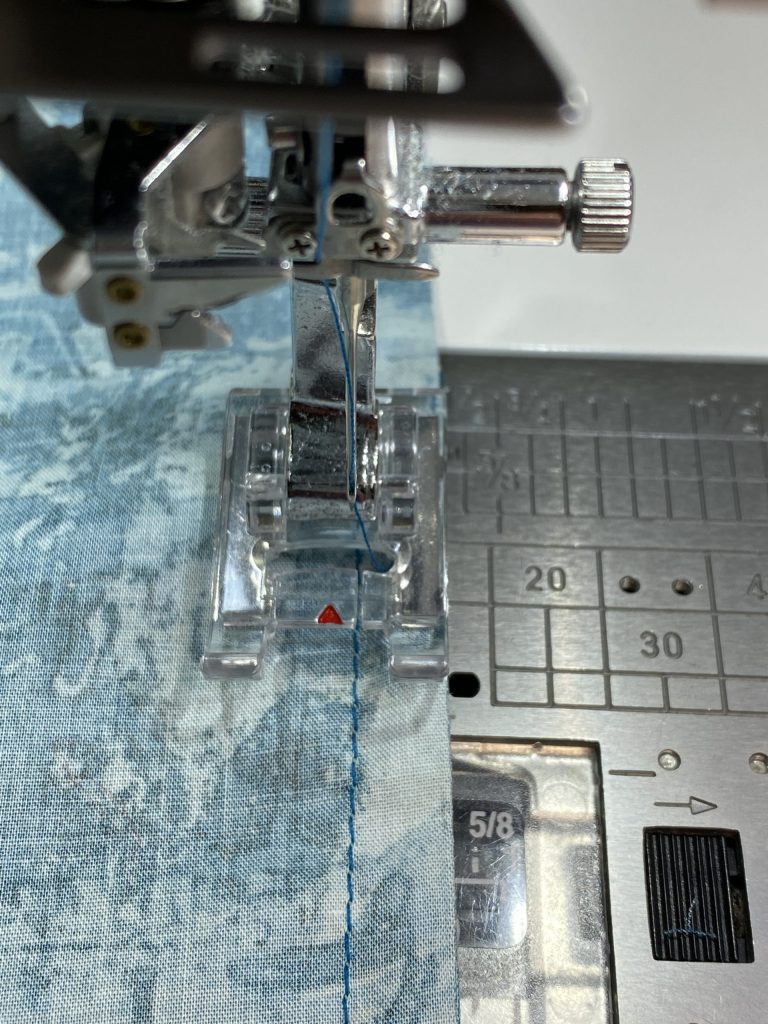
Then, measure across a blouse (make sure you compare like items, so if you are making something with woven cloth, measure a garment with woven, not knit, fabric) at the bust line. That will have anywhere from zero to 4 or more inches extra. This is called wearing ease. Some of us like very fitted, body skimming clothes, while others (like me) prefer things a bit looser or even very loose. Fitted garments tend to have 0-2″ ease, while semi-fitted are 2-4″, and roomy is even larger. If you have a flowy top that measures 52″ over a 44″ full bust, that is 8 full inches difference. Knowing that amount of easy will help you choose a pattern that will you give you the results you want! There is also something called negative ease, found in knit garments. If you want a form-fitting garment, it will be cut 0-2 inches smaller than the finished size, then the stretch in the fabric will make it fit you snugly and show off your beautiful curves.
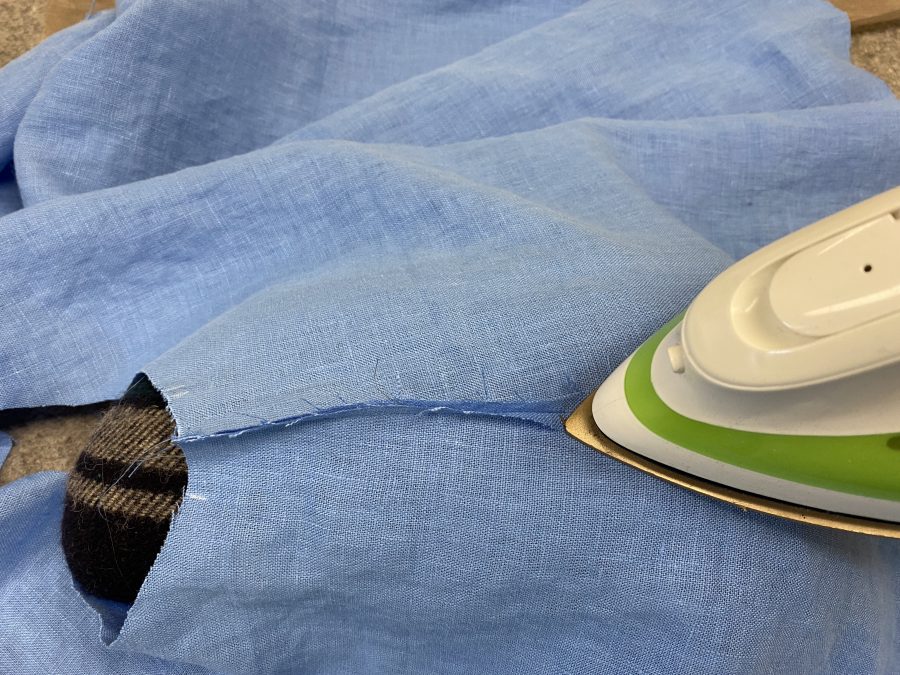
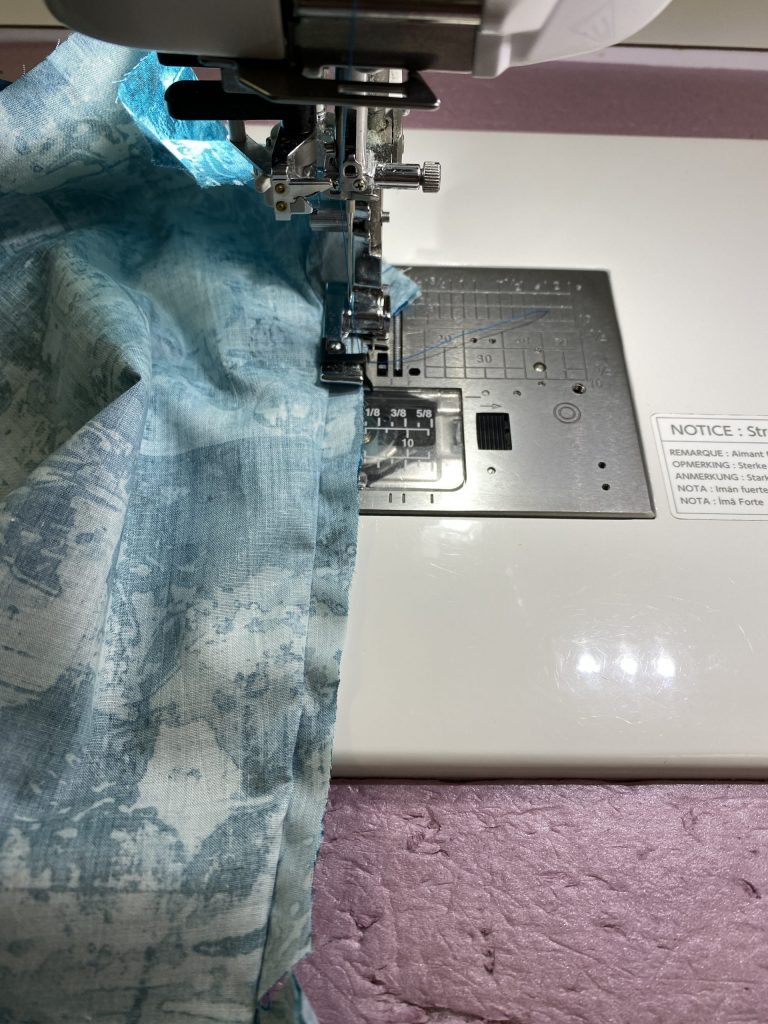
Pre-shrinking fabric: This is always a debate among quilters, but for garments there is no question. If you intend to wash or clean your garment, you MUST pre-shrink! Don’t do all that work, finish the garment, love it, then have it turn one or two sizes too small after you clean it. Even woolens that will be dry cleaned need a bit of a steam press! Since most of us wear things we wash and dry (hang dry or in the dryer) at home, treat the fabric you have purchased the way you will the finished garment. If working with tricky fabrics like rayon or silk, do some self–education on the internet about how to handle them. For now I’m going to talk only about this cotton flannel top.
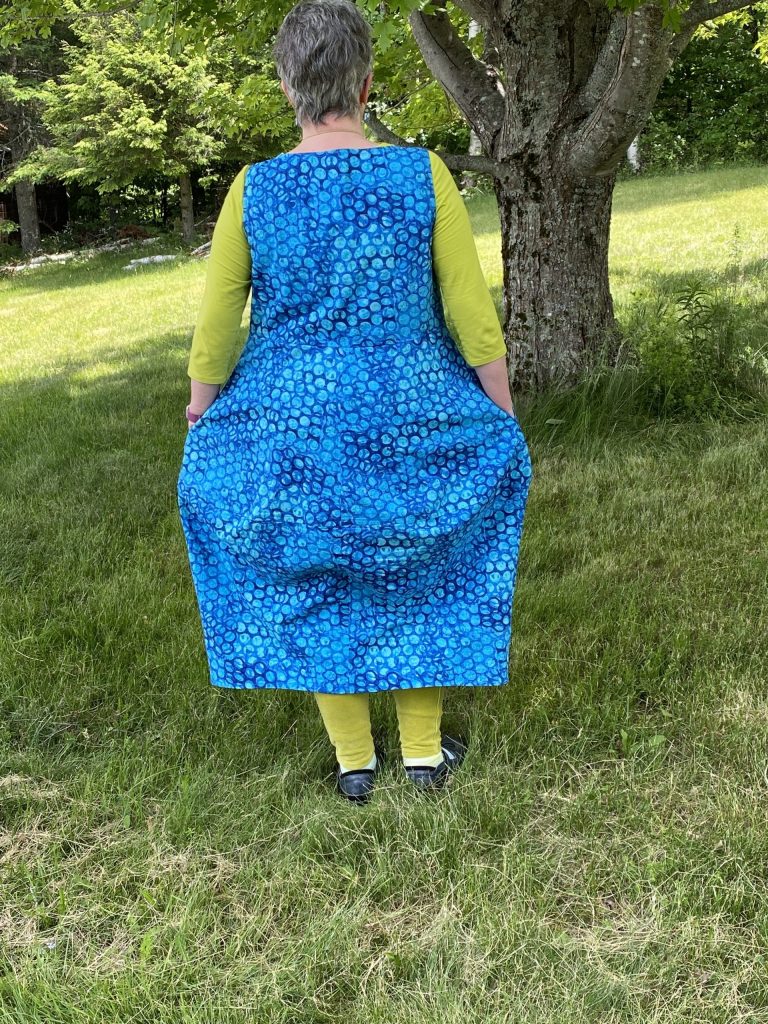
I’ll explain the what and why in my next post, but for now, just LOOK at this! The Dress No. 2 was made for a 41″ bust. There is indeed enough room for a bust larger than my 39″, but the shoulders were TWO FULL INCHES TOO NARROW!
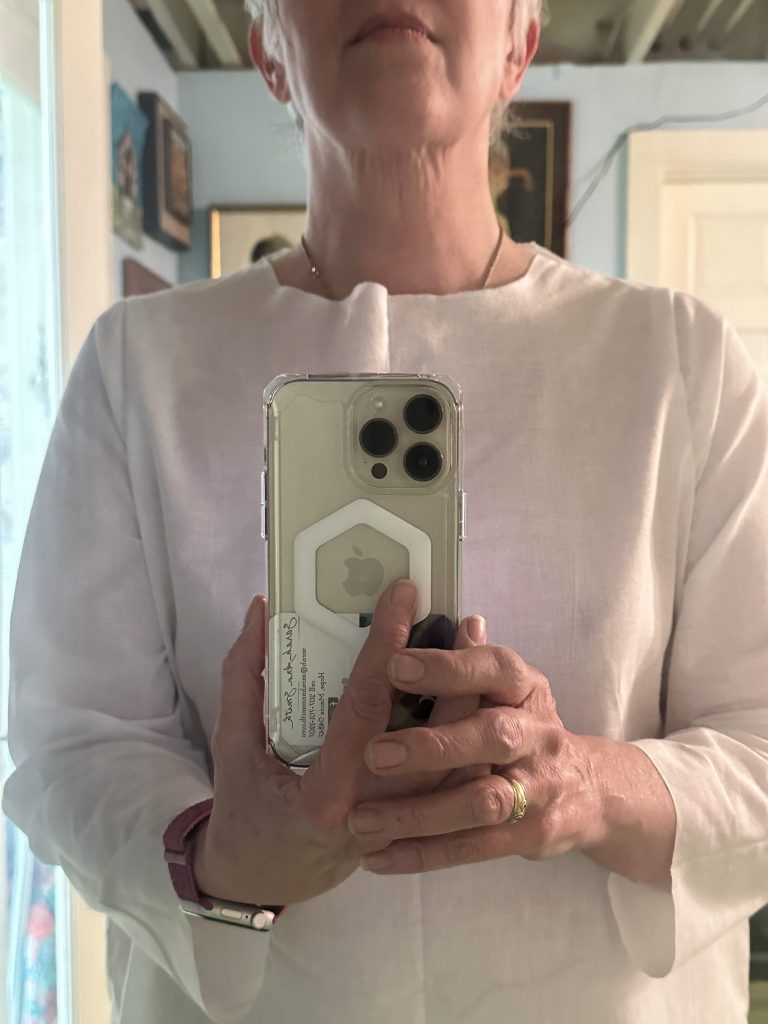
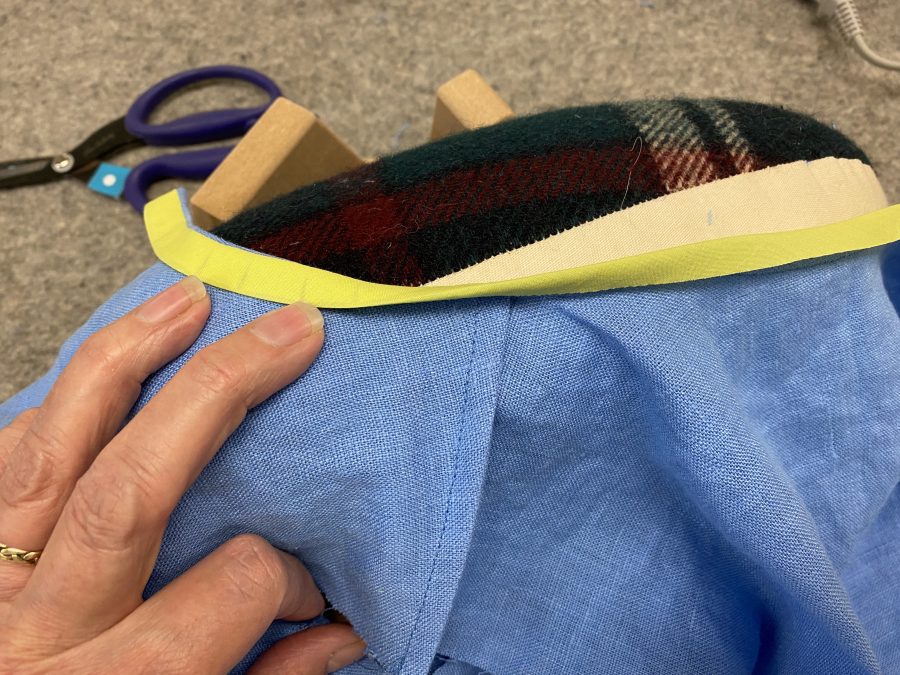
Remember what I said about size, and picking Large for this top. Thankfully I made a muslin, above–
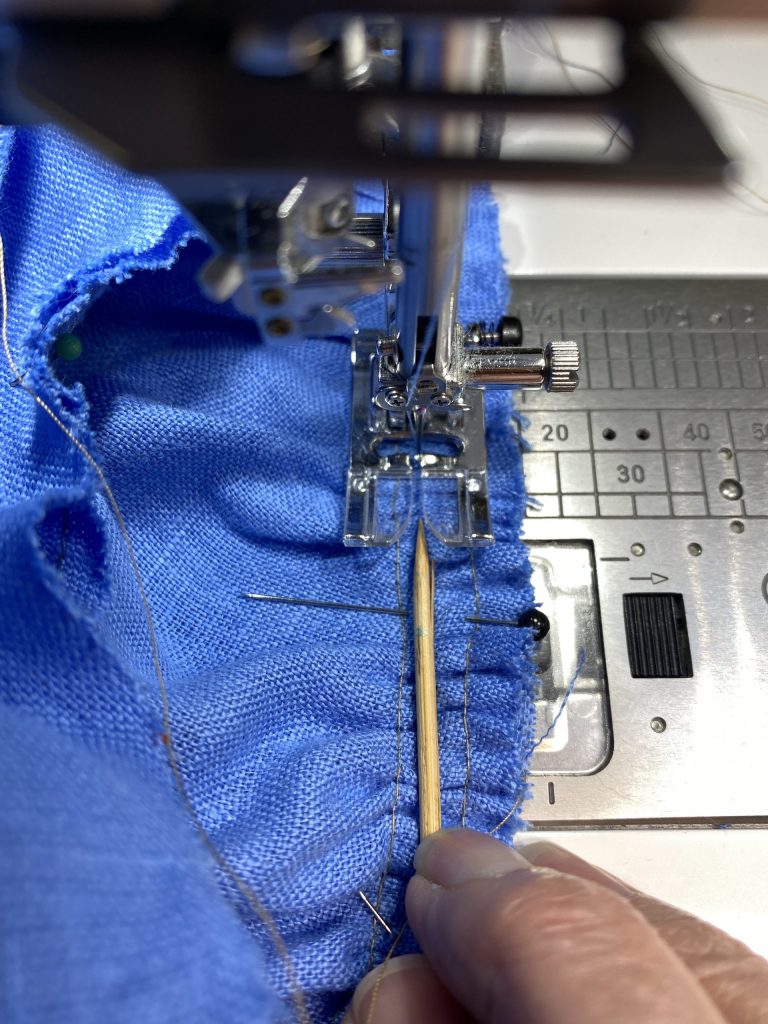
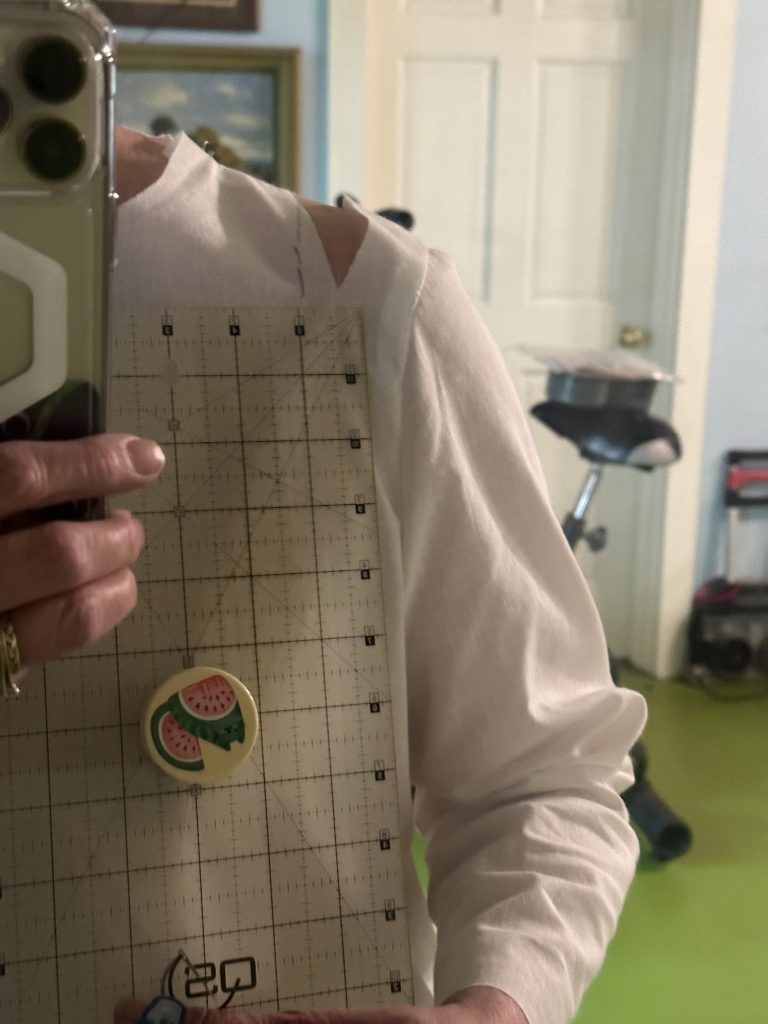
Above, the top as made per the pattern in a practice muslin to gauge the fit; I used super-cheap white cotton whose purchase price was, I think, $1 a yard which tells you how cheap it is. The shoulder seams are WAY in from the actual shoulder point, causing the shirt to pull up and strangle my armpits (yes, I DO have broad shoulders but this is crazy), which then causes the center front to ripple, not to mention feels uncomfortable. The way to figure out what needs to be done is to slice open where it is too tight. I marked the spots with a pen, took off the muslin, sliced, and put it back on. The next photo shows a gap of just one an INCH on just one shoulder!
If I had measured the pattern piece before I started cutting (smacking self upside the head) and compared it to an existing top that fits, I would have realized the problem and been able to take remedial action. But no matter what, doing a practice muslin saves money and effort in the long run. More in the next post on how I fixed it.
I will share fitting in the next post (on Tuesday, February 21, 2023), but they key is this: In late 2021, I signed up for a fabulous set of 12 monthly lessons from Philippa Naylor, who is known for her prize winning quilts with immaculate construction and her wardrobe. With significant experience working in professional garment making and patterning, she offers Garment Makers Question Time (GMQT) an online workshop with new lessons that build upon the previous ones. The value for price, $15 a month, is simply phenomenal–I’m not affiliated in any way other than being a very pleased student. Participants range from people who have never made a single garment to some of us who have been sewing for 50 years. The amazing thing is that we are ALL happy and learning. In my series of lessons here, I am sharing things I have learned over the years, not replicating what she has taught. But I can heartily recommend GMQT–if you want to make garments that fit and are well made, this is the workshop that finally helped the alteration process click for me. One key is to get someone (pay someone who does alterations if need be) to measure your body accurately–that’s what I did at a local fabric shop that has a teacher who gives semi-private lessons. Again, that is Garment Makers Question Time. Truly, I can’t say enough good things about the whole series! Look for more garments this year once my travel teaching is done!
Here are the links to all the posts in this series of lessons, techniques that can be applied to virtually any garment and many home dec projects. Let me know what you’d like to learn and see here on the blog. Cheers and thanks, Sarah
Lesson 1: Choosing a Pattern and Starting Tips
Lesson 2: Making a Muslin, Fitting and Sleeves
Lesson 3: Matching Plaids, Cutting out Your Garment Pieces
Lesson 4: Overcast Seams, just like Serged Seams
Lesson 6: Lapped and Flat-felled Seams
Lesson 7: Hong Kong Finish for Seams
Lesson 8: Lined Patch Pocket Tutorial