email Youtube

Home
Galleries
Blog
Workshops & Calendar
Store
Resources
About
Contact

Archive for the ‘Piecing’ Category

Janome Education Summit 2018

Wednesday, May 30th, 2018

Many of you know I have been a Janome Girl for a long time.  I was beyond fortunate to be able to attend Janome-America’s first ever Education Summit last week in New Jersey.  It brought together Janome Educators–those wonderful folks who work in show booths for Janome, Janome dealers, in classrooms at quilt shows, around North America, the National Spokespersons for Janome for both the US, Kimberly Einmo, and Canada, Tamara Kate, as well as many Janome Artisans (like me) and Janome Makers.   As someone said at the start, I am in awe of the talent in that room, and my awe only increased as the week progressed.   I’ll share what we did over several blogposts because it was WAY to much fun and educational to fit into one post.  A bunch of us from the summit are blogging, so I will link to their posts at the end (and perhaps in a separate post, too).  A HUGE HUGE HUGE THANK YOU to Janome America–I think all of us are still floating on the collective energy and inspiration!
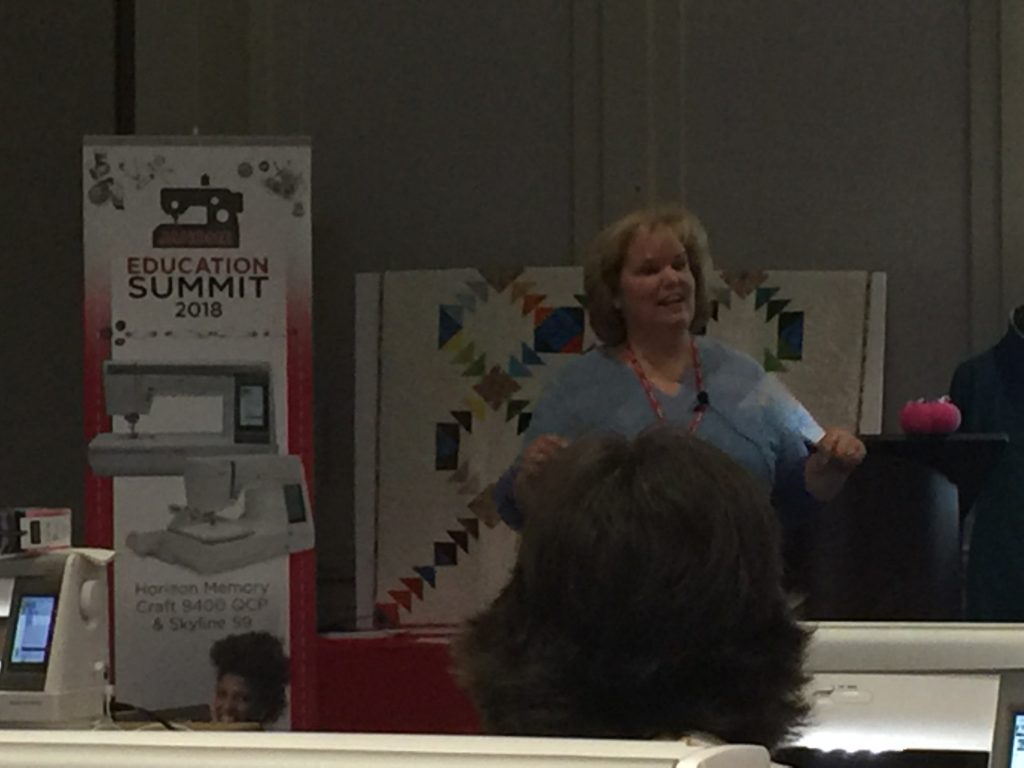
Our welcome and first session were from Janome’s new US Spokesperson, Kimberly Einmo. She’s well known for her many books on Jelly Roll quilts, great traditional piecing techniques, and being an all around nice person.

We began by working on the Janome 9400, the machine I have in my studio.  You will have to pry it out of my cold dead hands.  I love what I can do on this machine. Stay tuned for different session work on it (as well as all my garment sewing and a lot of my quilting).

The swag that came from attending this Summit was unbelievable–thanks to ALL the donors.  Kimberly designed a ruler for flying geese and has a new line of fabric, Solid-ish which was one of our first delights. I had admired it on Facebook posts, but OMG it is SO much prettier in person!   And I am now a convert to specialized rulers.  This ruler makes it brainless and possible for even me to get perfect points (and I totally mean that, not just complimenting because we got a freebie, it really works).
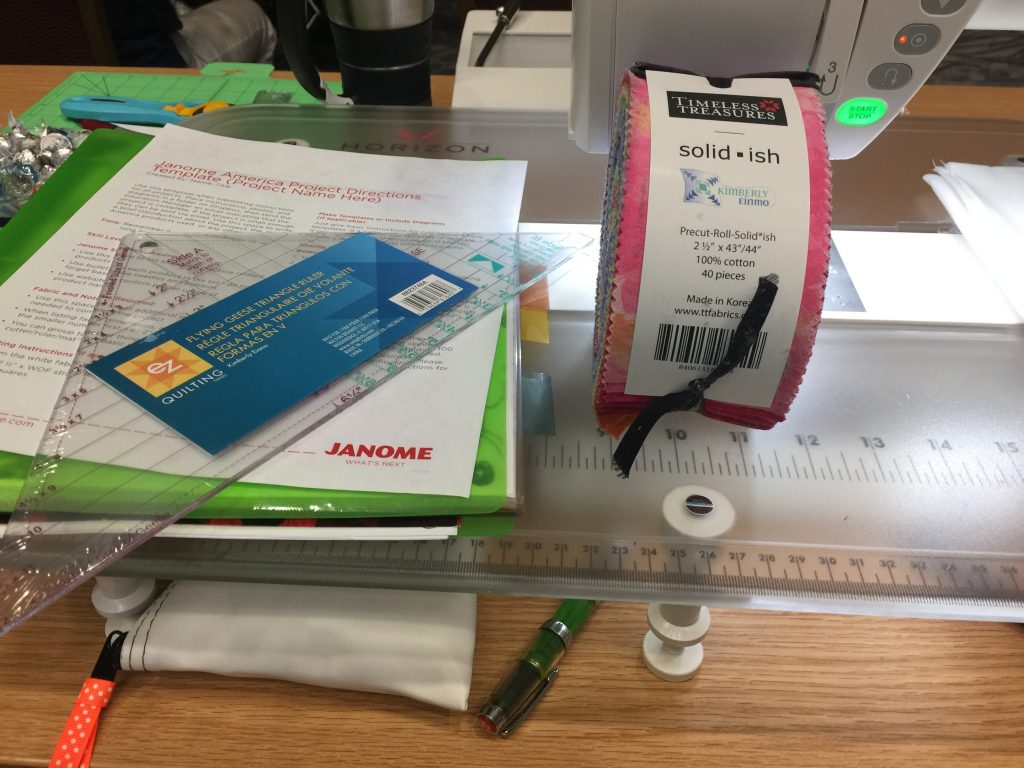
Check with your local shop or online for solid-ish. There’s a warm pink and coral and yellow that I want some yardage! Well, the aquas too, and the greens…..
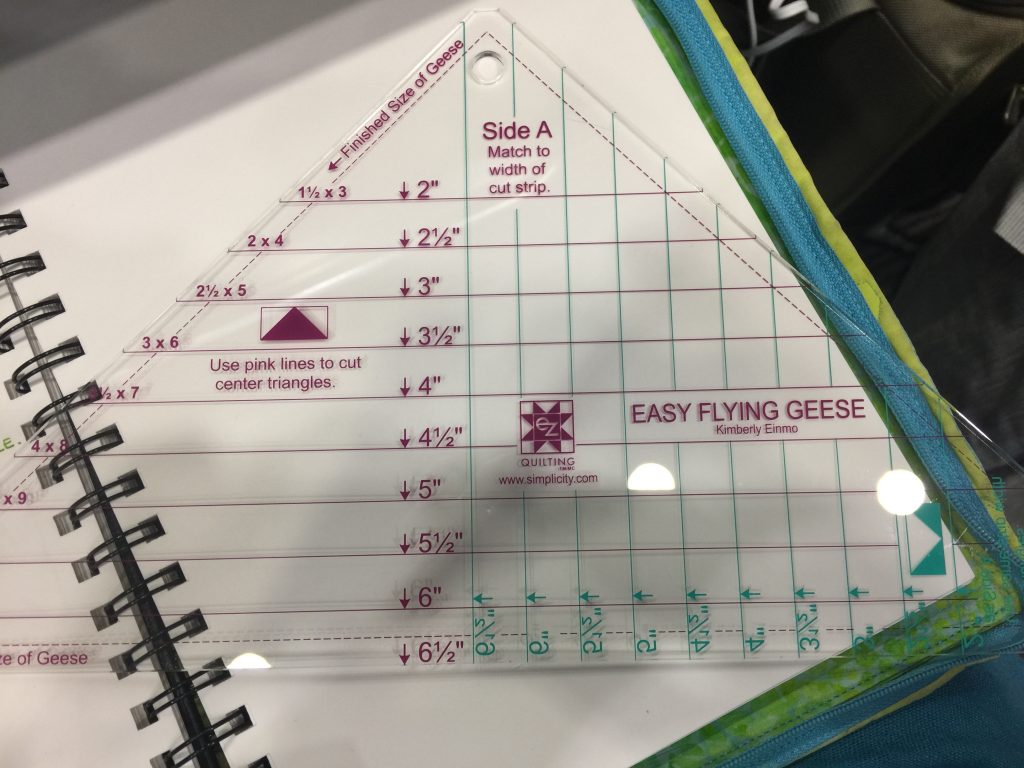
Even I can use a ruler like Kimberly’s Easy Flying Geese: the colors are pink and mint for breast and ovarian cancer awareness. If you can read the writing, in this case the pink, that makes the geese (notice the darkened triangle above the 3 1/2″ line?). If you can read the blue (flip the ruler over), it is for the background pieces. Easy peasy.

One of the first and most useful tips came at the start:  ya know how Jelly rolls and other precuts have pinked edges and shed bits of thread and lint like crazy?  Lint roller them FIRST, before you undo the package!!!!!   Brilliant!
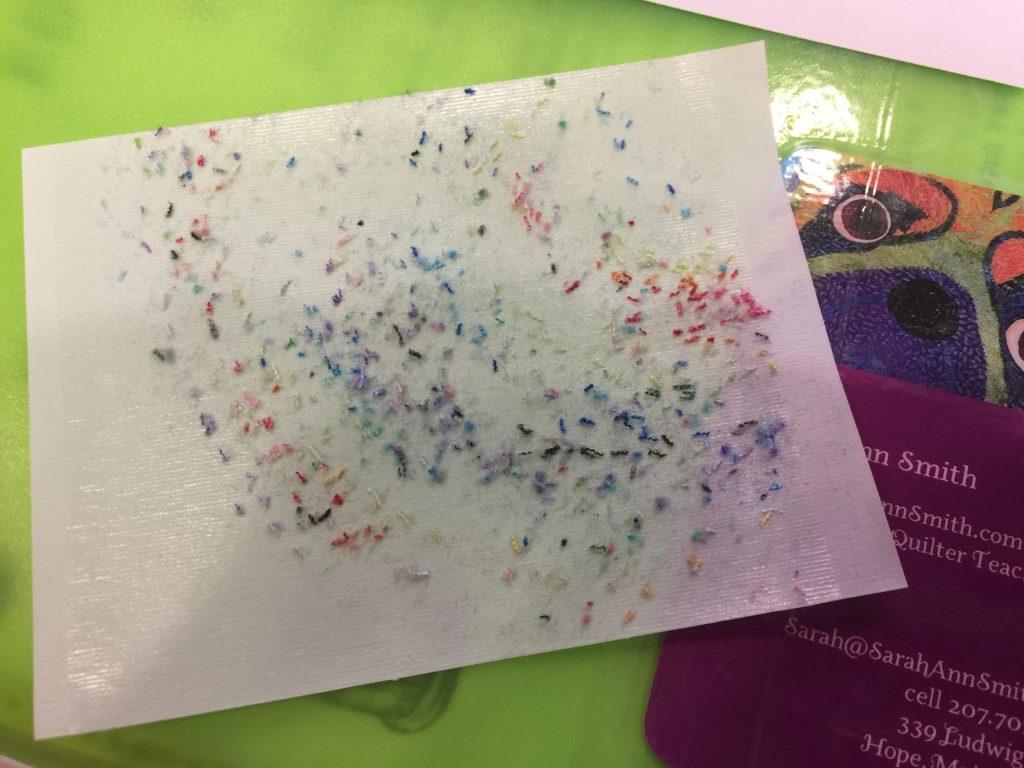
If you lint roller your jelly roll, you end up with lots less floaty bits messing up your clothes and studio!
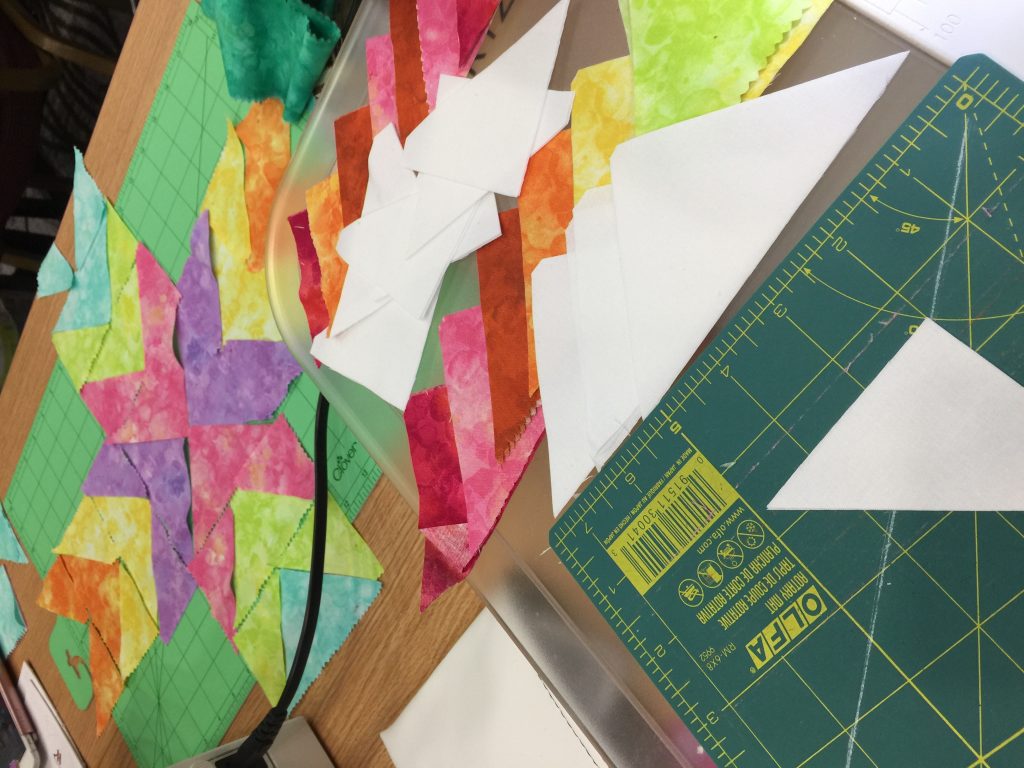
This shows my pieces laid out on my sewing machine table and a block in progress by Kimberly Coffin, my tablemate, whom you can find at her website Sweet Red Poppy.

I tend to stress in classroom situations and my brain freezes, so I don’t accomplish a lot.   But I do start thinking.  I totally want some play time to make more geese and maybe some placemats, a wall quilt of the modern persuasion…. I saw what Tamara Kate was doing and totally thought that I need to get out of my box and play.   Go check Tamara Kate’s website Kayajoy for inspiration.
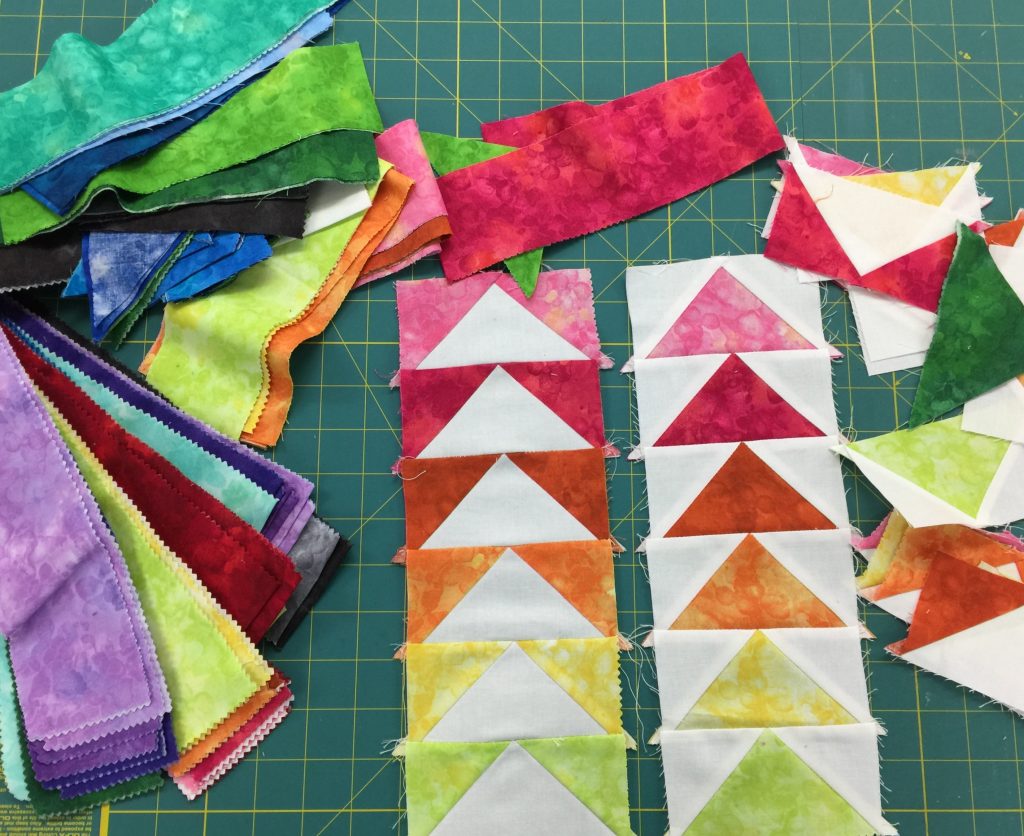
My flying geese…. I need some new placemats for spring and summer, so think I’ll order some of my favorites…that magenta, and the bottle green, and the turquoise…oh dear…..

More soon!   Next post will be about ruler work with Amy Dreishbach Johnson of Sew Simple of Lynchburg VA.

SaveSaveSaveSave

SaveSave

Birdie Bernina takes her first drive….

Wednesday, December 28th, 2016

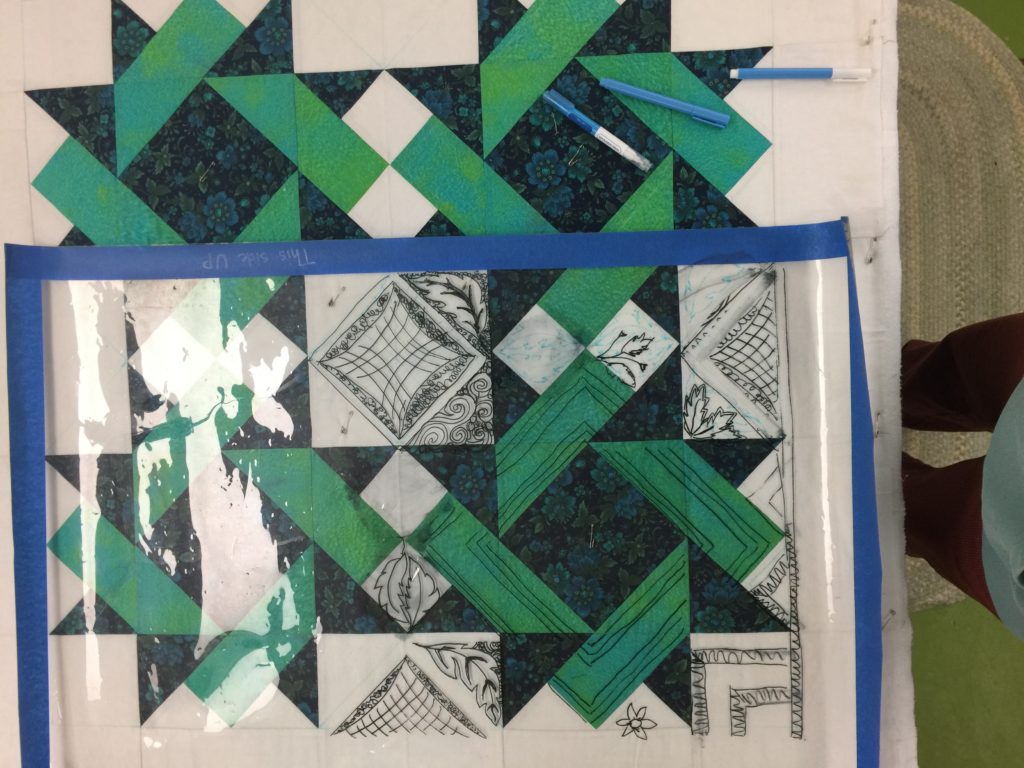
Imagine that…working on a quilt, and not an art quilt! AND it’s a UFO! Here I’m trying out various design options.

We moved to Maine in 2004.   This top pre-dates that move by at least a year–I made it as a local quilt group mystery quilt (design by Debbie Caffrey but don’t remember the name).  I only made four blocks, made it into a small top, and it has sat in a basket mocking me lo these many years.

Fast forward:  I SPLURGED.  I ***seriously*** splurged.  I bought a Bernina Q20 sit down.  Yes, it costs as much as a nice used car.   And Oh. My. Yes. it is worth it…what a DREAM!  I figured you only live once, quilting is my favorite thing, so I’m gonna just go for it.   And yes, I am beyond grateful that I have been able to earn enough by writing, teaching and selling my art quilts to be able to afford this indulgence!  To each and every person who has ever read an article or my book, watched my DVD, or taken a class or bought an artwork, THANK YOU!

But that means  need to learn to use it and not be a tad intimidated.  Light Bulb Moment!!! Take those two UFO mystery quilts (yep, there’s another larger one) and use them to test-drive the new Bernina, named Birdie because of the beautiful bird’s eye maple cabinet (yes, I splurged a little more and upgraded to the cabinet…pics below).  So I got the somewhat soiled, tired, not particularly well pieced tops out, ironed them, and decided to go for it.

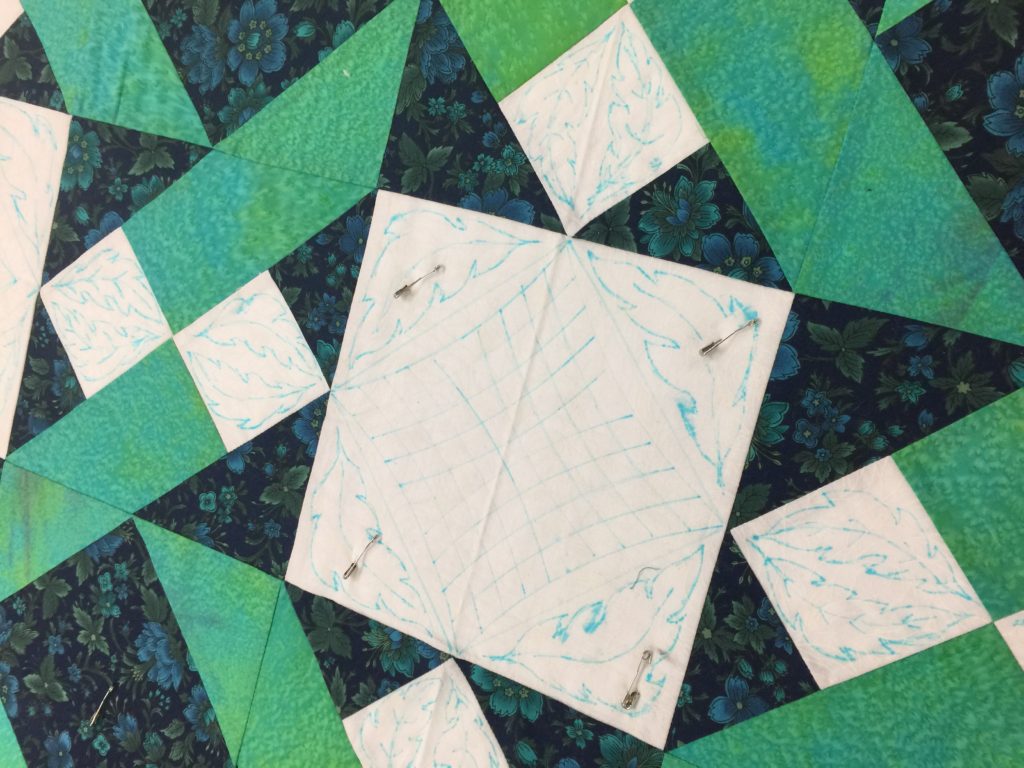
You can see some of my quilting design. I planned to do some straight line work with a ruler and ruler foot in the green. I wanted to do more ruler work and curved cross hatching in the white spaces. And since I’m adept at free-motion, some of that using a leaf motif from the navy print in the corners and small squares. I’m not positive yet what I’ll do in the navy floral, but may just use navy and outline the flowers.

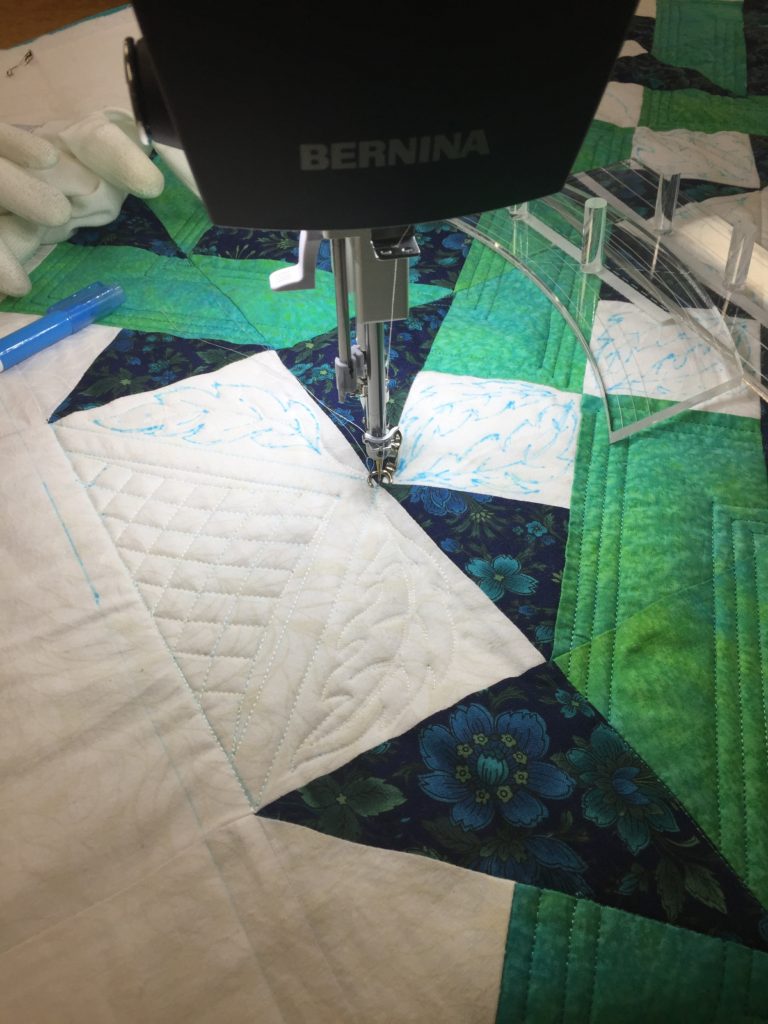
Here I’ve completed the straight line work on the green (not perfectly, but not bad for a first attempt as I get used to using the stitch regulator with the rulers. I just LOVE LOVE LOVE curved cross hatching! And then I began on the free-motion for the leaves. I plan to go back in with a lighter weight thread–I’m using 40 wt Superior trilobal poly here–to to a background dense fill around the leaves. There is a half inch outlined space between the leaves and the cross hatching.

I have to say the included-with-the-machine video was great, although I have no clue WHY Bernina doesn’t make it able to play on a DVD player–only a PC or a Mac.  Have they not noticed that computers don’t come with disc drives any more?????  Luckily, separate disc drives are cheap (about $30 or less) and I had planned on buying one for other reasons (moving CD music to the laptop).  But still.   The disc ought to be able to be played on a DVD player!   Anyway, it is well done, as is the manual.

The Q20 comes with a bobbin tension gauge and the manual says (yes, I read manuals! you should, too) you should test every bobbin.   So for now at least, I am.  That helped me get my combination of thread–40 wt. trilobal poly in the needle and 60-wt very fine Bottom Line poly in the bobbin–adjusted with a minimum of fuss.  The stitch balance is simply fan-flipping’-tastic.  I DO match needle and bobbin thread always, though, just in case!

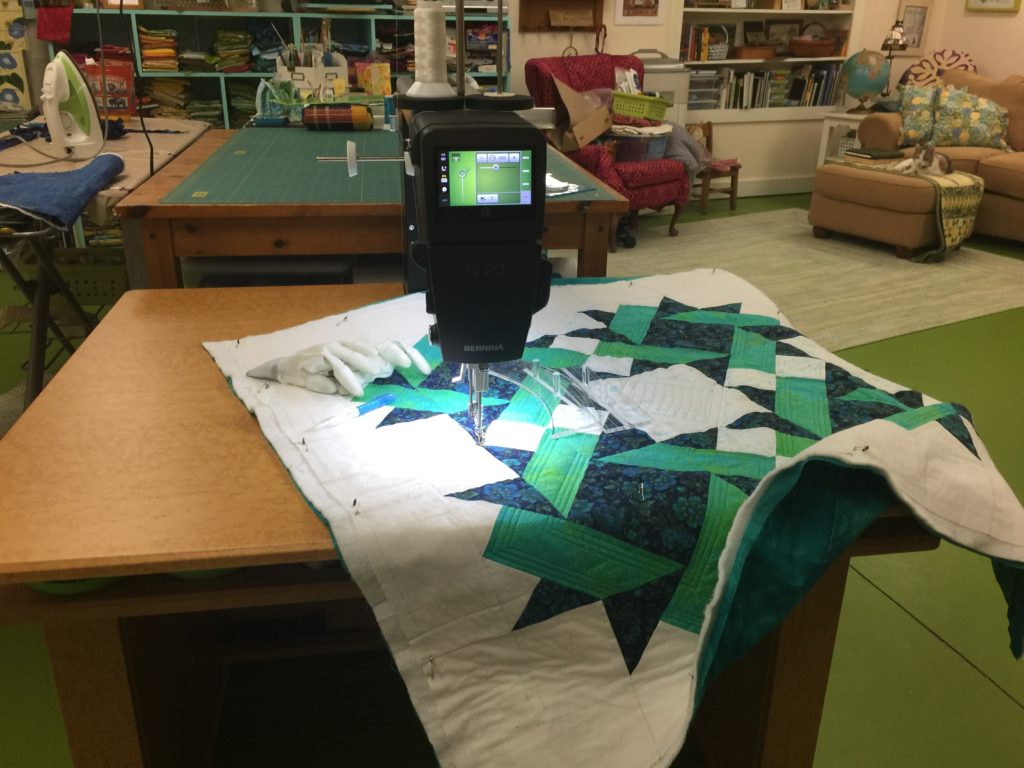
And here’s my beautiful Birdie Bernina on her maiden quilt. Contented SIGH.

I need to thank three people:  Barb Black and Karen Miller are friends who have the Q20 (Barb’s is a sit-down like mine, Karen’s on rails) and Jeanie Cook-Delpit of Bernina for their advice, rave reviews and, from Jeannie, help.  When I saw Barb at Quilt Festival I got a great big laugh out of her when I greeted here with “Thank you for leading me into temptation!”  It’s totally true.  And Jeanie — you helped make this possible.  THANK YOU!  You are the creme de la creme of Bernina Ambassadors.  I’ll post more pics when done.   Let’s hope the power doesn’t go out tomorrow during the incoming storm, which is supposed to be heavy, wet snow.  I wanna quilt!

The perfect 1/4″ seam, part two

Thursday, May 7th, 2015

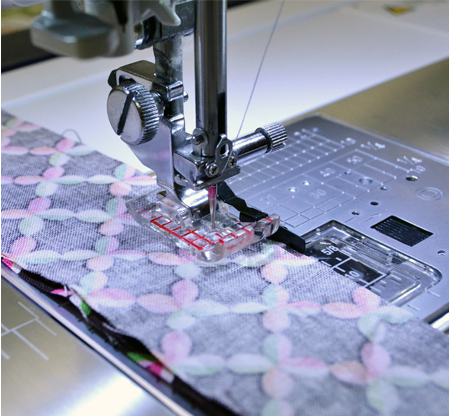
Thanks to my contact at Janome America, I learned of a couple new things that will help owners of the Janome machines that are capable of the 9mm wide stitches.   The top-of-the-line 15000 has a new throat plate that has THREE holes in it, including one on the right.  And there is a quarter inch “Clear View” foot that will work with that throat plate.  First, the presser foot:Screen Shot 2015-05-07 at 12.50.27 PM

janomeknowhow clear view quarter inch

My contact wrote:

” I wanted to pass along this information sheet on a foot that we released for 9mm stitch width models last fall. Maybe this will help her. I’m also going to include this small excerpt from my contact in Tokyo too, as it applies directly to your machine –

*This foot can also be used with the MC15000, but by using the right needle position of the MC15000’s straight stitch needle plate with the 1/4″ Seam Foot O (a standard accessory), or the Clear View Quilting Foot and Guide Set (Optional Accessory No.: 202-089-005),  the same results can be achieved.

The above note is because the MC15000 has that three hole straight stitch plate, based on needle position. Previous models only have one or two holes in the straight stitch plate.

Just passing this along since I saw it!

Here’s a link to information on the Janome website, and another link for the PDF which has more information than on the Janome website  janomeknowhow clear view quarter inch .

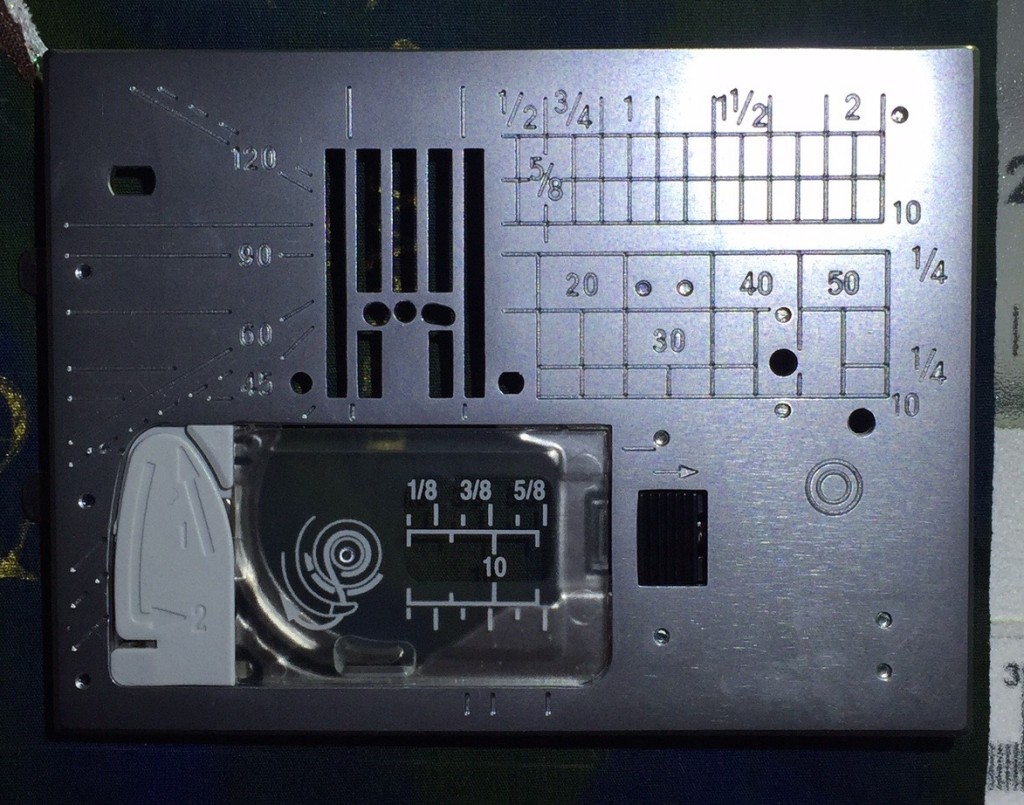
The throat Plate is called the Straight Stitch Plate for the 15000, but can be used on Janome machines with a 9mm stitch-width capability (but check with your dealer FIRST to be positive it is compatible with your machine).  This is a not-so-great photo of the one from my machine.  Notice there are THREE holes.  The left and right holes are slightly not-round, which permits one to fine-tune the needle position to get your perfect seam allowance (see previous post).

Straight Stitch Plate for Janome 15000

Straight Stitch Plate for Janome 15000; if I can get my hands on the part number, I’ll update this caption.

My contact added that

“Yes, this foot will work with the 8900 as it is a 9mm model also. If you
wanted, you could ask your dealer to order the Mc15000 straight stitch
needle plate (with the third hole) and that would fit all the 9mm models
also. You just have to watch your drop position. Like you mention in your
post, because of the feed dogs and purpose of different sewing machines,
the needle drop is not always the same from machine to machine. This
happens when you are switching from quilting models, like an 8900 to
embroidery/quilting models like the MC15000. The “standard” positions are
changing based on the model.

This will definitely solve her problem then, allowing her to use a straight
stitch and set needle position with the straight stitch plate included
with her machine, and achieve a 1/4″ seam.”

I have to say, Janome is incredibly responsive to its customers.  I was THRILLED my contact read my previous post and wrote to suggest these new offerings.   Another great thing developed for the 15000 (which I sew on now) is the AMAZING extension table.  I don’t know what they did to the surface, but it is absolutely the “slippy-est” extension table I’ve ever felt.  Even though it doesn’t look as slippery as the clear plexi (perspex in the UK I think) tables, it is vastly superior.  When I saw the US VP for Janome at a show after I got this machine, I told him they needed to make ALL their extension tables out of this stuff.  It totally rocks!


Understanding your perfect 1/4″ seam

Saturday, May 2nd, 2015

Hullo!  I’m home from being on the road most of April, and boy am I glad to be HOME!  I also want some sleep, so it may be a bit until I get to share pics of all the wonderful things I’ve been doing.  BUT, I recently had a question from someone who was having difficulty with her new, wonderful sewing machine which wasn’t giving her the wonderful quarter inch seam that she wanted.   I replied privately and in the comments, but thought I’d share my thoughts here since the “issue” applies to more than her specific machine.

Question:

I have had a little bit of trouble with my machine, but there is also a lot I like about it. My problem…I took a miniature quilt class last weekend, and was told to use the 1/4 inch stitch with the single hole stitch plate. I had already had trouble with the “pre-set” 1/4 inch stitch not coming from the factory with a true quarter inch stitch, and had it accurately reset. When I went to use the single hole plate with the 1/4 inch “button”, the needle does not go through the hole. Why would Janome design a machine that you cannot use the preset 1/4 inch stitch with the single hole plate? Am I missing something? Every quilter uses the 1/4 inch stitch and wishes for a single hole plate. I am so dissatisfied with this design that I’m thinking of changing brands. Can you set me straight?

Answer:

Thanks for writing! I have been on the road for weeks and was having trouble getting an email sent out to you directly, so not sure if you received it.  I understand your frustration, but want to explain why this happens on ALL brands.

To get a perfect 1/4″ seam, you need to account for the thickness of the thread and the thickness of the cloth, since some of the cloth is “used up” in the turn (when pressing).  If you stitch two squares of 2 inch  lightweight cotton lawn, cotton batik, and cotton flannel with the same setting (a default 1/4″ for example), then press the seam to the side as one would for piecing a quilt, the cotton lawn will be the widest, the flannel the narrowest.  That is because the flannel is thick and it takes up more of the flannel to fold back on itself.  To get a seam allowance that would yield a section that measure a perfect 3 1/2 inch across after that seam is pieced, you’d have to use a larger seam allowance with the lightweight cotton lawn and a narrower seam allowance with the flannel.

Then there is the straight stitch plate and quarter inch seams.  With our fancy new machines that stitch wide stitches, on the Janomes up to 9mm apart (that’s nearly a half inch across), the feed dogs must be farther apart to permit the needle to swing that wide on the decorative stitches.  That means when it comes to pieceing you have two choices:

1.  Leave the needle in the center with the straight stitch plate on, but then have the pieces feed ONLY with the left-side feed dog (because the quarter inch seam allowance won’t extend fully onto the right hand feed dogs)
or
2. Use the quarter inch foot, move the needle to your own personal perfect quarter inch (based on the thickness of your fabric and thread), and have the pieces feed over BOTH feed dogs so that it feeds straight and even.

Basically, you can’t have it both ways IF you have a machine, such as the 8900, that also makes wide decorative stitches.  If you want a perfect straight stitch, to be blunt, the old Singer Featherweight 221 has always had the best straight stitch ever.  That is because that is the ONLY thing that machine does–any straight-stitch-only machine will be the same.  Why?  Because the needle bar never moves.   It goes up and down only.

That means you can either get used to the Janome 8900’s (and any other fancy machine’s) requirements for getting a perfect-for-you quarter inch (including fine-tuning–the pre-set is just an “average” setting that frequently needs a little fiddling), OR have a second machine for simple piecing.   Frankly, I adore my 1934 Featherweight.  I don’t actually use it much, since I almost never piece.  And when I DO piece, I use my wonderful Janome because I understand what it is I need to do to make an accurate seam.  You can also create a “favorite” stitch that is set to your perfect quarter inch–you’d need to refer to the manual, though, because I don’t know how off the top of my head.

I hope explaining this helps–there is nothing wrong with your machine!   It just needs for you to learn how to adjust the settings so that they yield the perfect result for you.

Hope this helps!

Quilting Arts Holiday 2014

Friday, September 12th, 2014

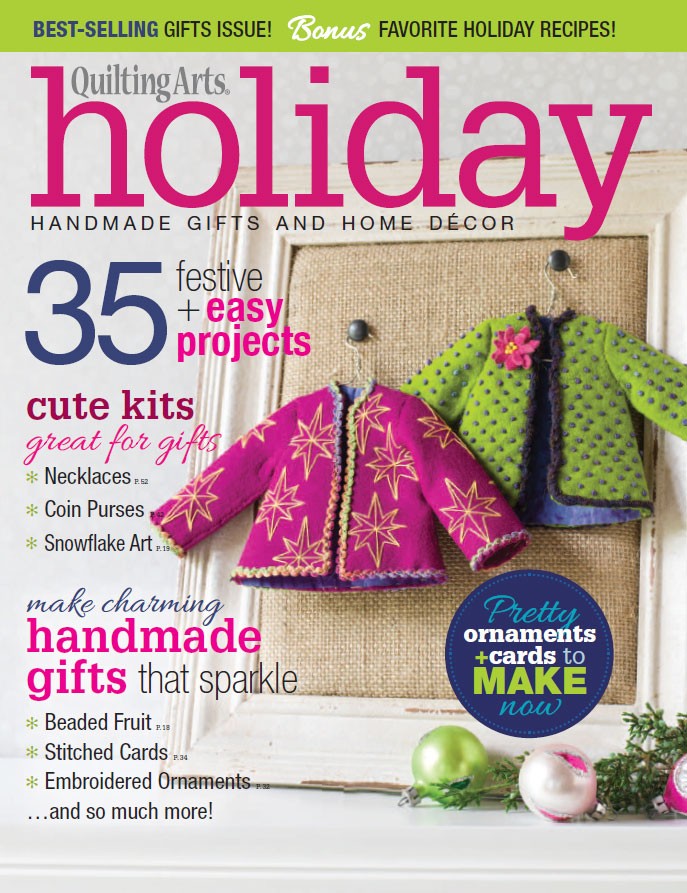
This year’s issue from Quilting Arts is another good one, and I’m thrilled to say I have TWO projects in it and TWO recipes!  Yes, QA has joined the holiday mayhem with some recipes.   Editor Vivika DeNegre has kicked off a bloghop with her post to day, here!

This year's issue of Quilting Arts Gifts.  I'm thrilled to have two projects and two recipes included!

This year’s issue of Quilting Arts Gifts. I’m thrilled to have two projects and two recipes included!  Please click here or use the Affiliate link on the left (which will get you a discount on some items) to order this issue!

I’ve been lucky to be on three episodes of Quilting Arts TV this season, sharing my tips about my Inside-Out bag, machine quilting, and sewing machine needles and thread.  The pattern for the bag and another pattern for a card carrier are in this year’s QA Holiday 2014 magazine as well. Read on to see some of the many variations on the theme that I’ve made!  I keep finding the need for “just another bag”!

Getting ready to roll tape for my first segment on Quilting Arts TV, Series 1400.  I show you how to make my incredibly versatile Inside-Out Bag so you can customize size, pockets, techniques for the outside (pieced, applique, surface design).  The bag is quick and easy so it also makes a great special gift.

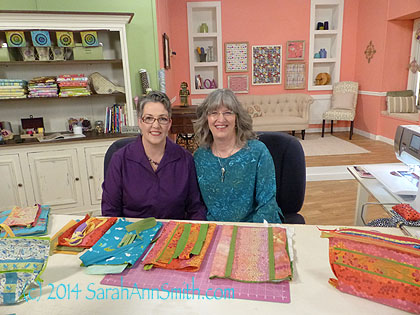
Getting ready to roll tape for my first segment on Quilting Arts TV, Series 1400. I show you how to make my incredibly versatile Inside-Out Bag (lower right corner, in progress in front of me and on the left) so you can customize size, pockets, techniques for the outside (pieced, applique, surface design). The bag is quick and easy so it also makes a great special gift, and it is also included in the 2014 edition of Quilting Arts Gifts, so now you have two ways to learn how to make it.

Over the coming ten days or so, here’s where you can go to learn more about what’s in this issue.  Some of these folks I know, but others are new to me so I’m really looking forward to seeing their blogposts and blogs!

Check back here on the 20th for my part in the bloghop, but come back before then for other new posts!