email Youtube

Home
Galleries
Blog
Workshops & Calendar
Store
Resources
About
Contact

Things to think about when teaching on the road….

January 13th, 2010

A question arose on the QuiltDesigners Yahoo group recently (many of the designers also are quilt teachers) about digital projectors.  That led  to a longwinded reply on my part, and it occurred to me that you folks might like to read some of what we need to think about when we travel, schlep mountains of stuff–HEAVY stuff–to teaching venues, and have to invest in the equipment.  Though teachers’ fees might seem high, when you spread the income out over the days you travel for which you are not paid, the prep for each class for which you are not paid, the cost of handouts and class supplies it’s not very much in the end (usually I don’t charge for routine stuff–only add a kit fee if the cost is something like $10 per student instead of $2–even in a class of 24, that’s $48 out of pocket for handouts etc).  My laptop bag probably has about close to $5000 in laptop, projector, videocam, cables, not even talking about the WORK that goes into the programs and whatnot.   So here goes…

The digital projector model I have (bought about 15 months ago) is probably not made any more but the best advice I got was:

  • buy the lightest weight one you can afford—they seem to gain an ounce with every step down every airport concourse!
  • buy the most lumens you can afford—many places that we teach and lecture there is a lot of ambient light. You need to be able to project a good image on the wall (or white flannel or foam core!) with light from windows, etc. I think mine is 2600 (the most in the under $1000 range when I purchased), and it did great in the well-lit classrooms in Houston. Use them for teaching, not just lectures….

I bought a very inexpensive, very small video camera and small tripod. I set them up on my table to project live demos on the wall, and students love it! I understand you can now get “wireless” communication between camera, laptop and projector in some instances/situations. That would be good. That snake’s nest of cables is a trip hazard! The tripod I bought is a mini…good for using directly between me and the sewing machine to get images of the needle/foot area. A taller one, set to the side to “beam down” on demos I do would also be useful, but don’t have it yet. There are also gooseneck cameras, so you can have this little bitty “eye” reach over from the side and look straight down on what you are doing. That might be a solution.

Jan Krentz has done up small “slide show demos” of things she demos in class. First she demonstrates the steps live, then she’ll put on the slide show on “loop” (endless repeat). The key instructions are written onto the slides that are projected. She can walk around the room and help while things are playing, students can look up and follow along at their own pace. This is my goal…to prepare mini-presentations that need this method for my classes. While I teach things that don’t always lend themselves to this approach, it’s fabulous when it does help you.

Also from Jan I learned about pre-class information/entertainment. Jan has her projector on before the class begins with instructions on what you need out and ready, and what can stay stashed under the table until later. Brilliant! As students filter in they can read and heed, while Jan gets to greet new students instead of endlessly repeating herself (well, she probably does that, too, but still….).

In a lecture Jan gave up here in Maine, she also told us a little about herself and San Diego (she lives near there) at the start. So I did up a “pre-show entertainment” for Houston, with slides of Camden, Maine through the seasons, our house, a not-close-up shot of the kids (they’re not identifiable really in it) and the dog…. and students really seemed to enjoy looking at the pictures. That meant *I* had time to get set up and prepped for class. So often I find students want to chat and be friendly–I do too, but I really MUST prep and have things ready to go the minute time starts!

From TSA (the US Transportation Security Agency): I bought a special laptop briefcase which means I don’t have to take the laptop out of it. It also holds the projector and all cables. HOWEVER, that is too much stuff for the scanners to cope with. It is faster if I leave the laptop in the case as it was designed to reveal the laptop, but remove the projector and baggies of cables/cords and put them in the gray bin.

I bag my stuff by product: all the projector stuff goes in one sturdy ziploc baggie, all the videocam stuff in another, the iPod and phone chargers and cords in a third. I just empty that compartment of the briefcase–four items (projector and three baggies) into a bin and I’m through easy peasy. Re-packing that section of the briefcase is fast then, too!  Mo’ bettah!

Another jem from Jan Krentz: Buy some of the day-glo/ bright colored Duct Tape and make “tags” for EVERY cord, cable, laser pointer, remote control, and put your name and contact info. With a glance around the room at the end of the day I can tell if one of my lime-green-tagged items is mixed in amongst the snarls of other black cables around the room. And if one gets left behind, folks can contact you and return it.  This saved me $80 for a remote control I left on a podium up in Augusta, Maine..phew!

Finally, take a small surge protector (mine is in the baggie with the projector stuff), but ask your hosting venue to have a long extension cord–they just weigh too much to haul around.

Thanks to Jan for sharing so much of her hard-earned knowledge with newbie teachers!  I took a traditional workshop with her up here in Maine because I wanted to watch her teach.  I had met her the year before when we were both teaching in Paducah at the big AQS show; we shared a 2-hour van ride to and from the airport, plus ran in to each other in the room where the teachers shipped-ahead boxes were stashed.  She was SO generous, plus she’s nice and I learned a ton, both in Paducah and in her class up here.  THANKS, Jan!  Her website is here–I can heartily recommend classes with her.

Cheers, Sarah

PS–late additions:

Photograph all your equipment—every cable, remote, everything.  In Photoshop or printed out add the item name and product number, along with the 800 number of the company (both manufacturer or place where you can order re-supplies).   Keep this photo at home, and another in your travel bag.  Make sure the 800 number for the company is on it so if a piece breaks (like heaven forfend the lightbulb) you can order replacement parts ASAP/overnight delivery.  I order much of my photo stuff from B&H Photo Video in NYC, and have their phone number too.

Numbering stuff is good, too.  Then you can do a quick count:  if I have four items in the bag, I need to look for one more thing–that idea.

I also made a “cheat sheet” on setting up the projector and laptop.  I need to plug in the projector, turn it on, link up the laptop with the USB cable, THEN start up the laptop.  Otherwise the projector has “issues” finding the laptop which leads to needing to re-start the laptop.  Since I don’t use the set-up all the time, I keep a page with instructions to myself inside a page protector in my bag to remind myself of those little things.  Those friendly quilters asking to help sometimes distract me and I get confused with all the cables, etc.
It’s January, so it must be snowy

January 11th, 2010

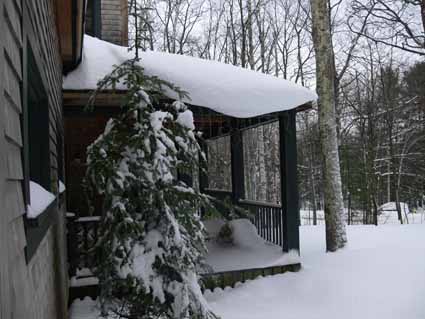
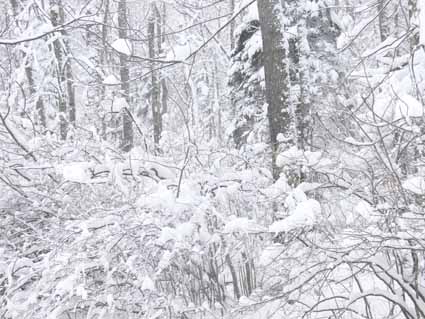
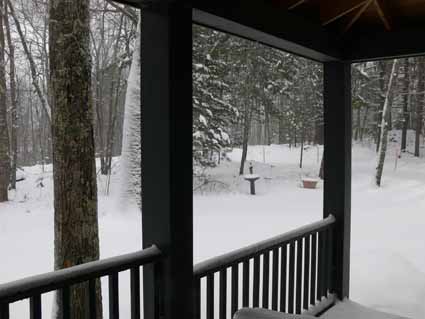
The new year arrived with a doozy of a snowstorm here in Maine.  It was GLORIOUSLY beautiful, so I’ll let the photos do most of the talking.

From the porch…

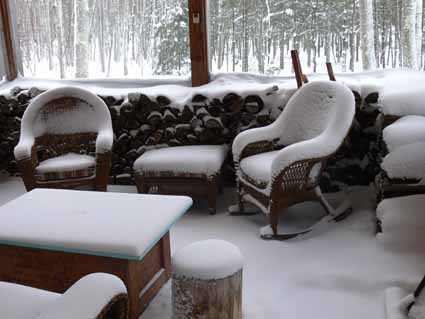
The back porch is screened, so the coating is the fine fluffy stuff that blew sideways through the screen:

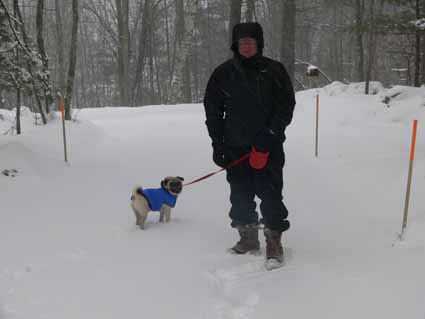
Paul and ‘Widgeon, our pug who is trying out his brand new blue coat:

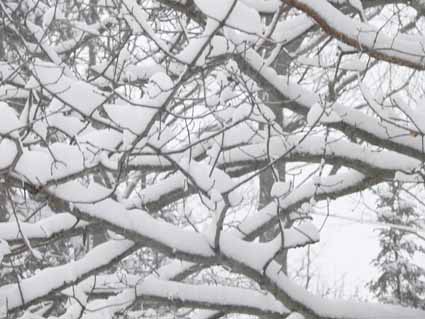
I LOVE the crests of snow that collect on the branches like tracery in the vaults of medeival cathedrals.  Fortunately, I got this photo before the winds arrived:

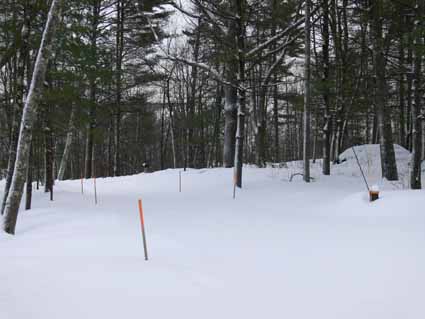
Our driveway is between the stakes…under about 13-16 inches of snow!

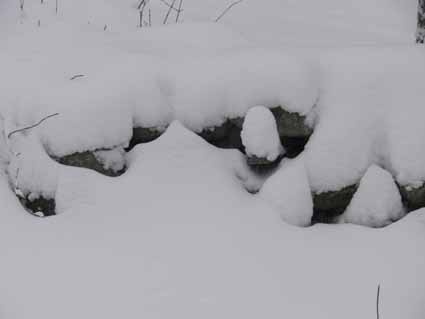
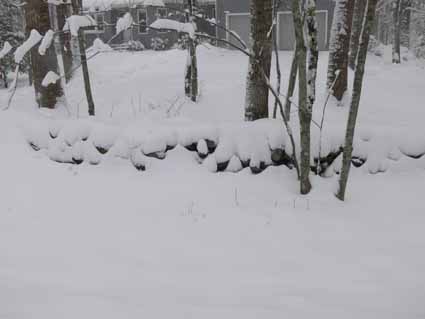
Got any idea what this nearly-buried thing is?

It’s our neighbor’s stone wall….

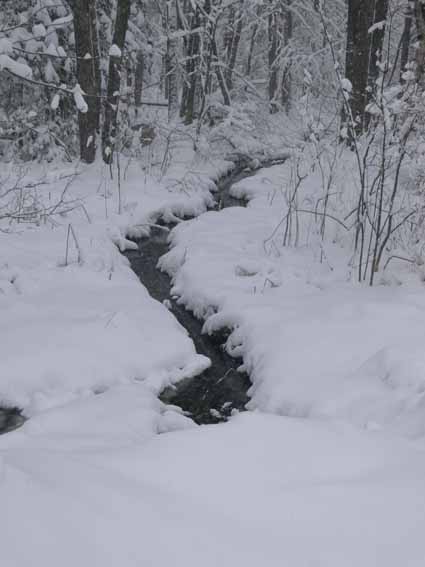
It hasn’t been cold enough long enough, so the running brook (aka drainage ditch) is still not frozen:

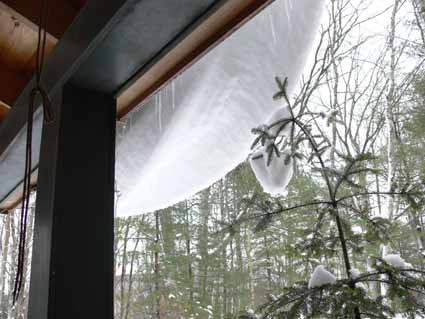
Usually we get wind with heavy snow, so this is the first time we’ve had so much it started sliding in large quantities off the porch roof—the view from on the porch:

and from outside:

We’re in for some wicked cold this weekend, so sounds like time to quilt to me!

Making a lap quilt

January 8th, 2010

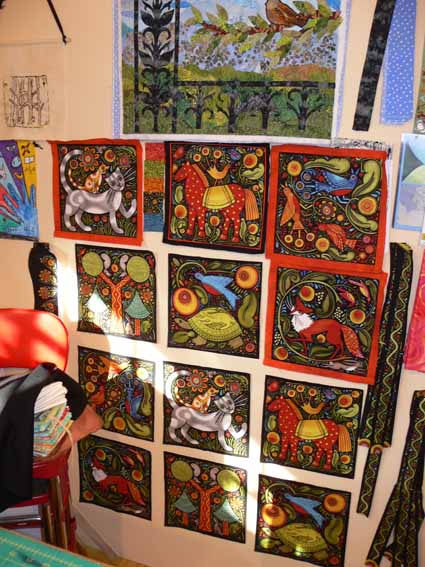
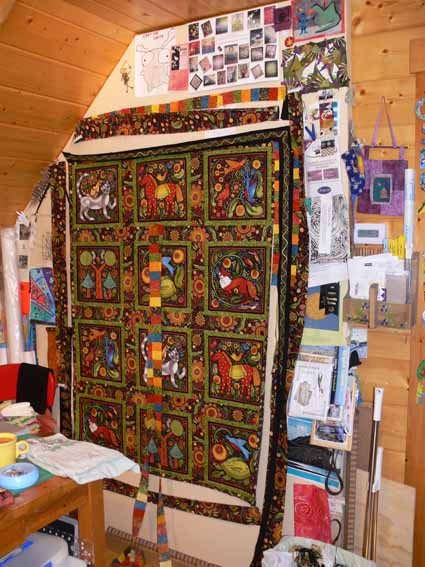
Yes, I’ve been AWOL (Absent WithOut Leave) again…..  I plead the holidays, kids, exhaustion, and needed to re-charge.  So what does one do?  Quilt of course!  I spotted the panels for this quilt on eQuilter a while back and loved the motifs so much I ordered up a set.   Then in late October I saw a quilt in the Maine-ly Sewing booth at a small regional show made with them and decided that’s what I needed to do…make a colorful lap quilt (like we need another for the sofa…NOT! …but when does that stop a diehard quilter?).

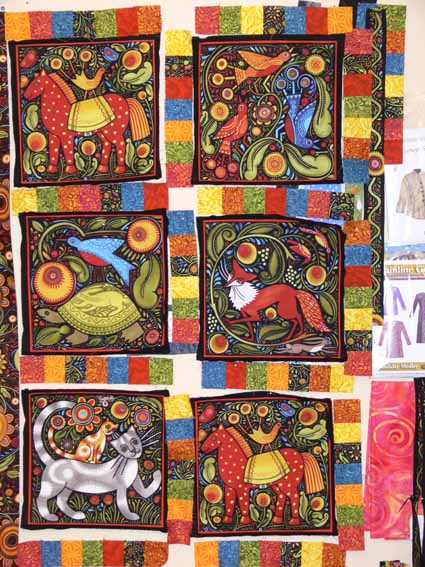
So I bought a bit of fabric from Maine-ly Sewing.  Then I saw more of the line at Alewives Fabric, and bought MORE.  Ahem.  I had some serious “Visa Accidents” this past 45 days….. books and fabric!  (like I need more books and fabric…NOT! …but when does that stop a diehard quilter?)  So just before Christmas, to prevent implosion and breakdown, I started!   Thinking to make a quilt similar to one I saw at Alewives, I cut MANY 2 inch squares, thinking I’d make two rows of checkerboard sashing between the blocks.  It turns out the blocks are a weird size, so I edged them in the perfect hand-dyed rusty orange I had, but decided they also needed a SECOND fiddly, skinny outline in black.

The checkerboard:

UGH.  It was even worse the more I added……

So I looked at what fabric I had, and said “green it is!”

I went out and bought minkee (a lovely creamy yellow) for the back.  THen discovered I had only one quilt batt anywhere near big enough, and that one I needed to save for something else.  So I decided to quilt without a batting…just the top and the minkee.  To compensate for the slipperyness of the minkee, I spray basted a bit heavier than usual.  Mistake.  Even though I used a combination of threads that has been flawless in the past, I had snarls and fits everywhere with the black thread quilting.  I tried every trick in the book.  I changed needles, I changed tension (top and bottom), I changed the placement of the thread.  I still got the occasional thread clots.  I gave up and just kept quilting.  This is clearly NOT going to be a show quilt!   But it will be snuggly despite the appearance of some not-so-nice moments on the back.  Of course, I haven’t taken a picture of the finished quilt, so that’ll come later…

Art for the new year: Postcards

January 1st, 2010

Happy New Year Everyone!   May the good stuff from last year continue, may the icky stuff go away…as simple as that!


Someone on the QuiltArt list asked what our “word for the year 2010” would be.  I’ve not really done that before—I tend to be NOT introspective and don’t make specific long-term goals, and quit making resolutions years ago.   [I resolved that I would no longer make New Year’s Resolutions, but instead would make them when they needed making!  I’ve done that, and it is the first New Year’s resolution I’ve managed to keep for years!]

Anyway, after thinking, de-clutter, de-stress, and a few other similar concepts, I came up with

Simplify.

I need to simplify what I do, how I do it, and reserve more time to make art and allow myself to re-charge.  Since I got back from Houston in late October, I’ve been playing a catch up game, feeling that I’m in a fallow period for art.   I need time to restore myself, so I’ve been reading novels, spending time with family, and generally trying to not kill myself with work!

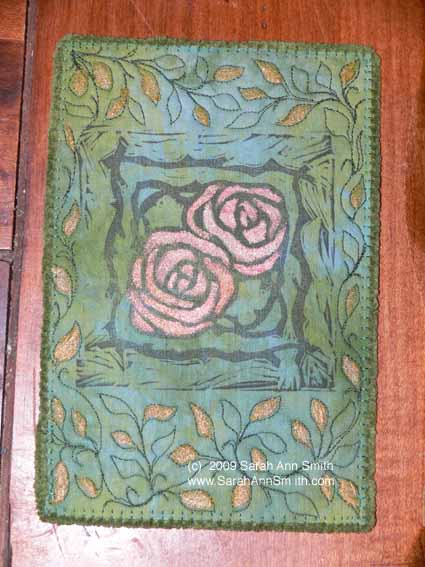
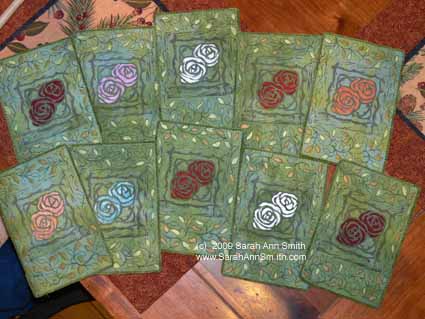
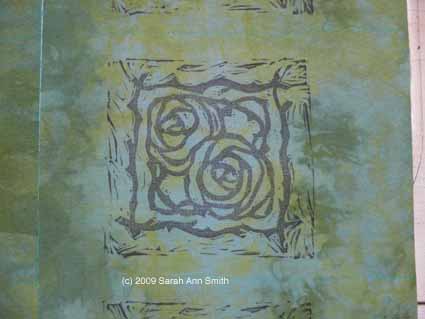
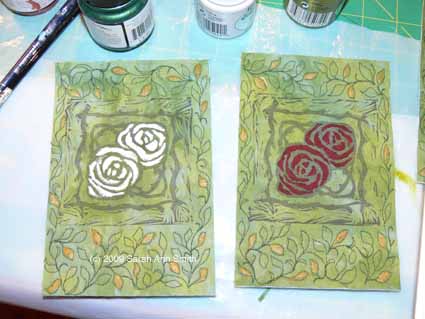
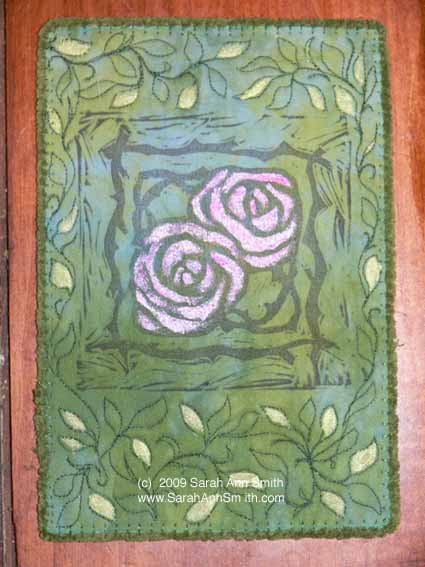
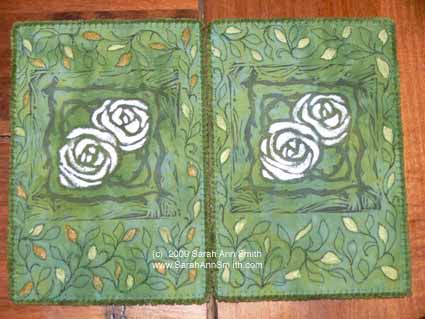
Along with the theme of simplify, I thought I’d share these fabric postcards, many of which I make for an online swap.  The theme was Art Nouveau/Art Deco, and I think the design is nice, straightforward, and fairly simplified!

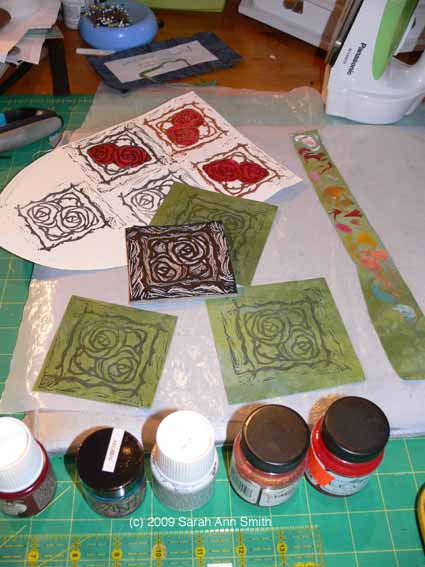
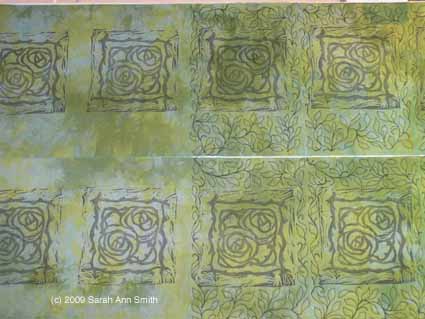
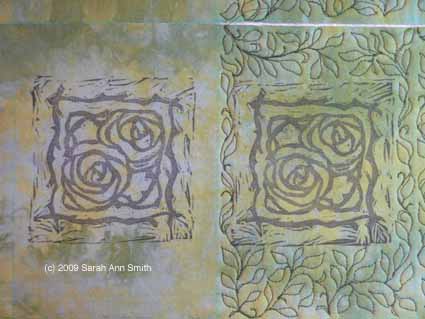
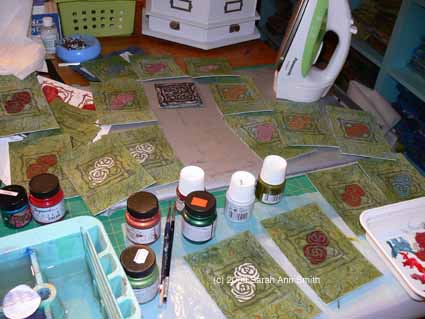
Here’s how I made them.  First I carved my own stamp, based on a design from a Dover book (copyright-use OK).  I simplified the design which was too intricate for carving in a stamp that is just under 3×3 inches, then added a frame of vine-branches. You can see some test-prints on paper, and some test-swatches of the paints…mostly Jacquard Lumiere and Setacolor Pearlescents.

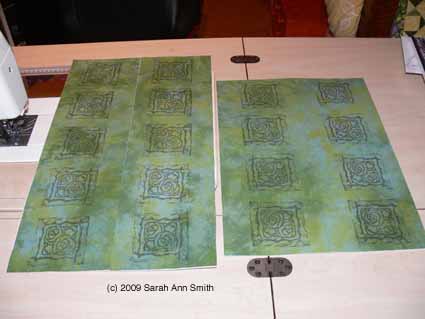
I printed onto my own hand-dyed cloth with Ancient Page archival ink:

The cards were then quilted and painted:

Next, I painted some of those leaves.  It actually took longer to paint the leaves than to quilt the cards!

Finally, I added a couched yarn edge-finish:

Here’s a close-up of two of the silvery-white roses, one with just the pale green-gold leaves, the other with two-tone leaves:

I have mounted three of these cards and will be offering them for sale, but need to take pictures.  Hopefully I’ll get those posted soon…in the meantime, welcome to 2010, to the snow that is falling turning the view out the window into a white and grayscape wonderland, and to making art!

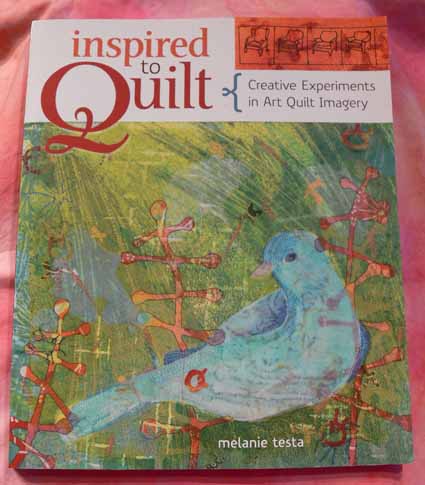
Book Review: Inspired to Quilt: Creative Experiments in Art Quilt Imagery by Melanie Testa

December 19th, 2009

OH MY!   It isn’t often that I get a book and immediately want to go run dig out my dyes and cloth and start playing!   The sad news is that three-plus months later I STILL haven’t had time (and now it is winter, the basement is too cold to dye, etc), but boy do I want to!  That is what Melanie Testa‘s Inspired to Quilt has done to me, and that is a very, VERY good thing!  You can order it from Melanie, Interweave or Amazon.2009.12.Blog.BkRviews.008

I’ll also be honest… Melanie’s art and quilting inspire me, blow me away, make me think—all of these are wonderful things!  The book, published by Interweave, is well laid out, with great page layout, graphics and color inside, truly enhancing Melanie’s work, words, and instructions.  No boring white pages here, but creative inspiration all around.

One of the things I need to do a lot more is play, work in a sketchbook, and suss out different ideas, images and concepts.  I am usually so overwhelmed with stuff “to do” that I never give myself this freedom.  It is work, Work, WORK all the time, and then scramble to make any quilts at all.  Mostly for the past couple of years it has been samples for the book or classes, and not nearly enough creative development time.  Now that this book has sat for a while waiting review here, I think I need to go through it again, inspire myself all over again, and more than anything, follow Melly’s example and work with my sketchbook. The book covers:

  • The Fabric Foundation
  • Technique Application
  • Creating Quilts Inspired by your Journals
  • Sandwiching and Quilting
  • Embellishment
  • Finishing
  • Smallworks, Series, and Exploration

2009.12.Blog.BkRviews.006

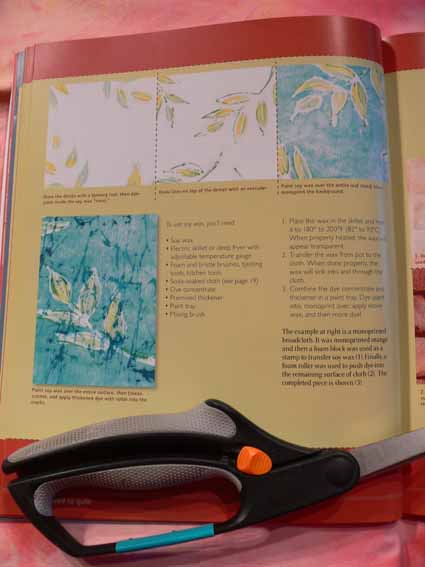
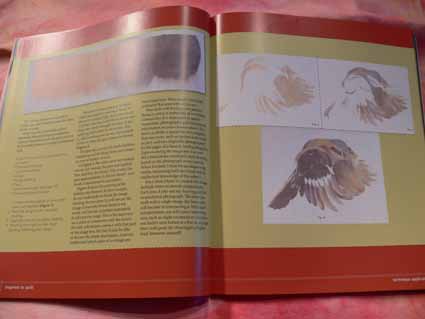
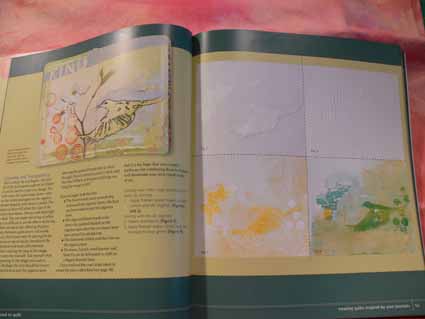
One of the things I like best is how the illustrations show how Melly builds her cloth and designs, from white to finished, as in the example above of the leaves.  The same goes for this bird, where progressive washes of color create the image, just as she did in her sketchbook:

2009.12.Blog.BkRviews.005

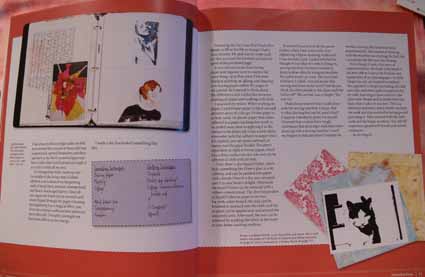
I love that she shares her notebooks and sketchbooks:

2009.12.Blog.BkRviews.007

One of Melanie’s signature techniques is to screenprint and dye a sheer overlay fabric to work with the base fabric.  She has detailed information on dyeing, printing, creating stamps and screens–plenty of information to get you going without having to buy a separate book on surface design (tho it may whet your appetite for more!).  The photo below shows four steps in creating the transparency layer that brought the sketchbook work on the left to life…

2009.12.Blog.BkRviews.004

There are several projects that are just plain fun (merit badges for grown ups, including one that is a hippo–I love it!) and help you try out these techniques on a small scale to get a feel for them. I particularly like how she combines hand stitching with machine, and there are also many examples to inspire.

In sum:  If you are or want to be an art quilter, and are willing to just do it on your own, this is a great book for you whether you are a beginner or moving on to (or at) advanced!  There is plenty of instruction, more than plenty inspiration.  If you want your hand held…well….. buy the book anyway!  Be inspired, find out if Melly is teaching anywhere that you can reach, and give it a go.

Definitely need to put this one back on the (re-) read pile by the sofa before tucking it onto the shelf….or into the DO NOW pile!