Embroidering Frank! Isn’t he Handsome?
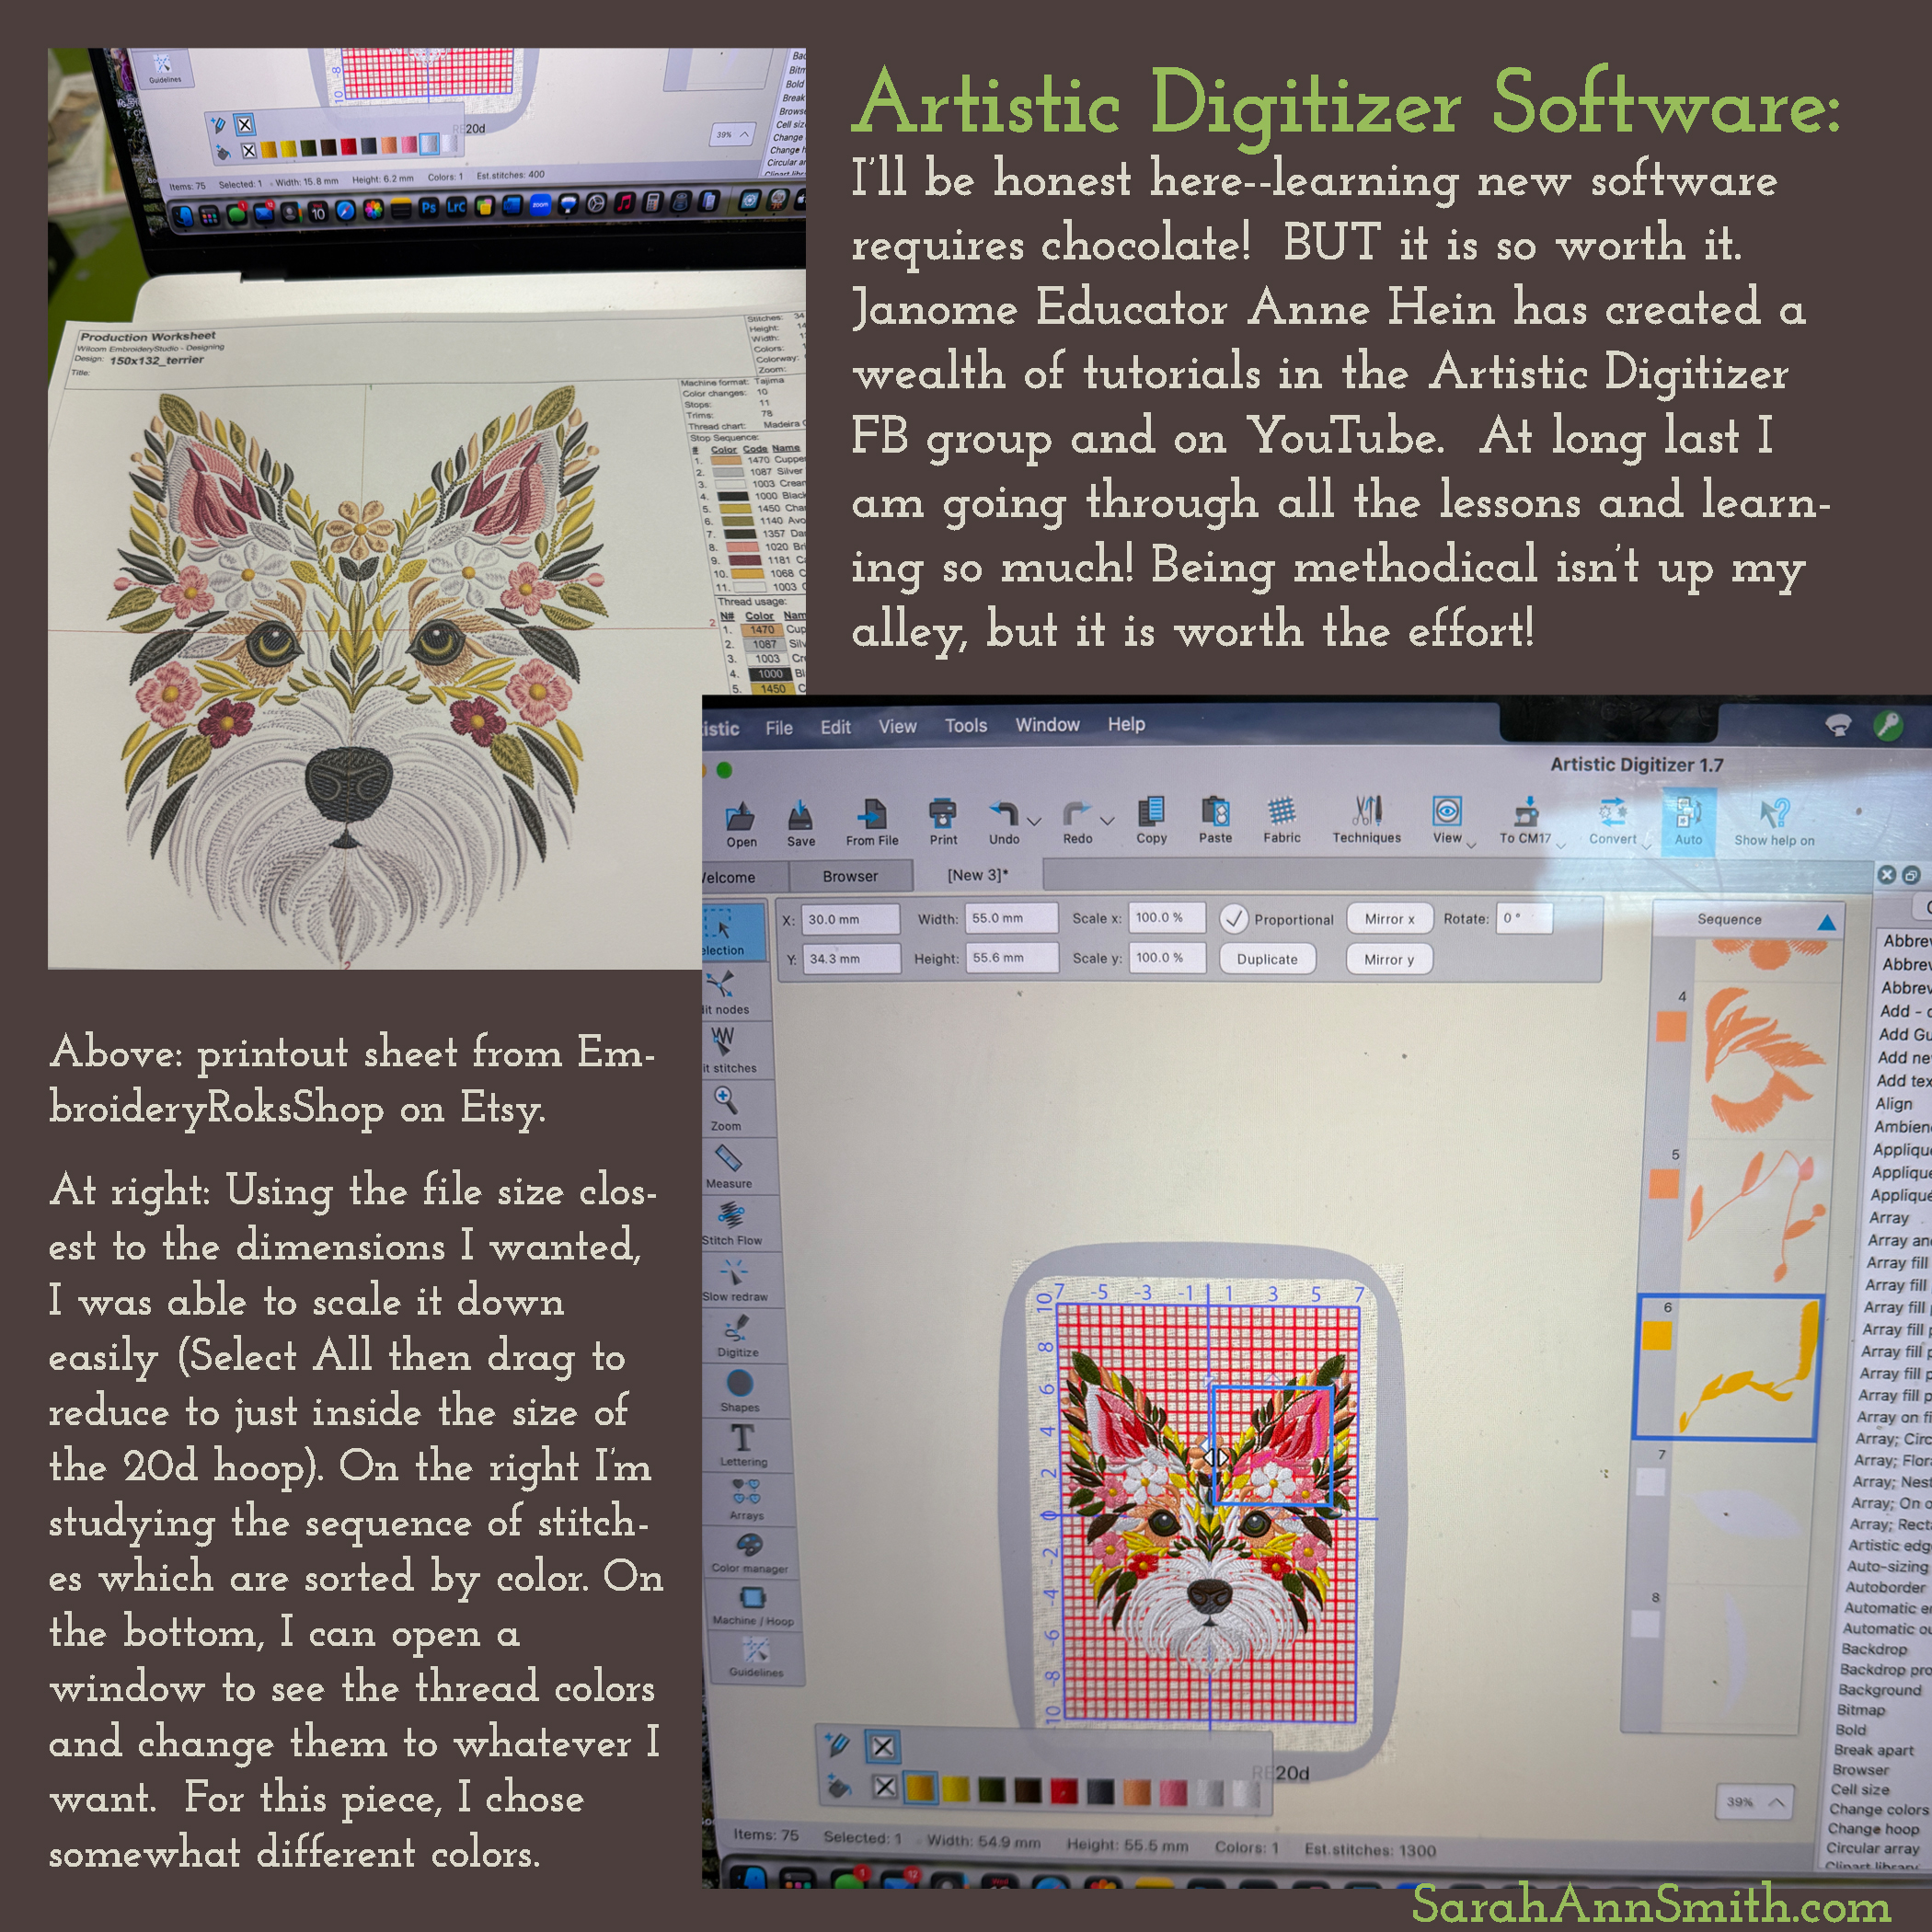
Thursday, January 15th, 2026For my January 2026 Artisan project, I’m sharing a few of the gifts I made in the past two months since they are now given and public! At long last I have conquered my greatest hurdle with the *enormous* Janome M17 combination sewing and embroidery machine: learning how to use the Artistic Digitizer software (remember, I’m a completely new to machine embroidery, just learning what the correct words and phrases are to ask how-to questions). The M17 is brilliant and easy to use, but I tend to learn by clicking here, clicking there, and not following a linear progression. However, going through — step-by-step and in order — the MANY tutorials Janome has made available has been amazingly helpful. A huge thanks to Janome Educator Anne Hein who has made so many of these tutorials; they are available on the Janome YouTube Channel . There’s also another valuable resource in the Janome Artistic Digitizer FB group (AD is the Janome software–there is a second group called Artistic Digitizer, but it is a private group, not-affiliated with Janome, and questions don’t get answered as frequently). I am quite the beginner with machine embroidery, but thanks to these resources and help from Anne and the participants in the FB group, I have learned SO MUCH in the past 8 weeks! It is a testament to the machine and tutorials as well as Roksolana’s brilliant design and digitizing (more on that in a minute) that I have been able to do so well.
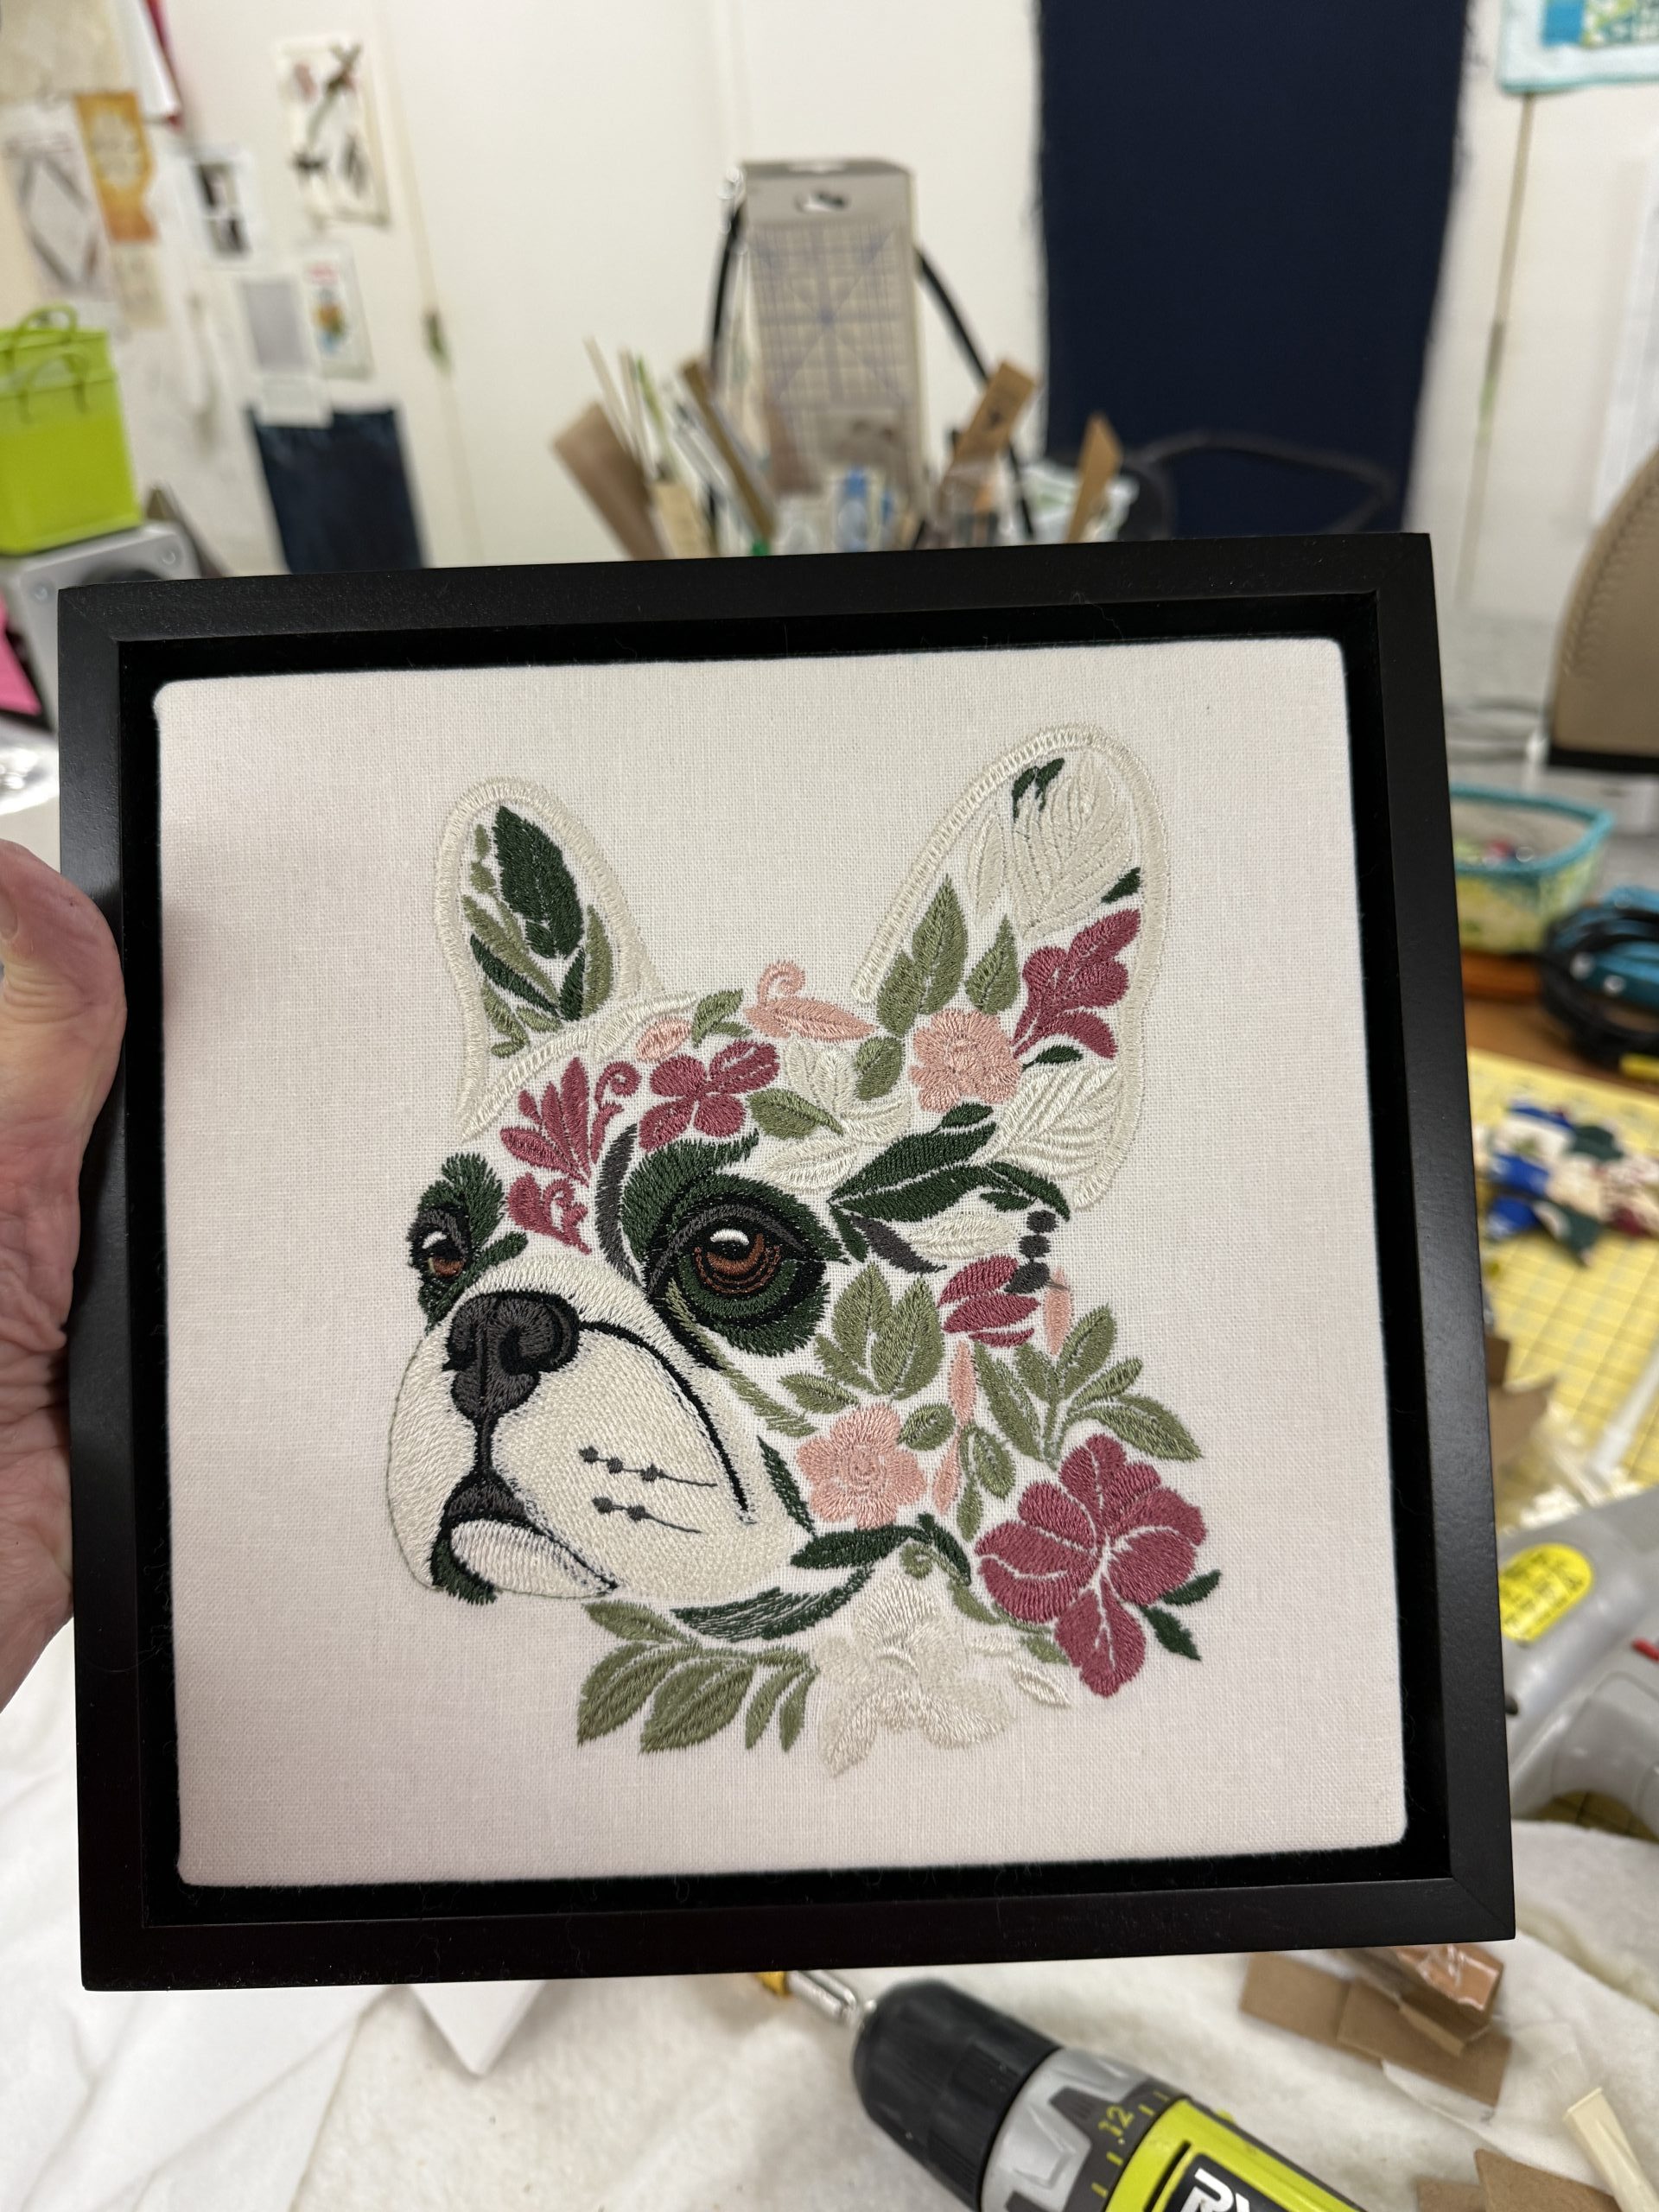
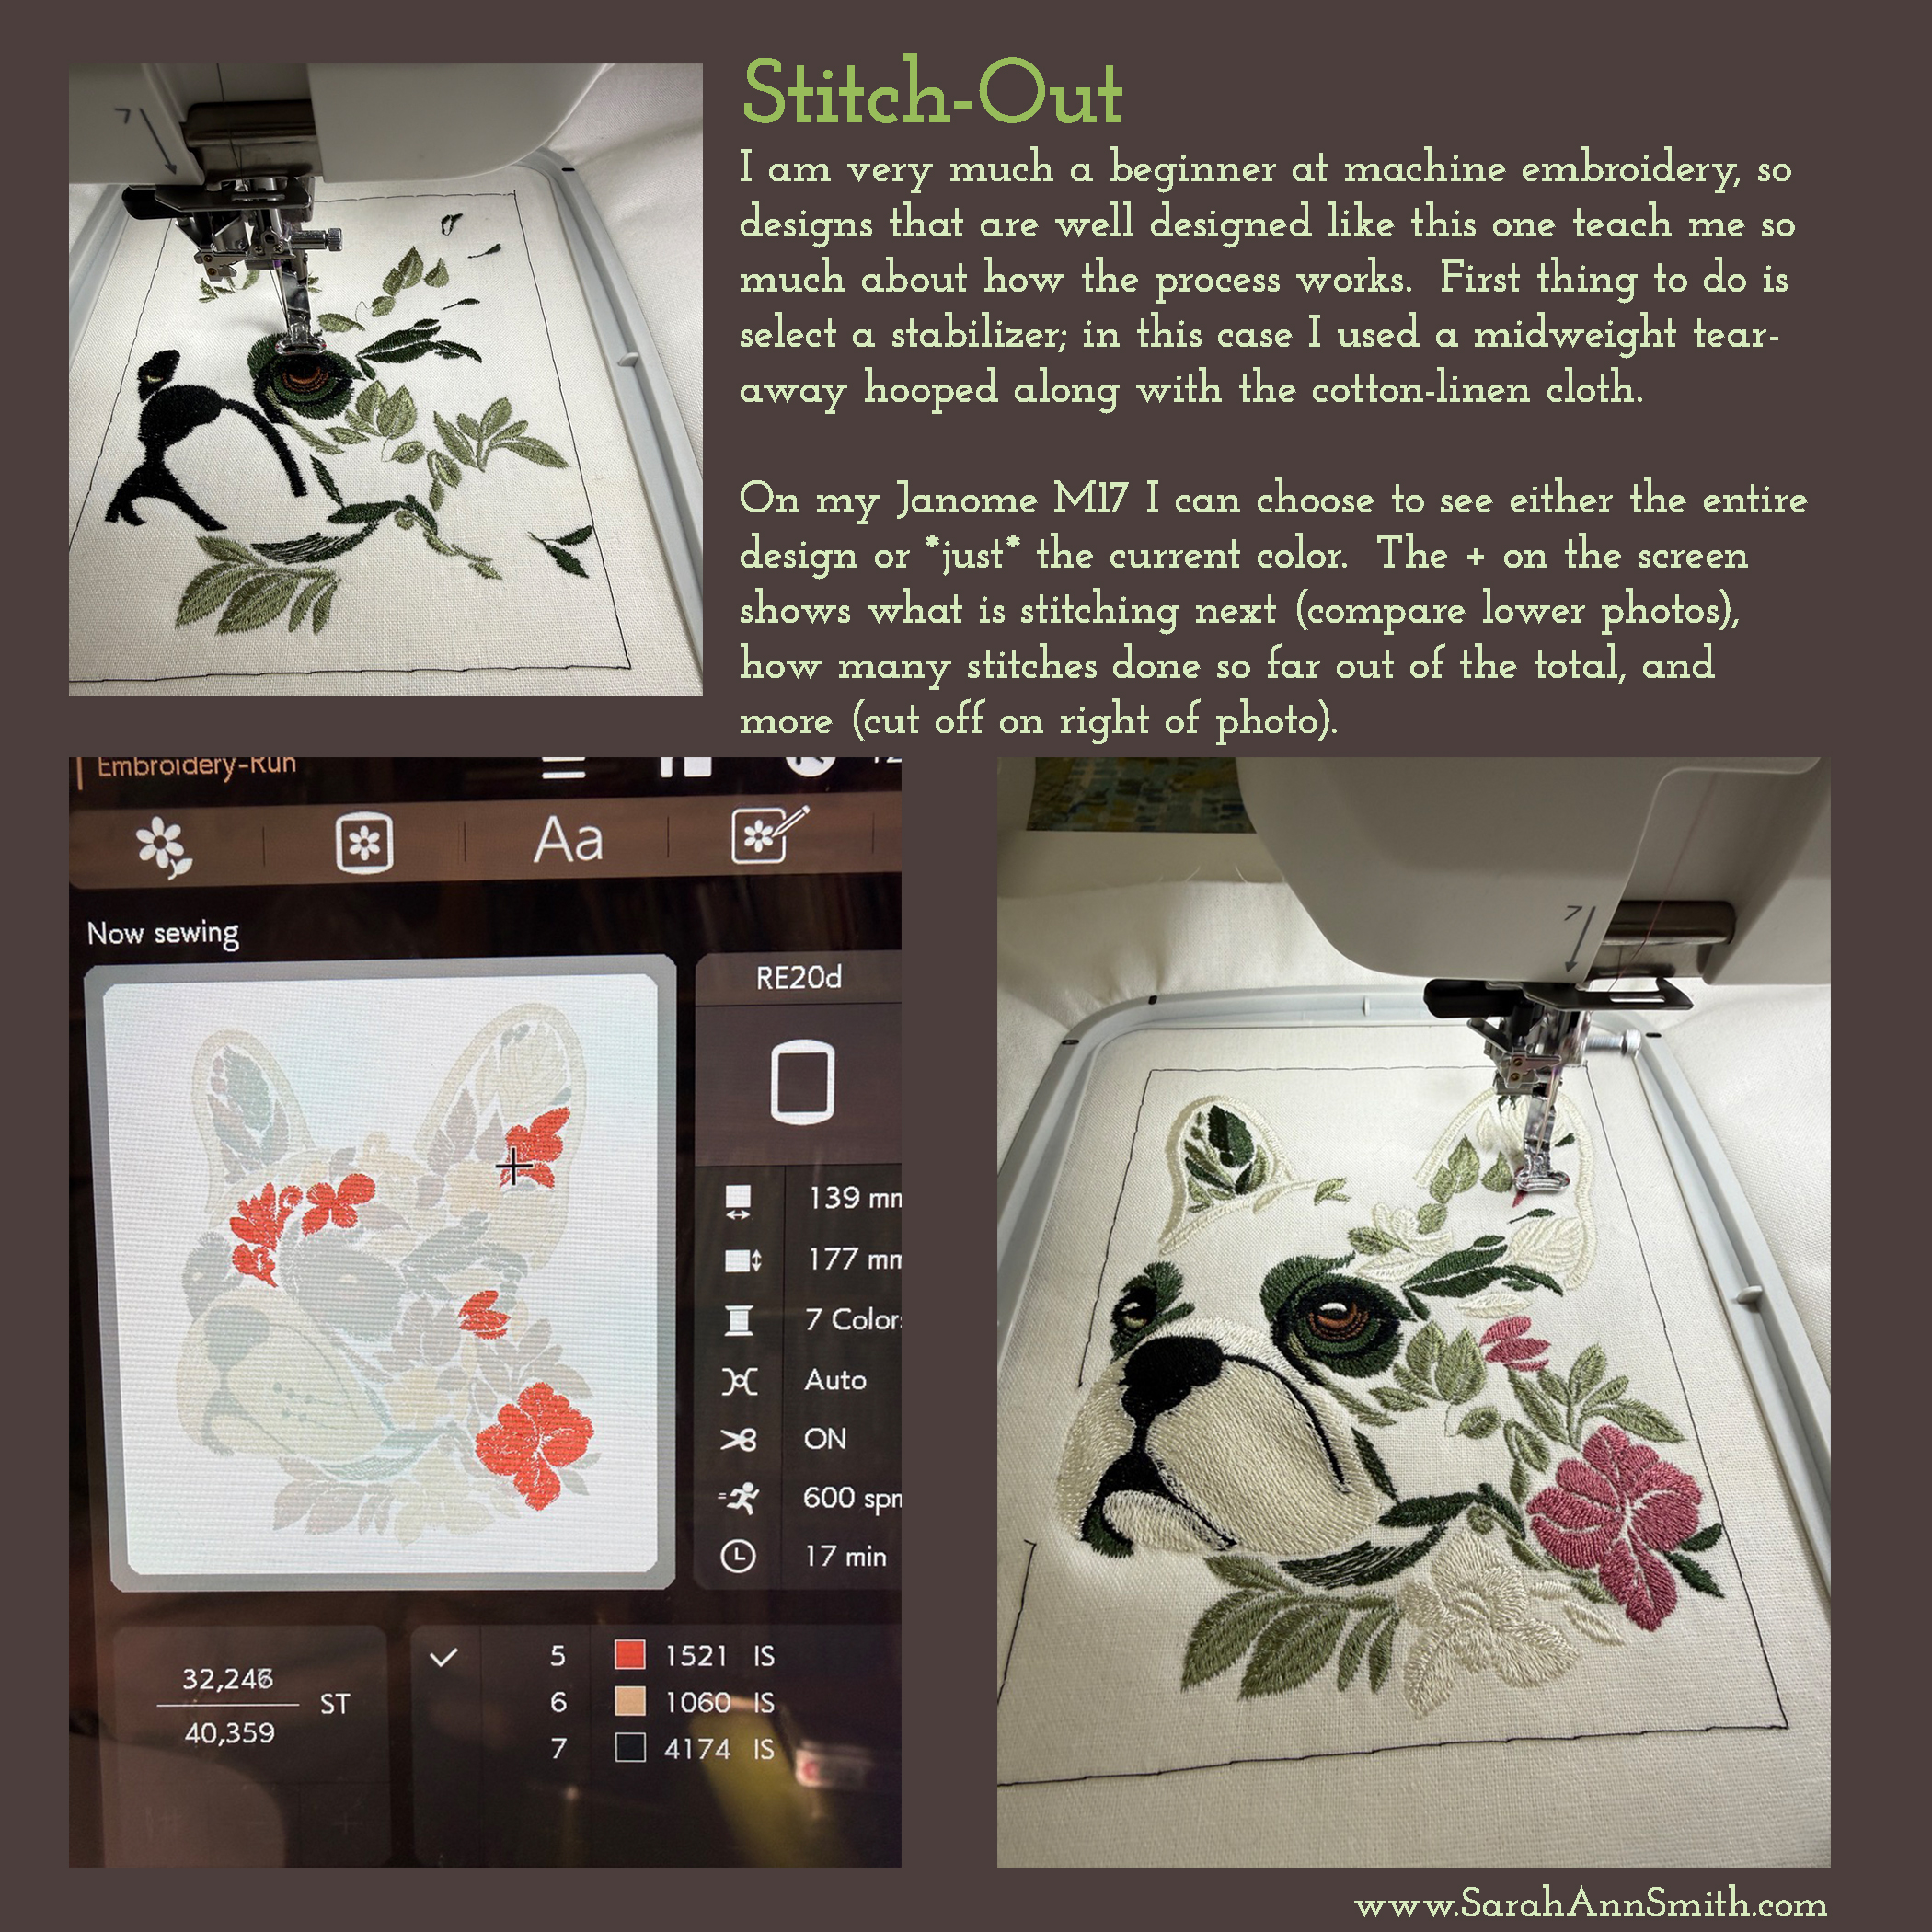
Frenchie embroidery design made by Sarah, design by EmbroideryRoksShop on Etsy
You can purchase this design and her other gorgeous artwork at https://www.etsy.com/shop/EmbroideryRoksShop . I’m not affiliated in any way other than being a Very Happy Customer. There are all sorts of animals–I bet you’ll find your favorite.
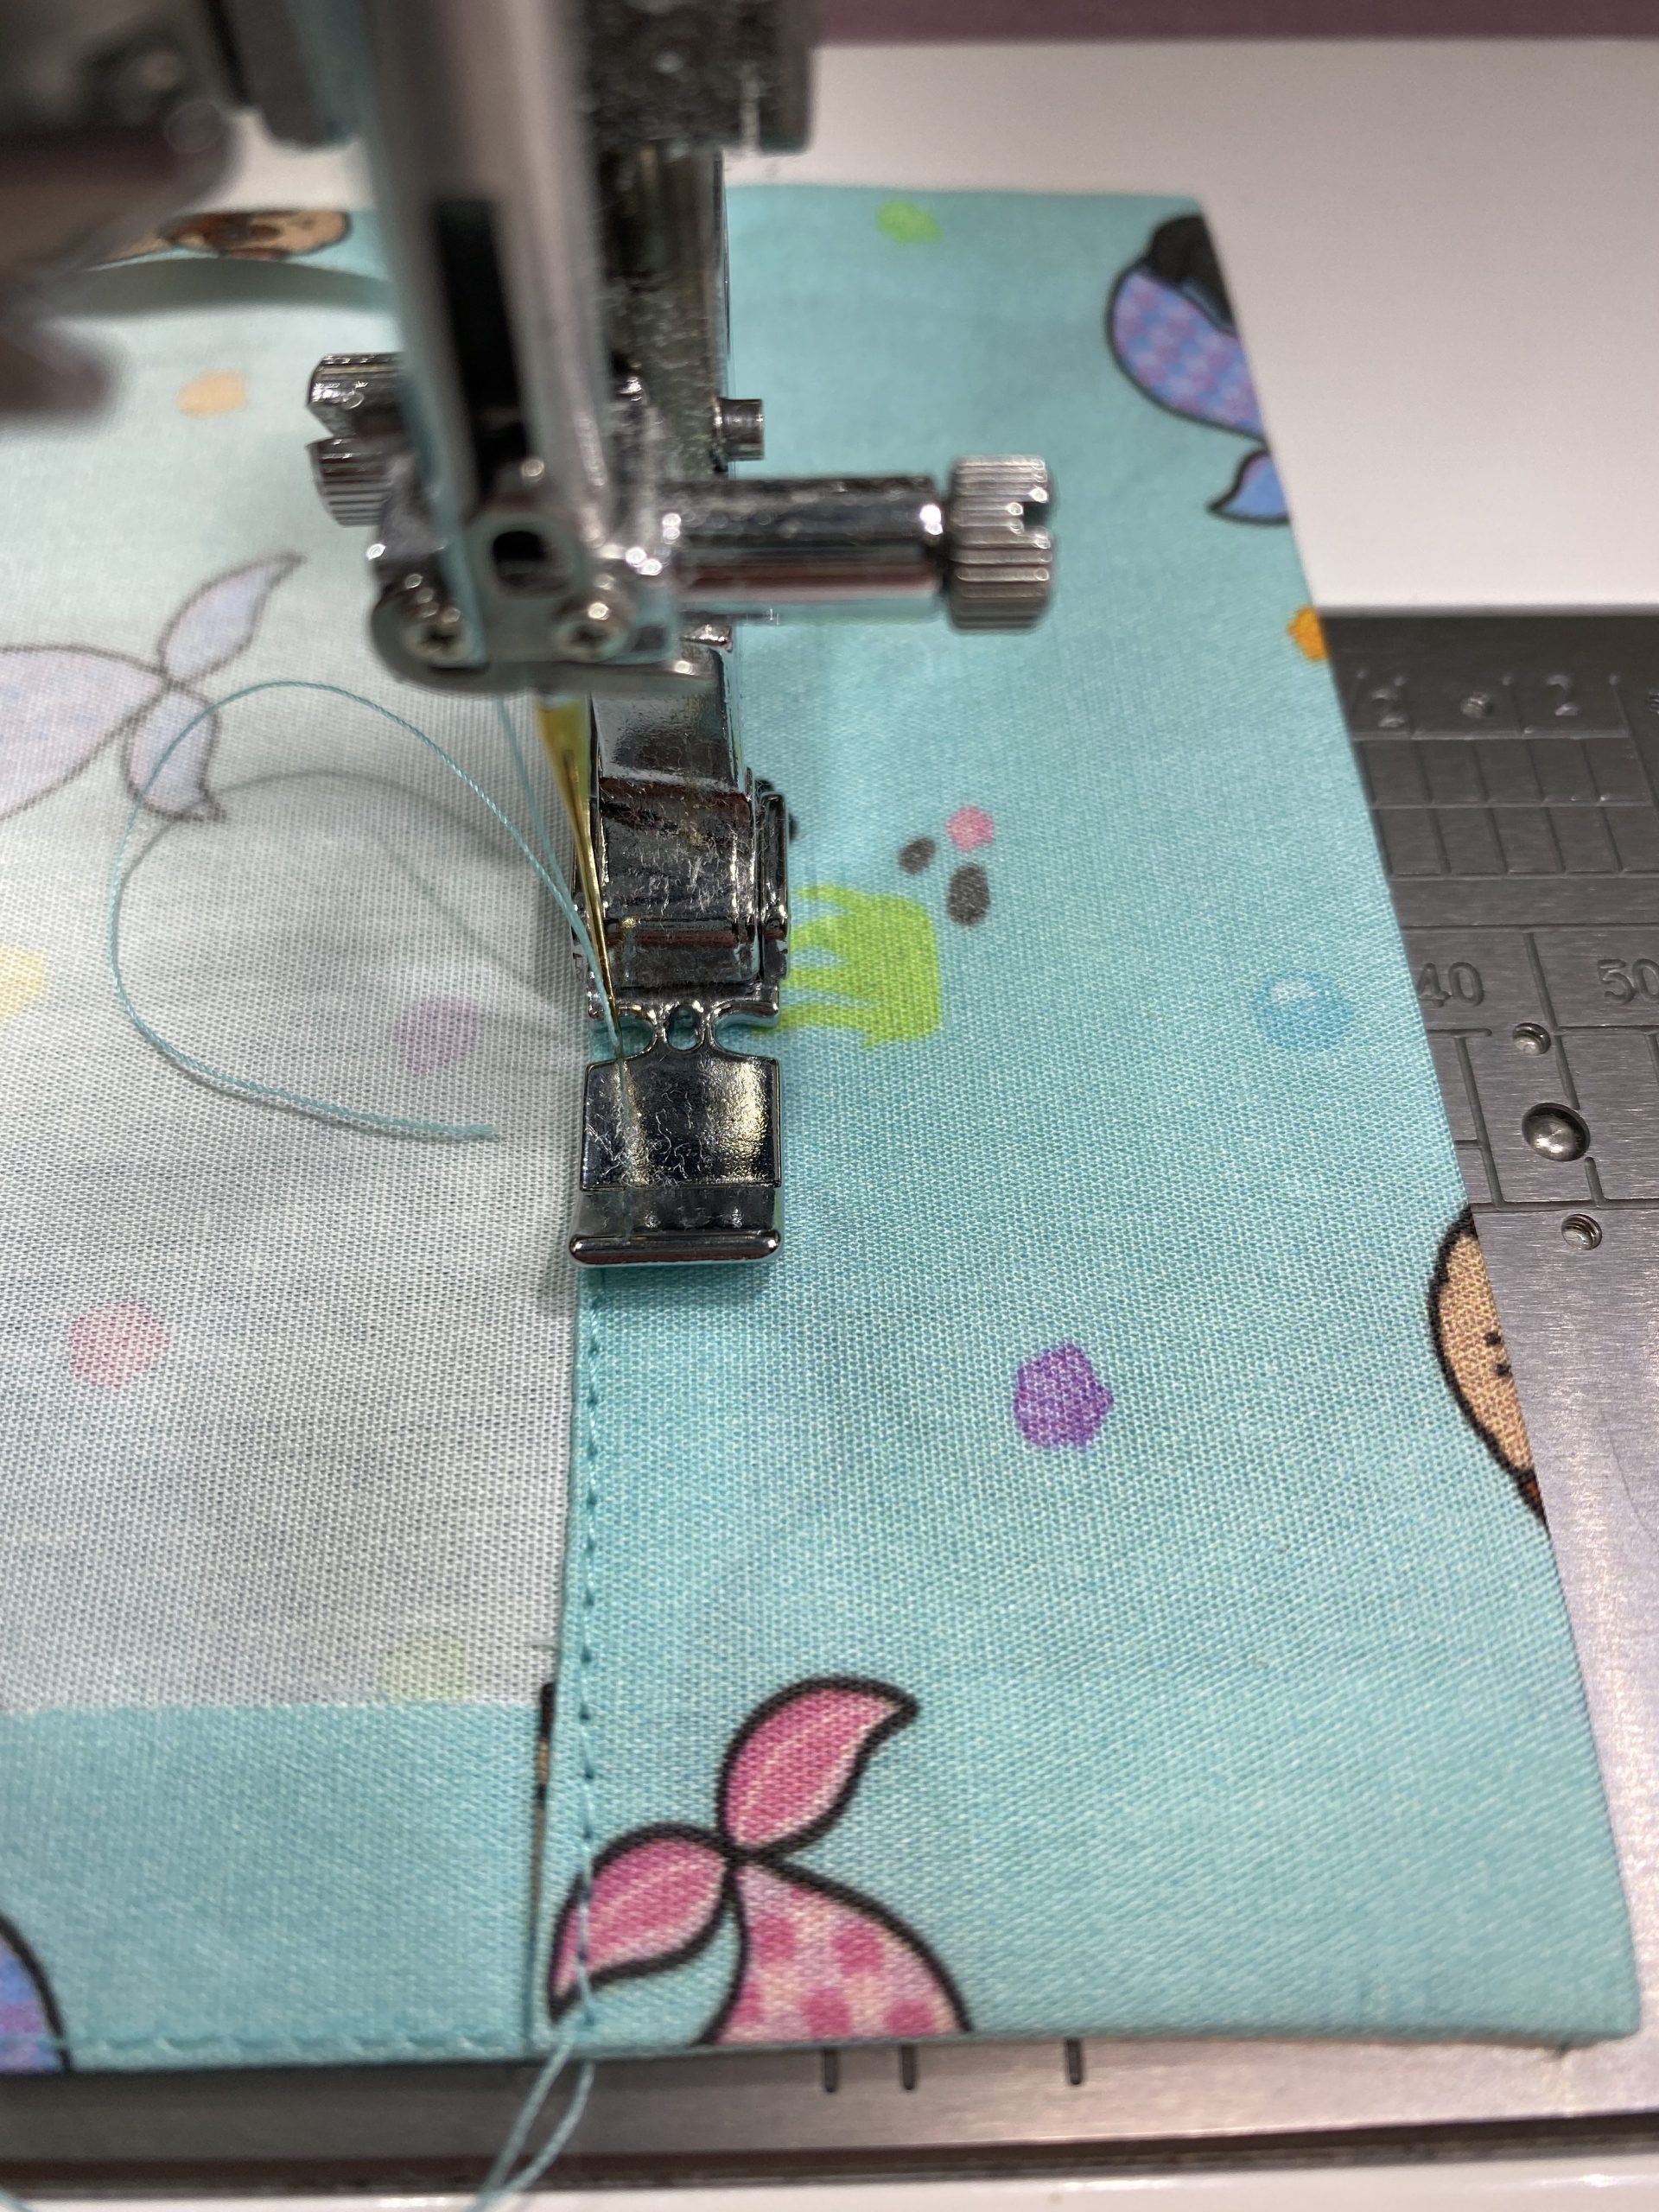
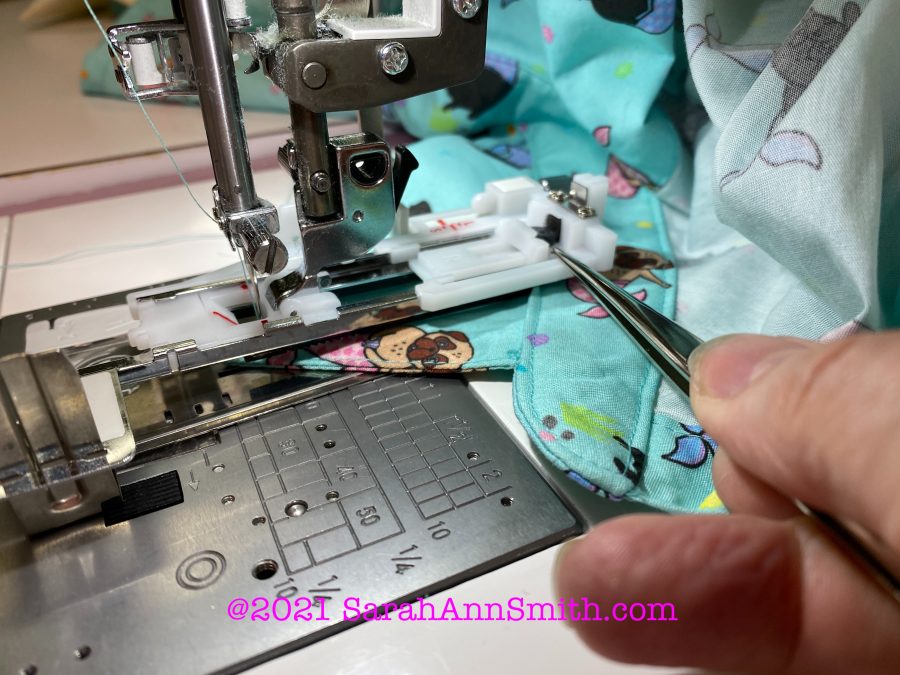
Here’s a short video on the process. There is a longer video below, from near the end of the embroidery process.

And here’s that longer video (also on my YouTube channel):
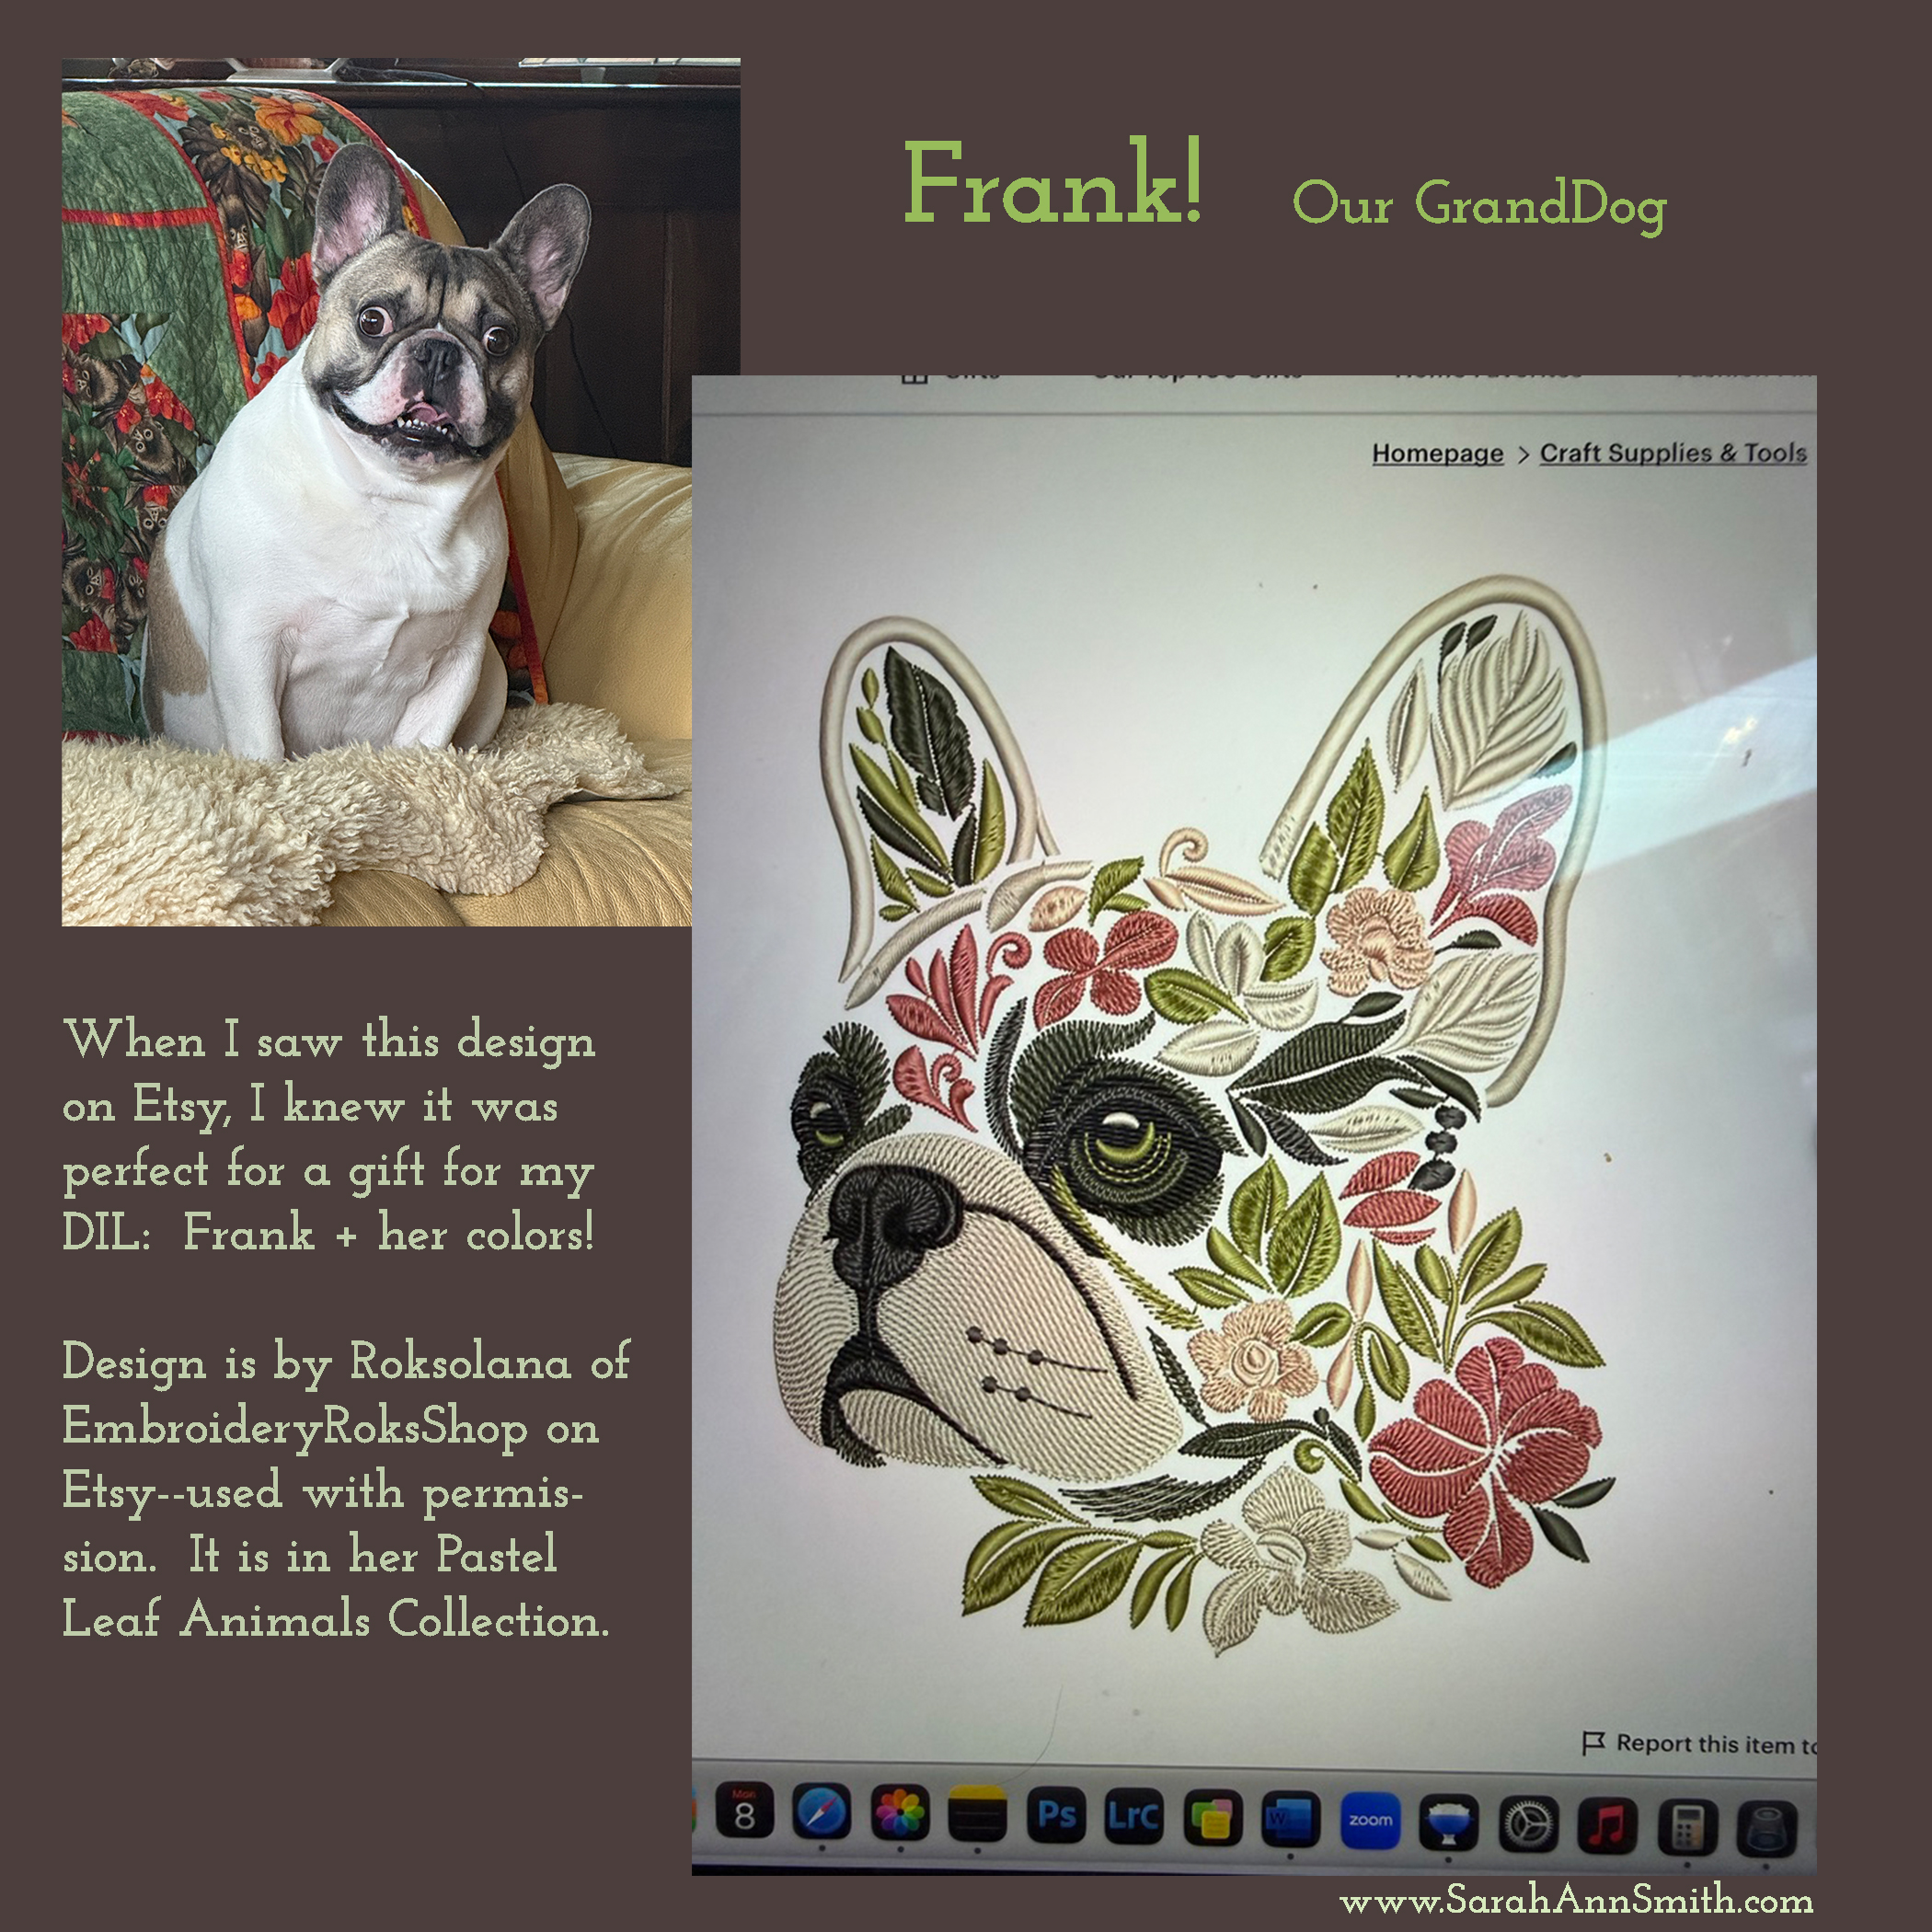
I also made three other designs by Roksolana. By the way, it was a bonus (for me anyway) to be able to purchase from a young artist living in Kyiv, Ukraine, and I learned that for at least a time Etsy isn’t charging their usual fees to folks living in Ukraine and trying to survive the war. She is a mom, and the war affects them daily (like having electricity long enough to do the laundry!). I had a delightful chat (with help for her using a translate app so we could converse) with her when I wrote to ask permission to use her designs for this Janome project. DO go check out her Etsy shop here. I was so excited when I found it–at last some designs that were not cutesy, or hearts and bows, or juvenile. REALLY COOL designs! I was at first a little concerned as I wasn’t purchasing from a “known” design company, but that is what makes these so fresh and appealing to me. I needn’t have worried. Just seeing how the designs stitch out I could see she really understands and masters the computer part of the work–getting the stitch flow to enhance the curves and lines and contrast in thread… like what follows!
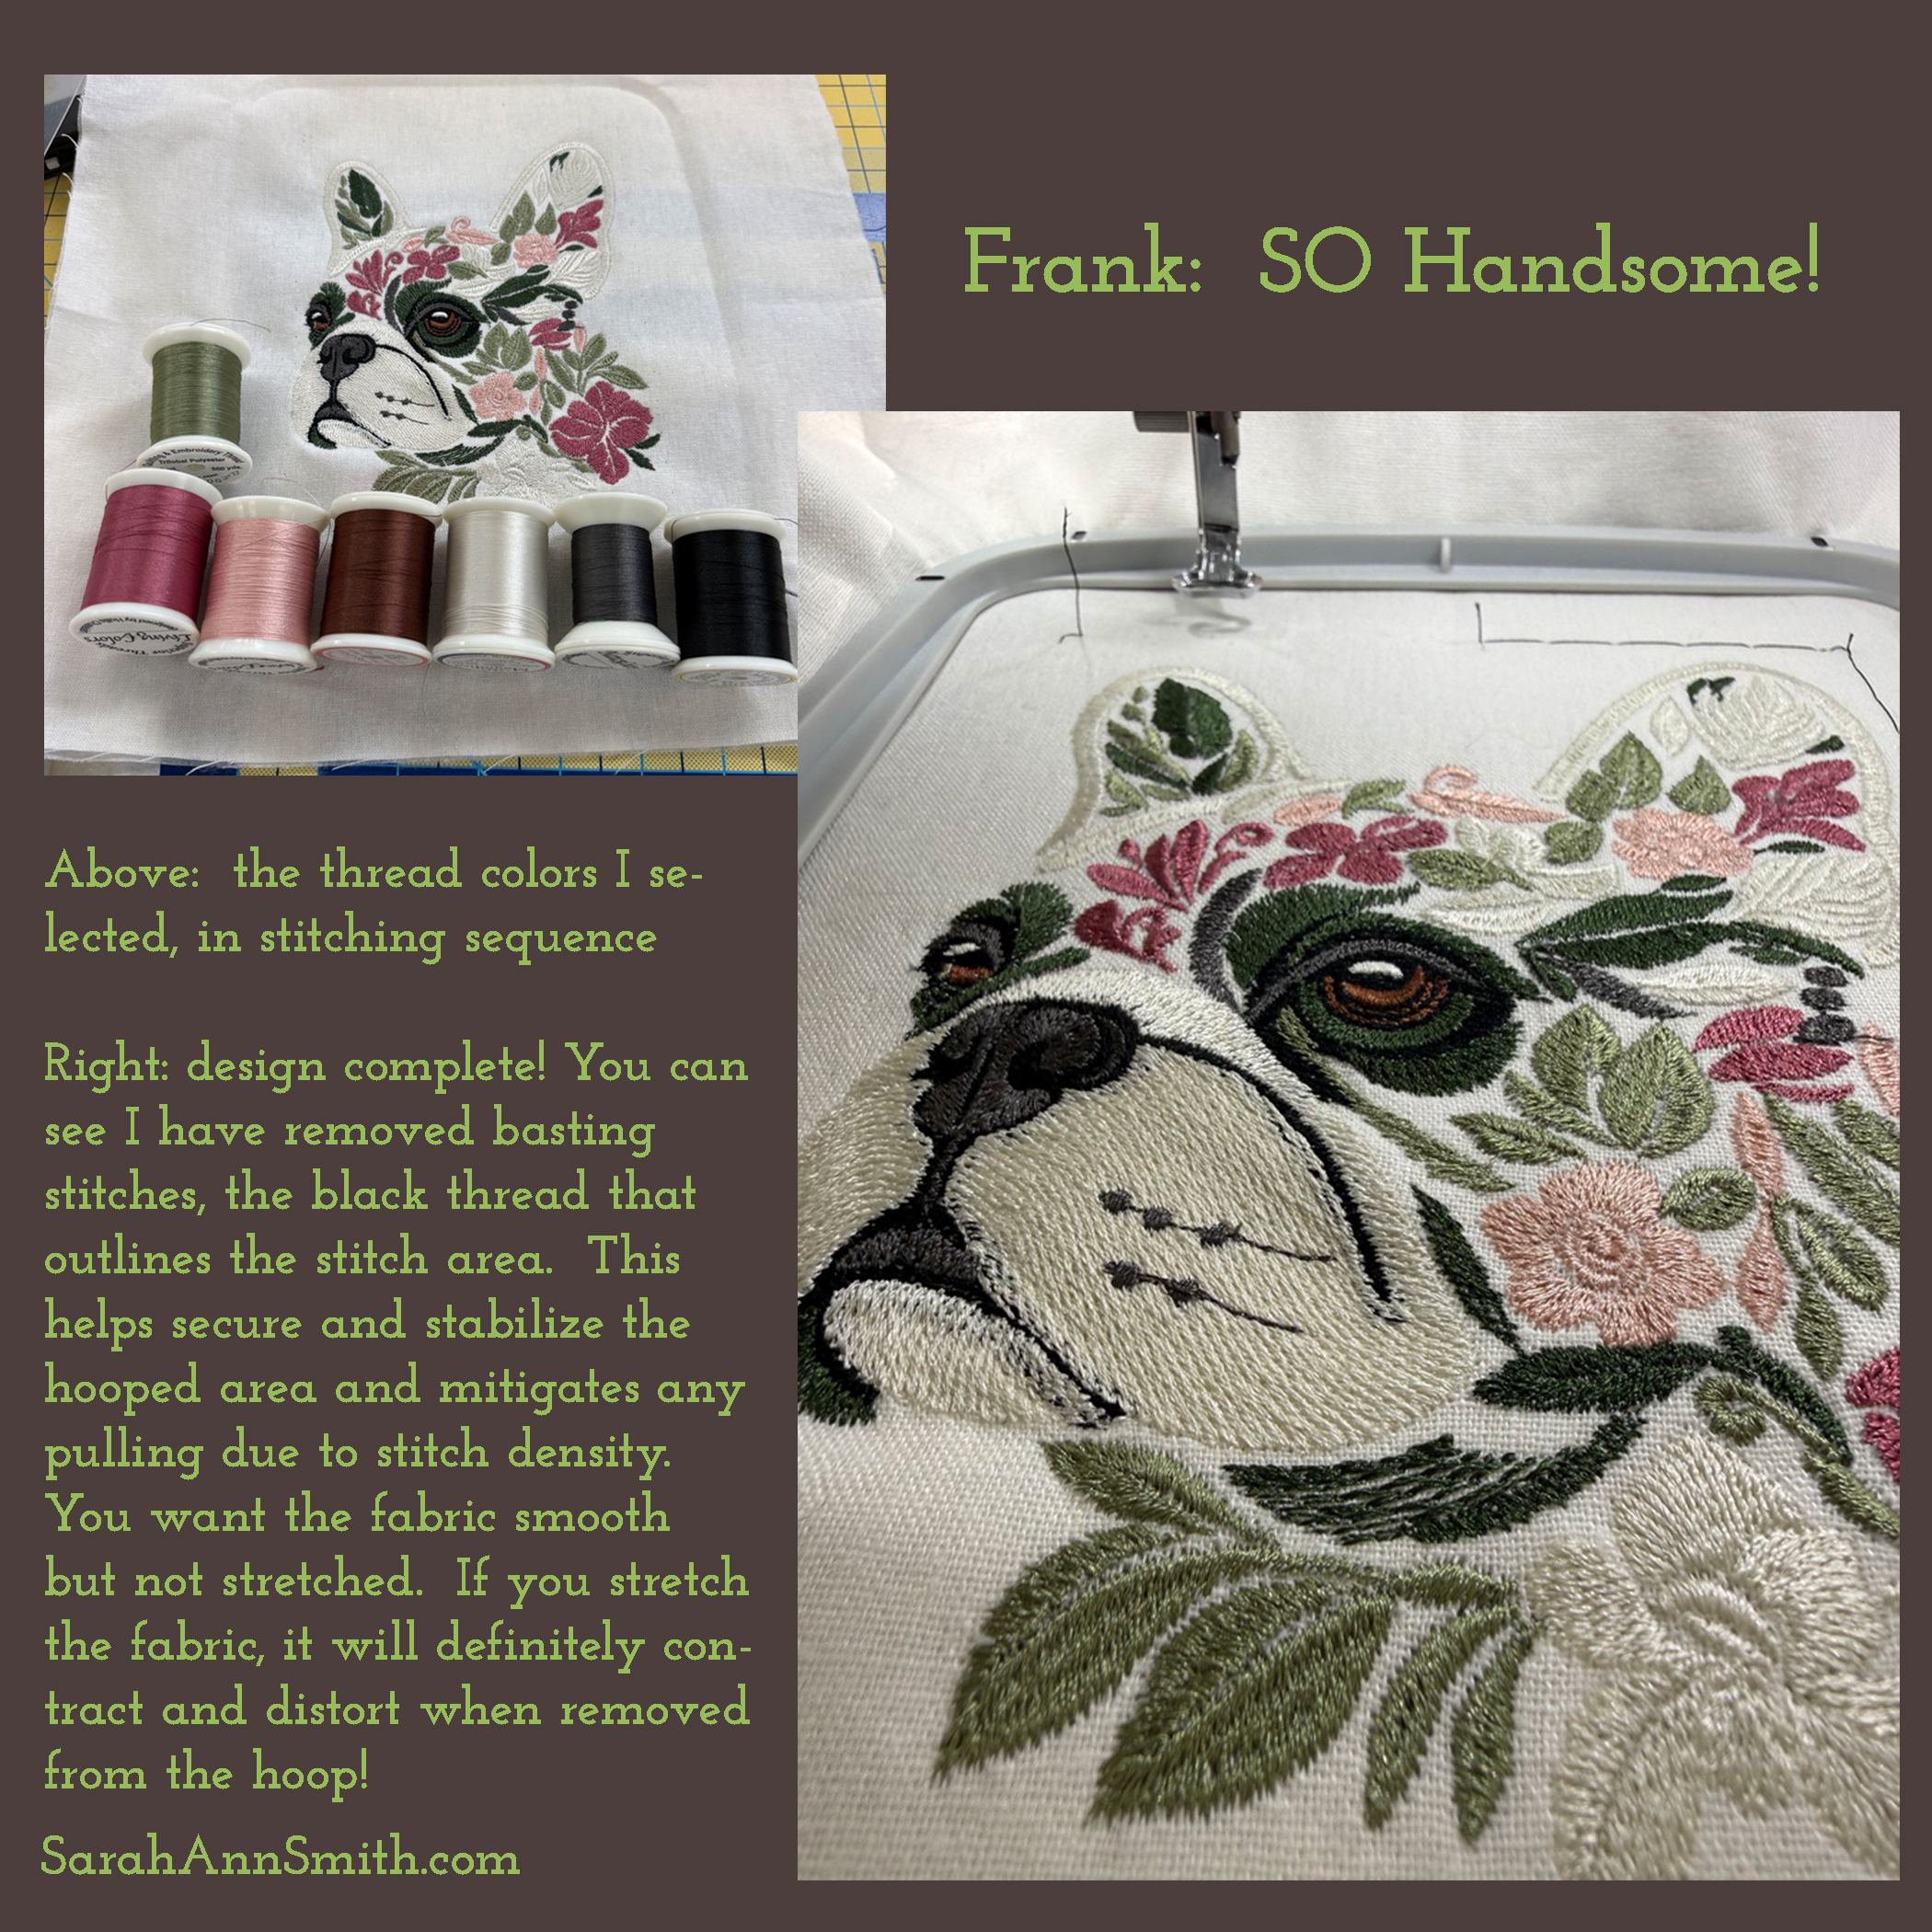
Roks’ colorways are fantastic and were the reason I first stopped because they are perfect for Ashley. But I was able to select thread colors to use my Superior Threads and Isacord threads stash–I have literally hundreds of colors, so as long as I have enough thread on the spool, I’ll use what I have until I need to replace. Then I think I’ll move to Isacord because of quantity on a mini-king spool and wider range of colors. Must. Buy. A ColorCard!
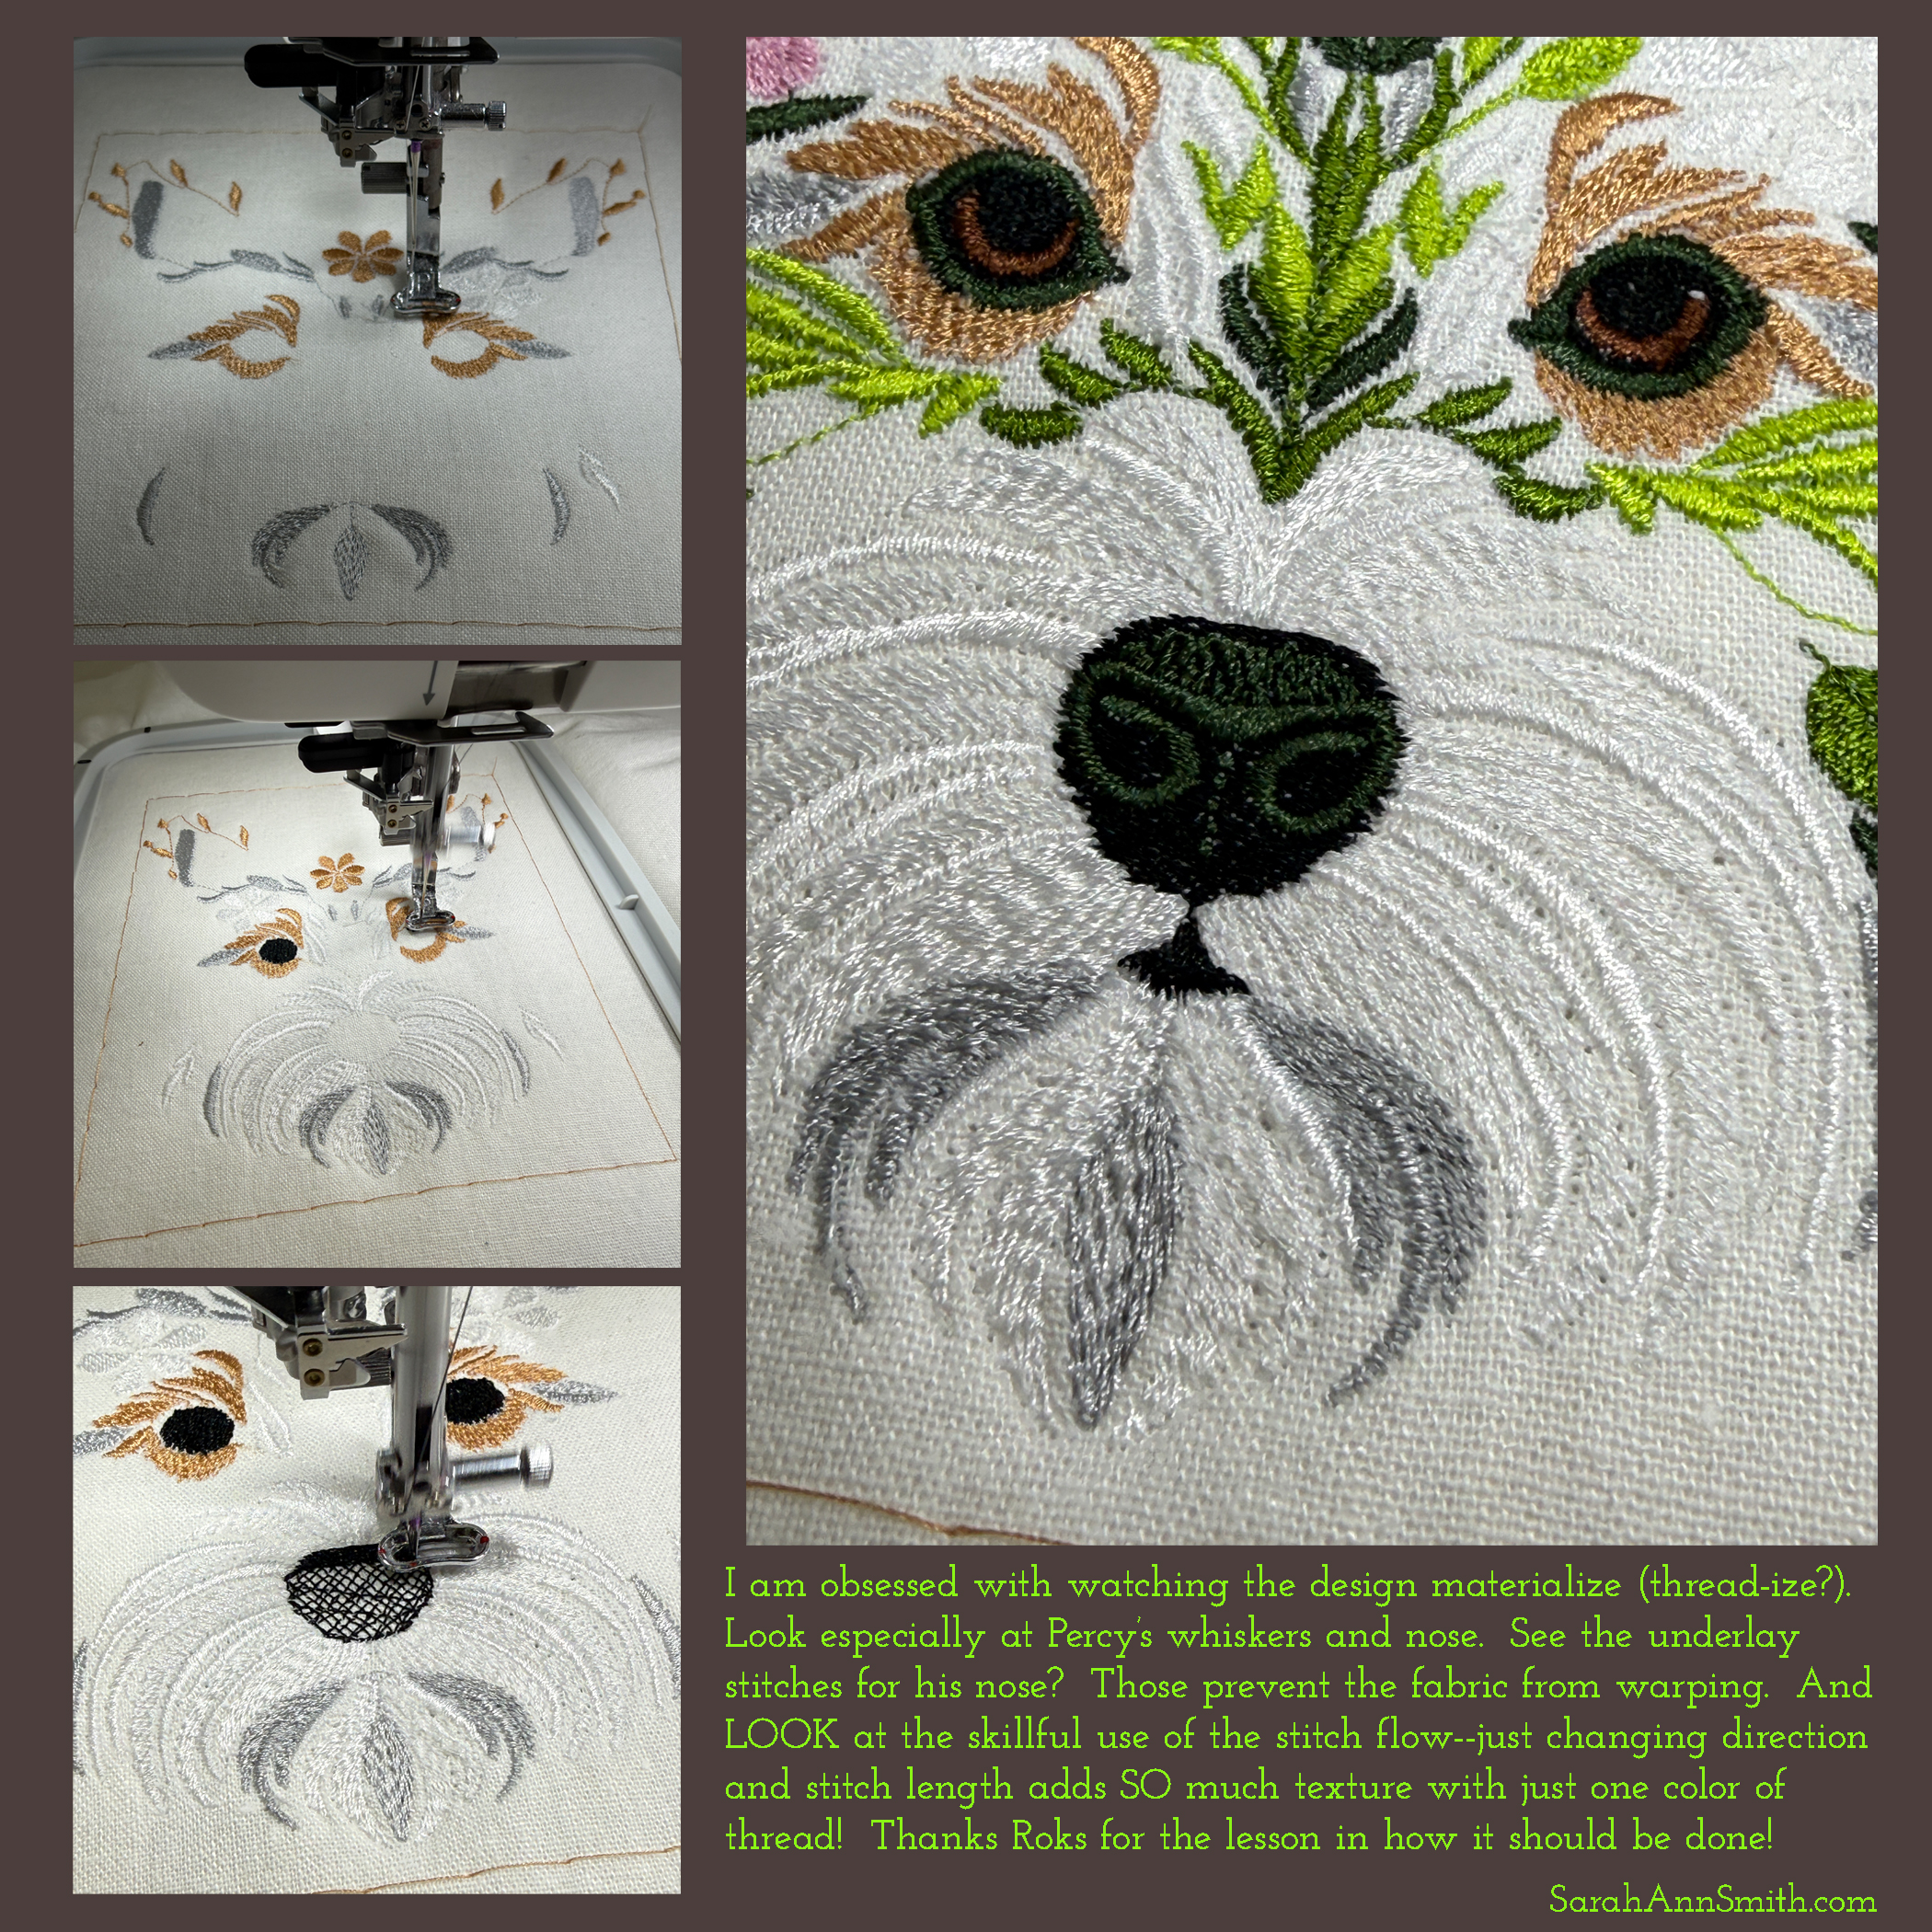
The design in Roksolana’s shop is for an Australian Terrier, but with the white thread and flowers, does this not look Just. Like. Percy?!!!! AND THAT NOSE… I LOVE both noses…the stitched and the real one!

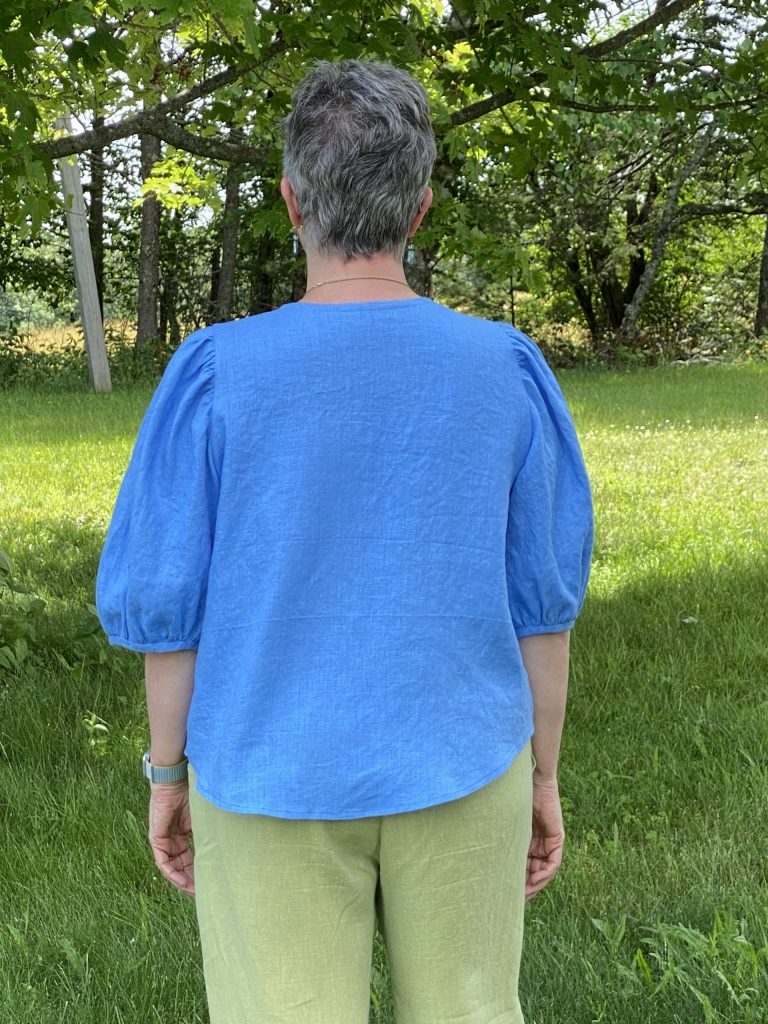
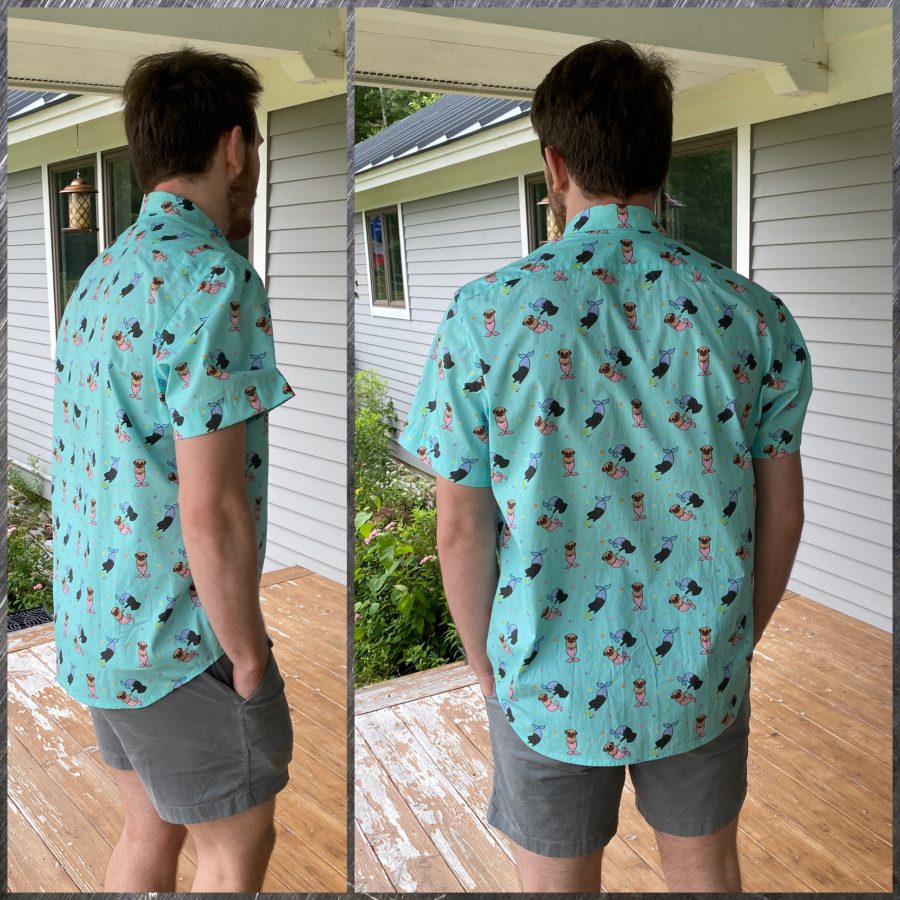
Yes, he sits in the corner of the kitchen cabinets. All. Of. The. Time. That was also the dearly departed Pigwidgeon’s spot, too. So I still have to lean over a dog to cook! This may be the first time in my entire 68 years that I’ve loved a photo of my back side LOL! That face, with the folded down “I Love You” ears!
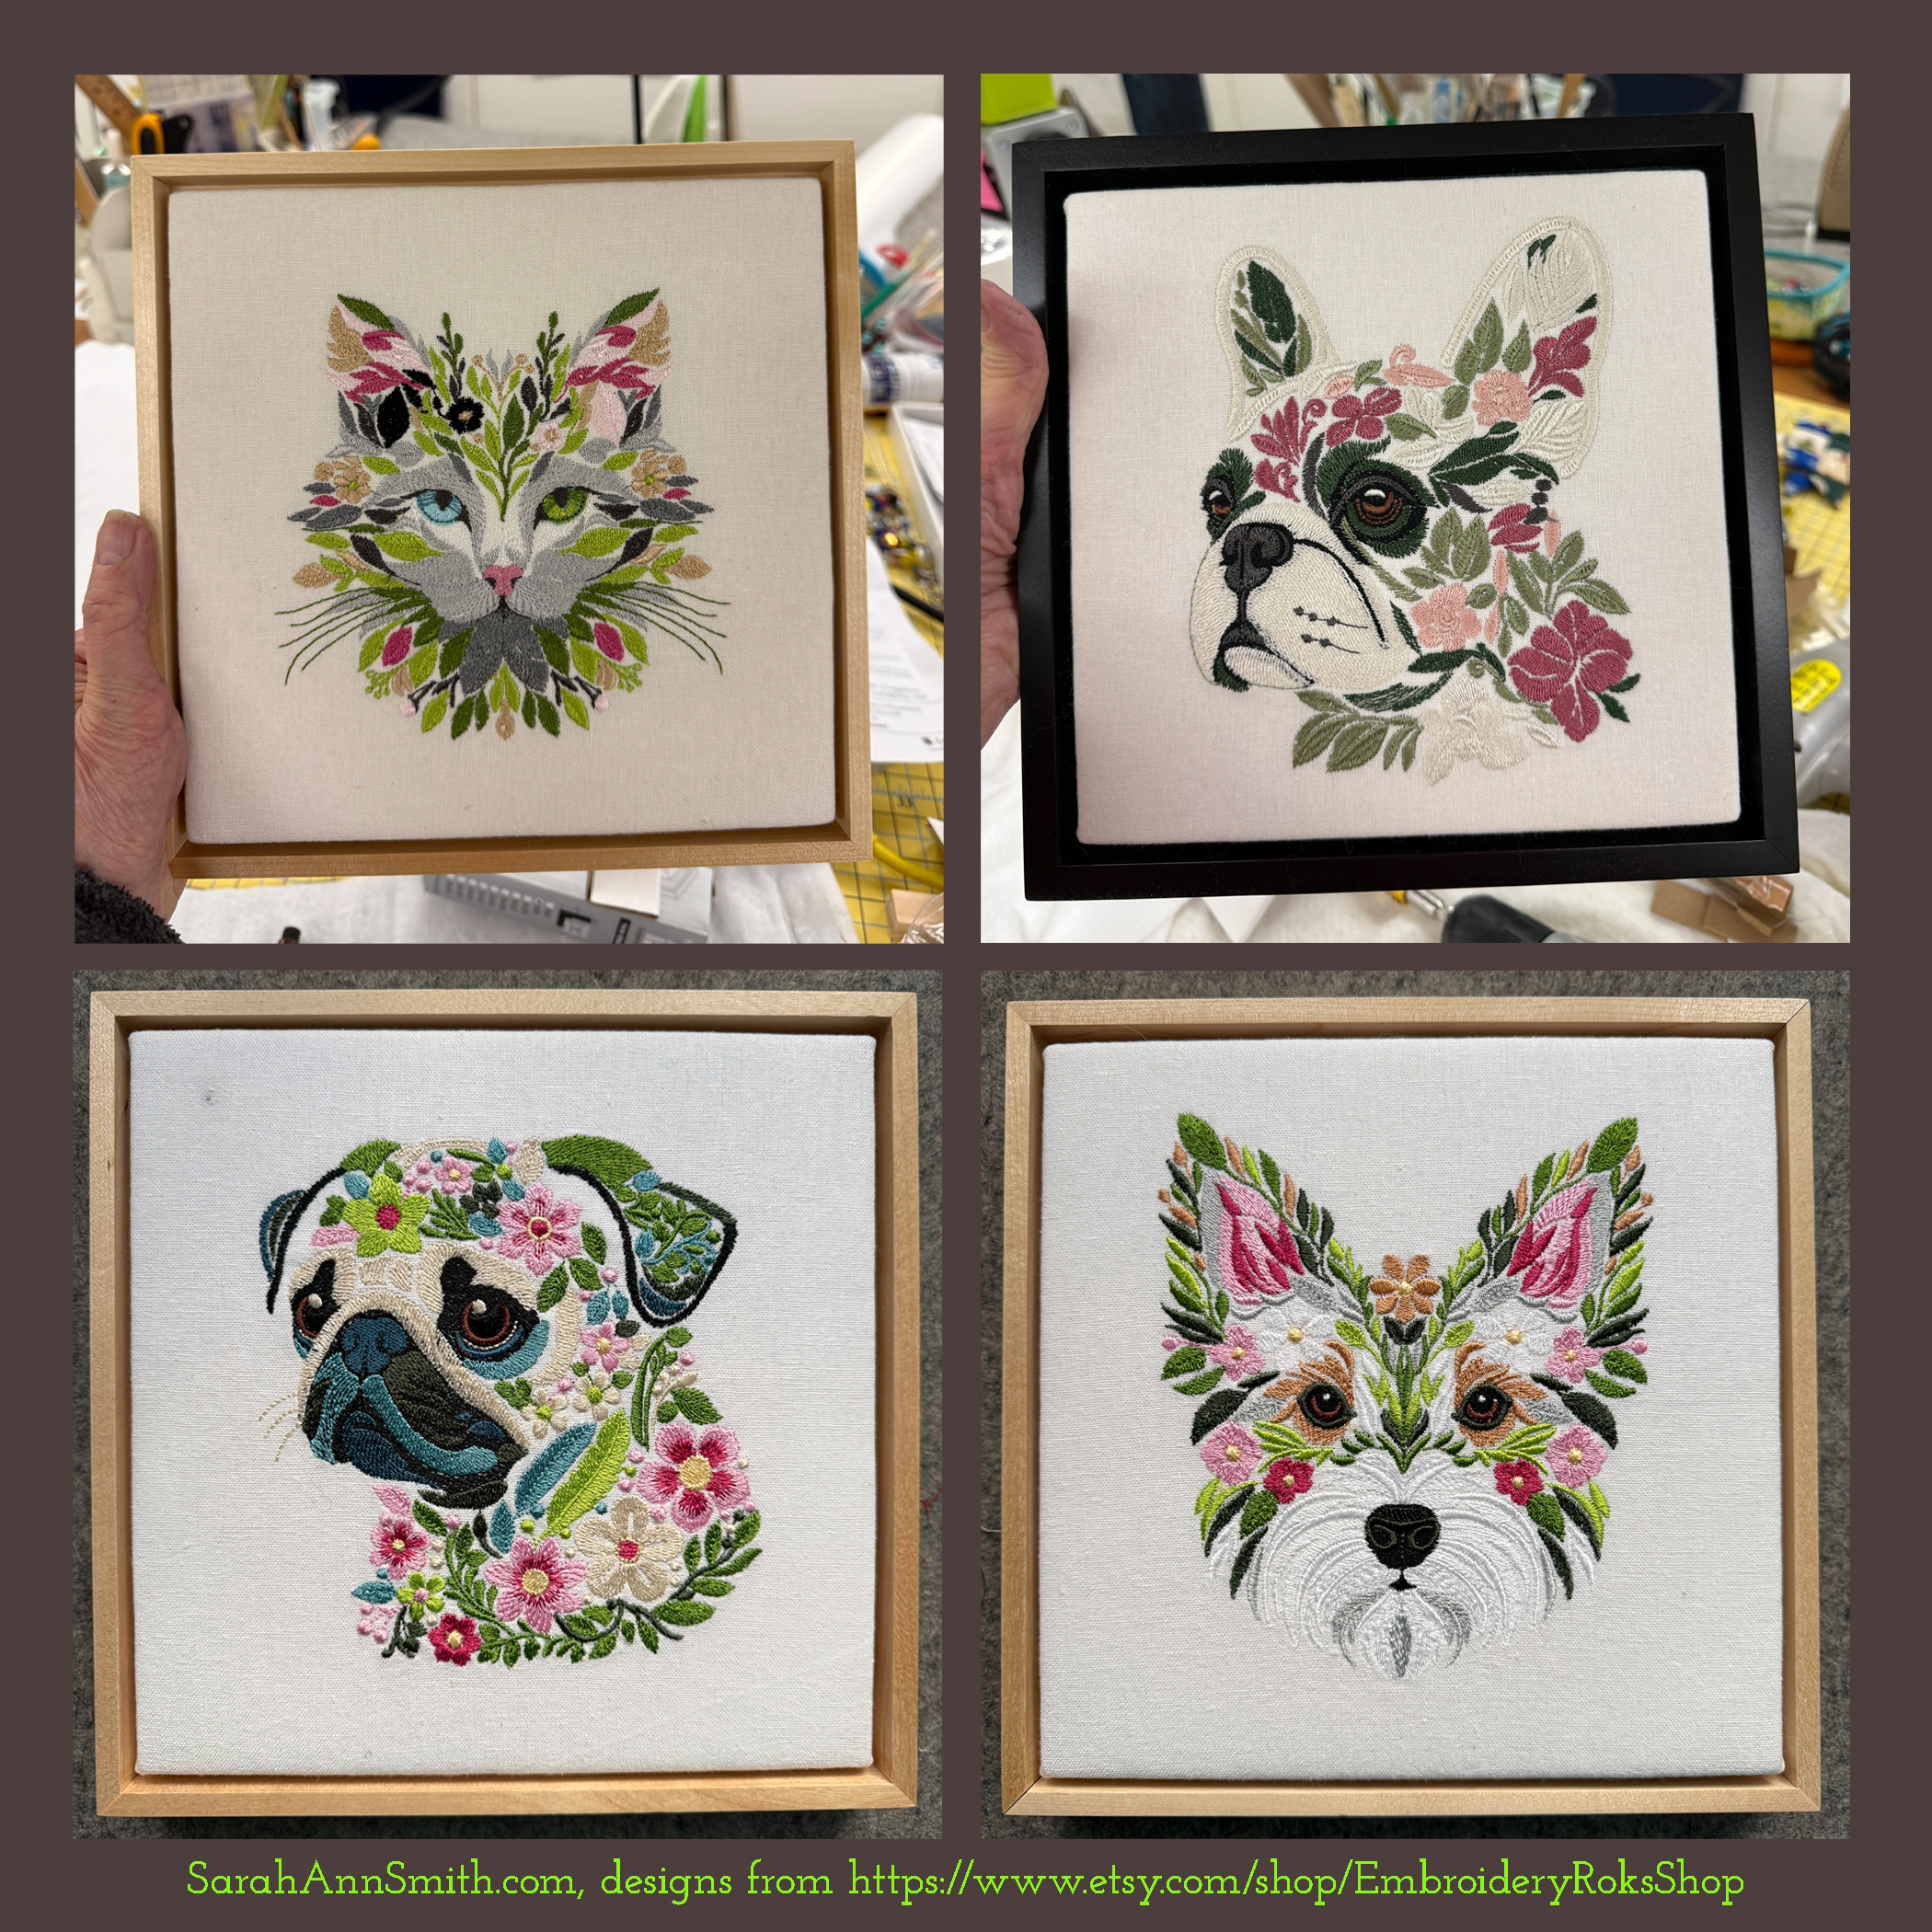
Below are all four of the portraits I did. In the top left is Boo, my husband’s spirit animal who went to the Great Poo Pan in the Sky way too young, at age 5 (he had some sort of tumor or something and went so quickly). He was a Turkish Van: all white except for a dark smudge over his right eye, which I was able to replicate by stopping the machine at the precise moments needed to change thread from greens to black for the location of the smudge. He was also what is known as “odd-eyed:” One blue eye, one yellow green. I am no longer terrified to stop the machine mid-stream to change threads, replace bobbins, back up a stitch or two as needed, and can anticipate pretty well when to hit stop! I’m learning!
Top right is, of course, Frank, my GrandDog. He is so darn cute and makes the most adorable sounds (and let’s be honest, yeah he kinda farts, too). He and Percy are about the same size so Percy doesn’t have any issues with him (Percy is afraid of the neighbor’s Goldens who resemble Tigger going boing boing boing and tripping all over him), but Frank is a full ten pounds heavier, all dense bone and muscle. Bottom left is a younger pug than the dearly departed Pigwidgeon (one of the true loves of my life), but it’s a pug! So I made him and the terrier for Percy and they will hang in my upstairs studio (son’s old bedroom, my regular studio is in the basement and I have an attitude problem about being underground, so I relish having a WINDOW).
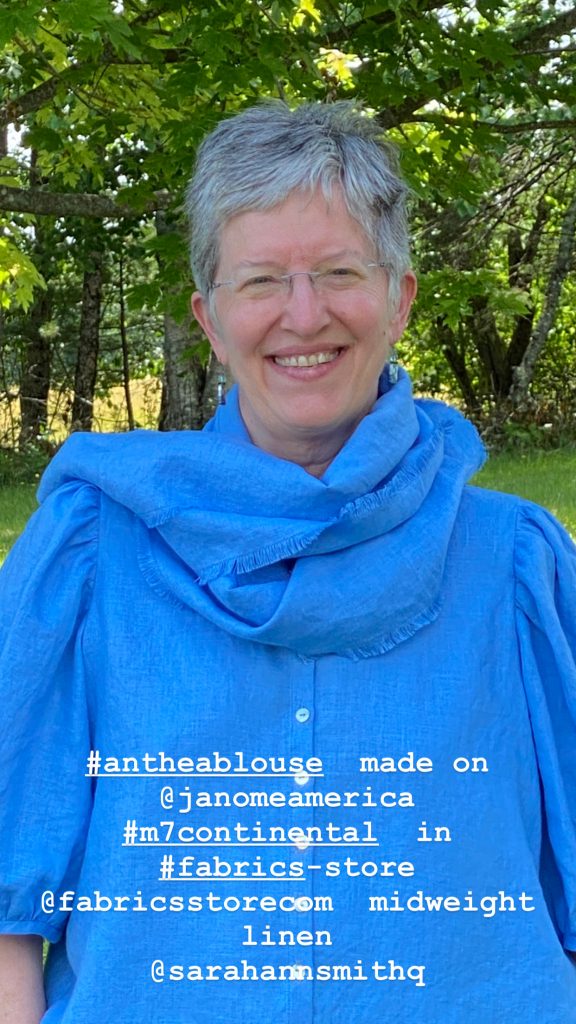
And that’s it for this post! If you aren’t already, follow me on Facebook, YouTube and Instagram, all are @sarahannsmithq . I’m also the same handle on Ravelry if you’re a knitter. THANKS for reading this post!