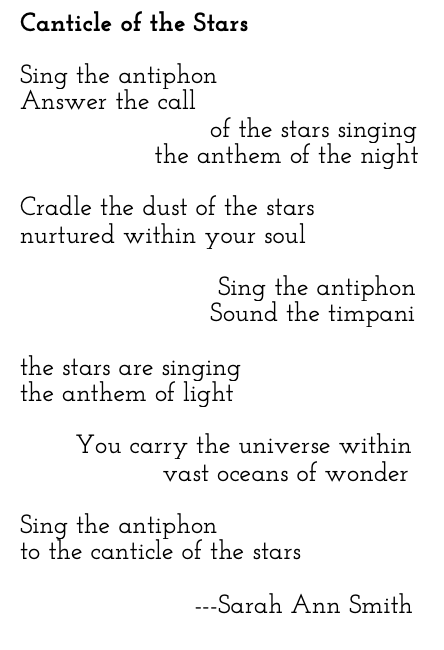
Canticle of the Stars
Monday, May 11th, 2020
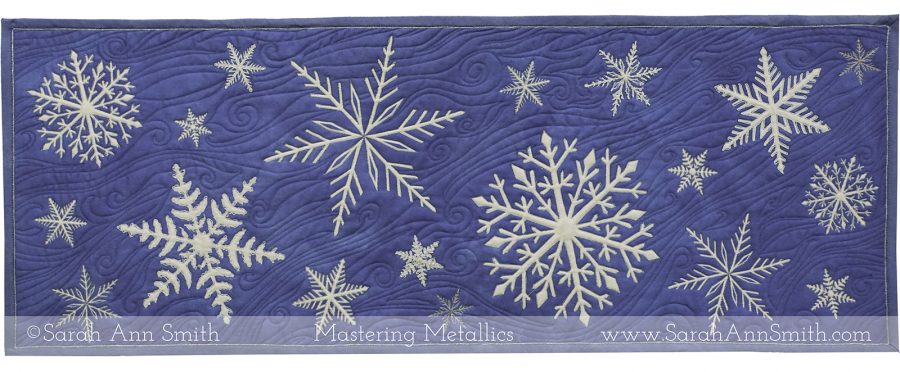
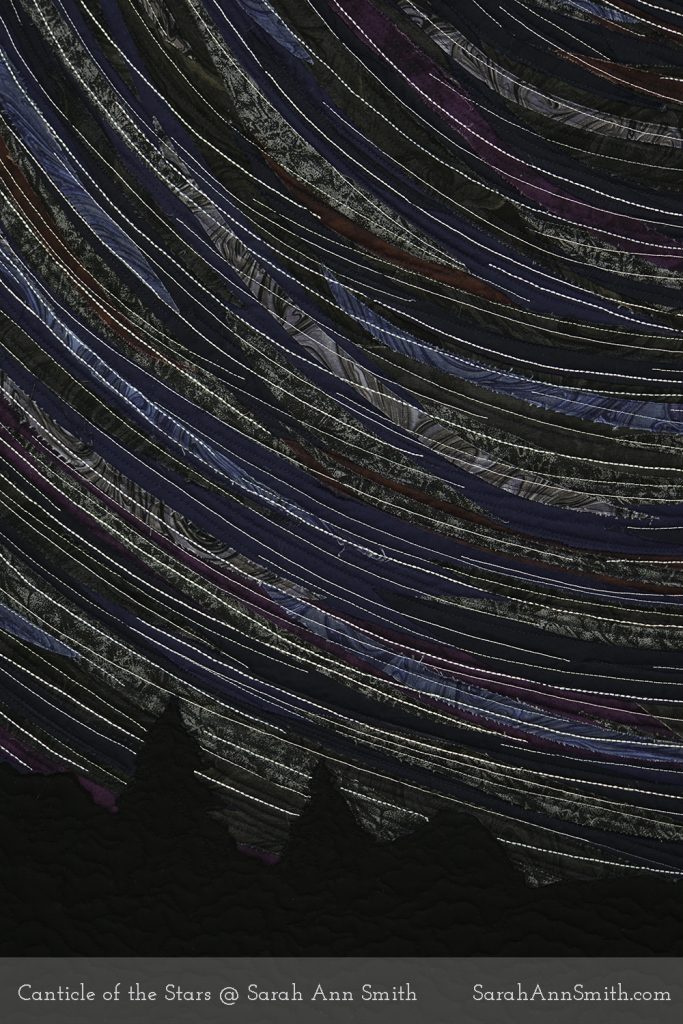
Completed May 2020, 36 tall x 46.5 wide.
There is a thing called star trails photography (just google it…it’s really cool). The earth rotates on its axis. The North Star is static in our northern skies. If you take time lapse photos and then “stack” (merge) them, you get star trails….images that describe the lines created by the light of the stars. Did you know that starlight comes in different colors??? It does… I love the feeling of the vastness of space. When I went to college, I comforted myself knowing that my then-boyfriend and I could both look up at the constellation Orion in the sky even though we would be 3000 miles apart. I love wondering what is out there, and feeling snug and at home in my own world. The universe is Out There and it is Within Us. I love the resulting art quilt. While trying to figure out the title (star trails was too boring), I wrote a poem to go with this quilt:
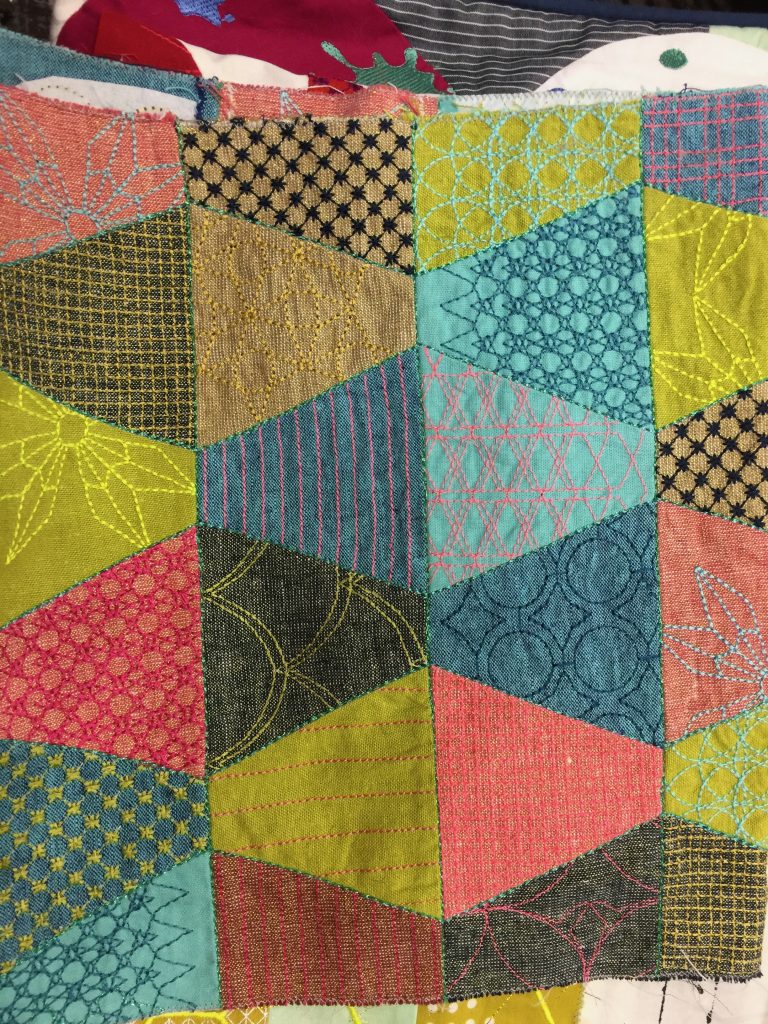
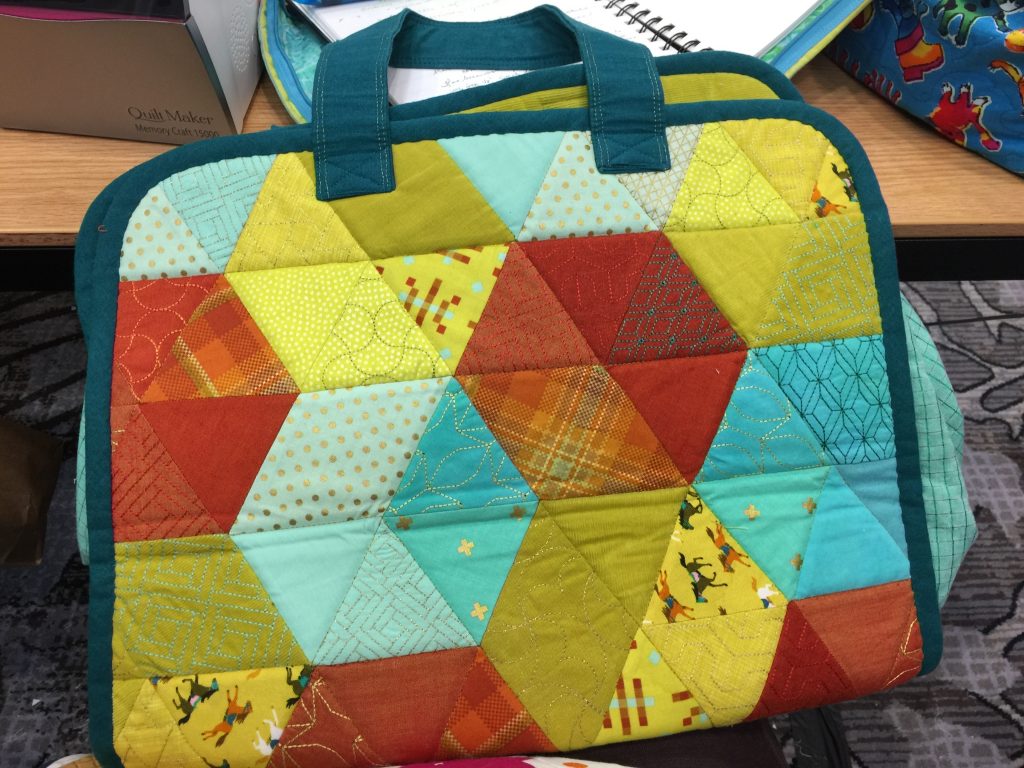
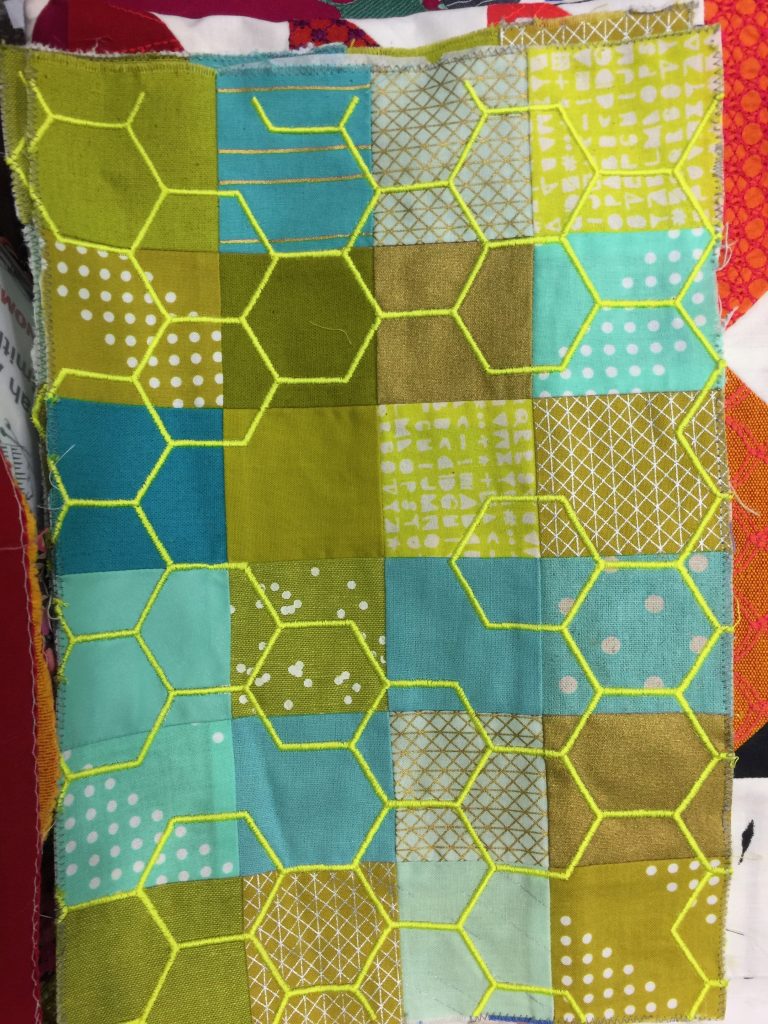
As many of you know by now, I was selected to be a Michael Miller Brand Ambassador this year. At the start (last December) we received a box STUFFED with goodies (post here). I decided to challenge myself, using items ONLY from this box to make an art quilt in my style, but using fabrics that are totally not in my usual wheel house: commercial solids, prints, and bling. I love the result…in trying to figure out the title (star trails was too boring), I wrote a poem above. Help me decide should the title be Canticle of the Stars? or Anthem of Light? Leave comments and thoughts!
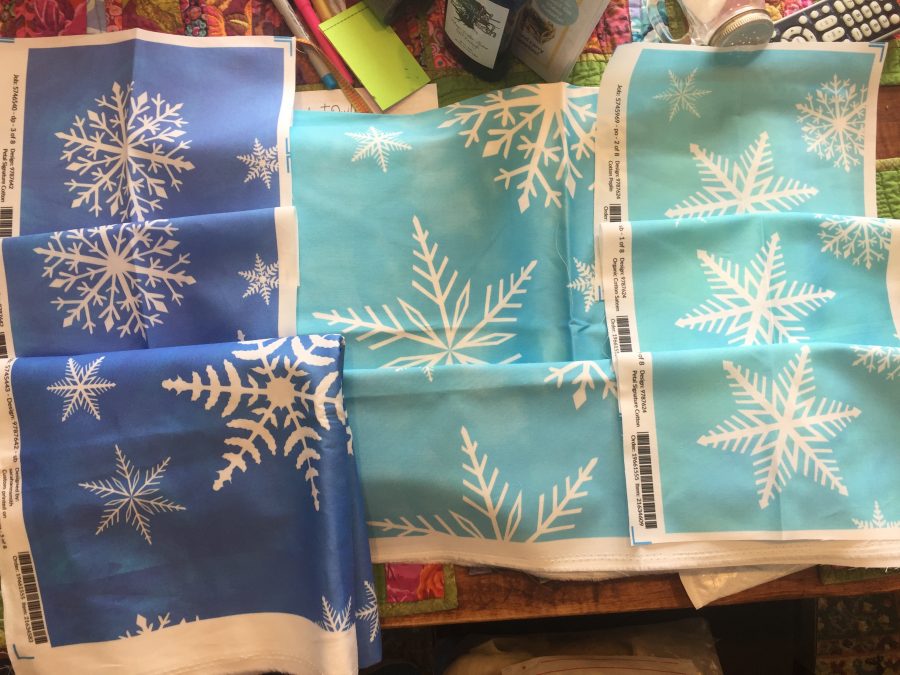
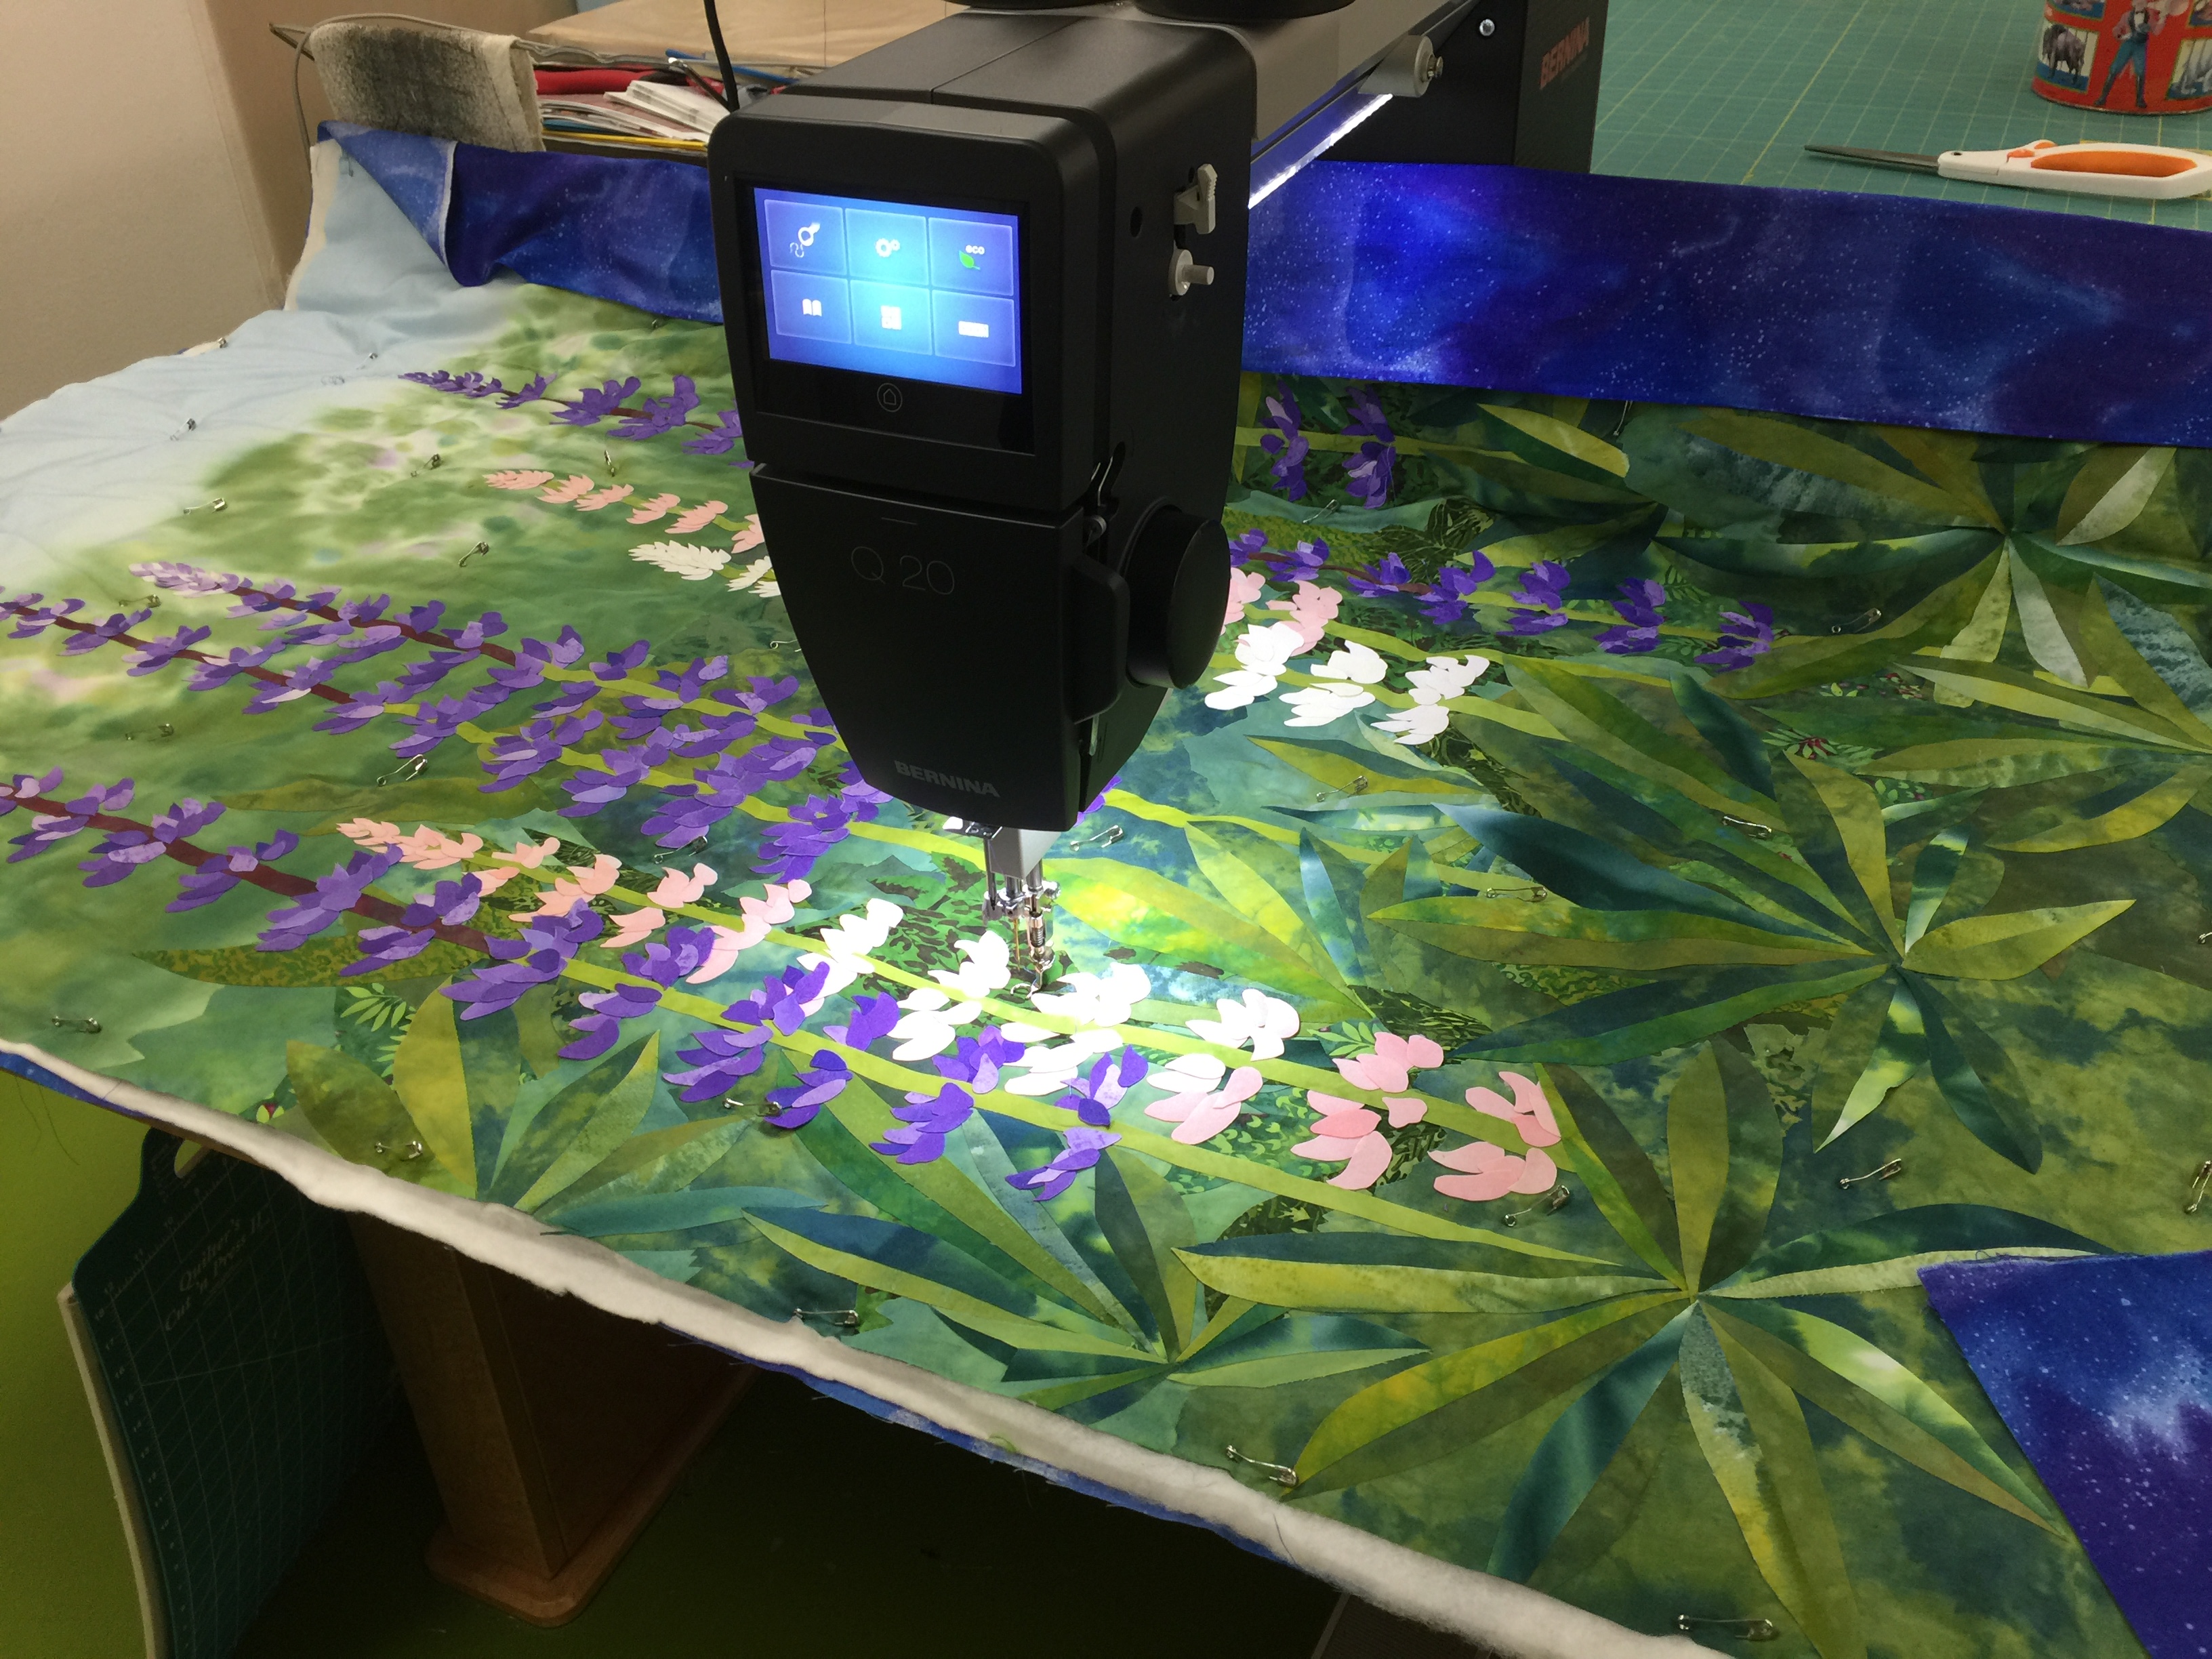
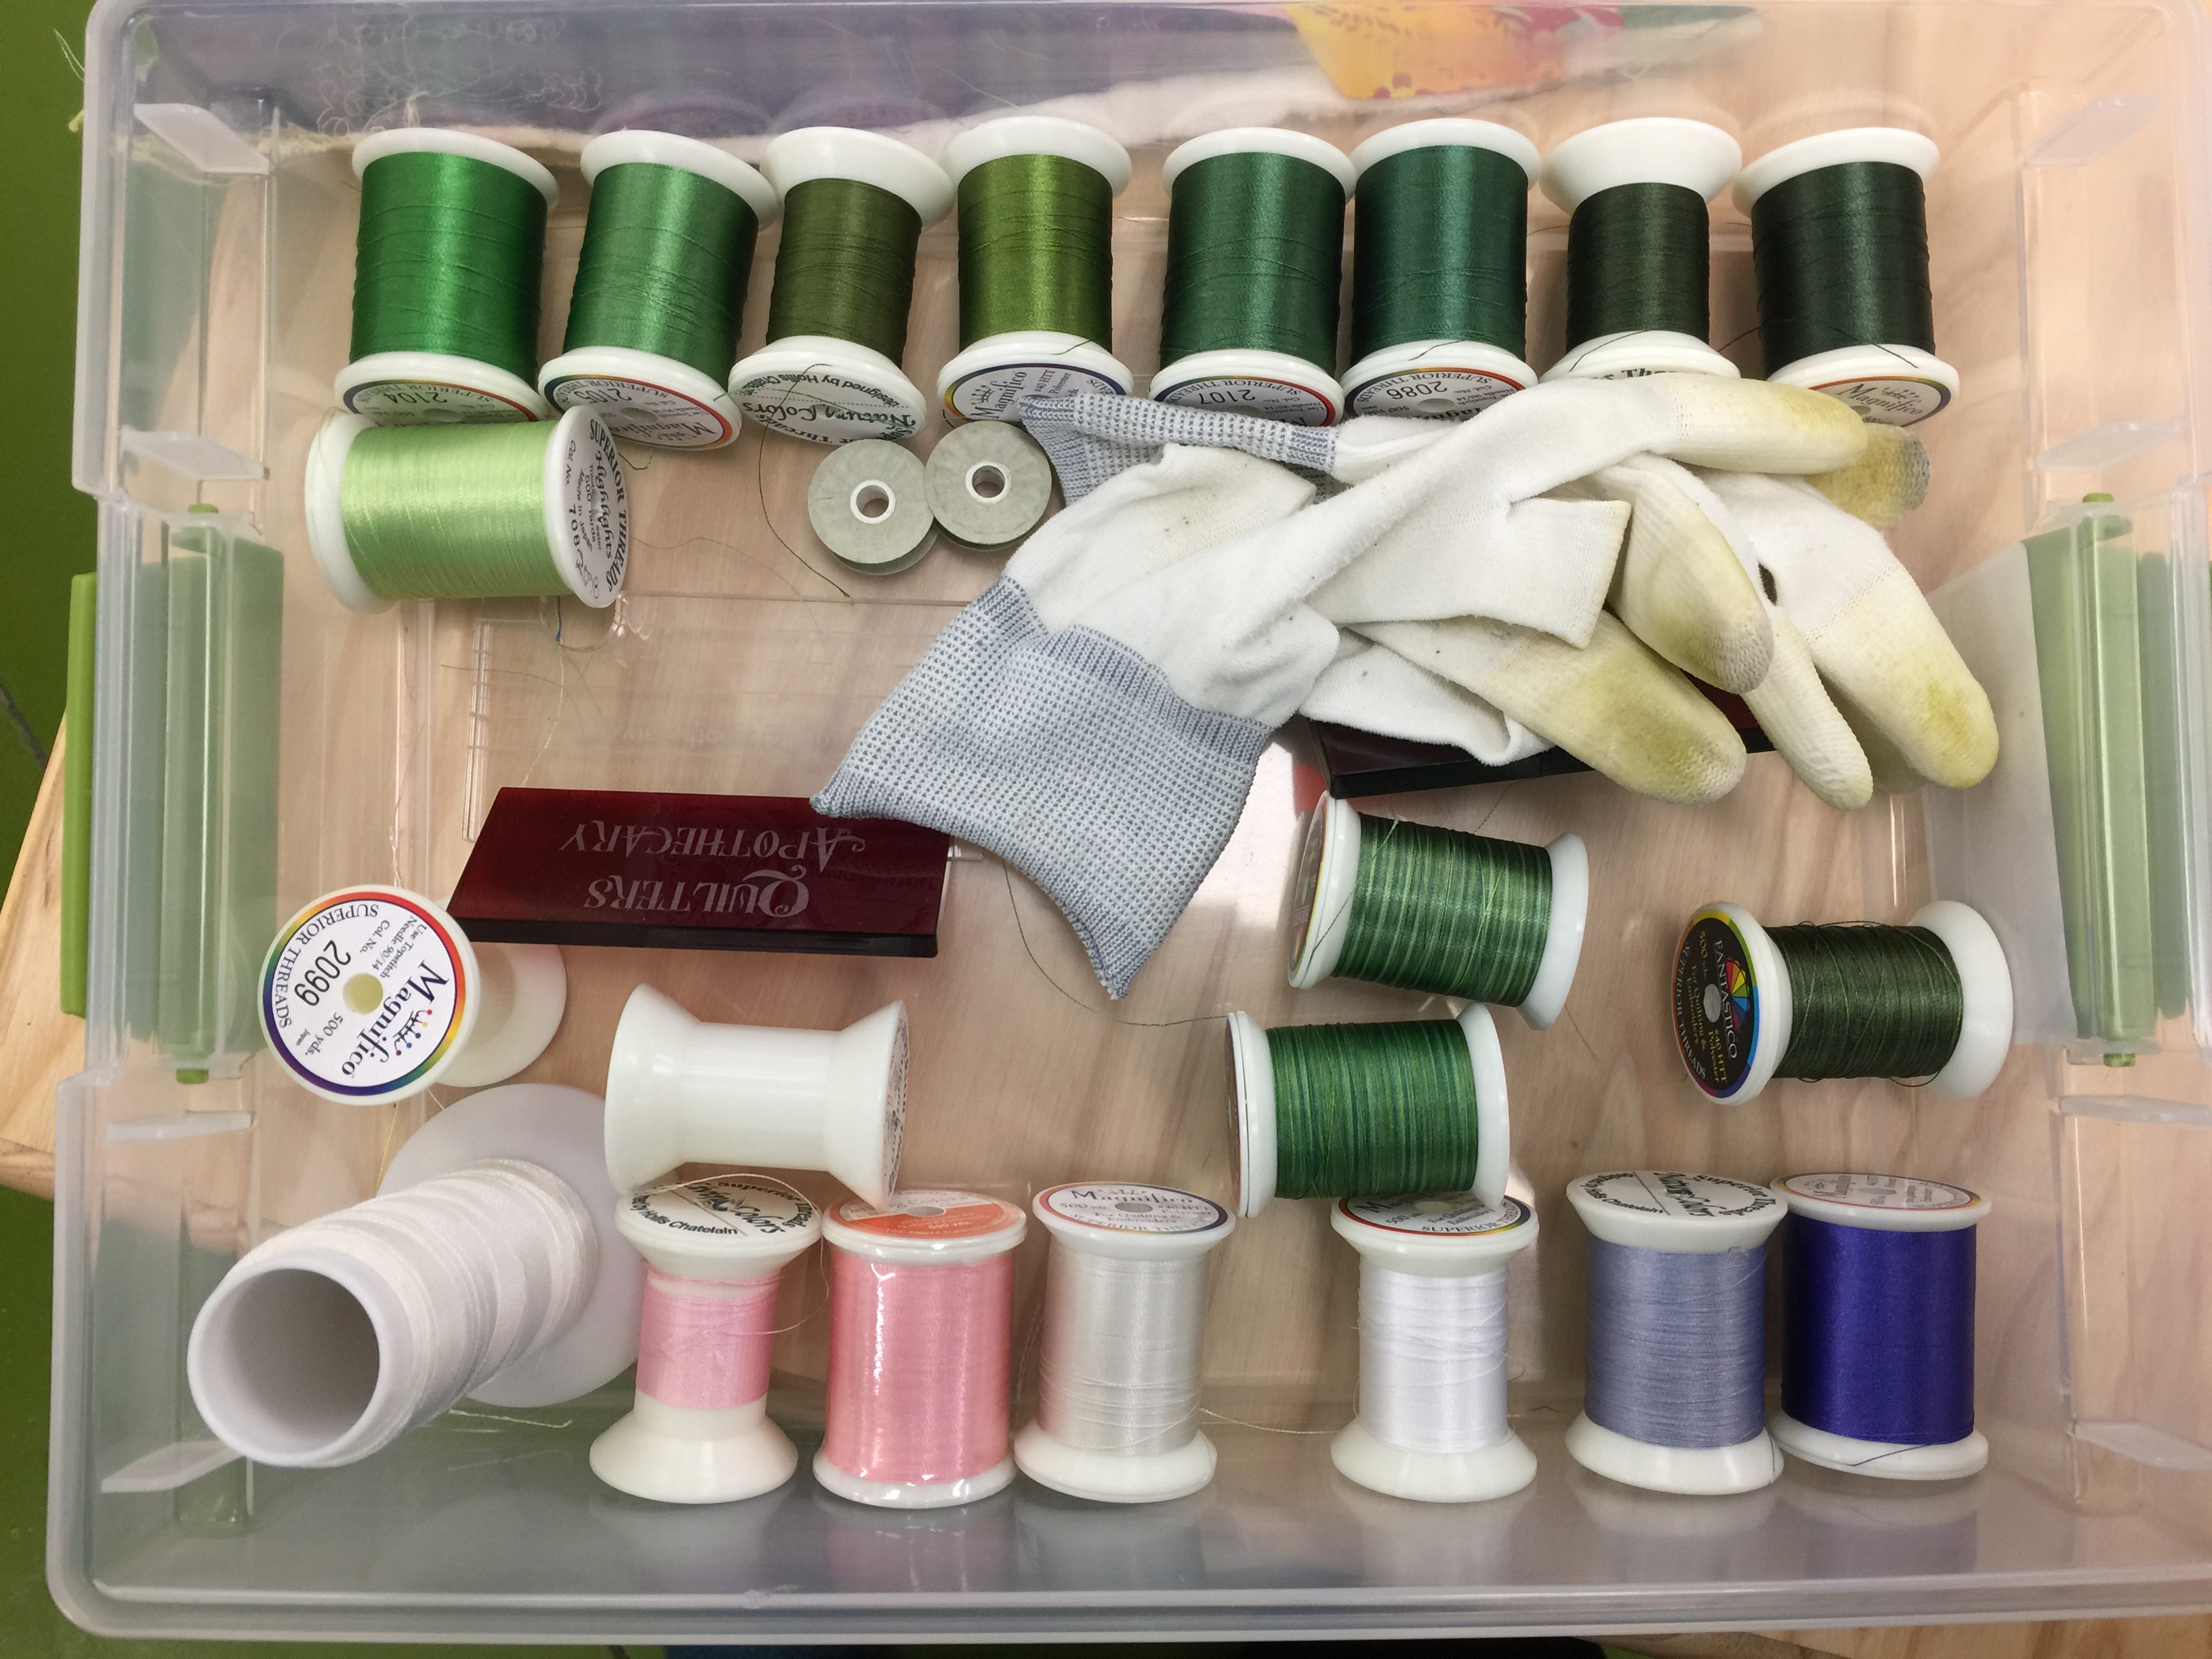
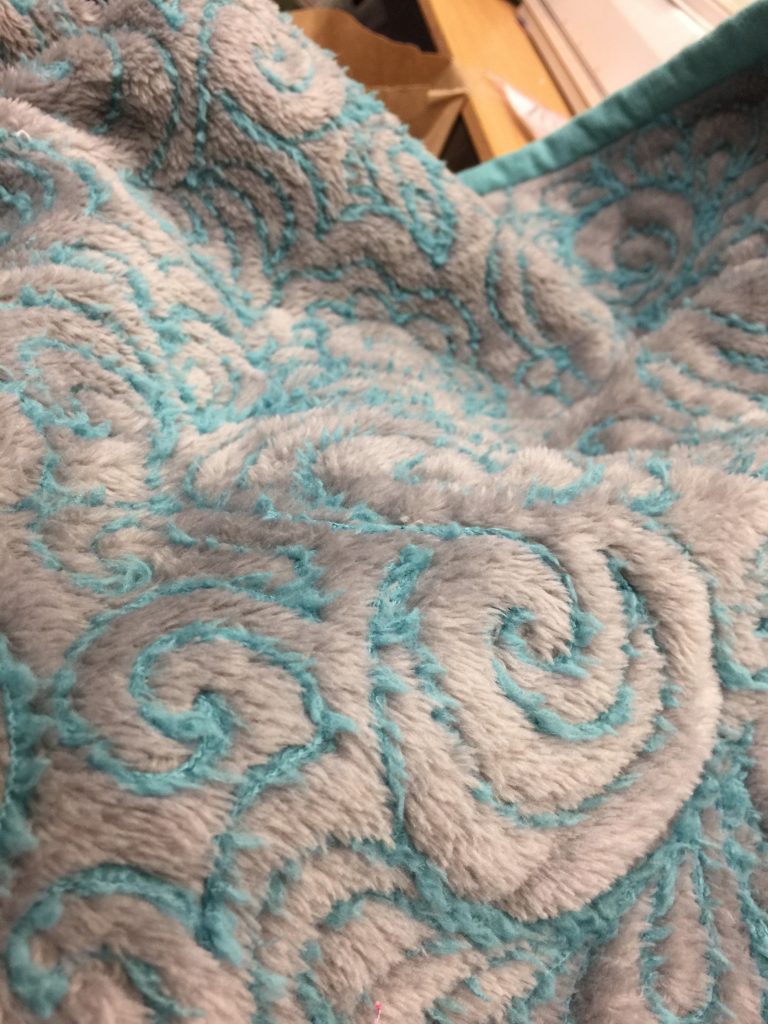
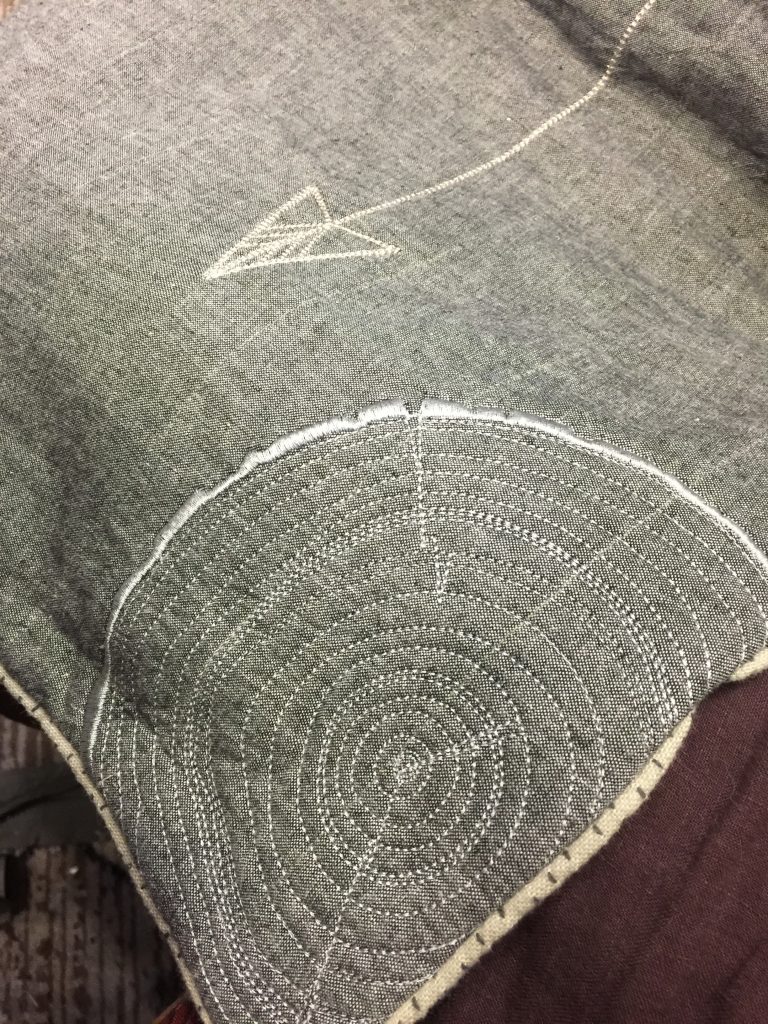
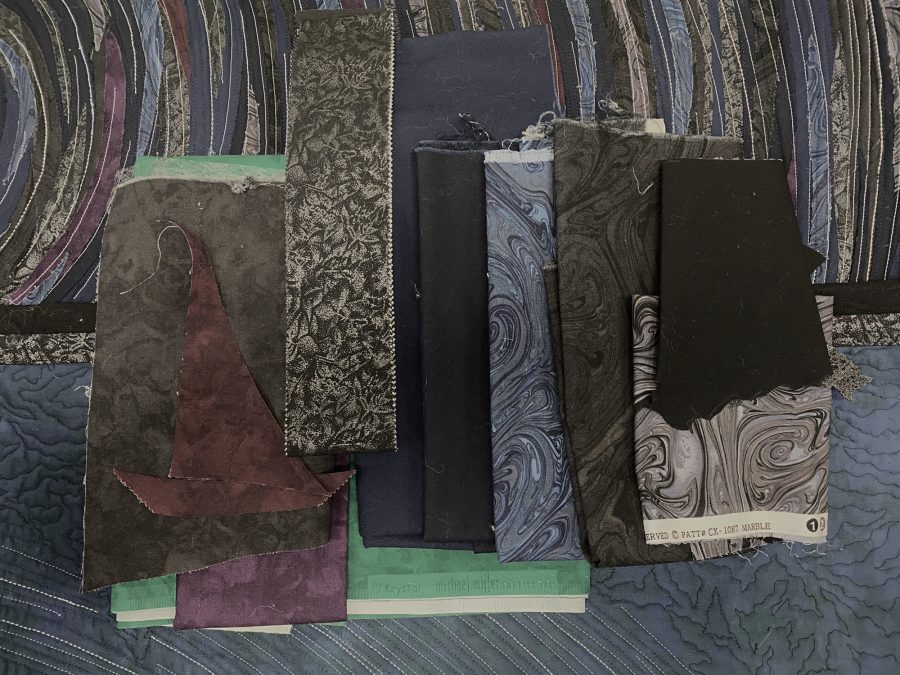
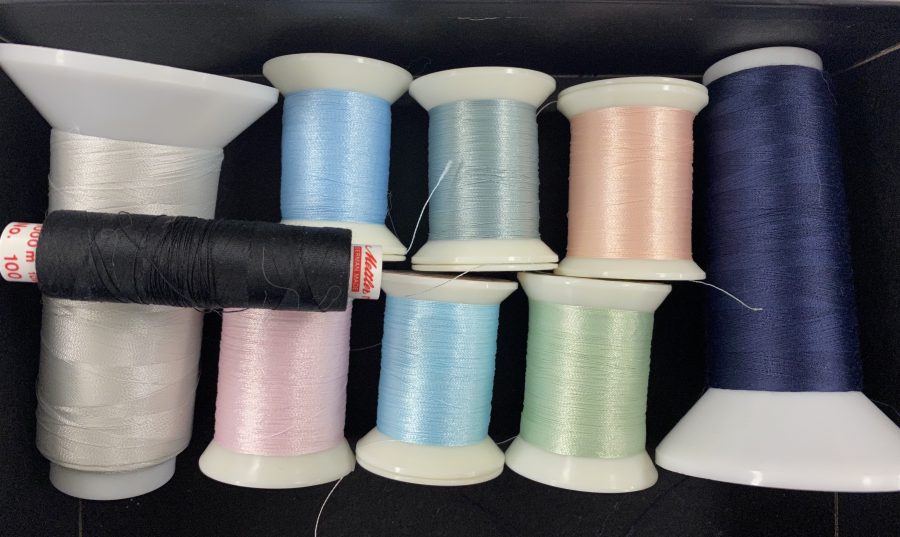
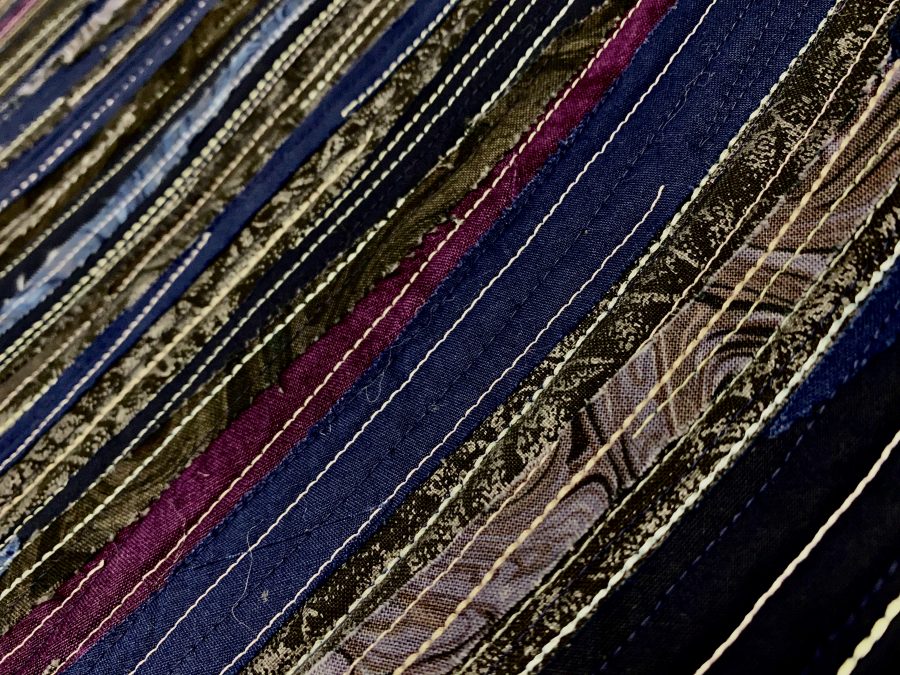
So, how do you make an image that is DARK work successfully as an artwork? In this case, the answer is a lot of quilting with light thread in seven shades from pink to peach to green to blues! Here are the fabrics I used:
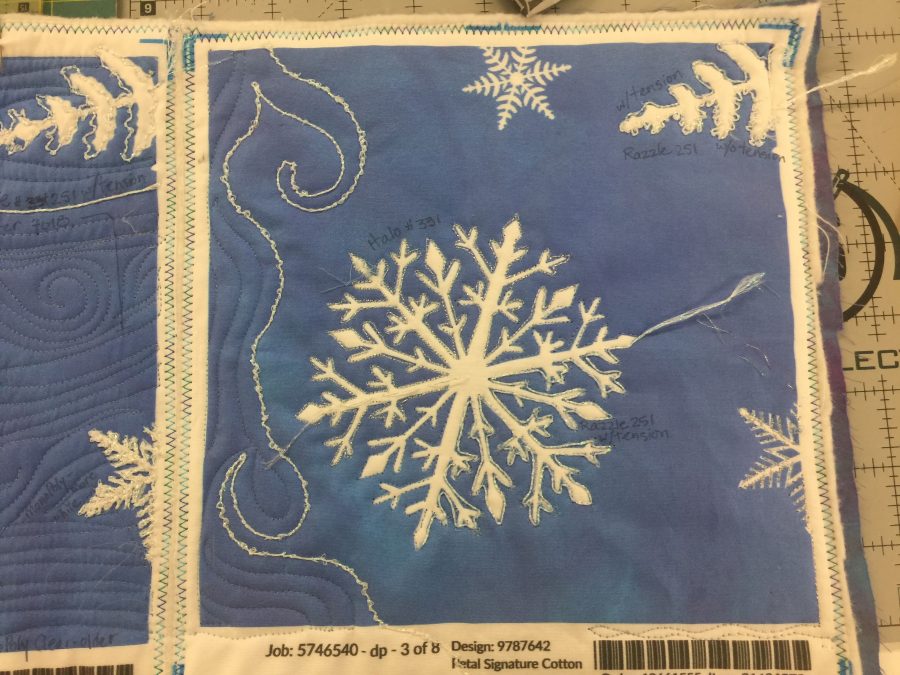
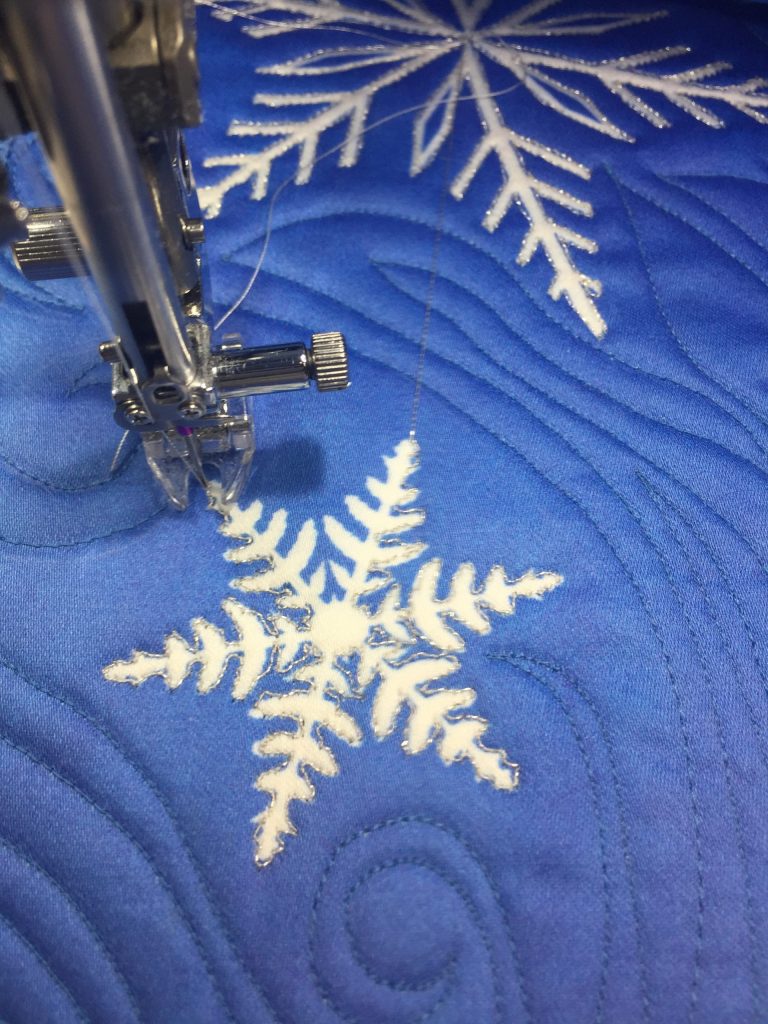
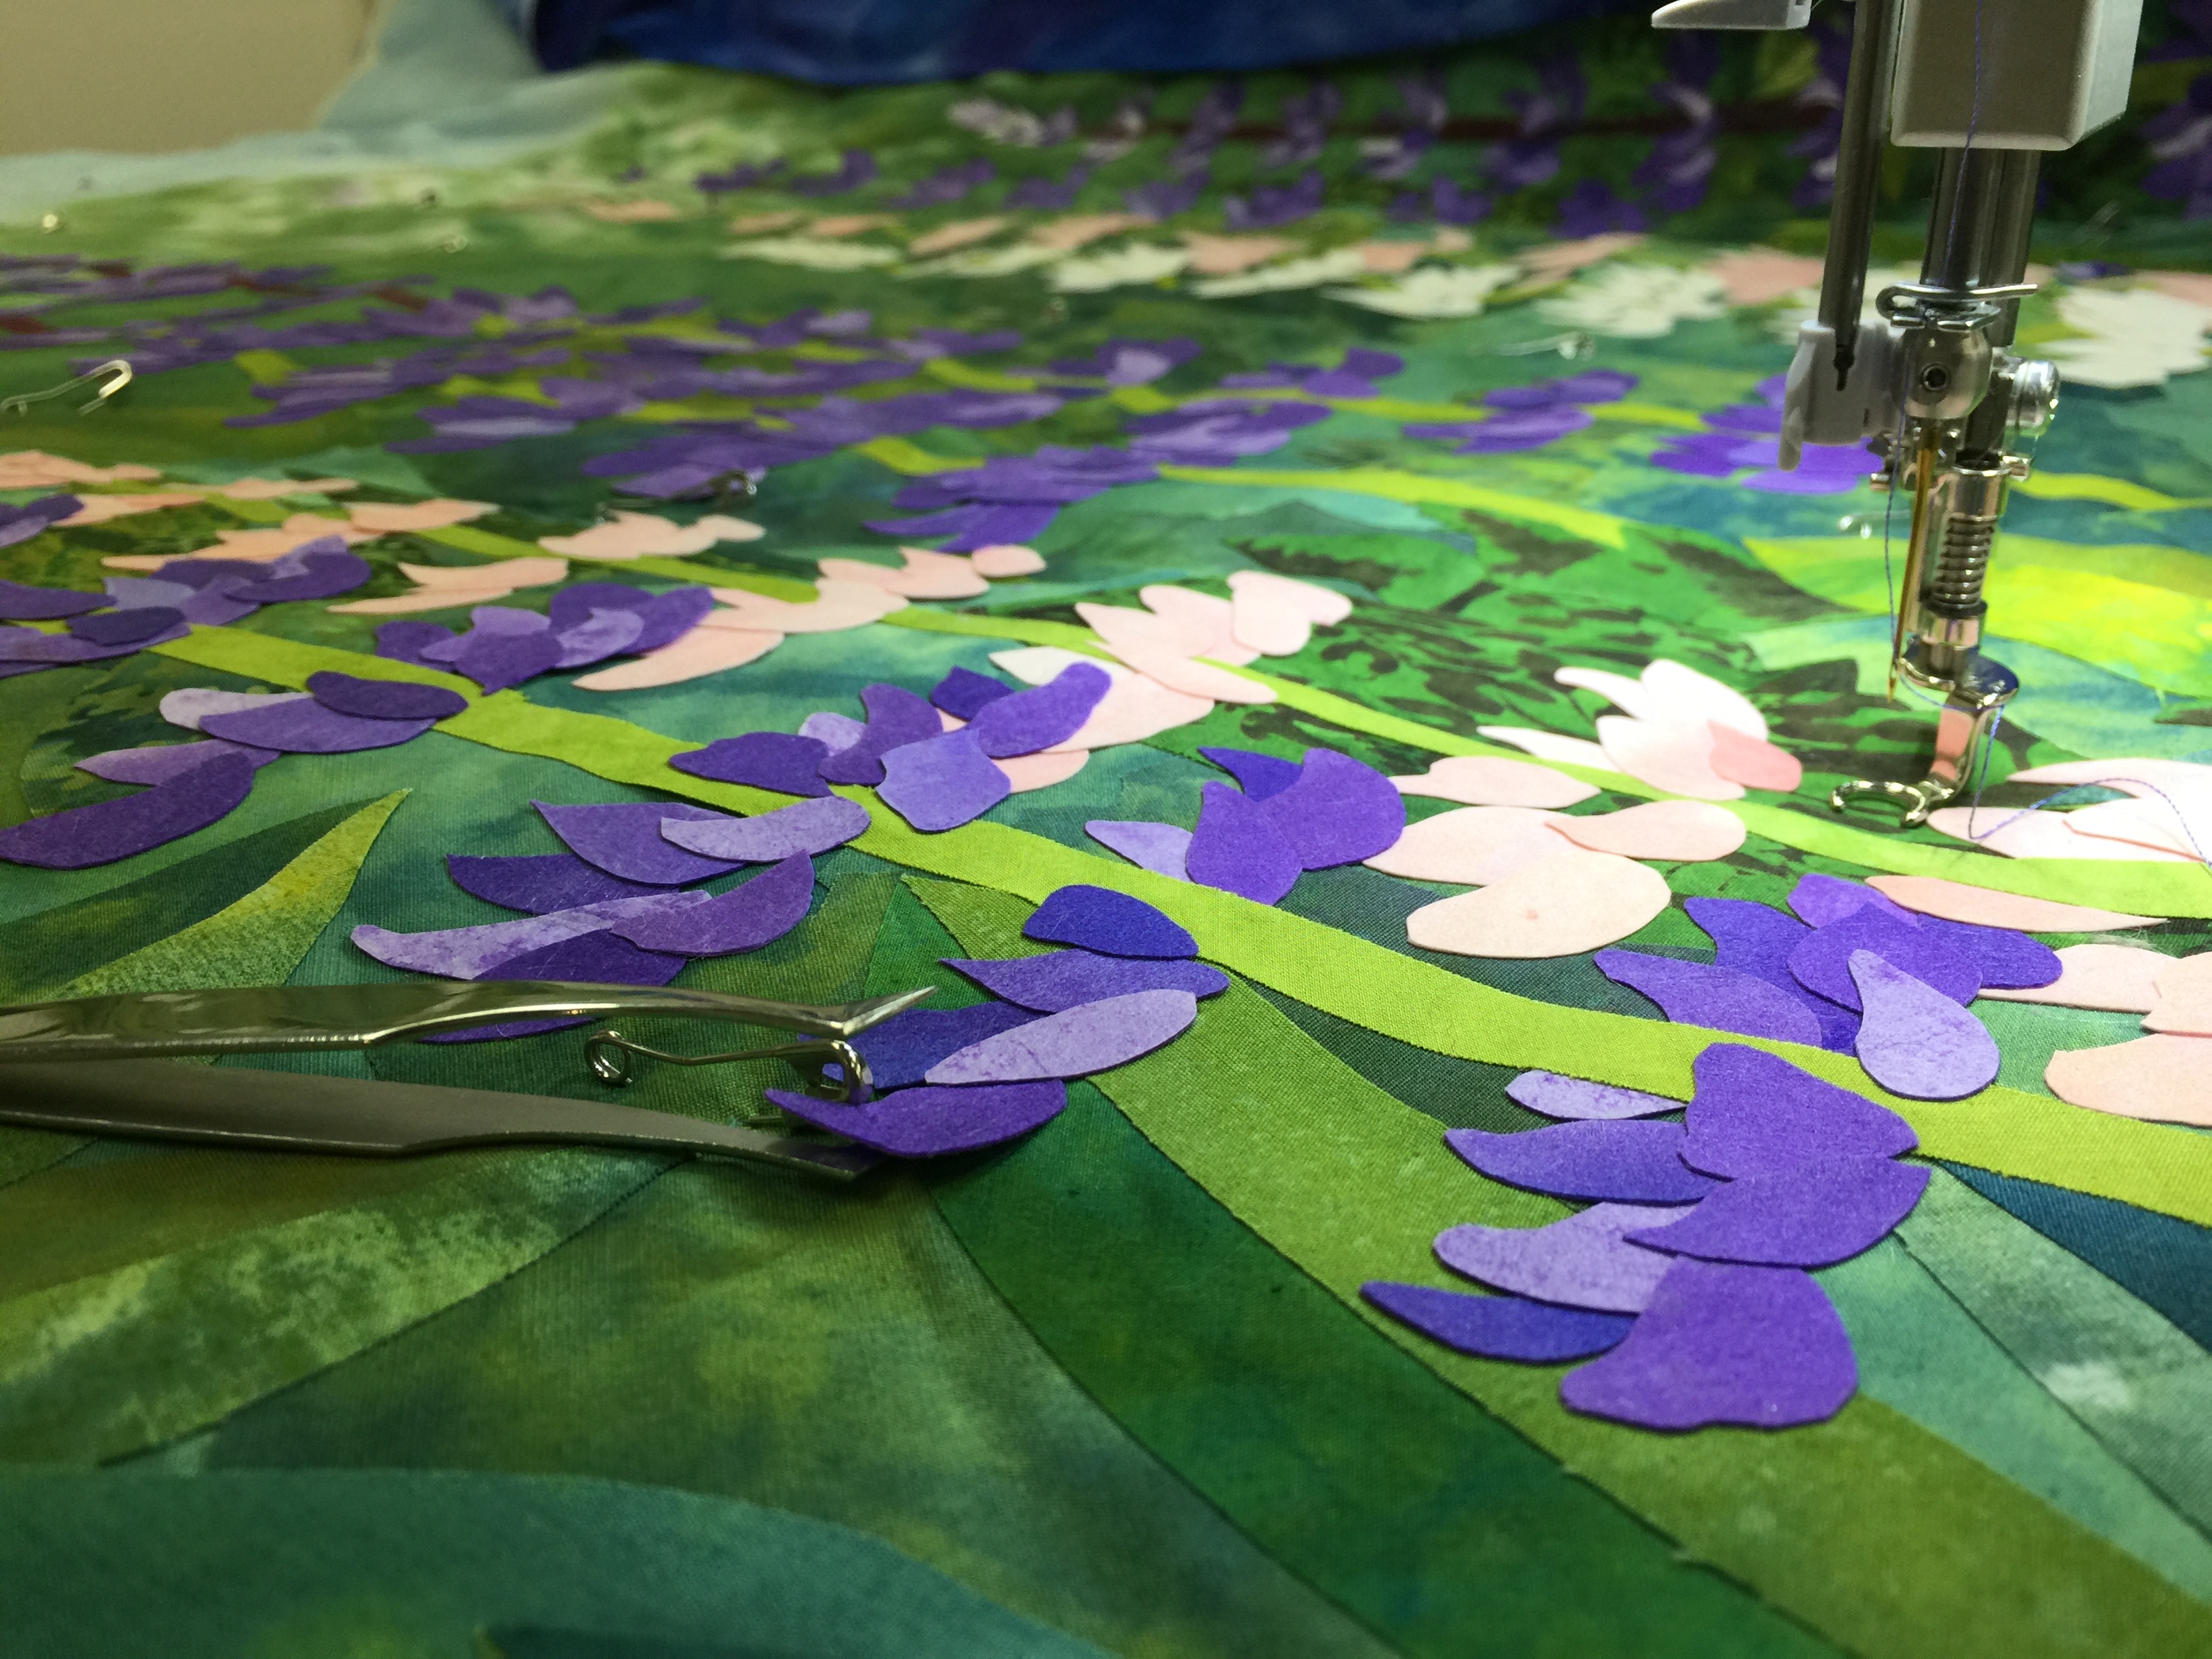
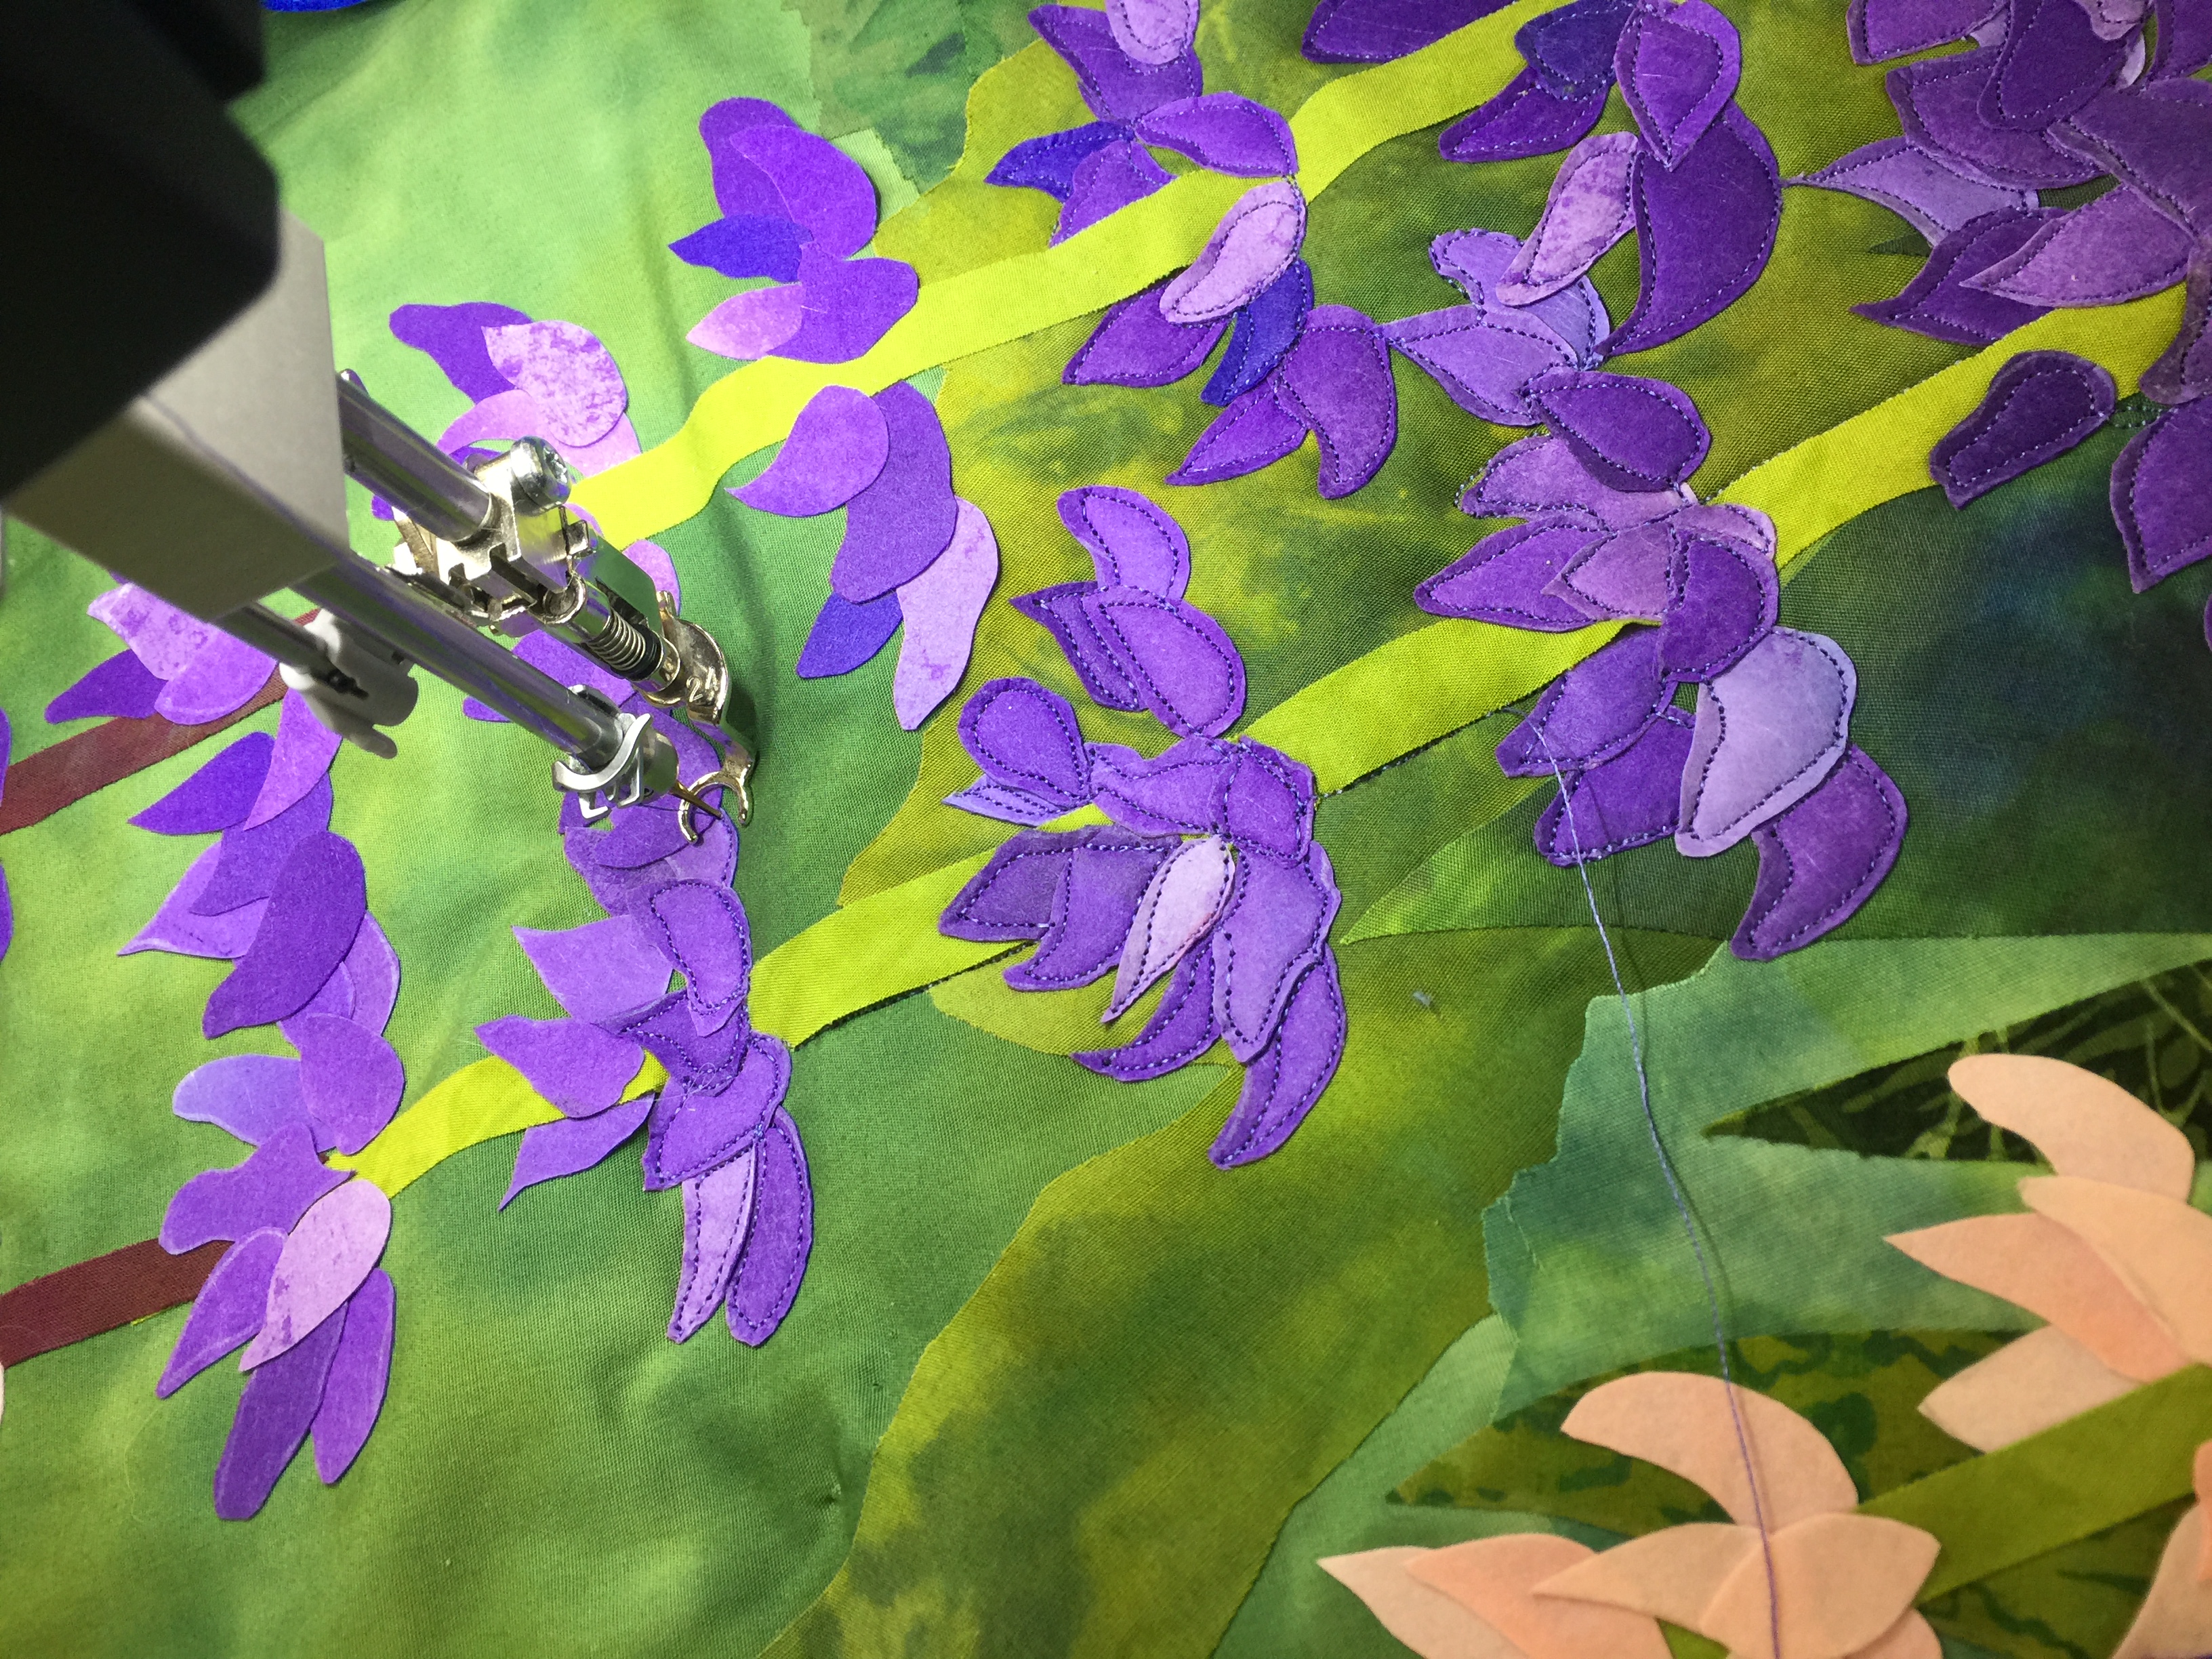
The quilting was done entirely on my Janome M7 Continental. The sky was done with the walking foot and the trees was free-motion quilted. It has been eons since I did walking foot quilting…I may do more of it soon! And the threads I used:
I hope you’ve enjoyed this journey to the stars, and back to home on Earth.