Not quite done yet, but improved and much closer to done and basting
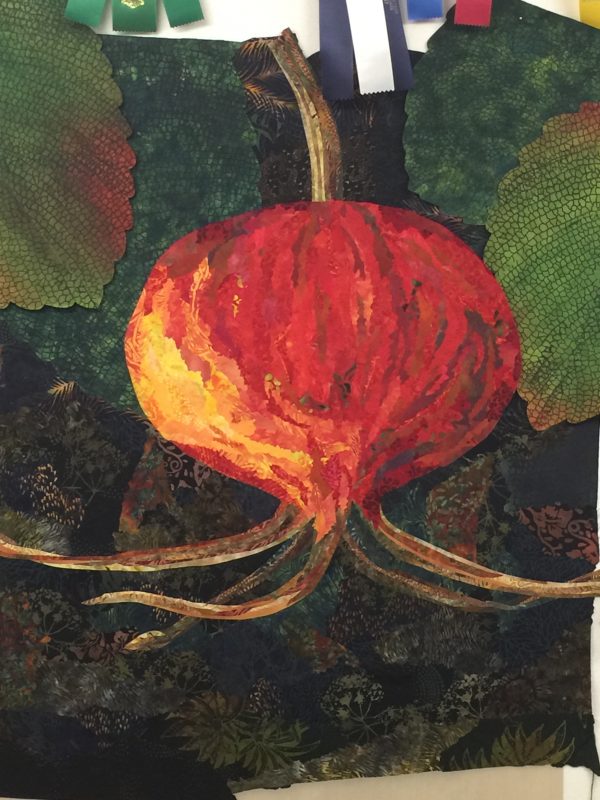
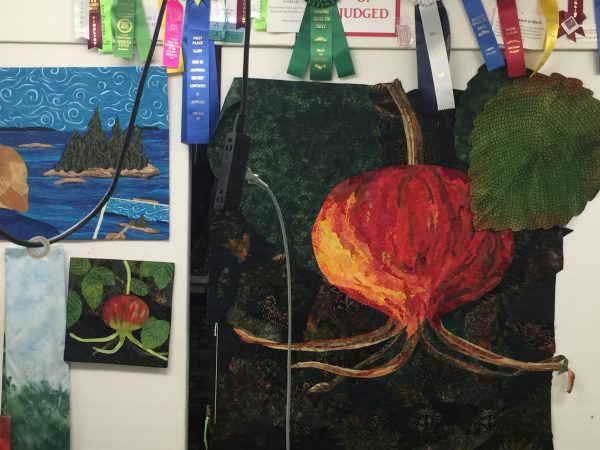
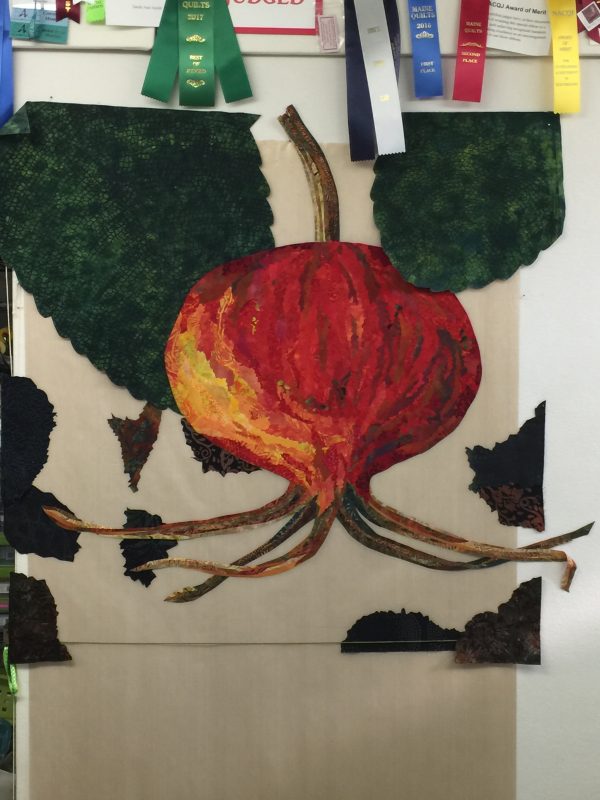
Better. I finally got a little time in the studio (and the hammering on the roof is more muffled down there–we are having a new, metal roof put on–who knew they could do that in Maine in January?). I had thought the Rosehip top was done when I left it on Sunday evening but, I’m learning I need to let things set a spell, after I looked at it with fresh eyes realized it needed some help. I made a small rose hip quilt (below), and when I saw it next to the big one, I realized the large one looked a bit dead.
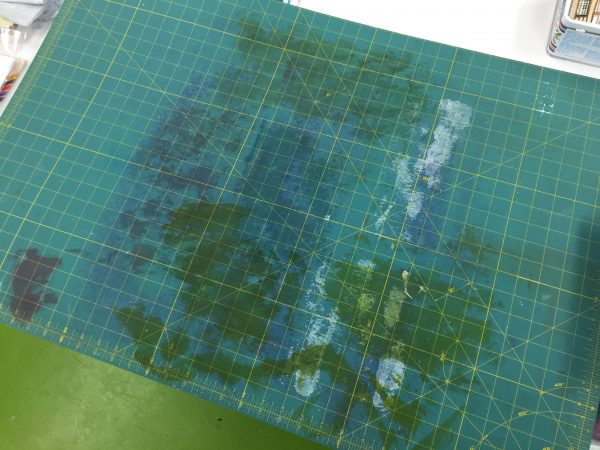
My Cherrywood “Vincent” challenge quilt just returned home. Just beneath it, on the left, is the 12″ version. See how cheerful those leaves are? The large one was crying out for some life.I thought I was going to have to dye more fabric as what I had was either too dark OR too light. Then I looked in my stash and found some fabric Lisa Walton of Australia gave me about ten years (!!!!) ago. I had used a bit of it in a quilt that won my only (so far) ribbon at International Quilt Festival, Houston, but otherwise it was safe. So today I pulled out my Rugosa Rose leaf texture thermofax screen, the paints, and Lisa’s fabric. PERFECT! I also needed to extend the bottom of the quilt–it will end up square, but I decided it needed more breathing room on the bottom and the stem at the top will just be shorter. Since it is the foreground, a larger motif was suitable. The original colors were plum and caramel…too bright and wrong! So I used ProSilk textile paints to fix. If you’ve ever wondered what to do with a cutting mat that has vastly exceeded its life expectancy, it makes a good surface for painting!
Off and on for the past couple of weeks I have been dyeing fabric, drawing or photoshopping images to make thermofax screens, and finally working on collaging the background for the rose hip, the large (36″ square) version. To those of you have landed here from my new newsletter, thank you! To those of you who don’t know about my new newsletter, please go here to the home page and sign up! I will write about mid-month and will never share your info!
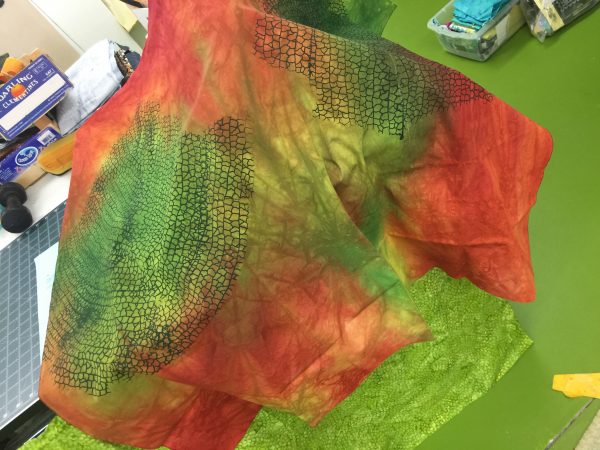
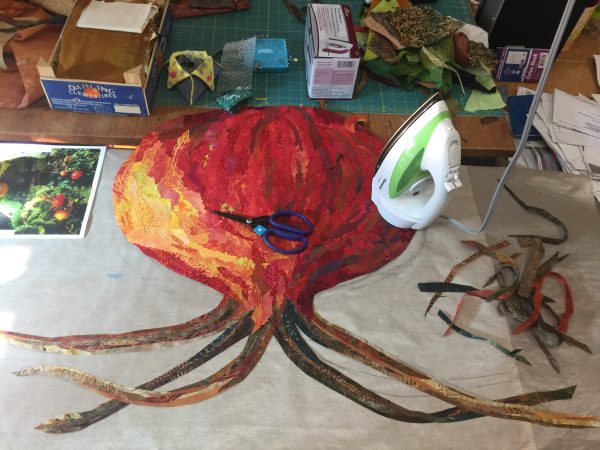
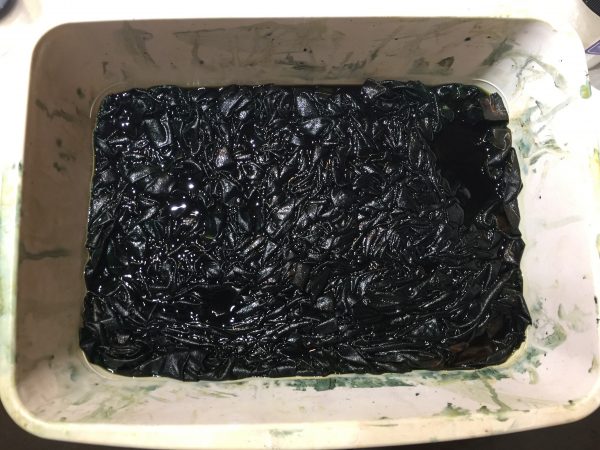
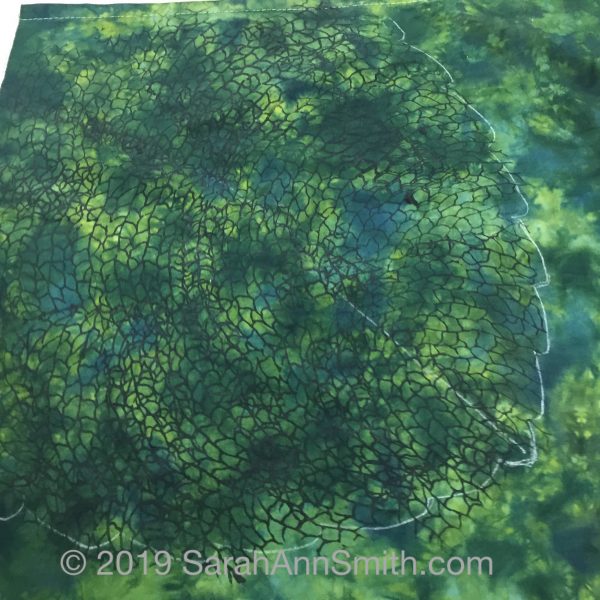
When I last checked in with you, I was just getting to this stage–finishing the rose hip on a flat surface. The next step was dyeing some greens. Kinda looks like pond scum, eh?
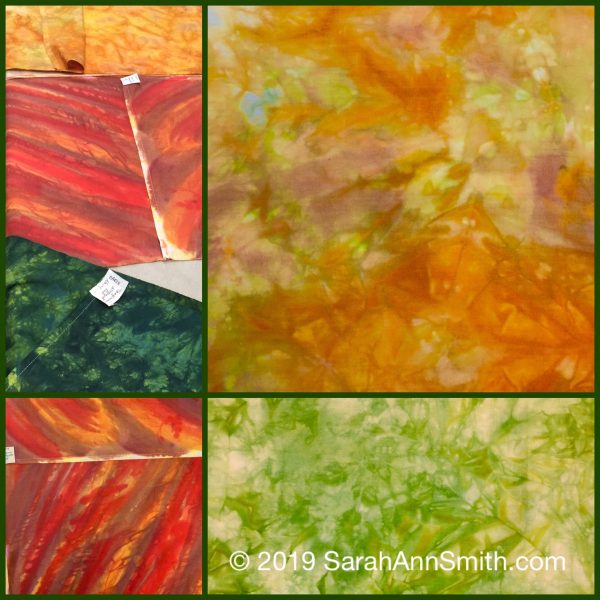
While I was at it, I used up the leftover dye for some autumn-y leaf colors for a future project.Some of the fabrics turned out great–alas, most of these didn’t work for this piece. AND I got smart…I am now adding tags with the pure dyes used in each piece so I have a clue if I ever want to make them again.
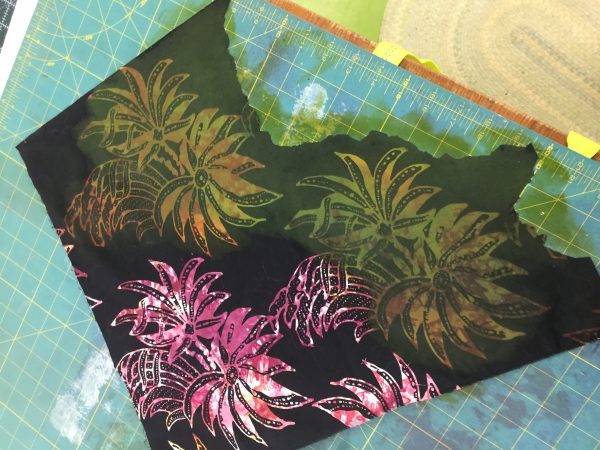
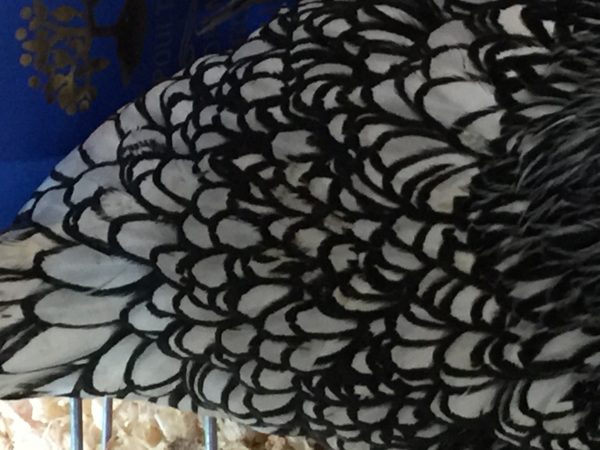
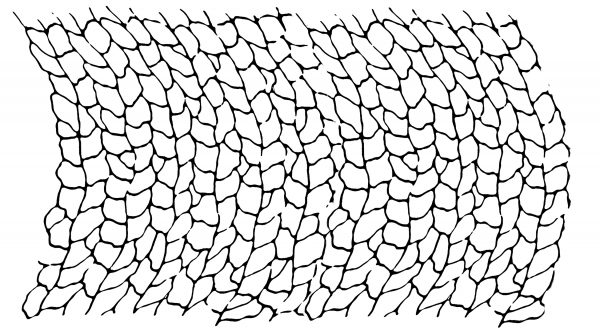
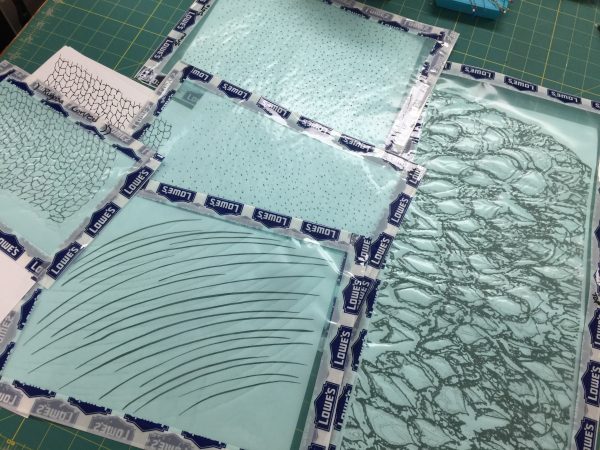
Next, working on thermofax screens. This is the photo of a chicken at the Common Ground Fair last September–as soon as I saw the strong light and dark I thought “Thermofax screen!”And here it is after photoshopping. It made a fabulous fabric, very dark tone on tone, that I’ve used in the background. Alas, I forgot tot akee pics before I cut it up!I also wanted to make a texture similar to Rugosa rose leaves, so this is my initial sketch, which became a screen.I tend to work in batches, so while I was making those screens, I made several others. That one on the right, the feathers, is about 20 inches long! The snow is for another future quilt.
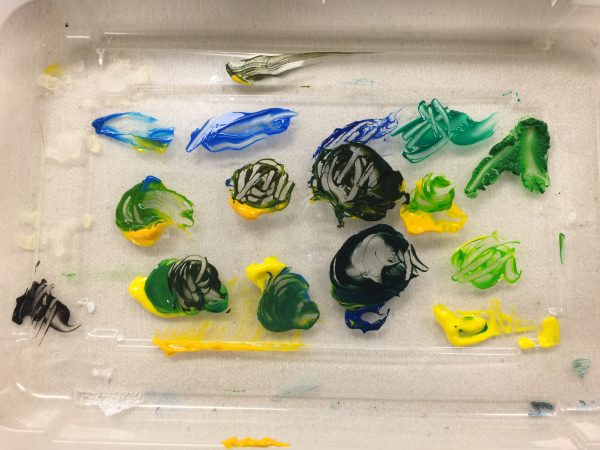
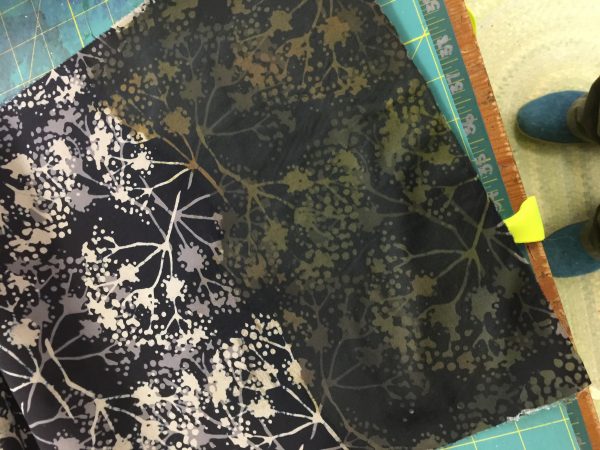
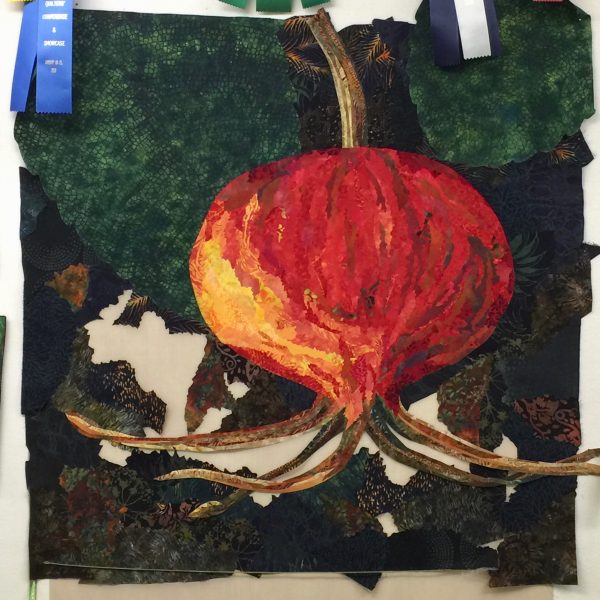
These are the transparent paints I mixed, with a little black, to use for the rugosa texture on the rose leaves.Here’s one of the leaves…..And the two large leaves, in place. The long one on the left is about 18 inches long. Alas, after looking at it this morning, I have decided those two leaves are too dark and have to go. Back to the dye pots once this post and my newsletter are done! I’ll use the fabric for something else eventually. LOVED the batik but knew ordering it that it was too high contrast for my process. A little Dye-Na-Flow and ProSilk textile paints fixed that easily: overpaint in green!And where I am now. I want the quilt to be dramatic, but it feels to dark overall. The smaller version has brighter green leaves and I’ve decided I need to dye something that is midway between the medium-light hand-dyes on my shelf and the dark green used here. Or use some fabric Lisa Walton gave me years ago…I think her bits of green are just right, especially once I add some texture.
So that’s about it for now….thanks for surfing in, share the post, and let others know about the newsletter. I’d love to ramp up my teaching again, and the best way to do that is by showing my work and getting the word out there. Now, off to make cookies for the guys roofing the house in freezing weather, then down to the studio.
Happy Solstice to one and all…at last the days no longer get shorter! To celebrate and as a Christmas gift (whether you celebrate it or not, it’s a gift of the season) to one and all, I thought I’d share a video I recently uploaded and just shared with those on my Newsletter List. (To sign up for the newsletter, go to my home page and fill in the blanks—about once a month I’ll pop in with this ‘n that.)
Those who follow me on Facebook (here) will recognize this pond and view which is down the driveway and onto Ludwig Road, between two neighbors’ houses.
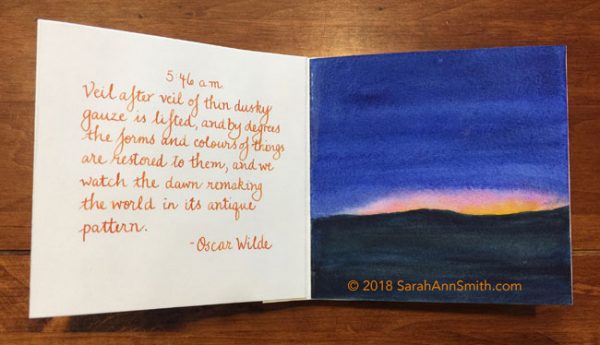
Recently, I’ve been taking some journaling and watercolor classes. Then, the Mid Coast (Maine) Book Arts group had an exhibit at the Camden Public Library. I was inspired by a book of hours on display, so BFF Kathy D. and I decided to make our own small accordion books. Below the still photo you’ll see my a video tour of the book, which I have titled “moments hours days autumn” to chronicle my life this past Autumn.
Beginning at 3:11 a.m. through to my evening ritual of sitting in my chair near my hubby’s chair, with the dog and a pile of books. You can see still shots of each page in my new Mixed Media gallery.
The left page is a quote, some by me, most by someone else. The right page is a watercolor, 5 x 5 inches. I figured I would mess things up, so it was better to do each separately, then glue them to the accordion “base” pages. On the back, I painted a single LONG (80 inches!) view that runs from winter to spring, summer and fall, back to winter, with the sky running from night, through morning, noon and afternoon, back to night. I used a dip pen and acrylic ink to write Strider’s Poem, by J.R.R. Tolkien, which has been a favorite since high school and whose meaning goes far beyond the Lord of the Rings saga.
I used Daniel Smith Watercolors, Stonehenge Aqua 140 lb. watercolor paper, Yes! paste glue, and both acrylic and fountain pen inks and a dip pen for all the lettering. The cover is made from my own hand-dyed fabric fused to mat-board from Kathy with Mistyfuse.
Here’s to hoping you all have friends (which can include family!) and joy around you throughout your lives, not just this season. I hope you enjoy my first ever made-by-me book. I think I will do more! Let me know what you think, and what you’d like to see in my new Newsletter. (And to sound like a broken record, sorry, sign up here.) MERRY MISTLETOE!
Hi everyone…a quick pop-in to share that Quilting Arts TV has begun airing. Check with your local PBS station to find out when it will air in your area. In Maine, it will be on Maine Public’s Create channel (I think). If you’re like me and don’t have access to a PBS station (grumble) that airs it, you can download the episodes or series at Interweave, here. I’ve even got a new badge:
Sarah’s on Quilting Arts TV again, Episodes 2001, 2007 and 2012.
I’ll be talking about my journey from hobbyist to professional in the industry (Episode 2001), how to get crisp corners when facing art quilts (Episode 2007), and my way of using thermofax screens to blend collaged fabrics prior to quilting (Episode 2012). I hope you’ll enjoy the journey with me–nothing of mine is earth shattering, but not much in life is. It’s the little tweaks and changes that make the difference, and I hope my tips and techniques will improve your quilting and life.
I’m thrilled to be so busy and hope to meet many of you. Here’s a blogpost about The Nest, a new and totally fun half-day (or full day if a guild wants a full day) class, it’s a blast and the extensive kit/materials provided make it easy to prep. I’m also teaching my intermediate/advanced Tame Fussy, Fiddly Threads for Machine Quilting class for those of you who want to learn more about the “cranky” threads–that really aren’t cranky if you just learn how to use them!
Houston has revamped the catalog a little bit. There are now (yeah!) pictures in the catalog (not just online) and there are weblinks so you can go to my website for the FULL supply list and handouts. To shorten the process, if any of the above look good to you, you can go to my class listings page here for info about my classes. Each description has a hotlink to the pdf Supply list. If I have blogged about a class, that also is in the description. You can also find all my supply lists in one place on my Resources page. If you click on “Resources,” Look at the jump links at the top. Click on Class Supply Lists and it will jump you down the page (instead of having to scroll down).
Here are some more blogposts about the classes I’m offering in Houston: